For 1990-2009 cars only
Air Cleaner Outlet Duct Replacement 1st Design
Removal Procedure
- Remove the intake manifold cover. Refer to Intake Manifold Cover Replacement .
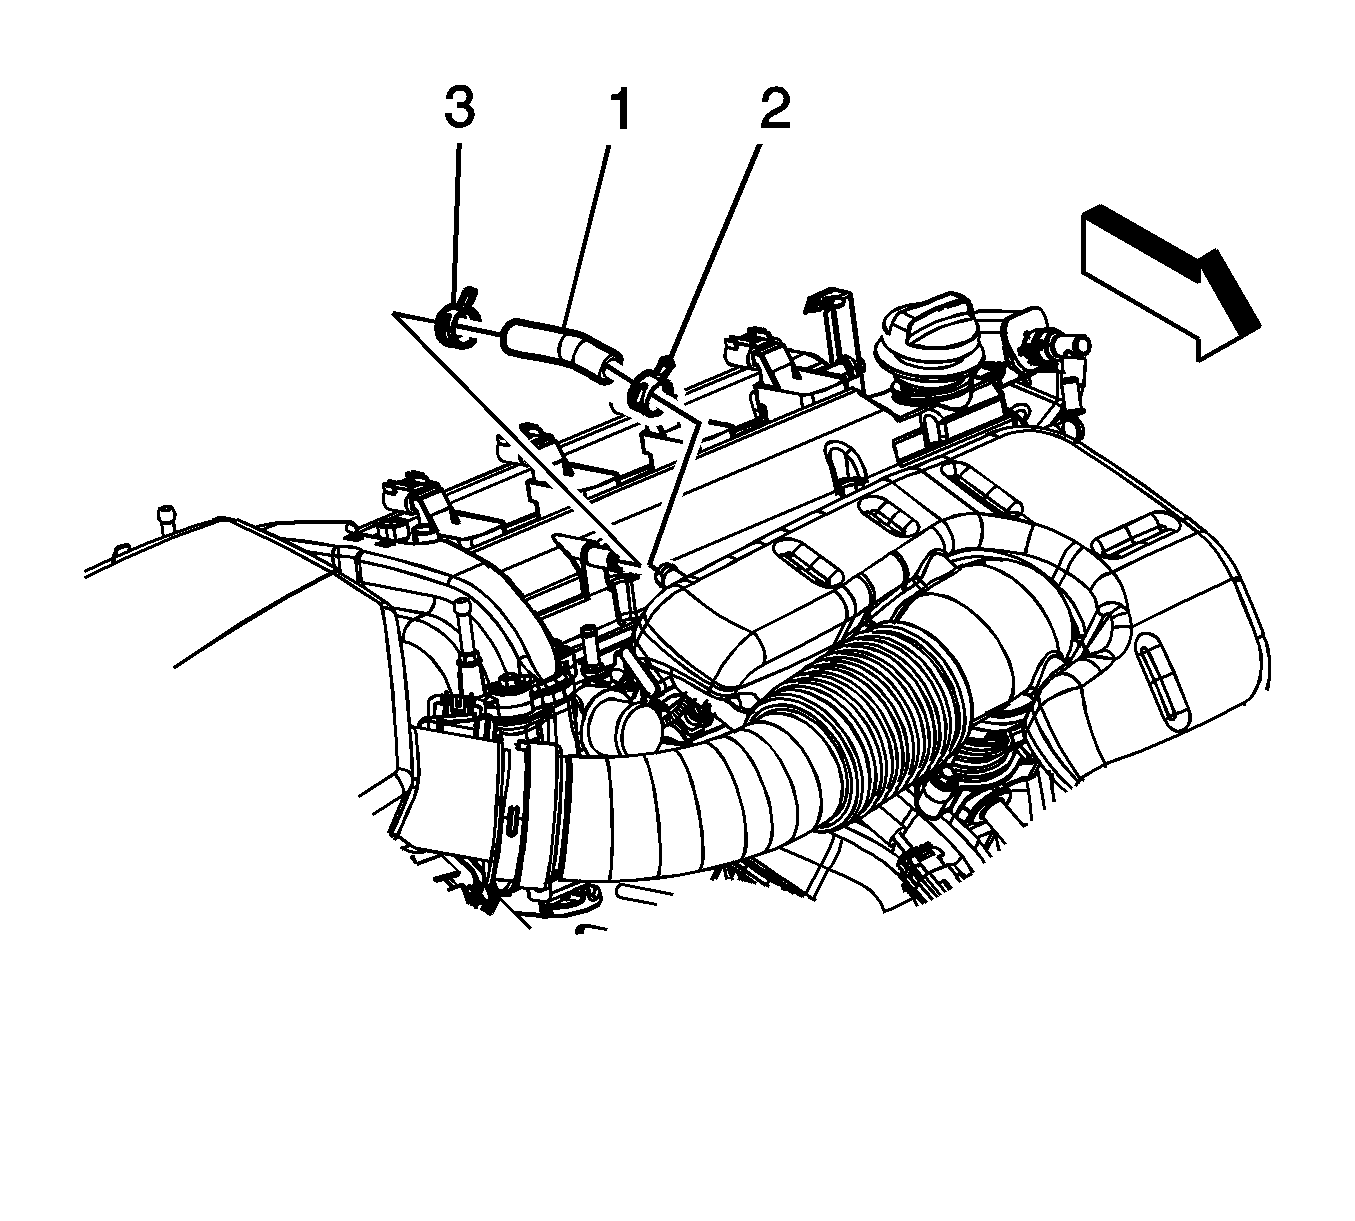
- Reposition the positive crankcase ventilation (PCV) hose clamp (2) at the outlet duct.
- Remove the PCV hose (1) from the air cleaner outlet duct.
- Loosen the air cleaner outlet duct clamp (1) at the throttle body.
- Loosen the air cleaner outlet duct clamp (1) at the air cleaner assembly.
- Remove the air cleaner outlet duct (2) from the air cleaner and the throttle body.
Installation Procedure
- Install the air cleaner outlet duct (2) to the air cleaner and the throttle body.
- Tighten the air cleaner outlet duct clamp (1) at the air cleaner assembly.
- Tighten the air cleaner outlet duct clamp (1) at the throttle body.
- Install the PCV hose (1) to the air cleaner outlet duct.
- Position the PCV hose clamp (2) at the outlet duct.
- Install the intake manifold cover. Refer to Intake Manifold Cover Replacement .
Notice: Refer to Fastener Notice in the Preface section.
Tighten
Tighten the clamp to 4 N·m (35 lb in).
Tighten
Tighten the clamp to 4 N·m (35 lb in).
Air Cleaner Outlet Duct Replacement 2nd Design
Callout | Component Name |
|---|---|
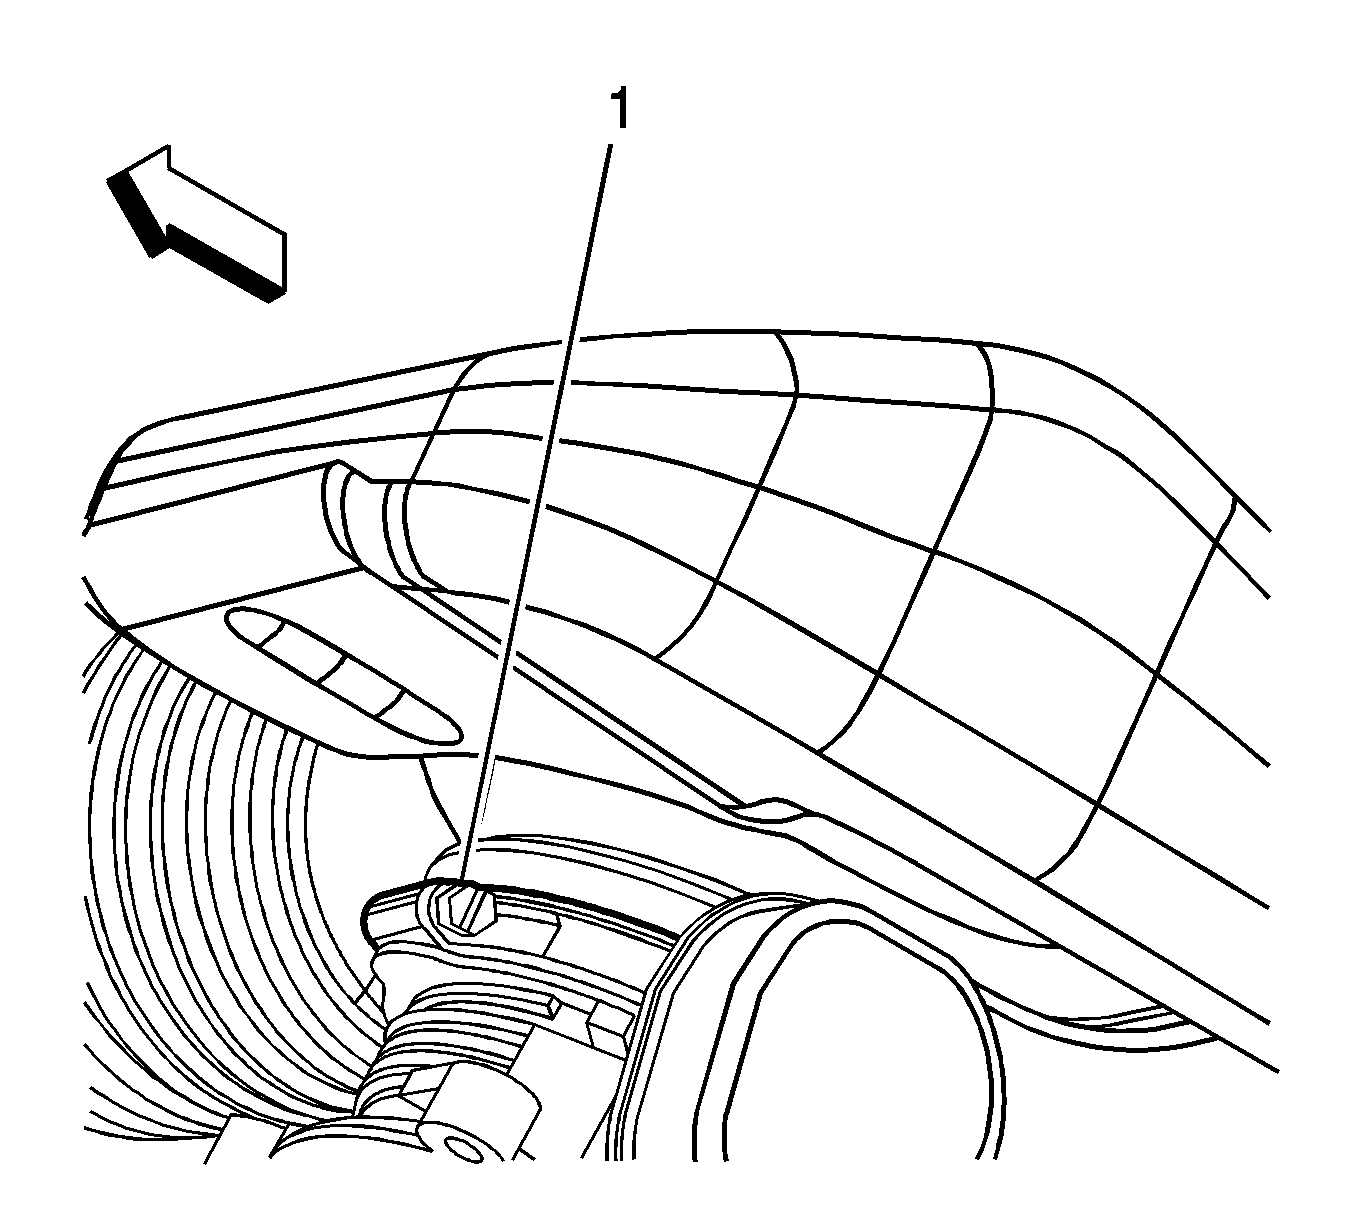
Preliminary ProcedureRemove the oil fill cap. | |
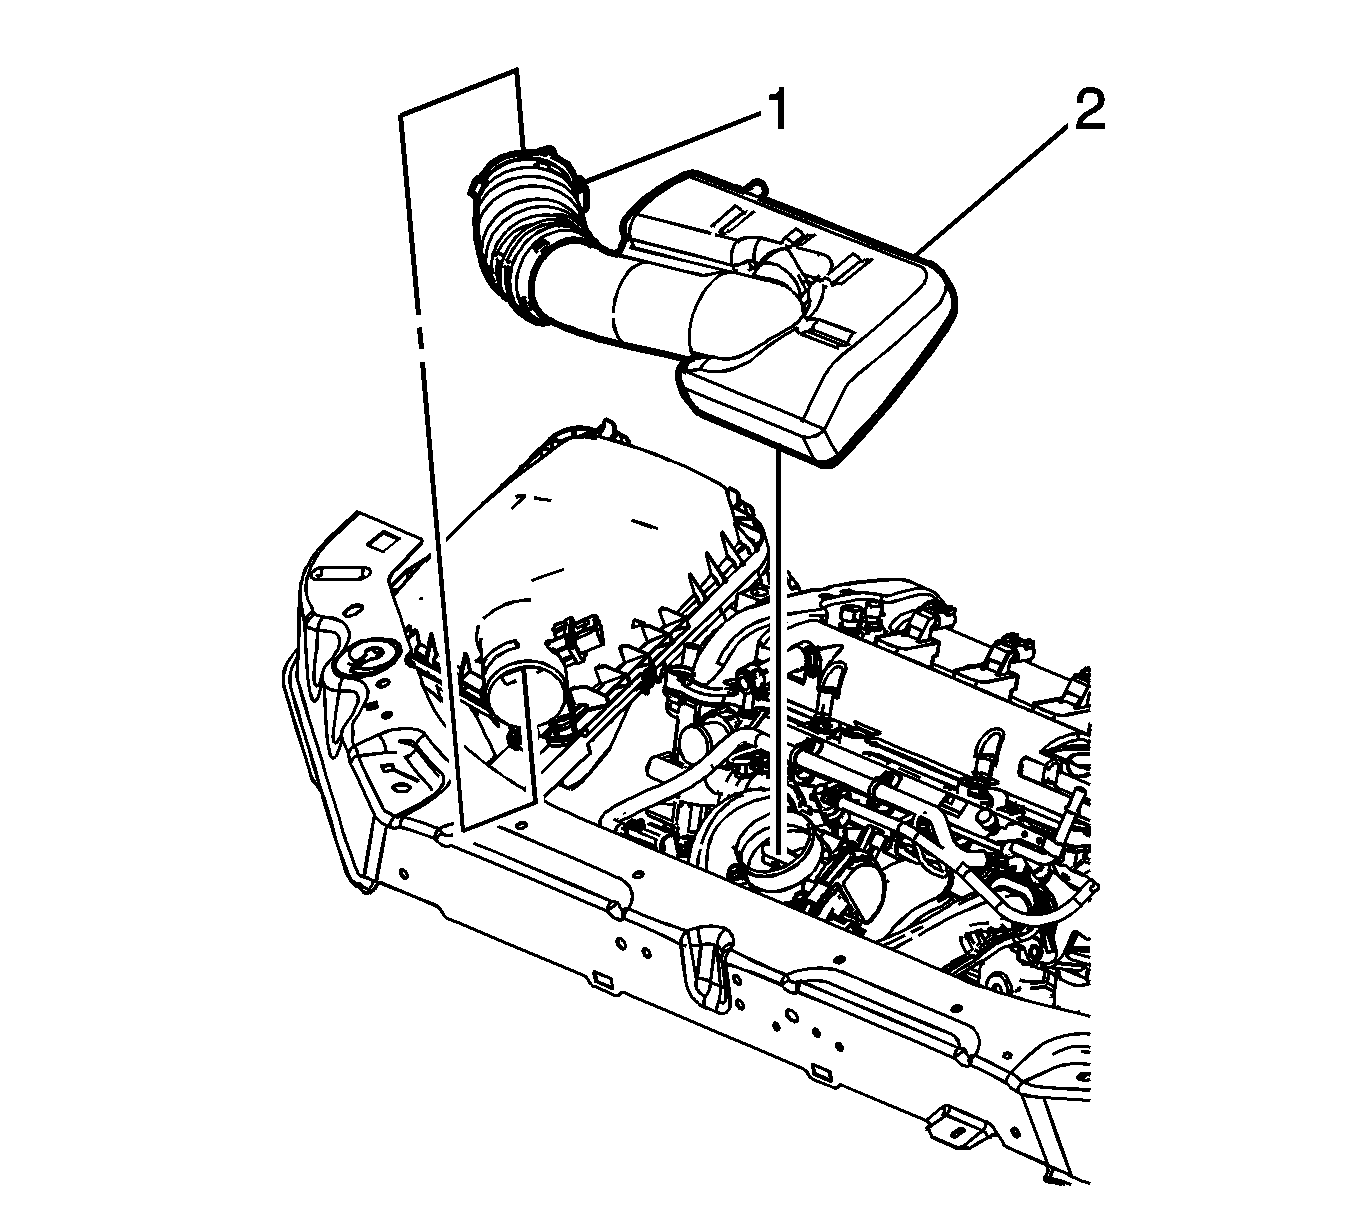
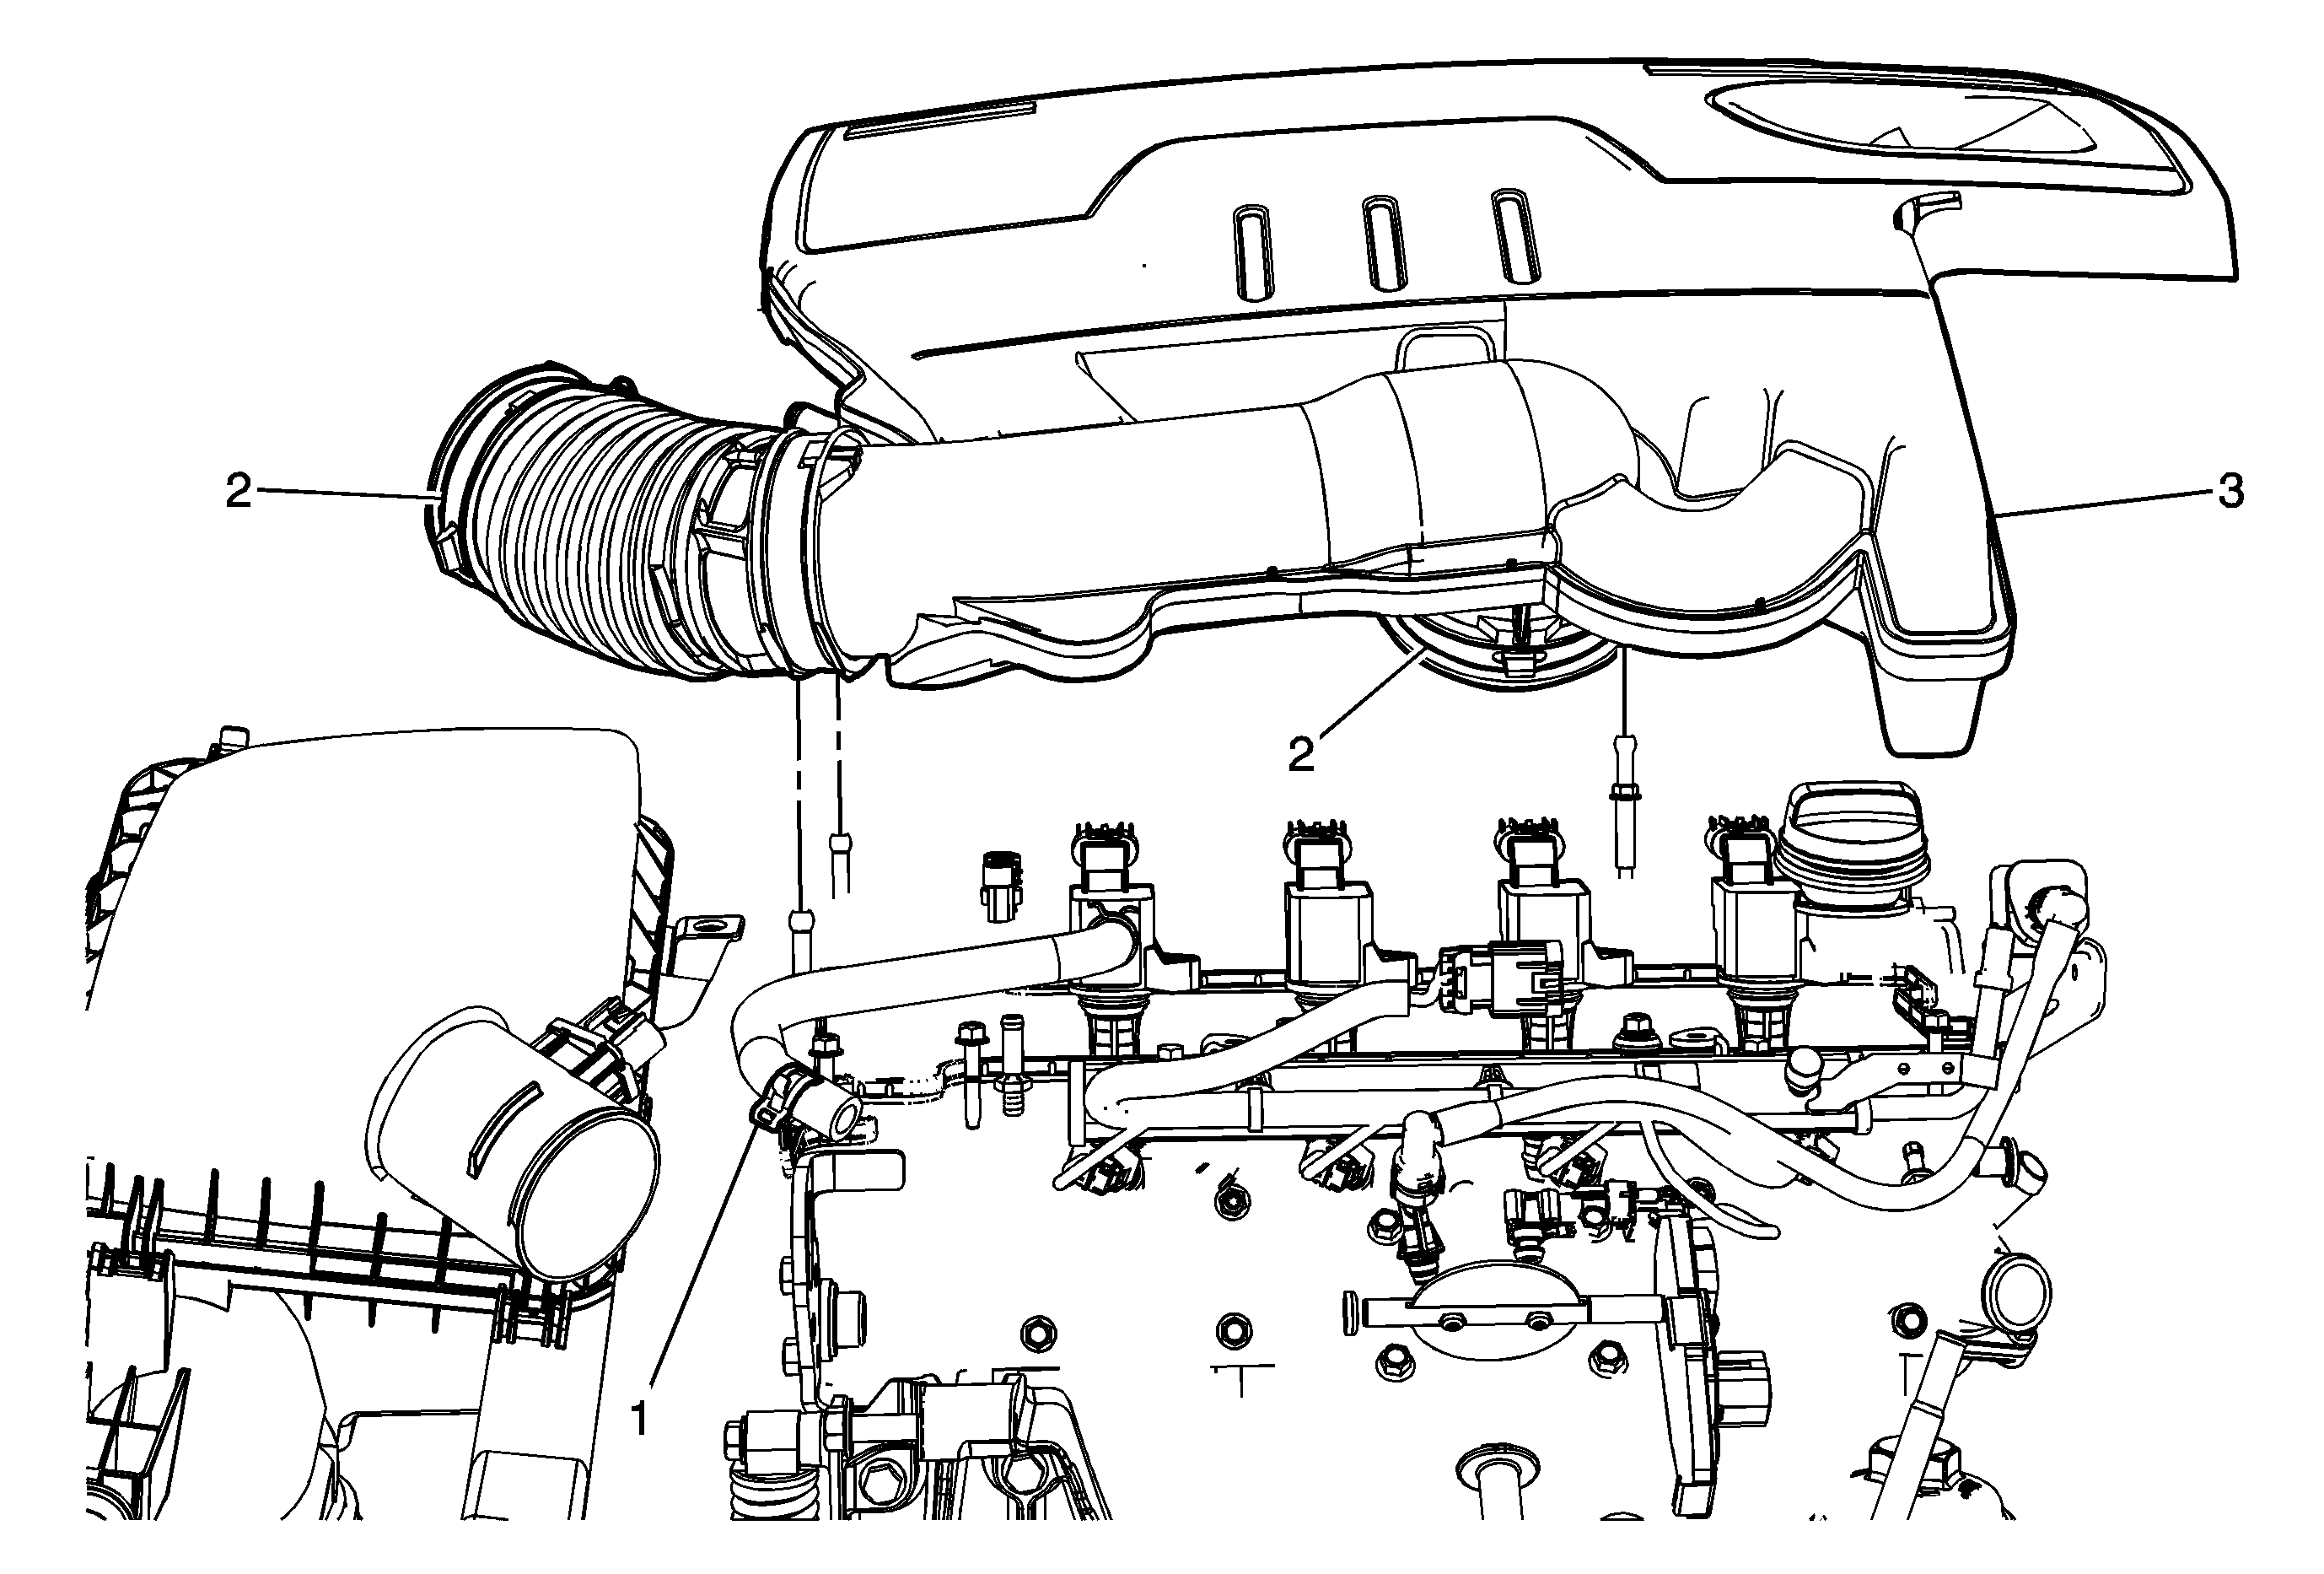
1 | Hose Clamp ProcedureReposition the hose clamp and remove the hose. |
2 | Air Cleaner Outlet Duct Clamp (Qty: 2) Notice: Refer to Fastener Notice in the Preface section. ProcedureLoosen both of the outlet duct clamps. Tighten |
3 | Air Cleaner Outlet Duct ProcedurePull straight up to detach the ball studs. |
