For 1990-2009 cars only
Removal Procedure
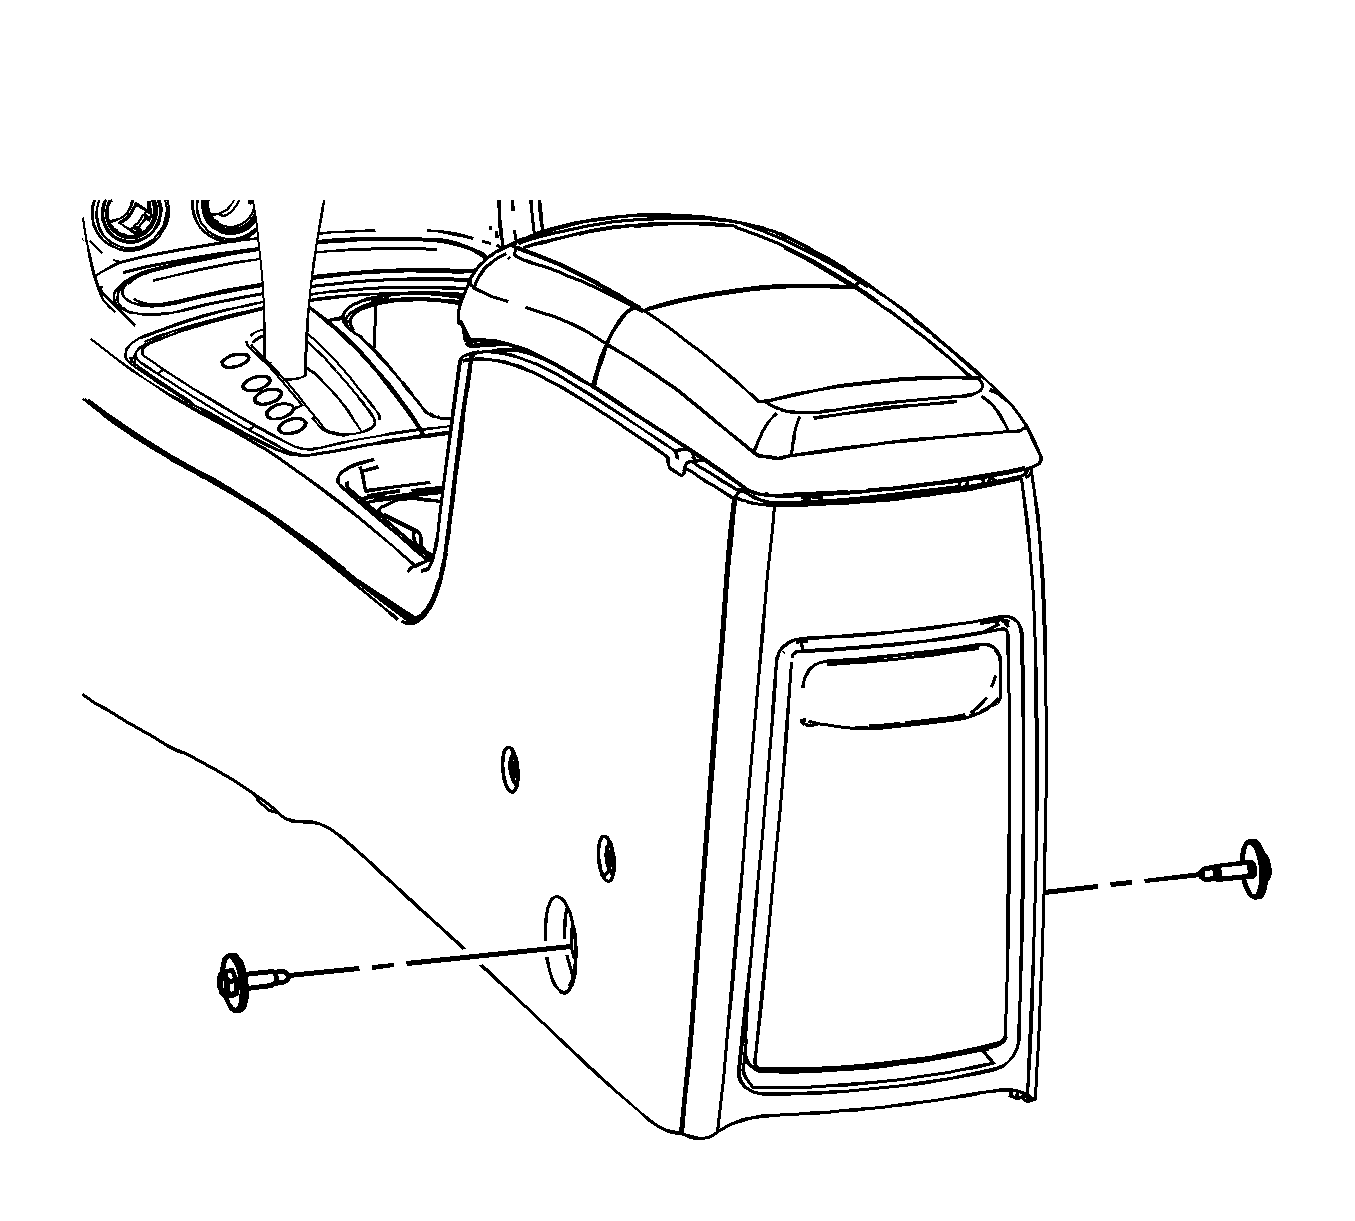
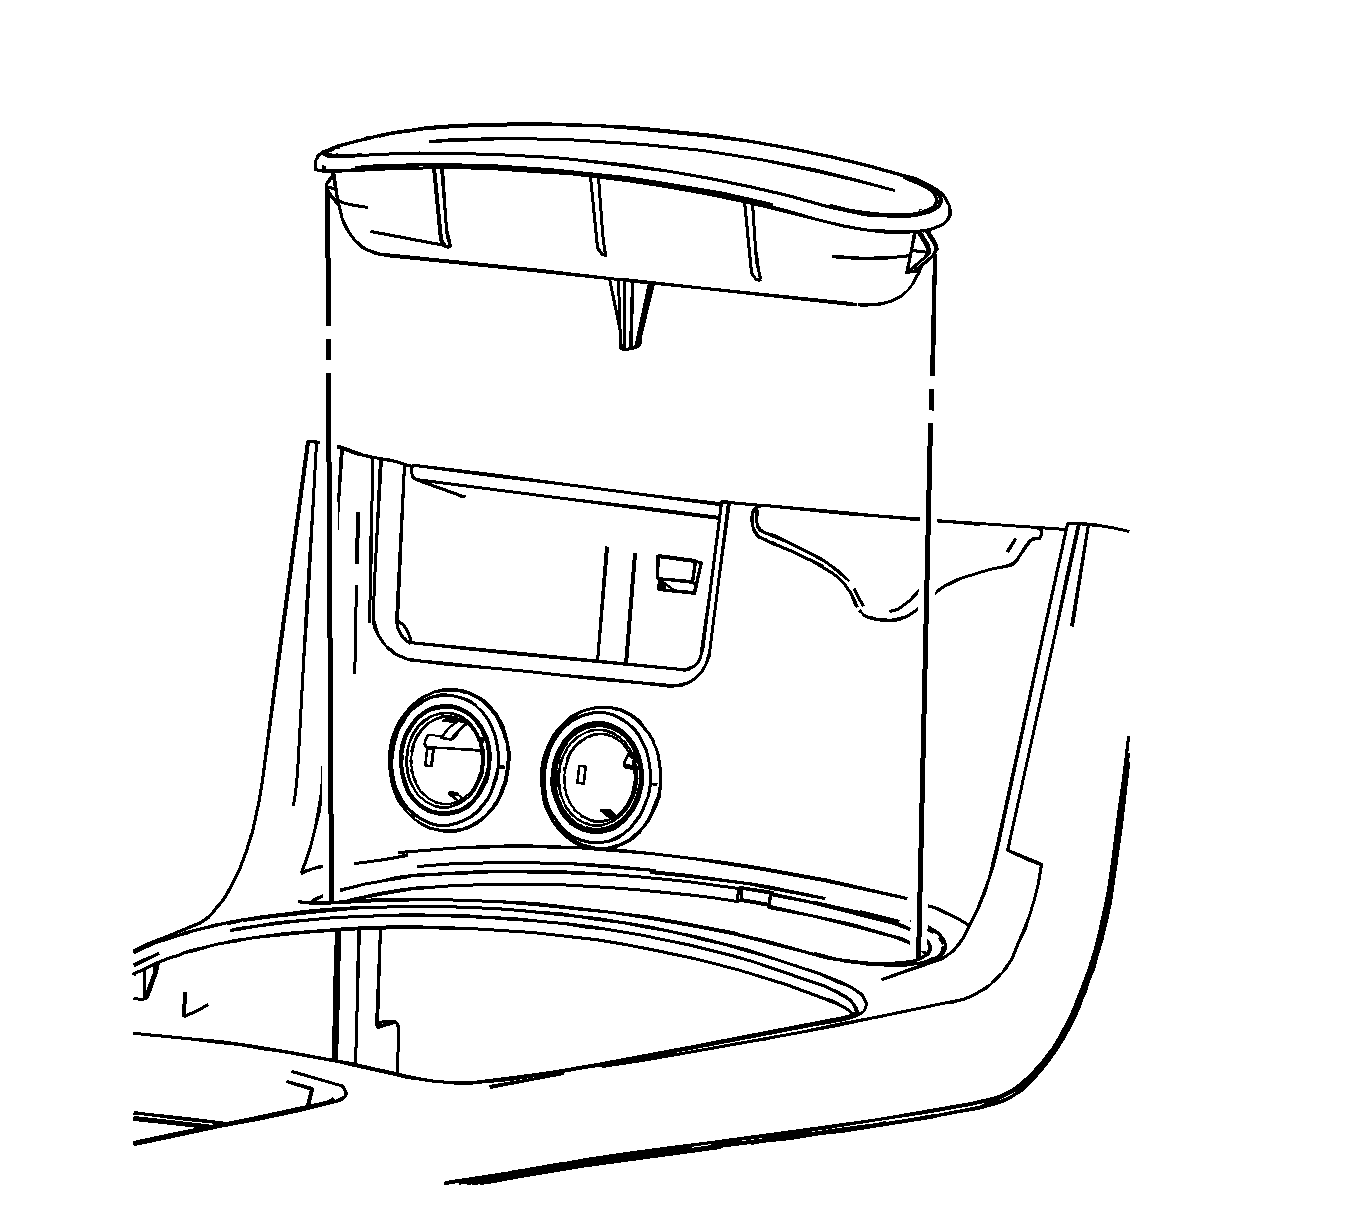
- Remove the right console trim panel. Refer to Front Floor Console Side Trim Panel Replacement - Right Side .
- Remove the left console trim panel. Refer to Front Floor Console Side Trim Panel Replacement - Left Side .
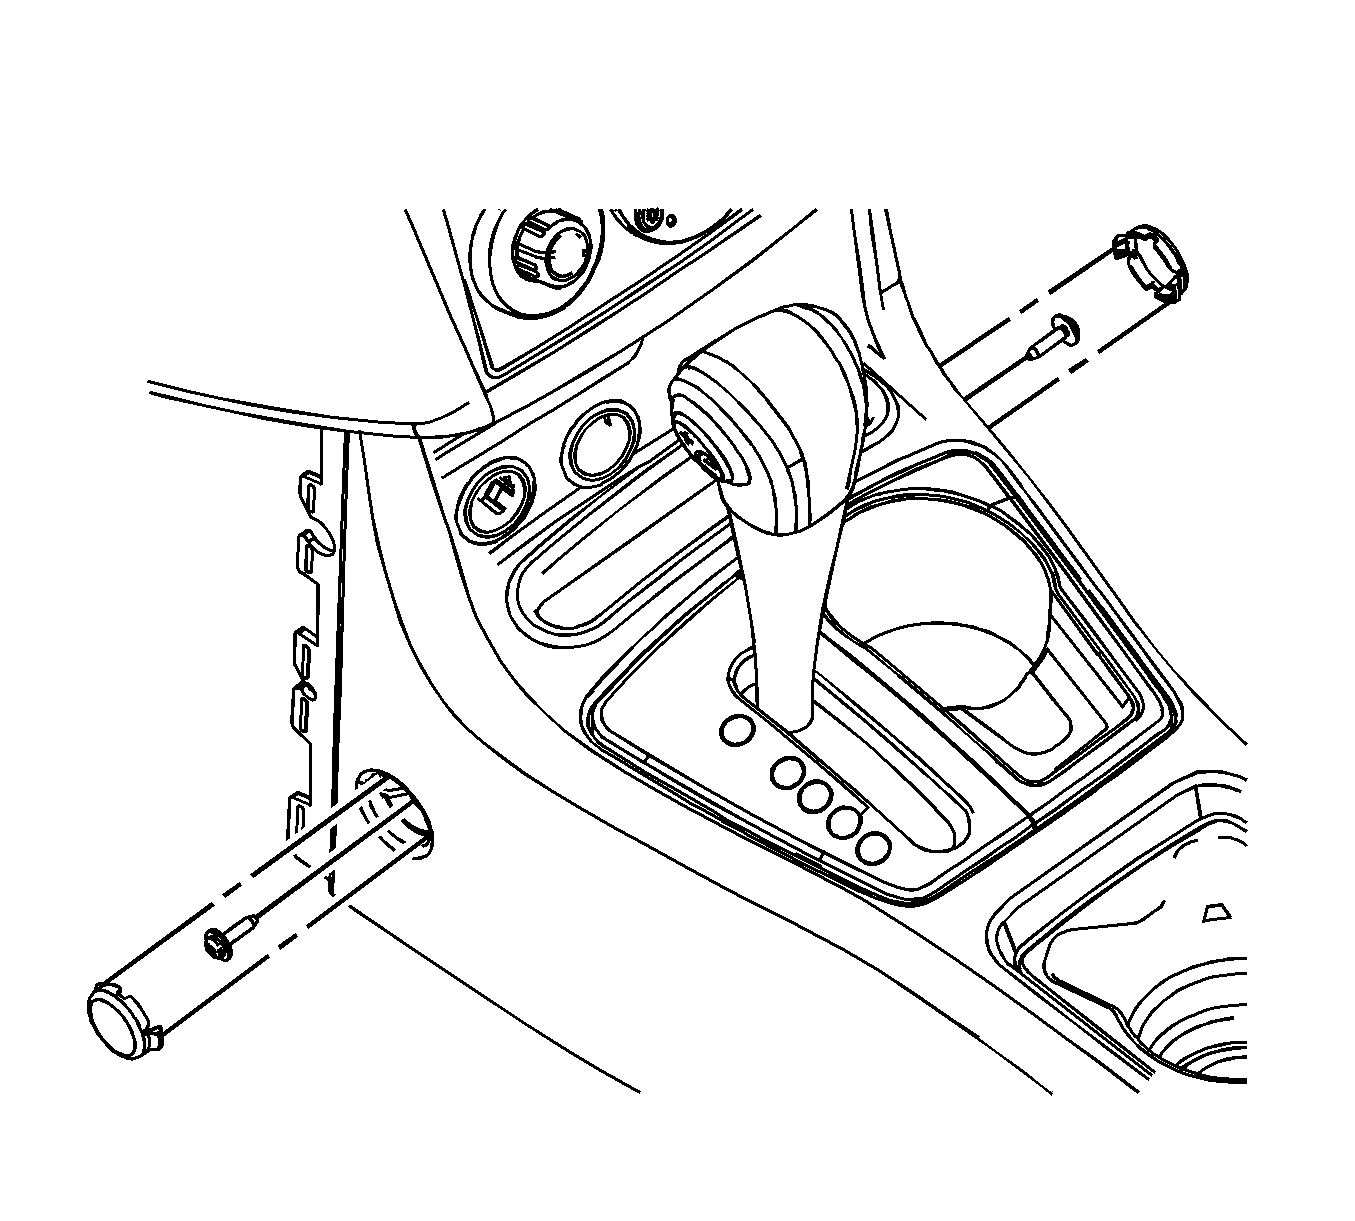
- Remove the front console screw covers from behind the console.
- Remove the front console screws.
- Position the front seats to the full forward position.
- Remove the rear console bolts.
- Place the shifter in drive.
- Remove the pen tray.
- Disconnect the electrical connectors and remove the console.
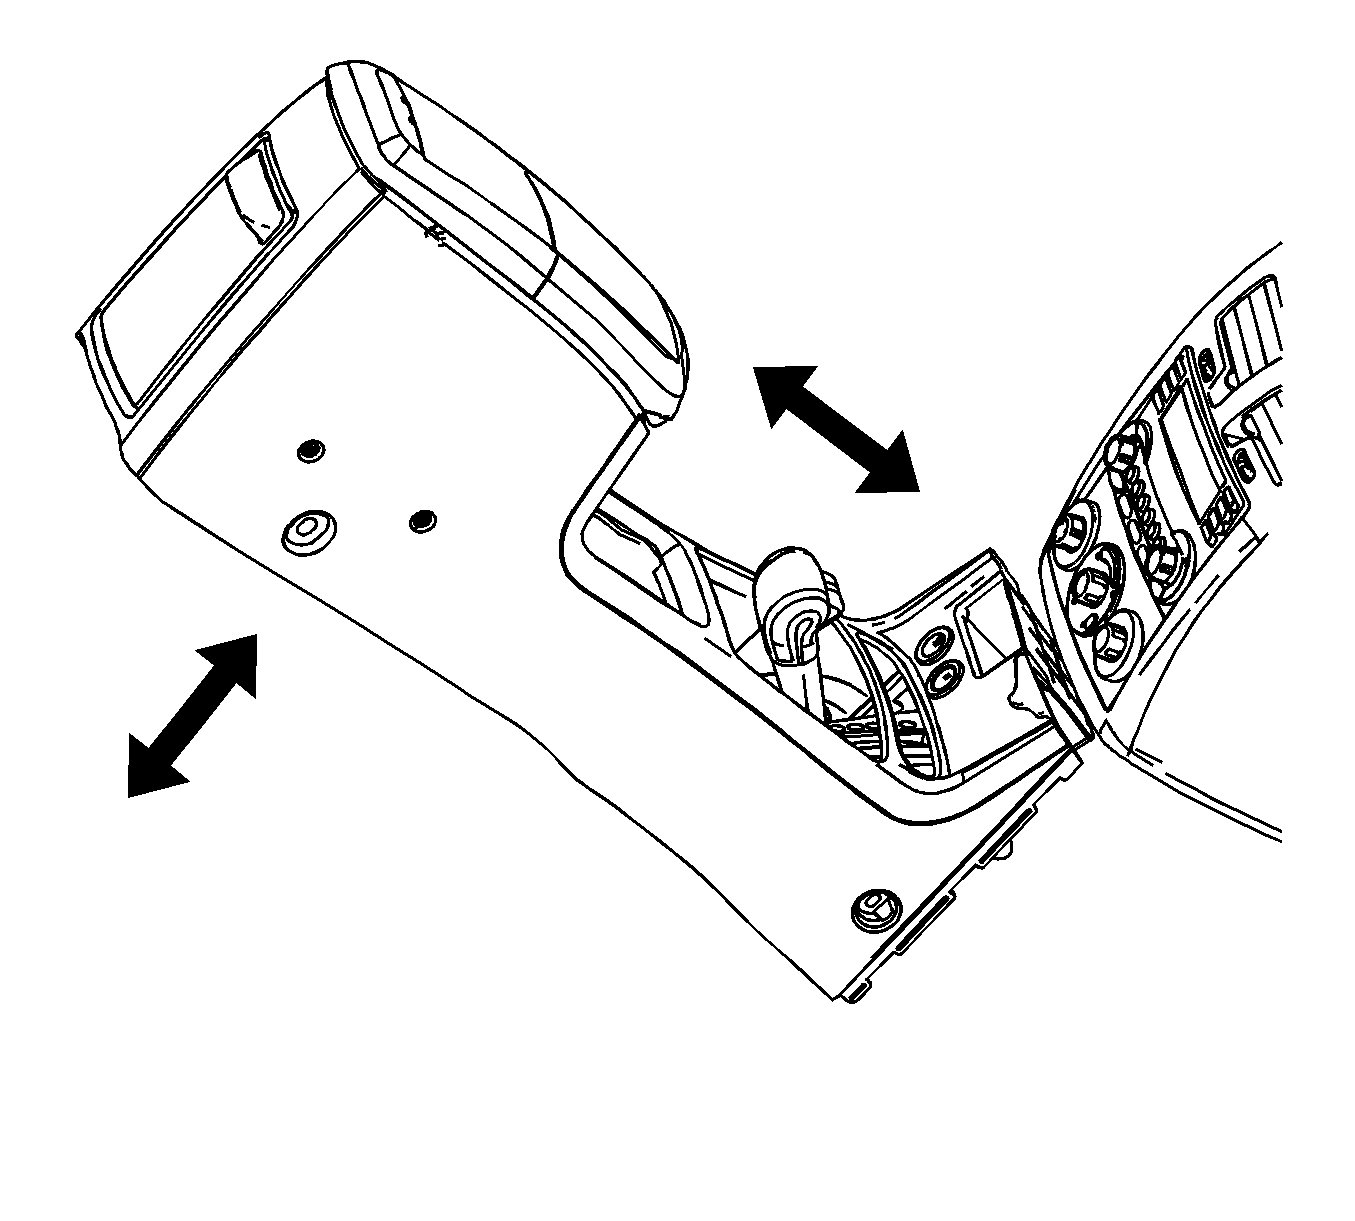
Important: Do not let the console contact the shifter handle or bezel.
Installation Procedure
- Connect the electrical connectors and install the console.
- Install the pen tray.
- Install the rear console bolts.
- Install the front console screws.
- Install the front console screw cover.
- Install the left console trim panel. Refer to Front Floor Console Side Trim Panel Replacement - Left Side .
- Install the right console trim panel. Refer to Front Floor Console Side Trim Panel Replacement - Right Side .
Important: Do not let the console contact the shifter handle or bezel.
Notice: Refer to Fastener Notice in the Preface section.
Tighten
Tighten the bolts to 1 N·m (10 lb in).
Tighten
Tighten the bolts to 1 N·m (10 lb in).
