For 1990-2009 cars only
Seat Cushion Outer Trim Panel Replacement LHD
Removal Procedure
- Disconnect the battery ground cable from the battery. Refer to Battery Negative Cable Disconnection and Connection .
- Remove the front seat. Refer to Front Seat Replacement - Bucket .
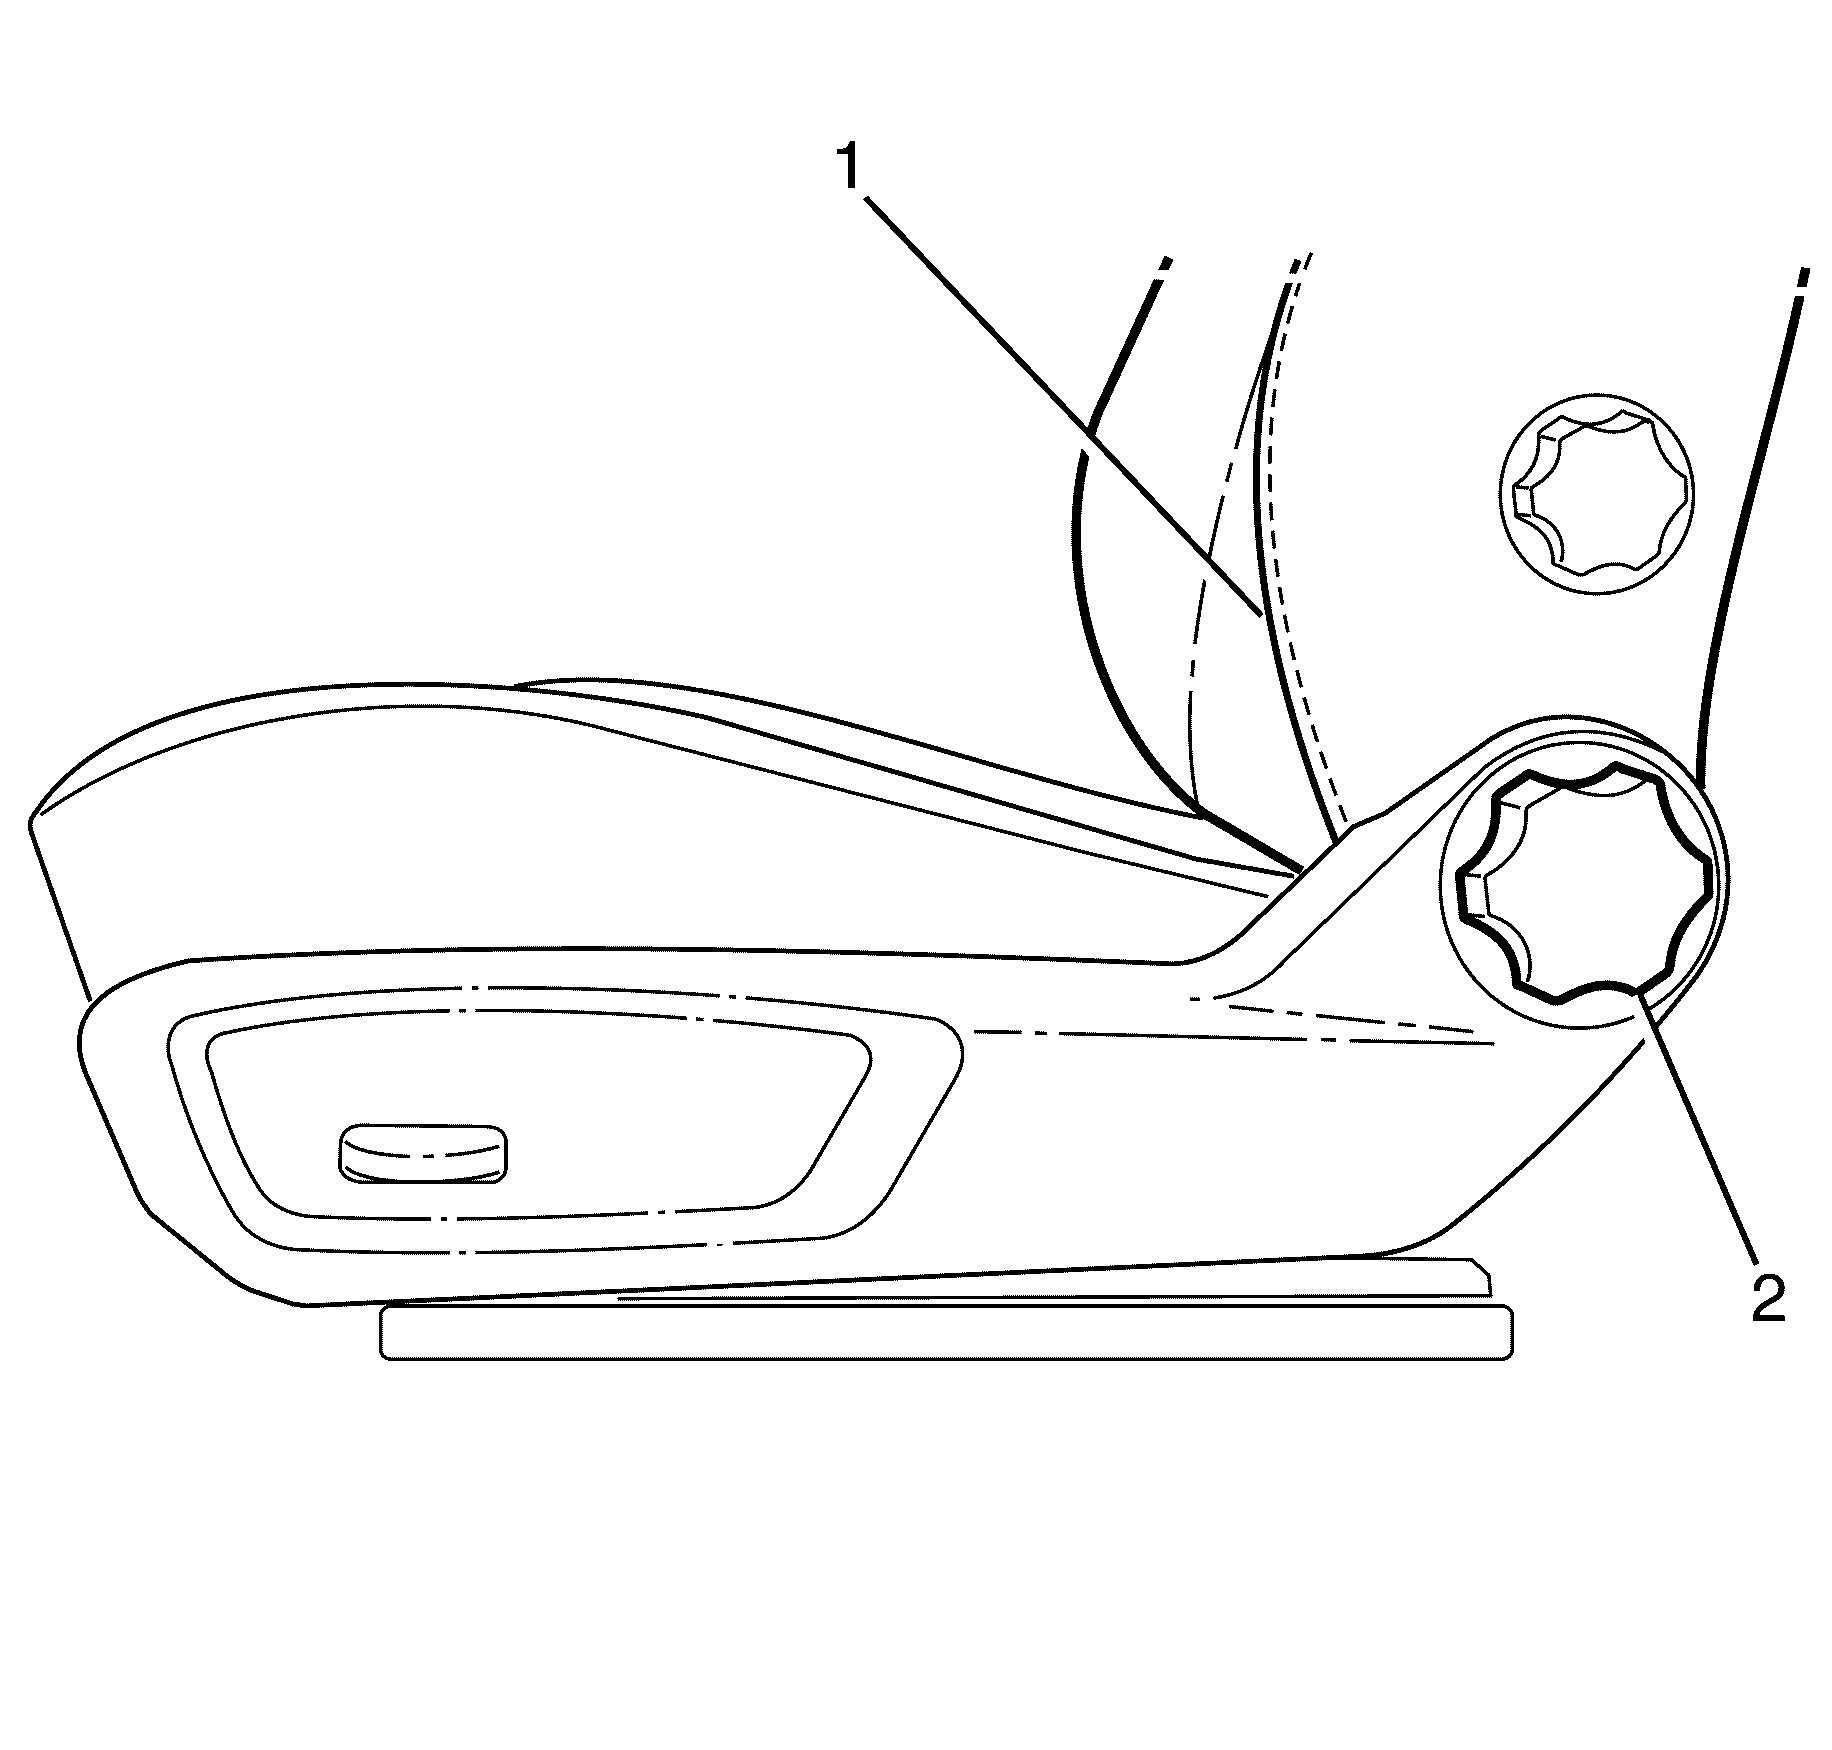
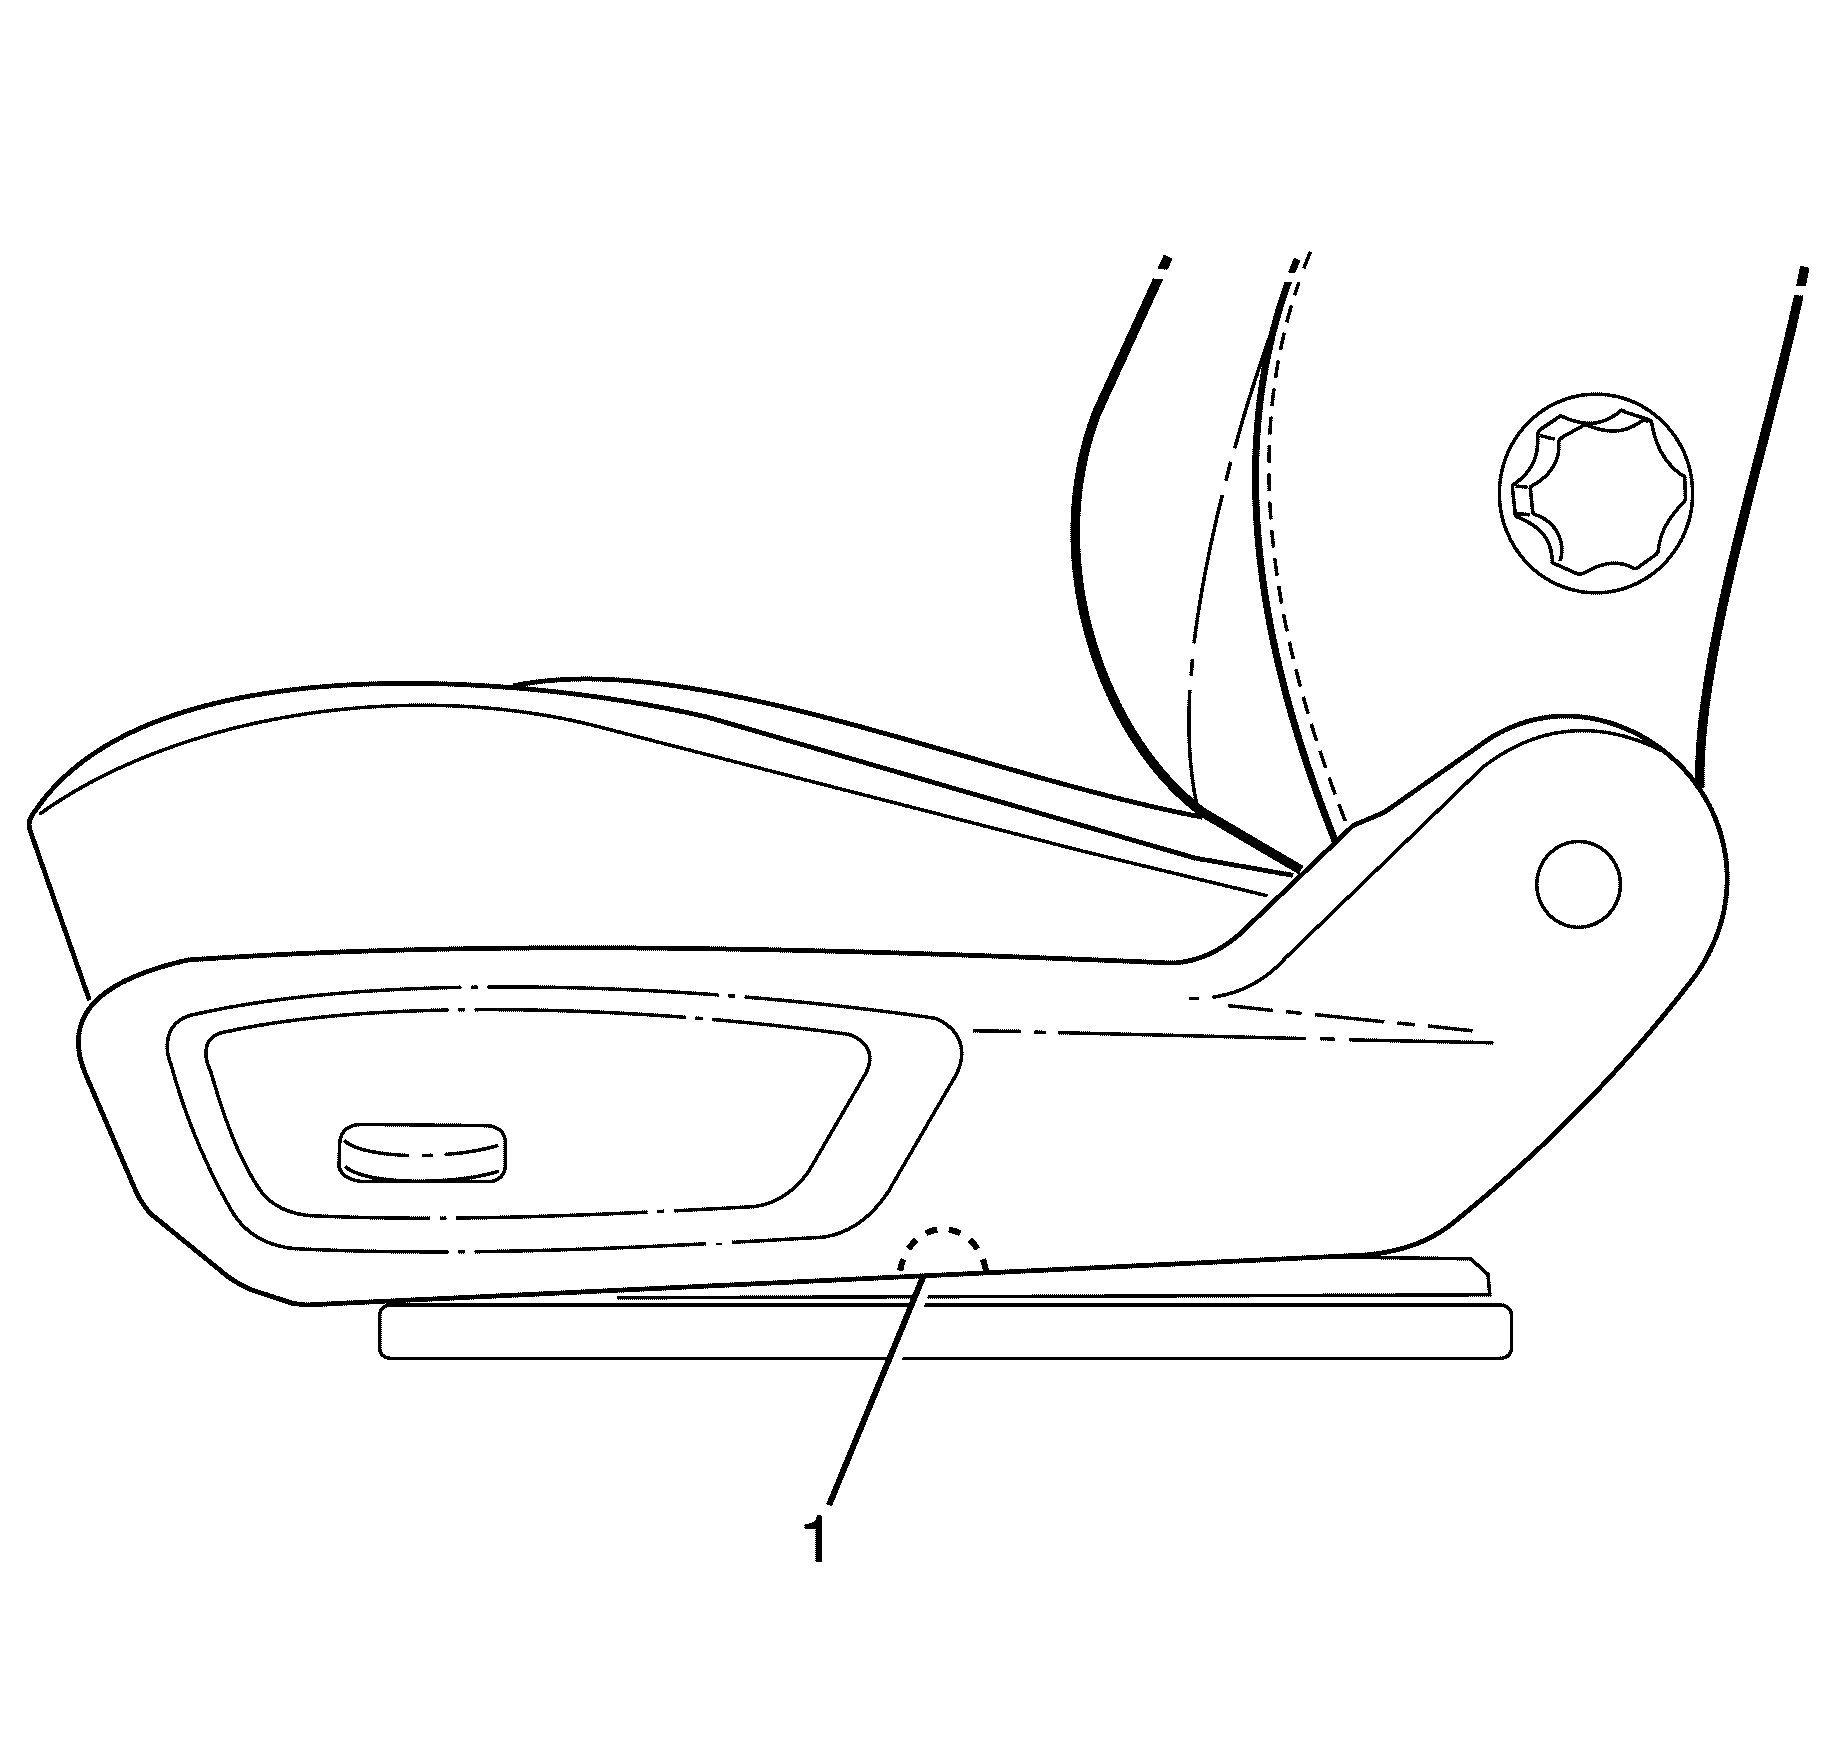
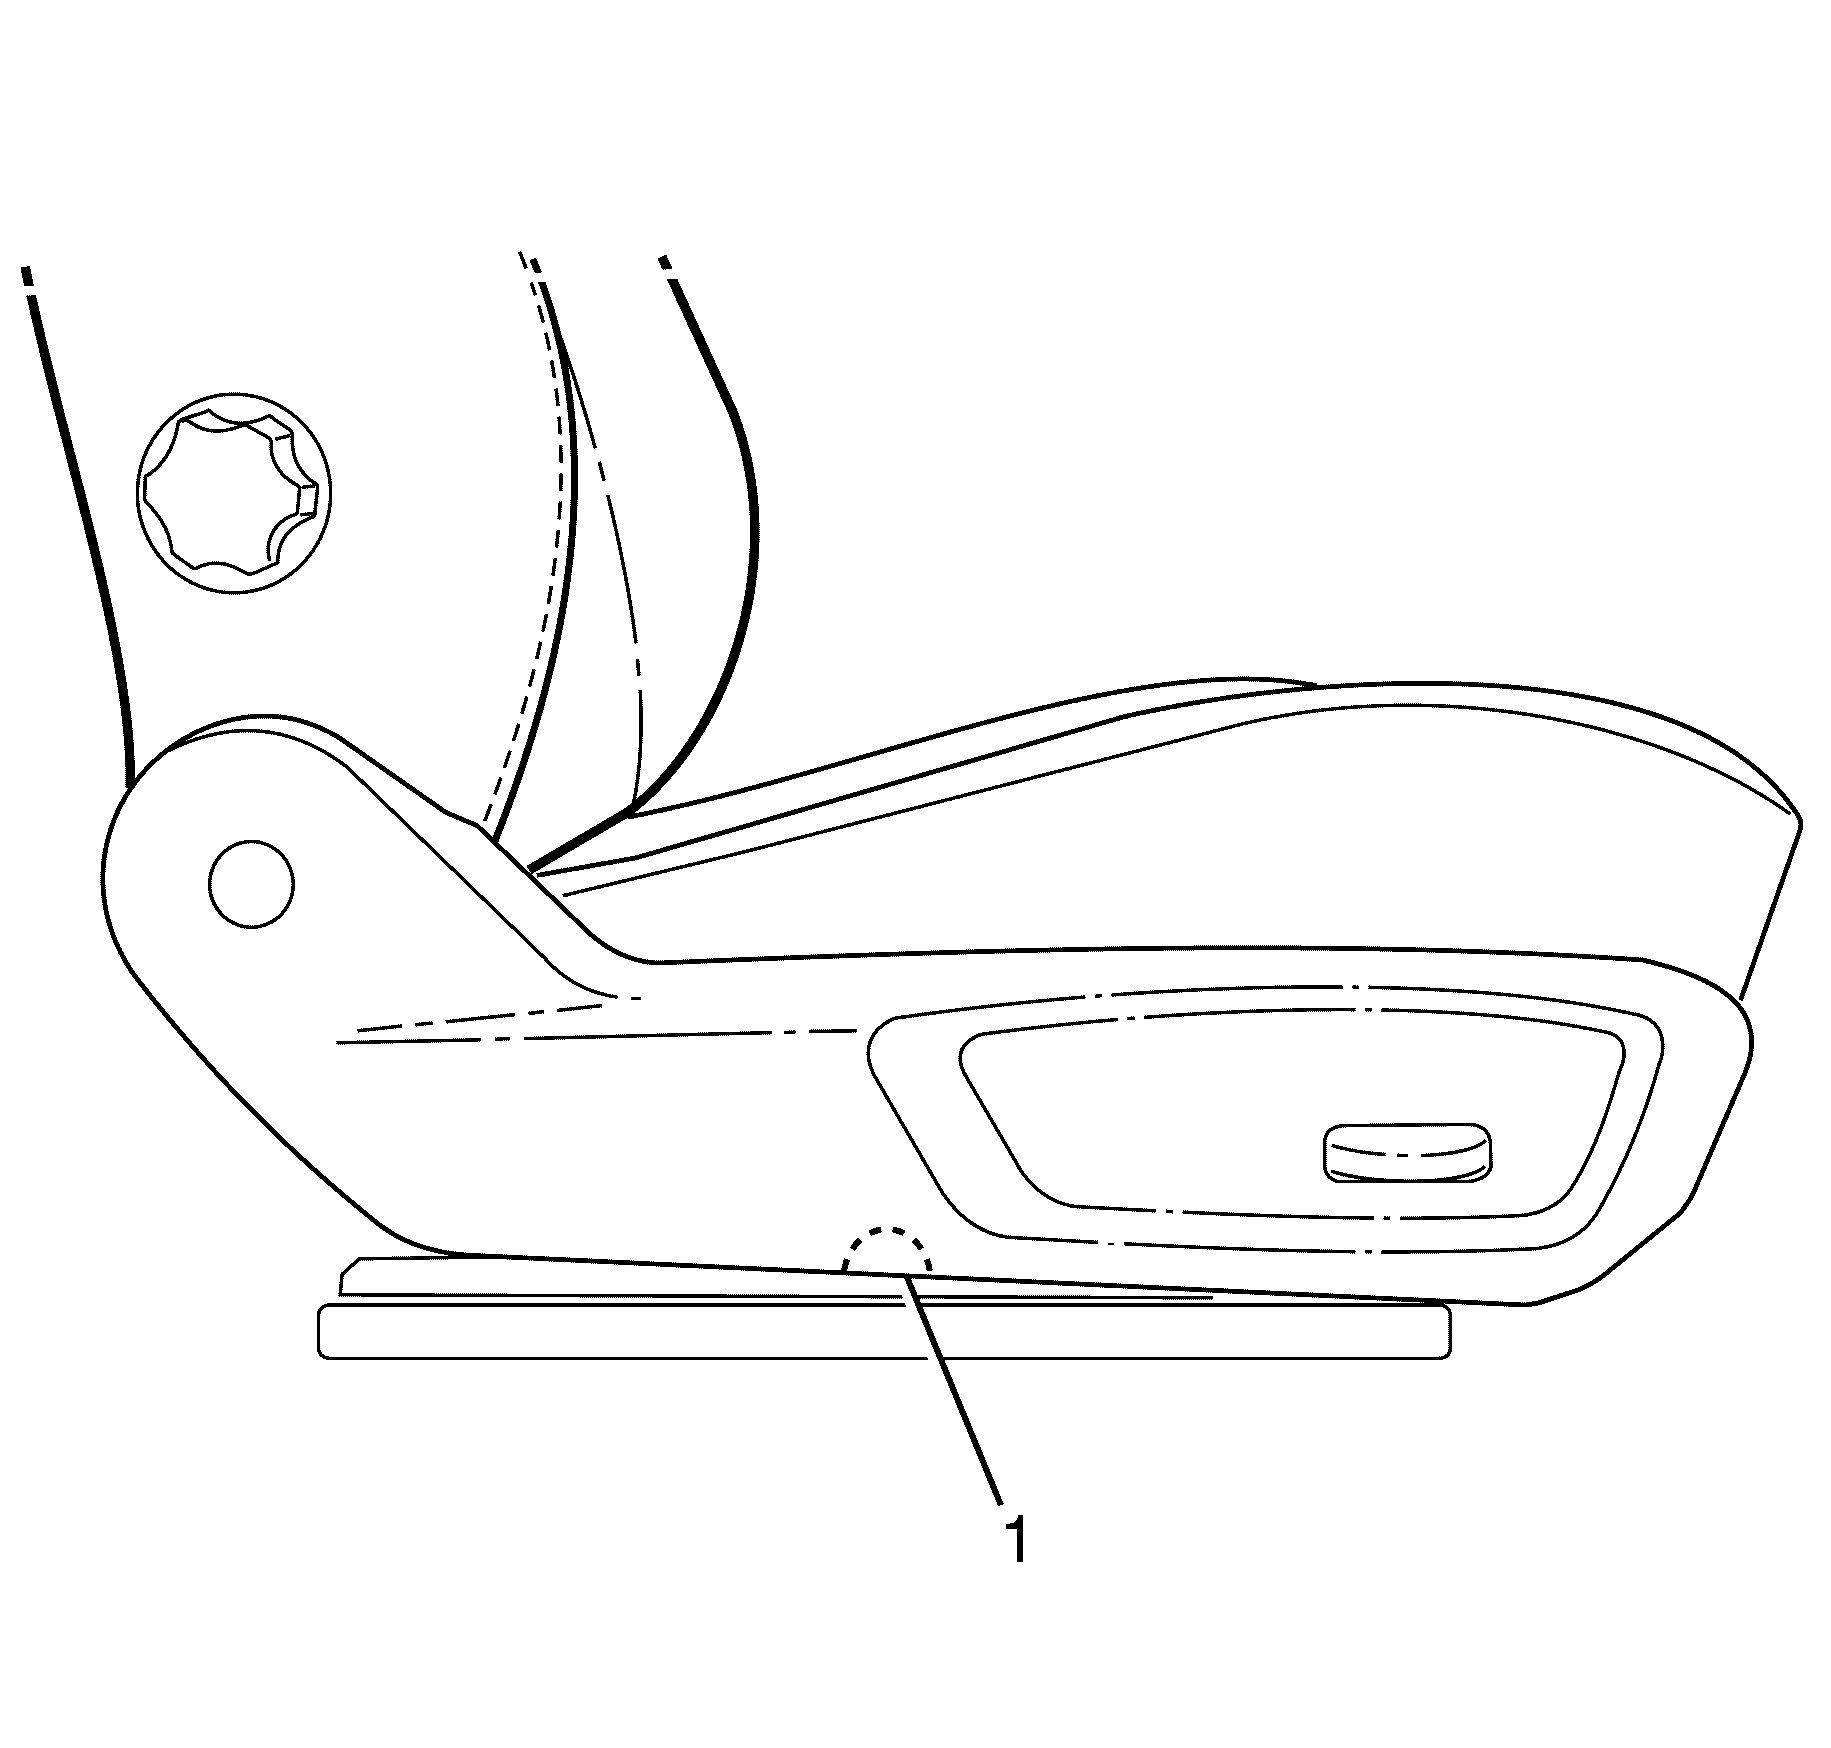
- Using a suitable flat blade tool, gently pry off the adjusting knob (2) from the seat back (1).
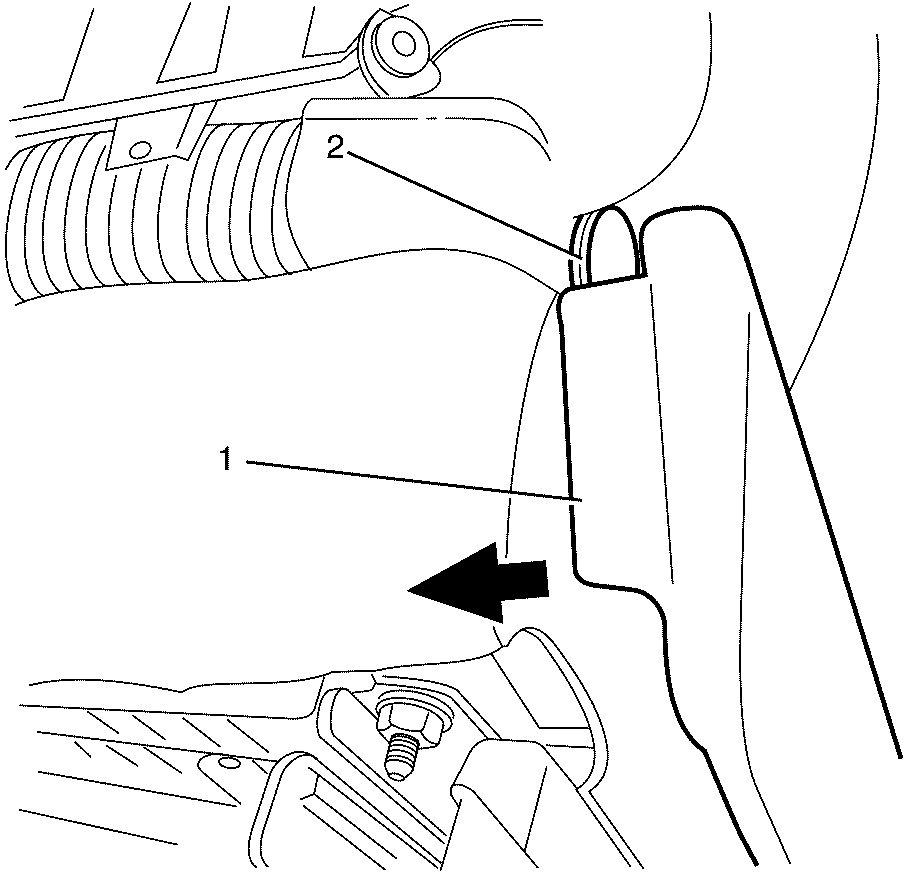
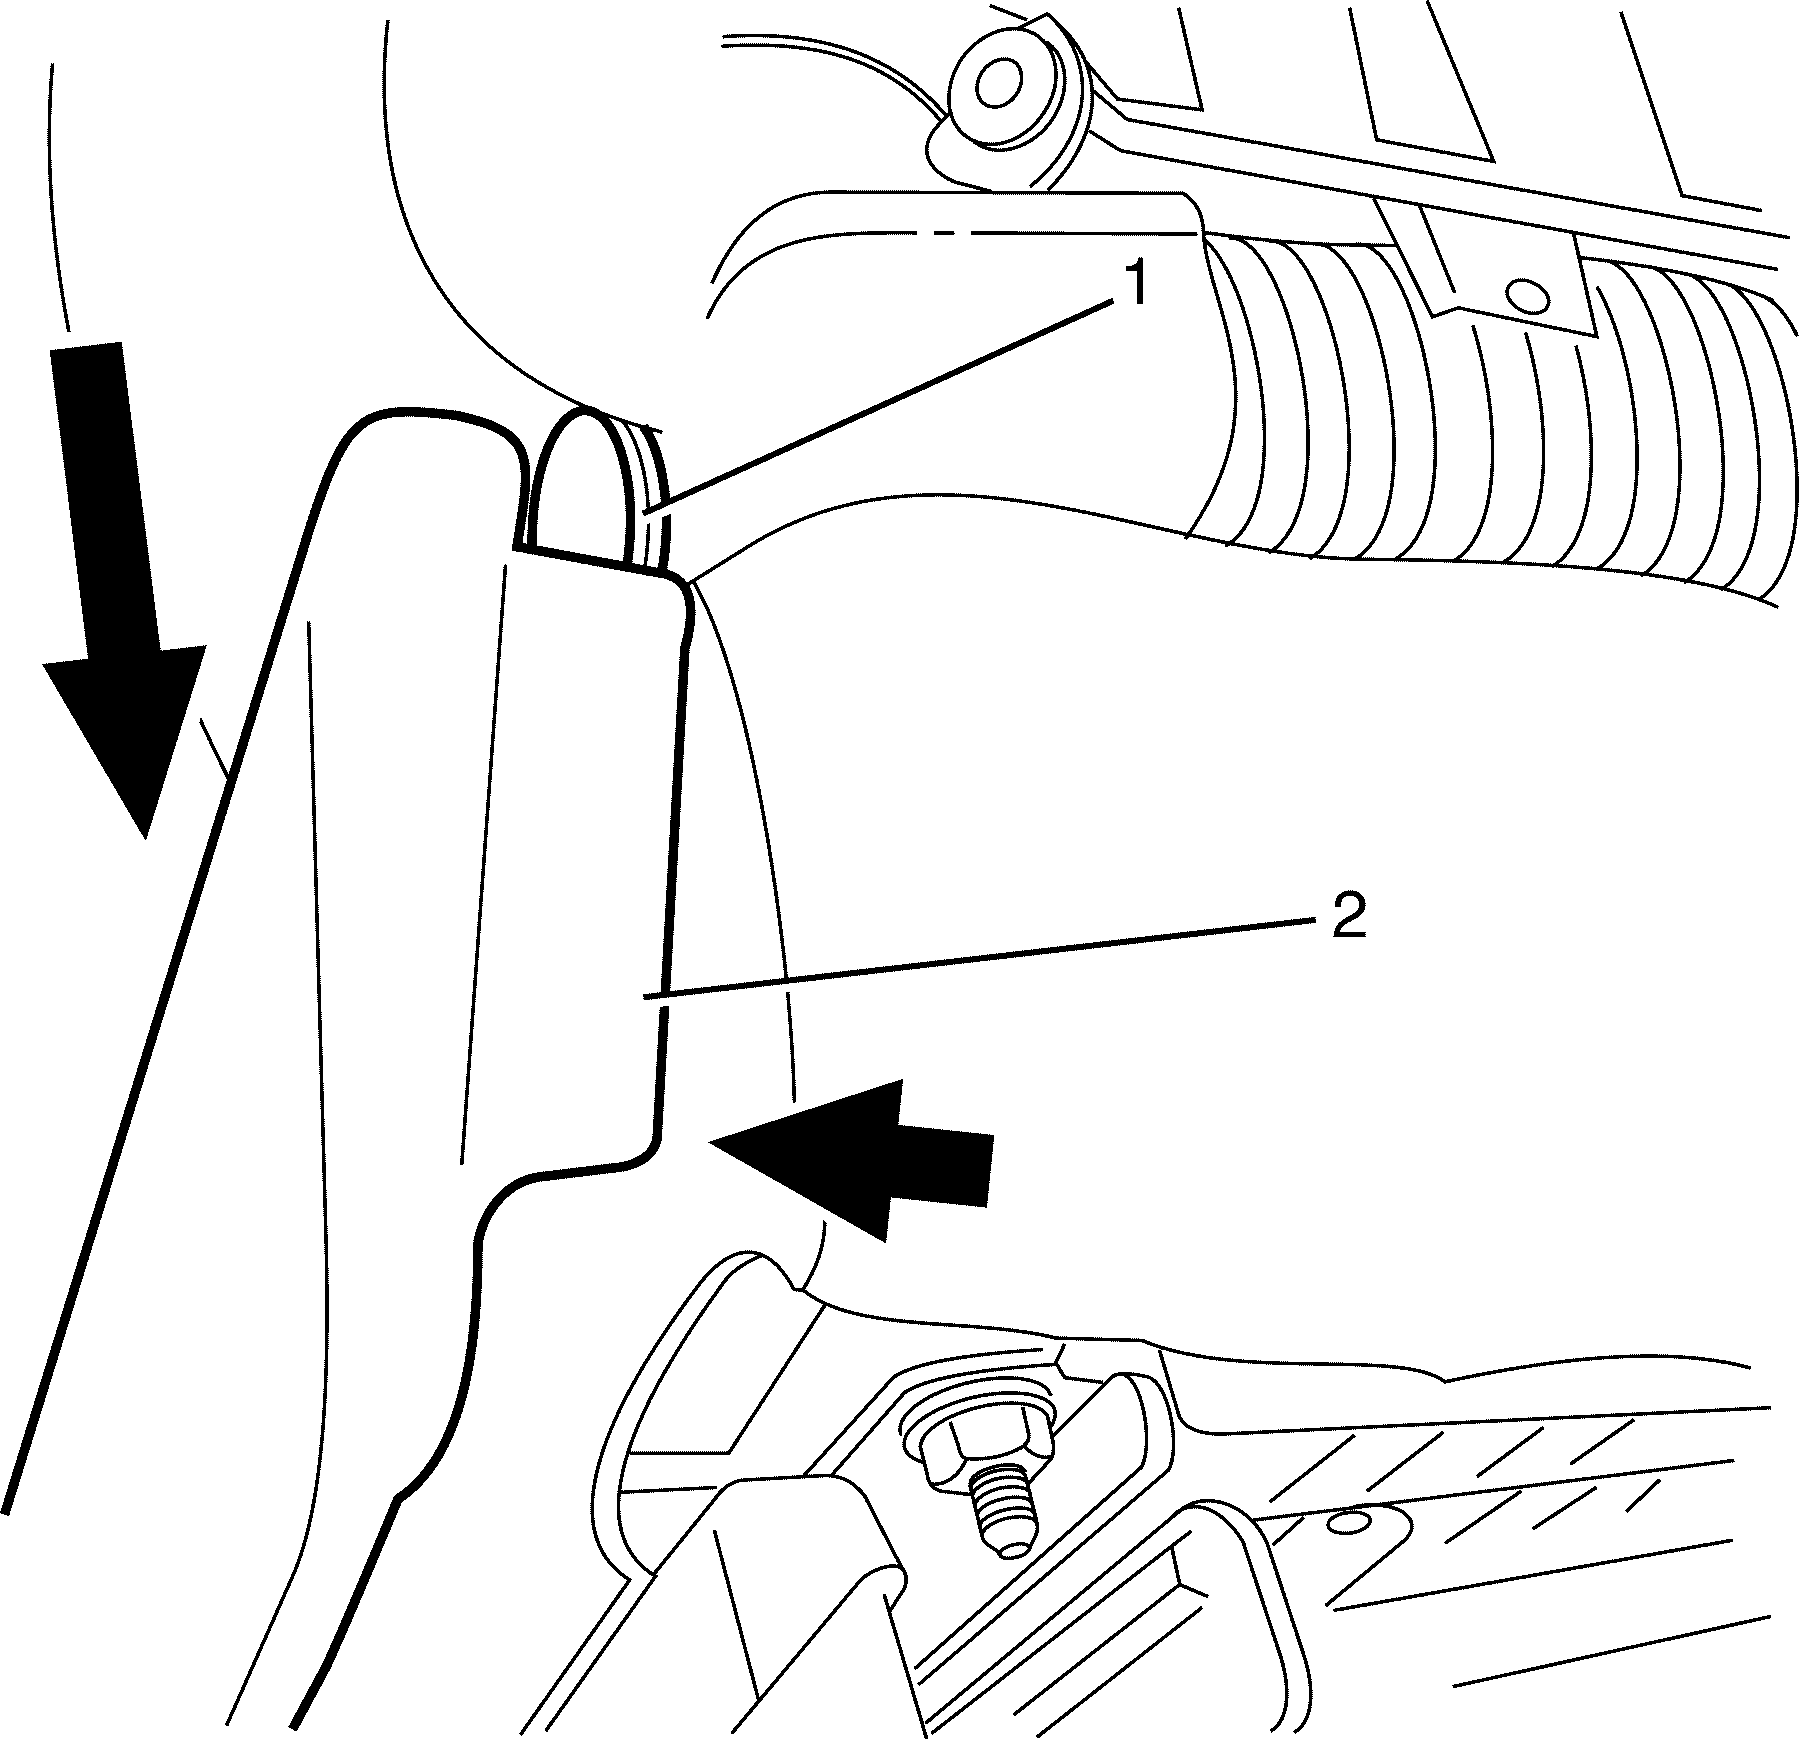
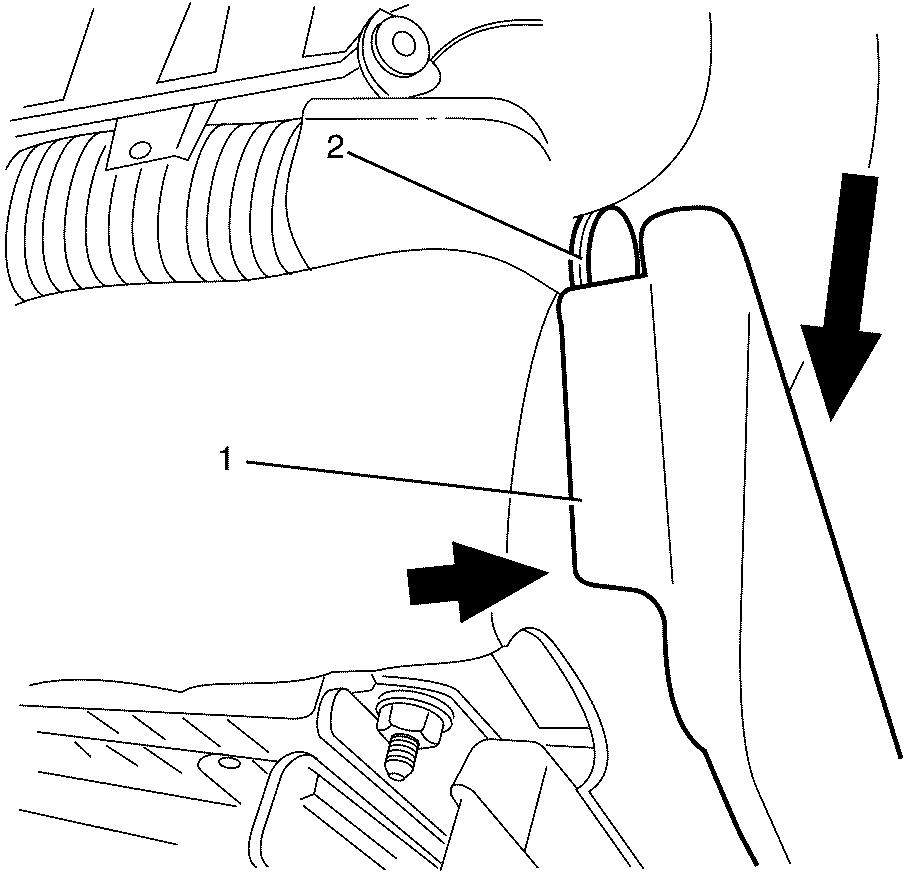
- Detach the rear of the outer trim panel (2) from the hinge assembly (1), by pushing the side cover down, and prying the bottom of the cover away from the hinge assembly.
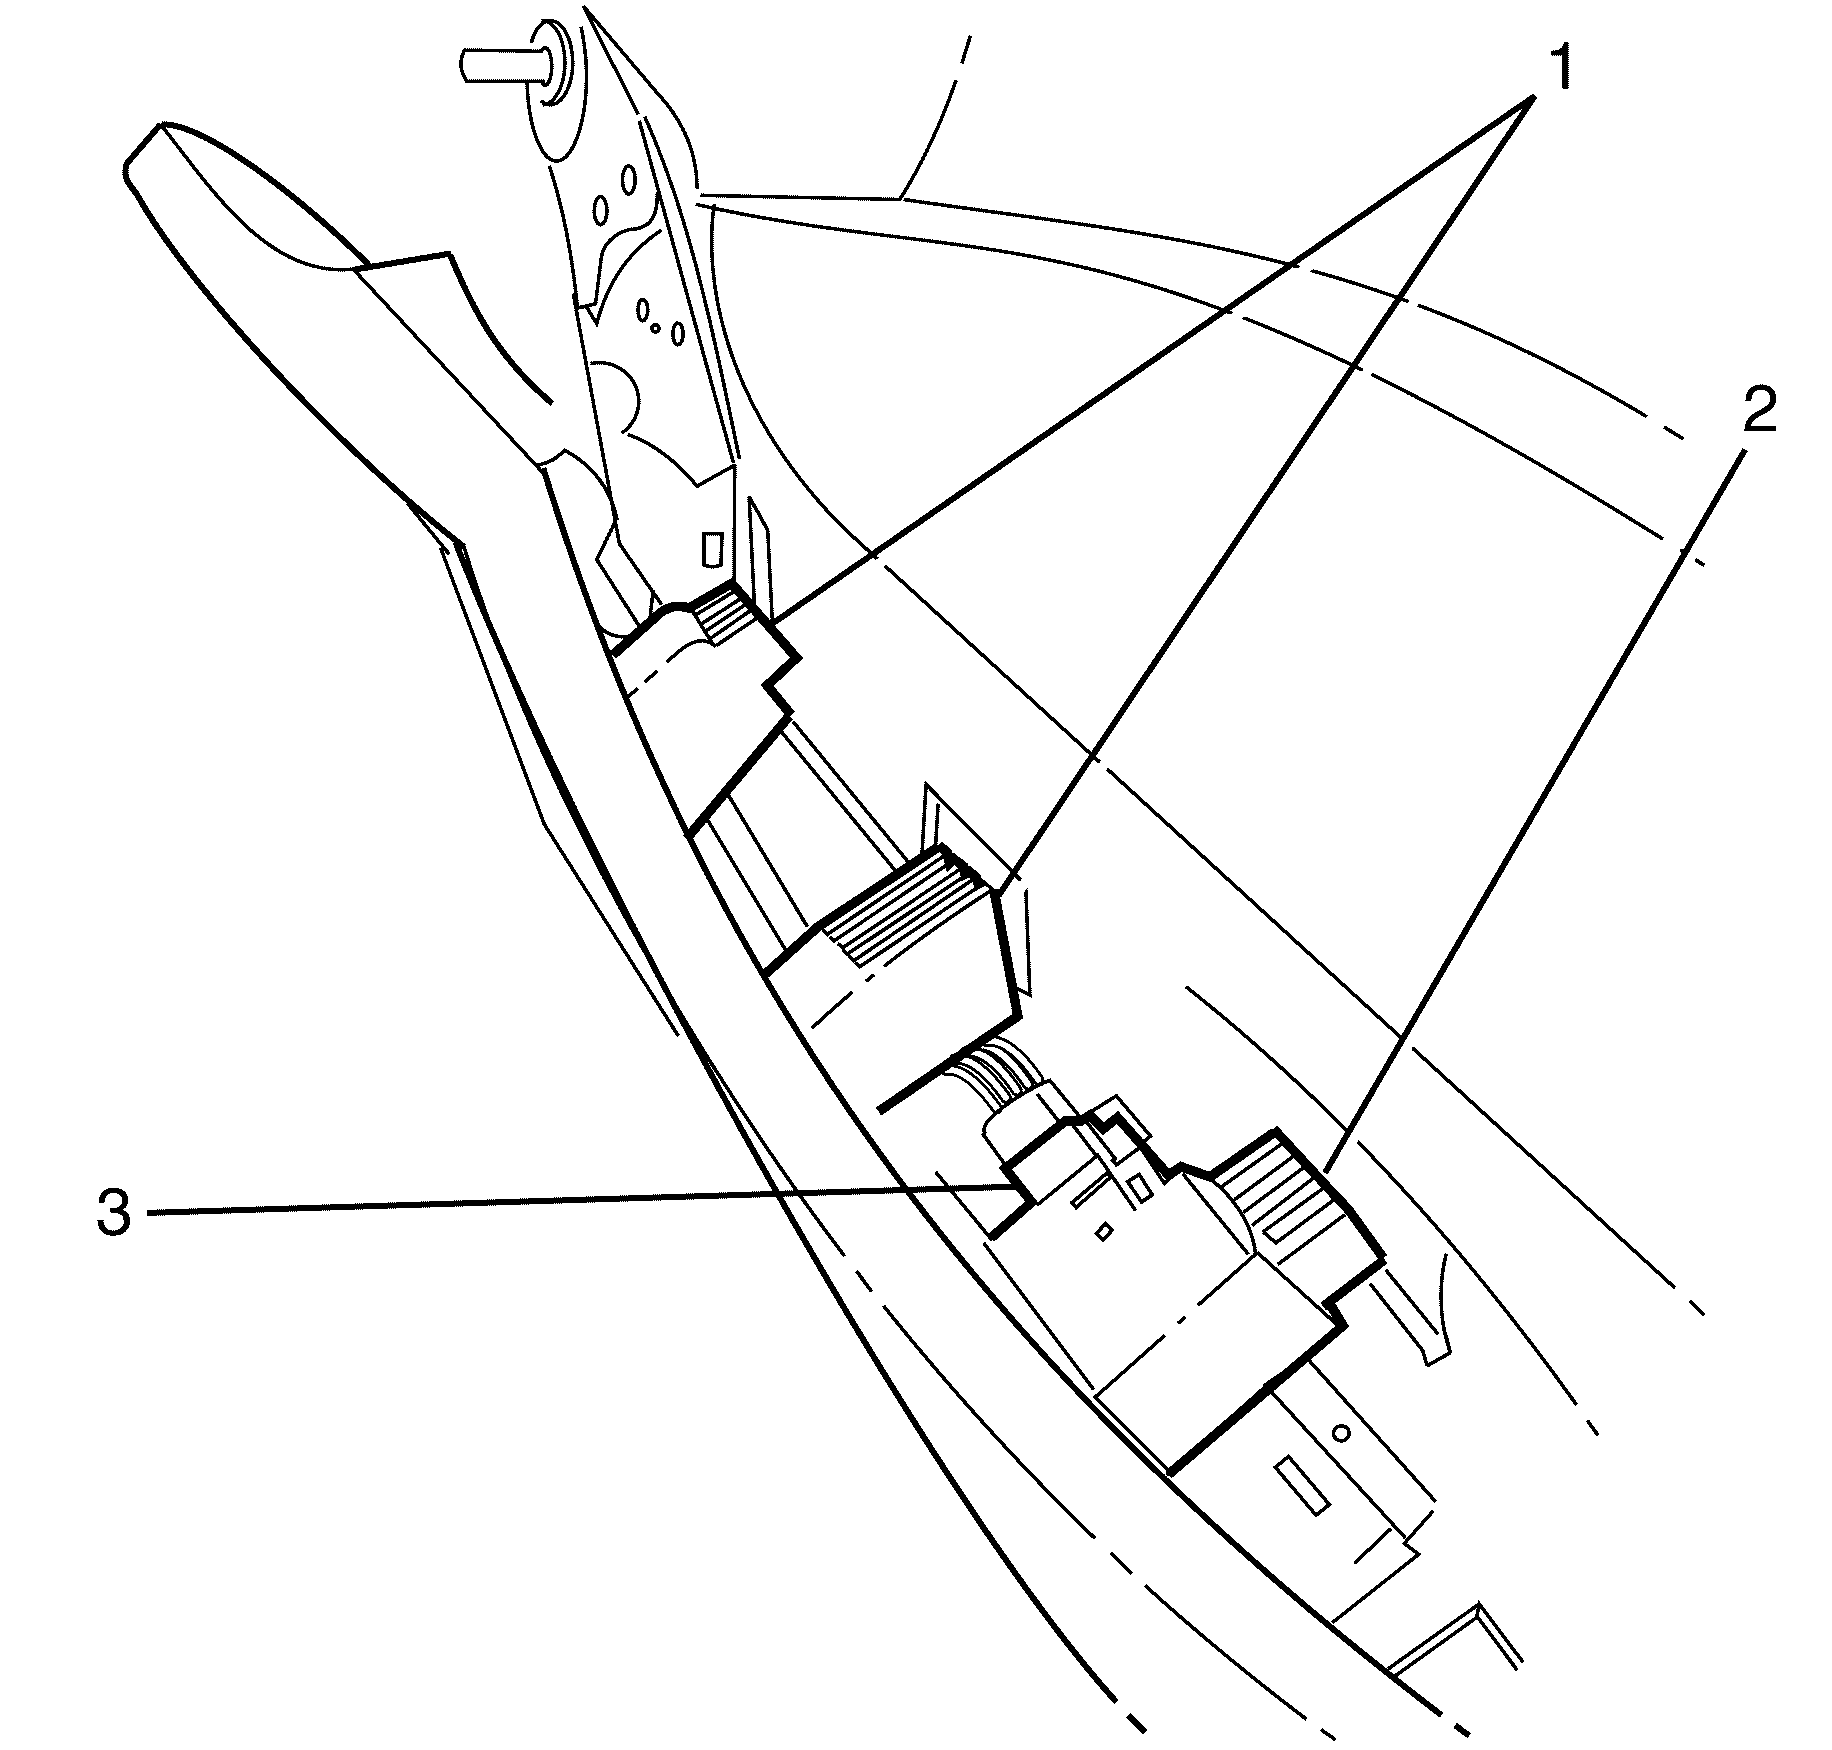
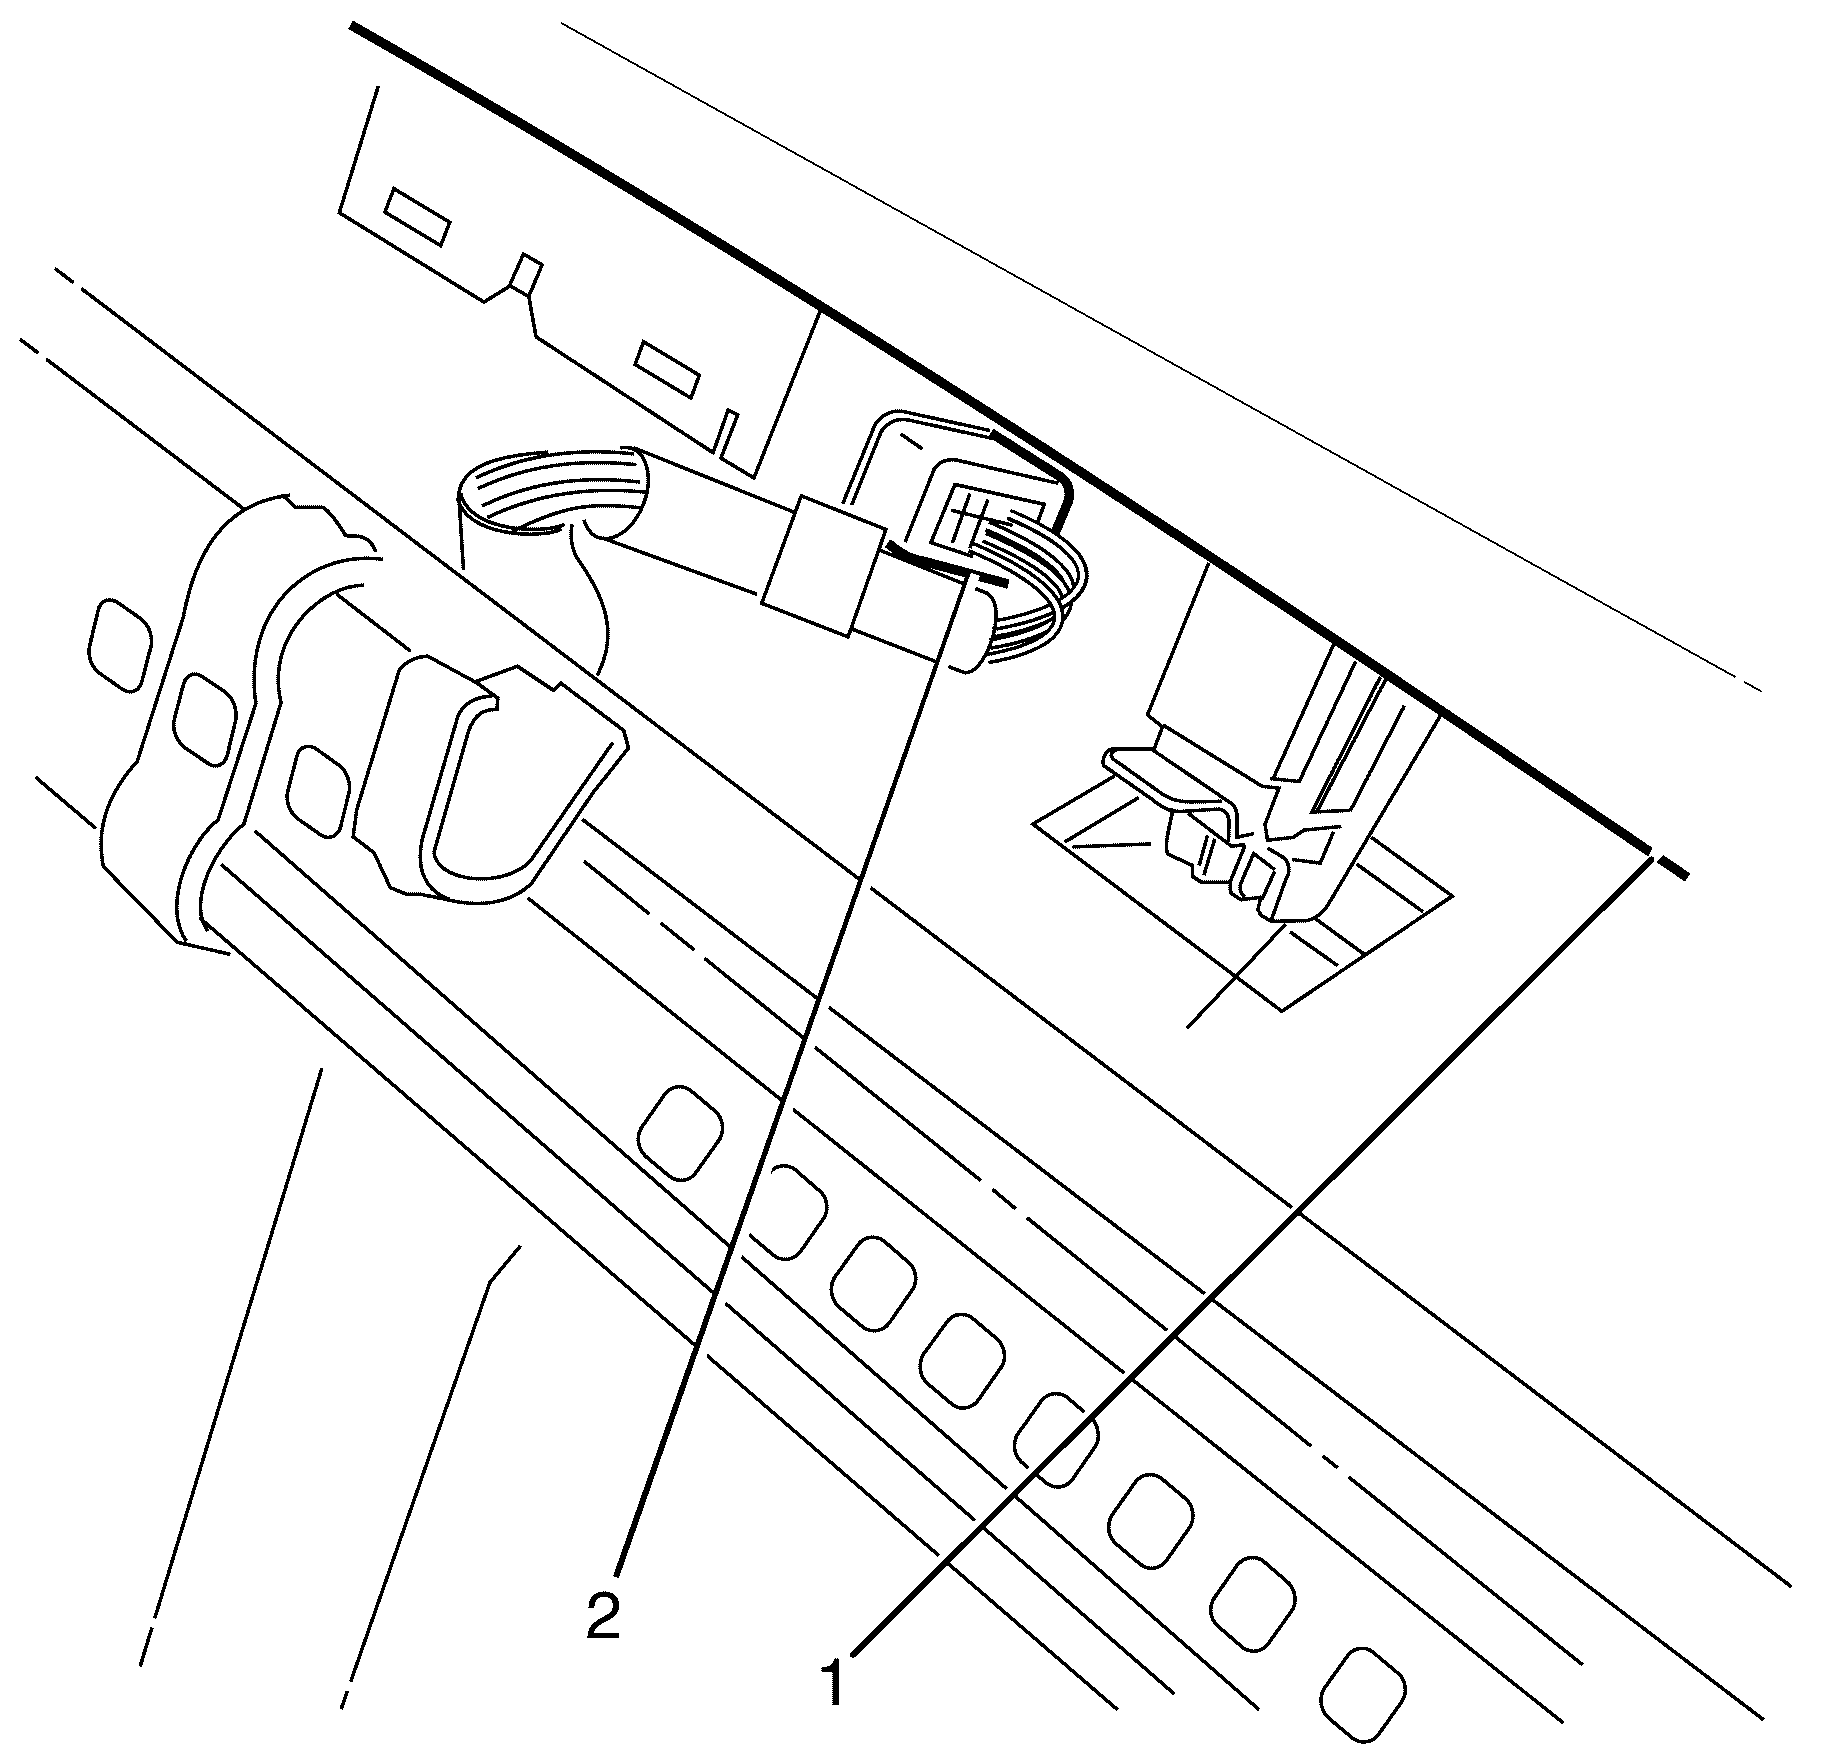
- Using your finger press the trim panel retaining tang (1) down and slide the trim towards the front of the seat.
- Disconnect the seat switch electrical connector (2).
- Remove the outer trim panel (1).
Caution: Refer to Battery Disconnect Caution in the Preface section.
Installation Procedure
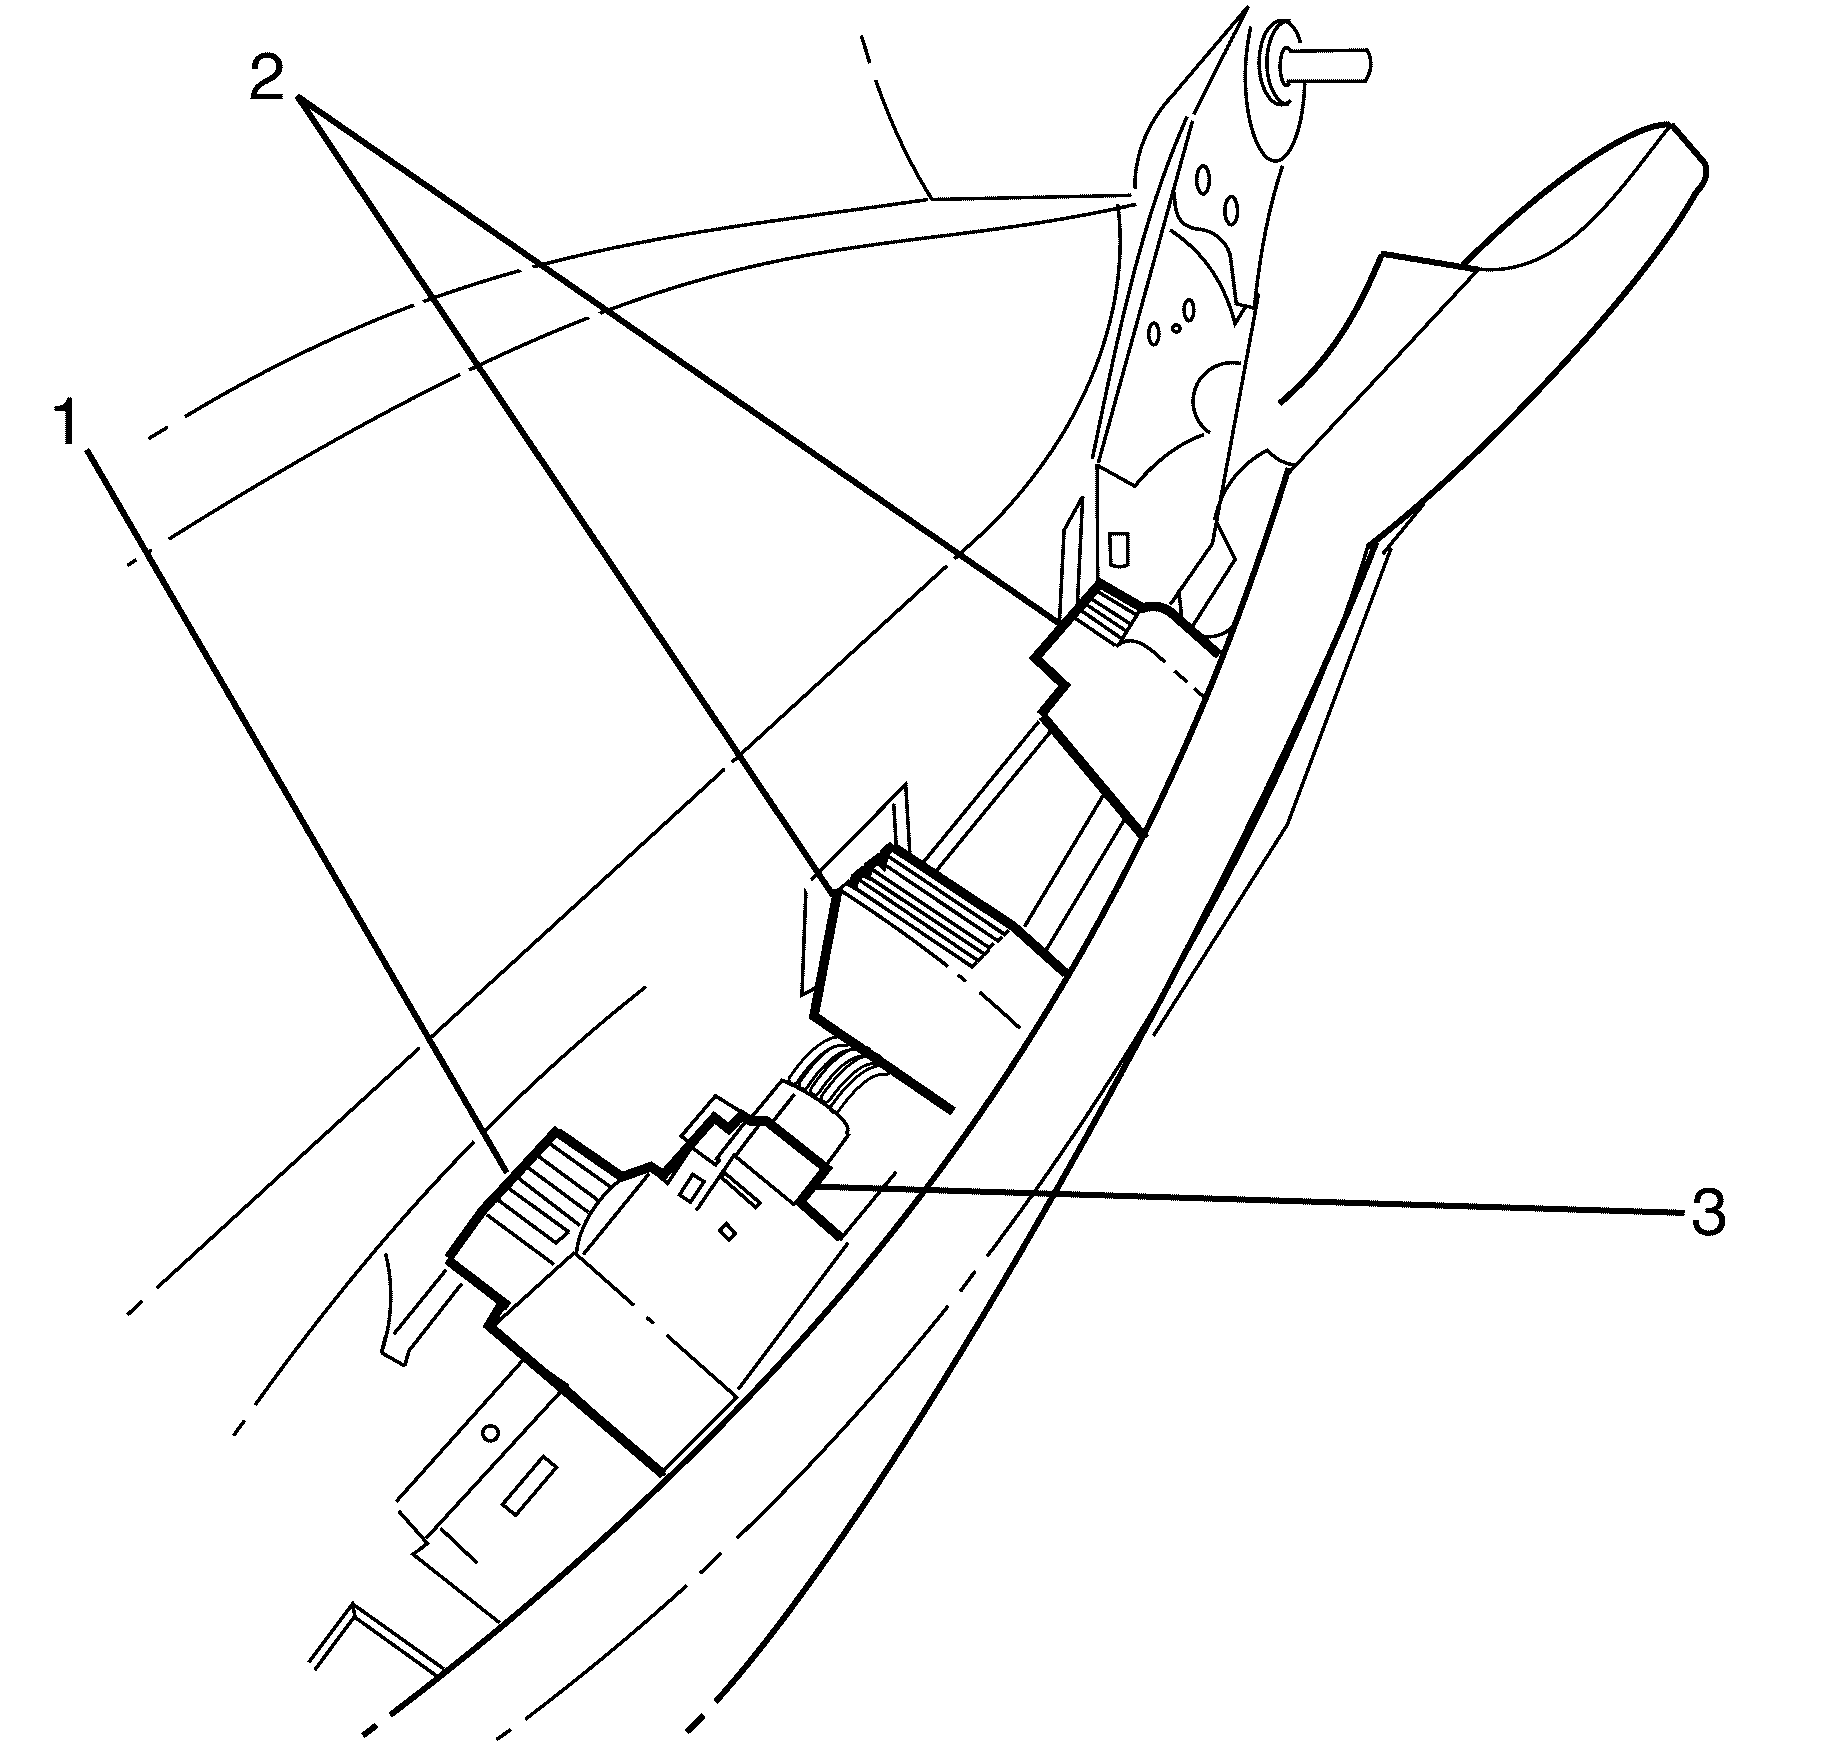
- Connect the seat switch electrical connector (3).
- Locate front tab (1), then middle and rear (2).
- Push outer trim panel towards cushion and slide towards rear of seat.
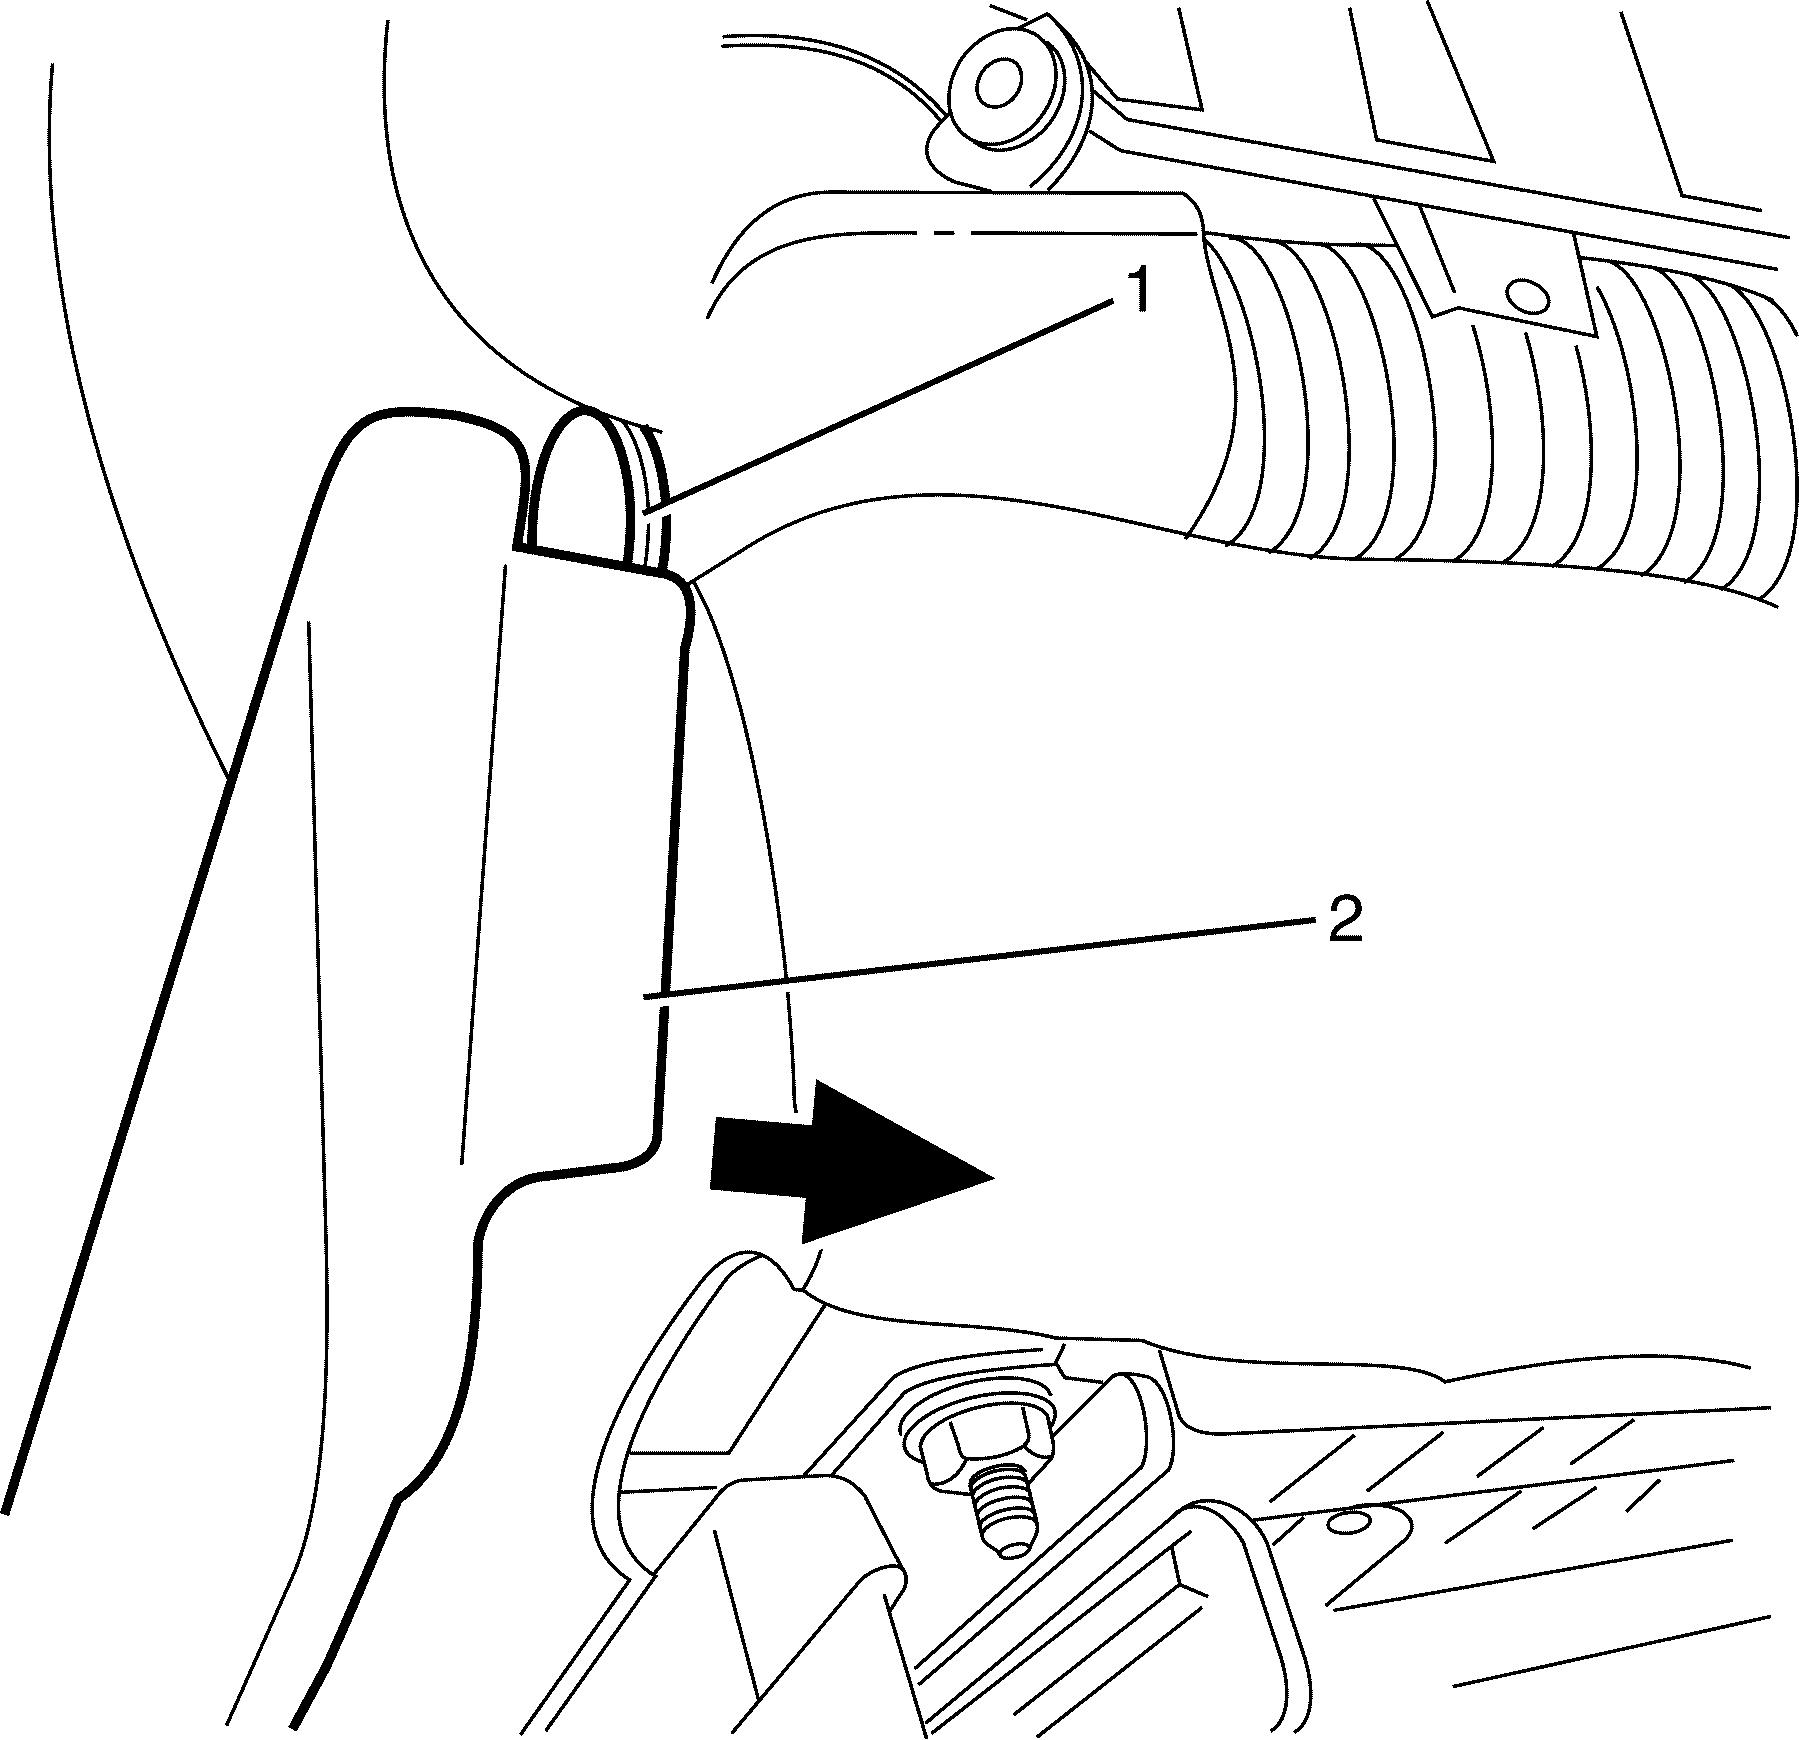
- Attach the rear or the outer trim panel (2) to the hinge assembly (1).
- Firmly push the adjusting knob on to the adjusting shaft.
- Install the front seat. Refer to Front Seat Replacement - Bucket .
- Connect the battery ground cable from the battery. Refer to Battery Negative Cable Disconnection and Connection .
- Test the seat for correct mechanical and electrical operation.
Seat Cushion Outer Trim Panel Replacement RHD
Removal Procedure
- Disconnect the battery ground cable from the battery. Refer to Battery Negative Cable Disconnection and Connection .
- Remove the front seat. Refer to Front Seat Replacement - Bucket .
- Using a suitable flat blade tool, gently pry off the adjusting knob (1) from the seat back (2).
- Detach the rear of the outer trim panel (1) from the hinge assembly (2), by pushing the side cover down, and prying the bottom of the cover away from the hinge assembly.
- Using your finger press the trim panel retaining tang (1) down and slide the trim towards the front of the seat.
- Disconnect the electrical connector (1).
- Remove the outer trim panel (2).
Caution: Refer to Battery Disconnect Caution in the Preface section.


Installation Procedure
- Connect the electrical connector (3).
- Locate front tab (2), then middle and rear (1).
- Push outer trim panel towards cushion and slide towards rear of seat.
- Attach the rear or the outer trim panel (1) to the hinge assembly (2).
- Firmly push the adjusting knob on to the adjusting shaft.
- Install the front seat. Refer to Front Seat Replacement - Bucket .
- Connect the battery ground cable to the battery. Refer to Battery Negative Cable Disconnection and Connection .
- Test the seat for correct mechanical and electrical operation.