Video Display Replacement Headliner LWB SWB
Removal Procedure
- Remove the rear dome lamp assembly. Refer to Dome Lamp Replacement .
- Remove the DVD screen surround trim. Refer to Video Disc Player Display Bezel Replacement
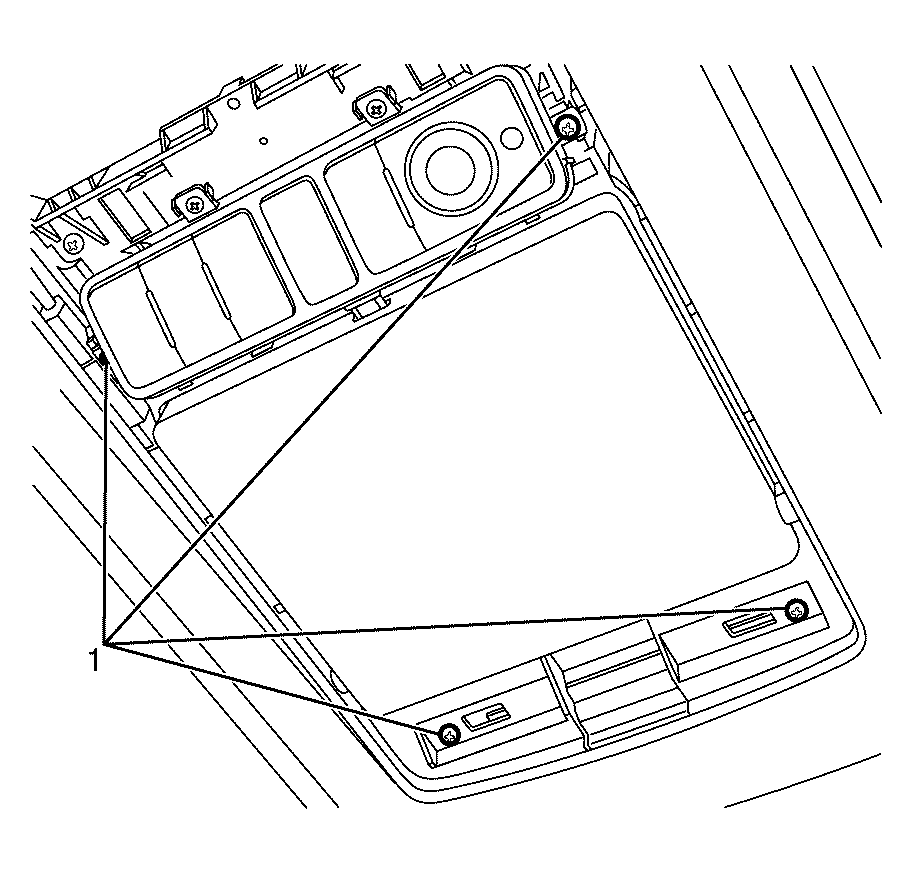
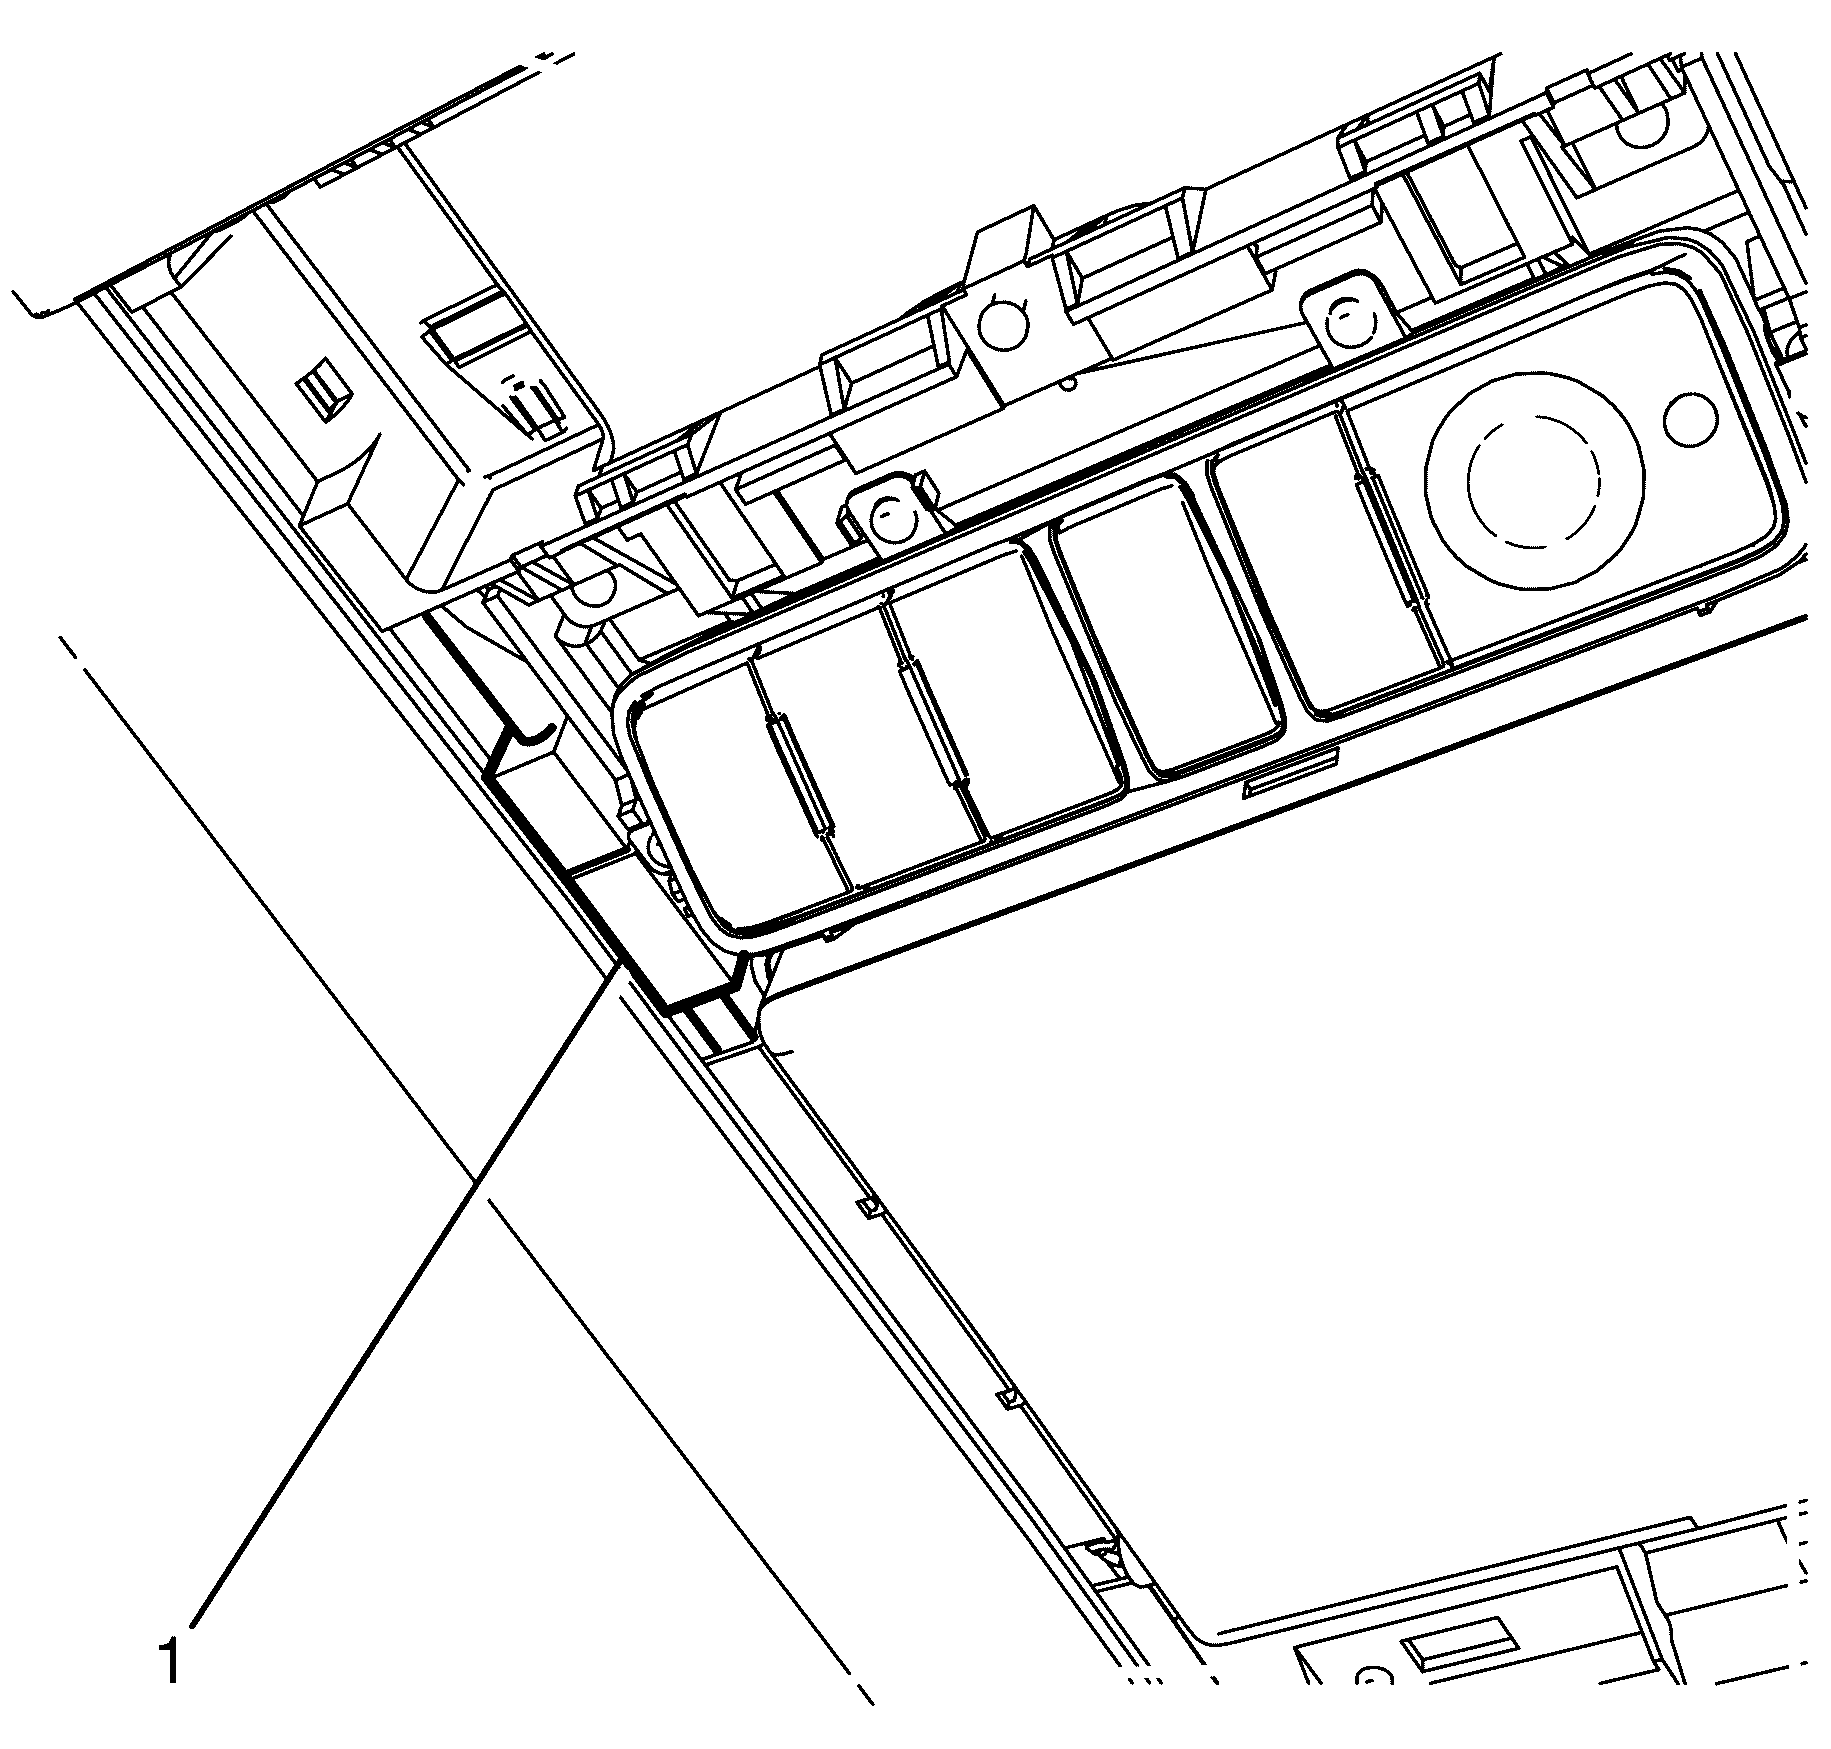
- Remove the DVD screen to rear seat entertainment (RSE) assembly bracket screws (1).
- Disconnect the DVD screen connector (1).
- Remove the DVD screen from the RSE assembly bracket.
Installation Procedure
- Install the DVD screen to the RSE assembly bracket.
- Connect the DVD screen electrical connector (1).
- Install the DVD screen to RSE assembly bracket retaining screws (1).
- Install the DVD screen surround trim.Refer to Video Disc Player Display Bezel Replacement
- Install the rear dome lamp assembly. Refer to Dome Lamp Replacement .
Notice: Refer to Fastener Notice in the Preface section.
Tighten
Tighten the screws to 1.5 N·m (13 lb in).
Video Display Replacement Front Seat Head Restraint LWB
Removal Procedure
- Remove the front seat head restraint. Refer to Front Seat Head Restraint Replacement.
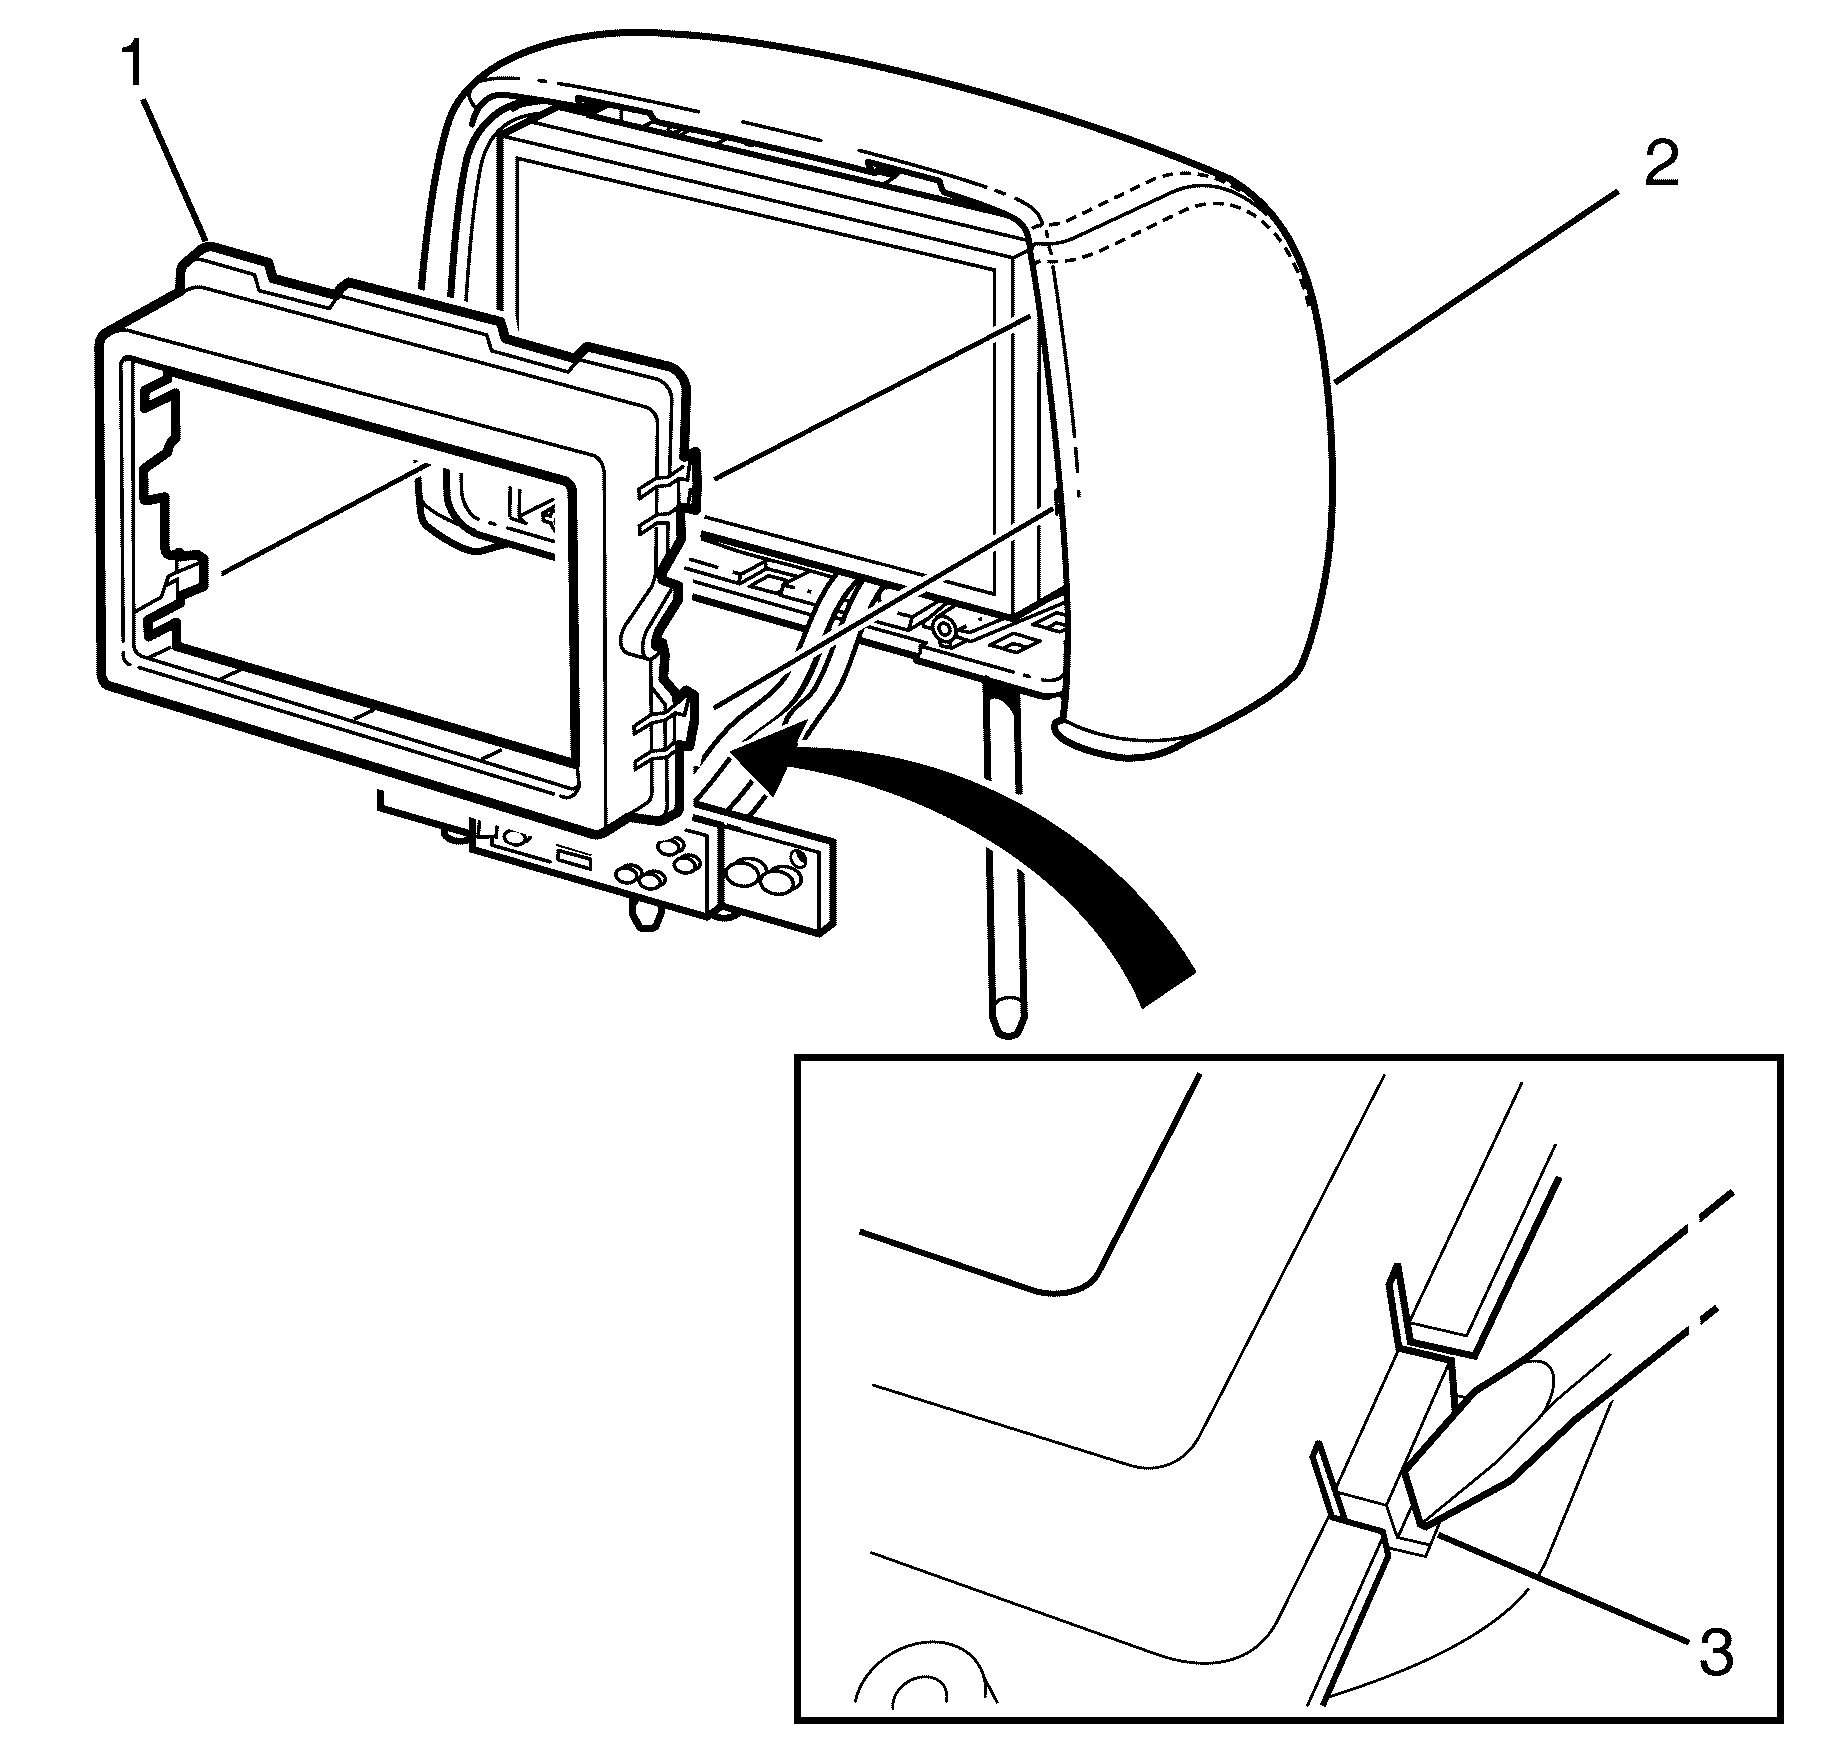
- Remove the rear seat entertainment (RSE) head rest escutcheon to head restraint assembly screws (4).
- Remove the escutcheon (2) from the head restraint assembly (3).
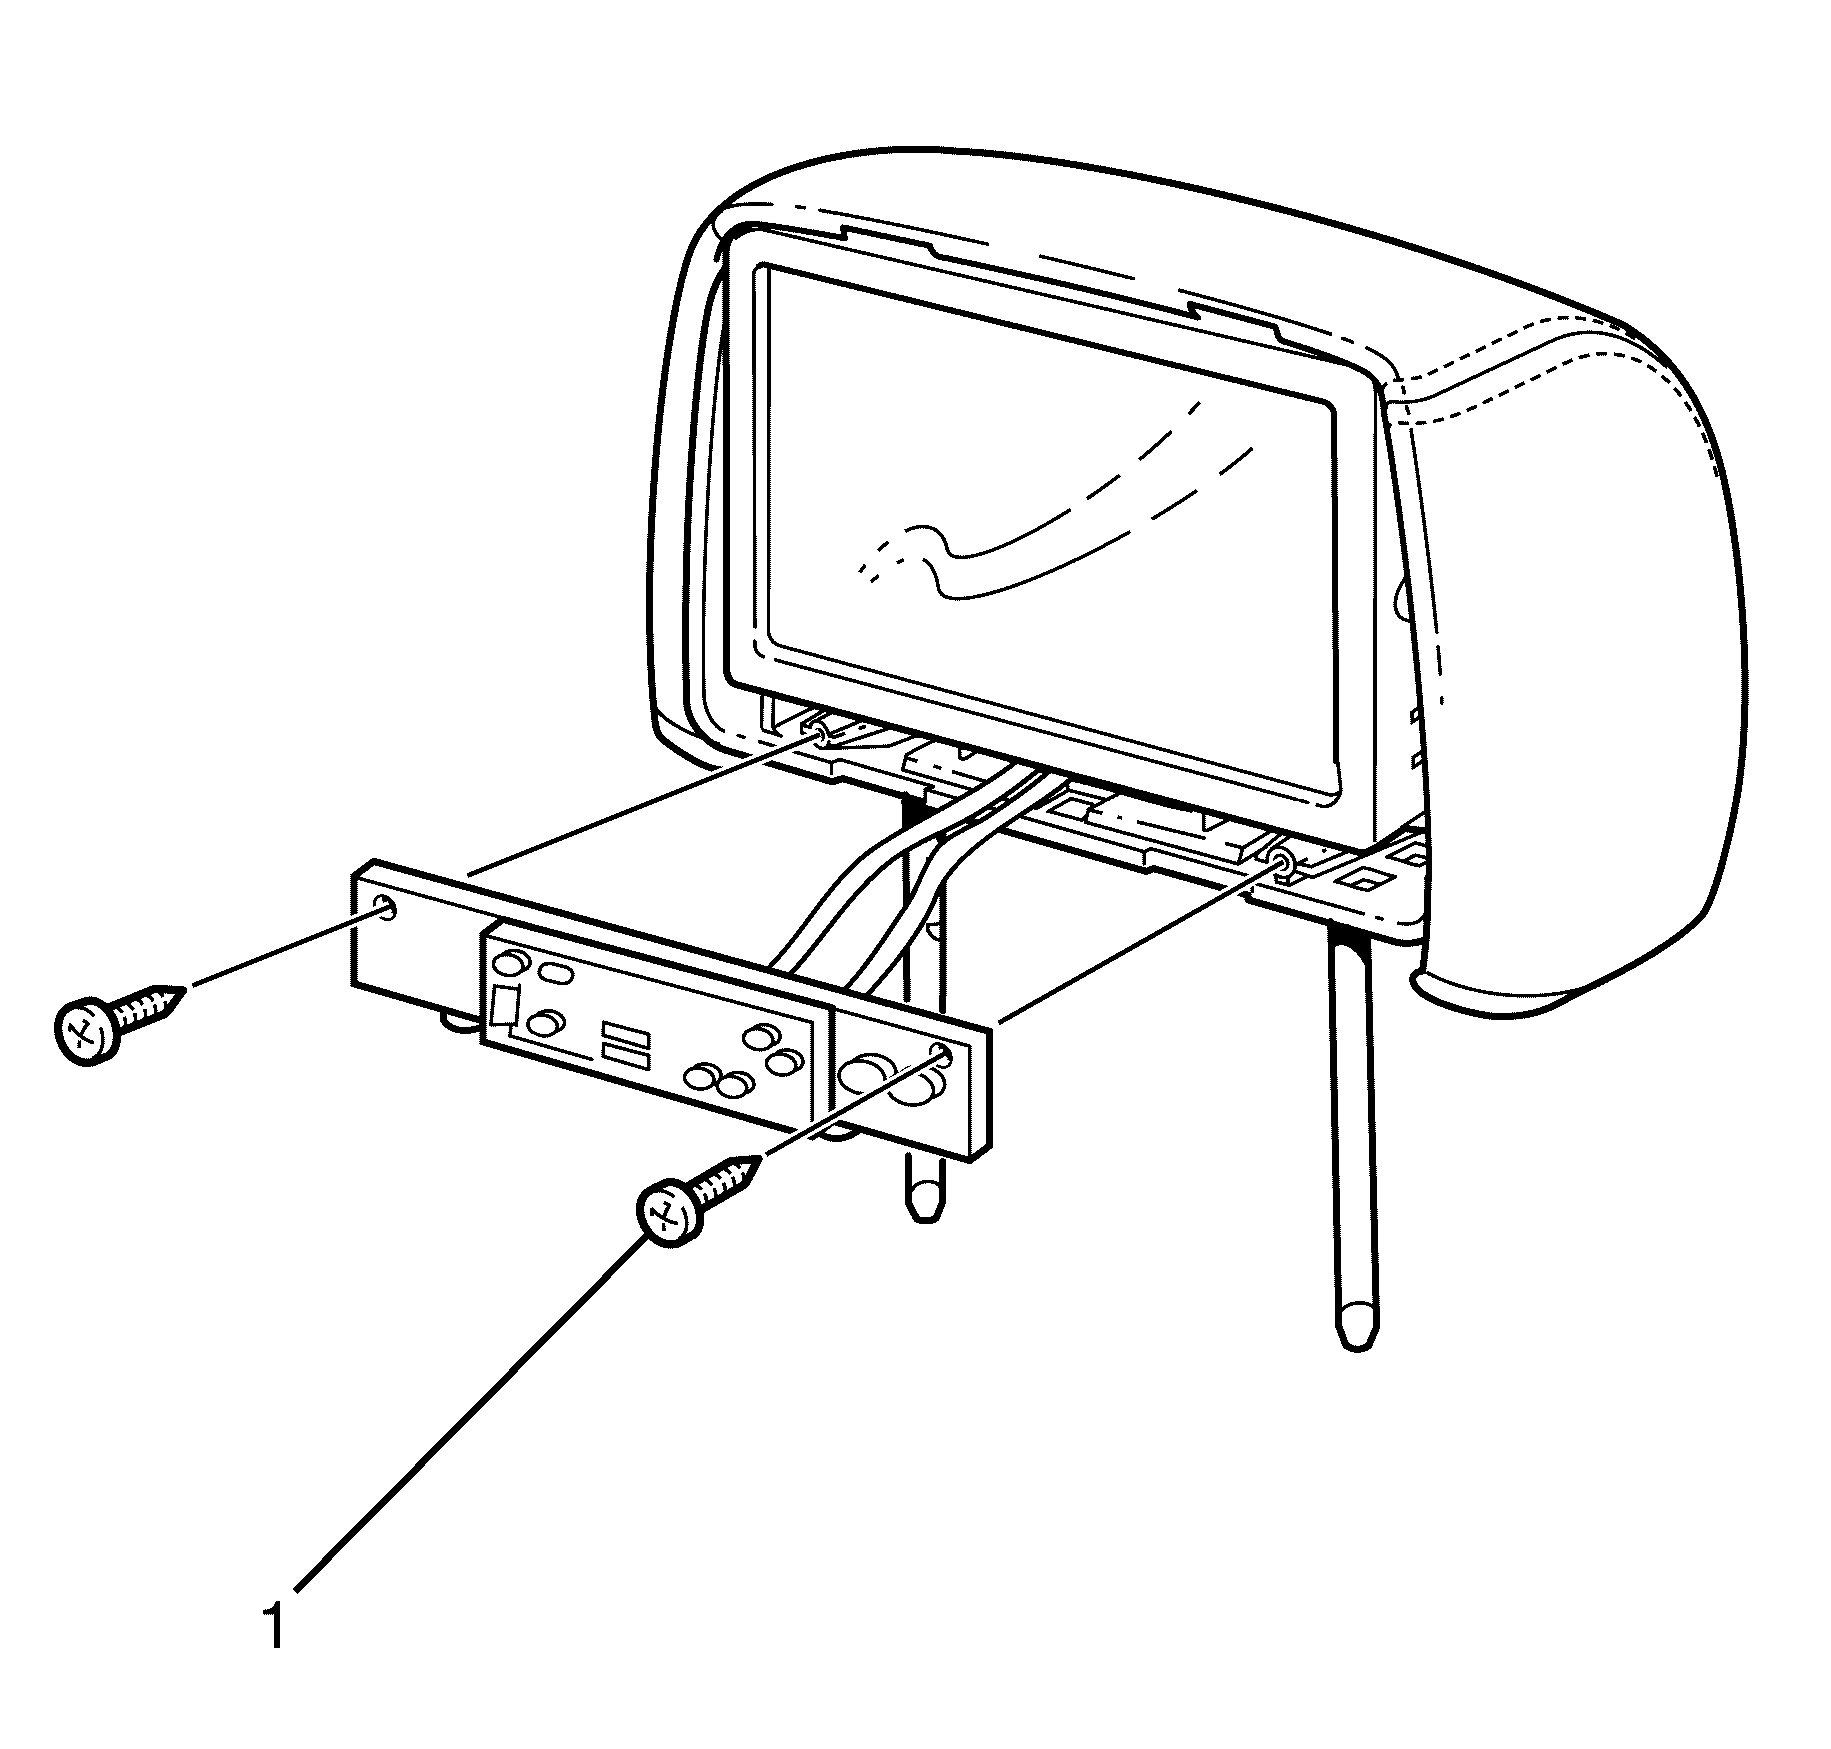
- Remove the RSE circuit board to head restraint assembly screws (1).
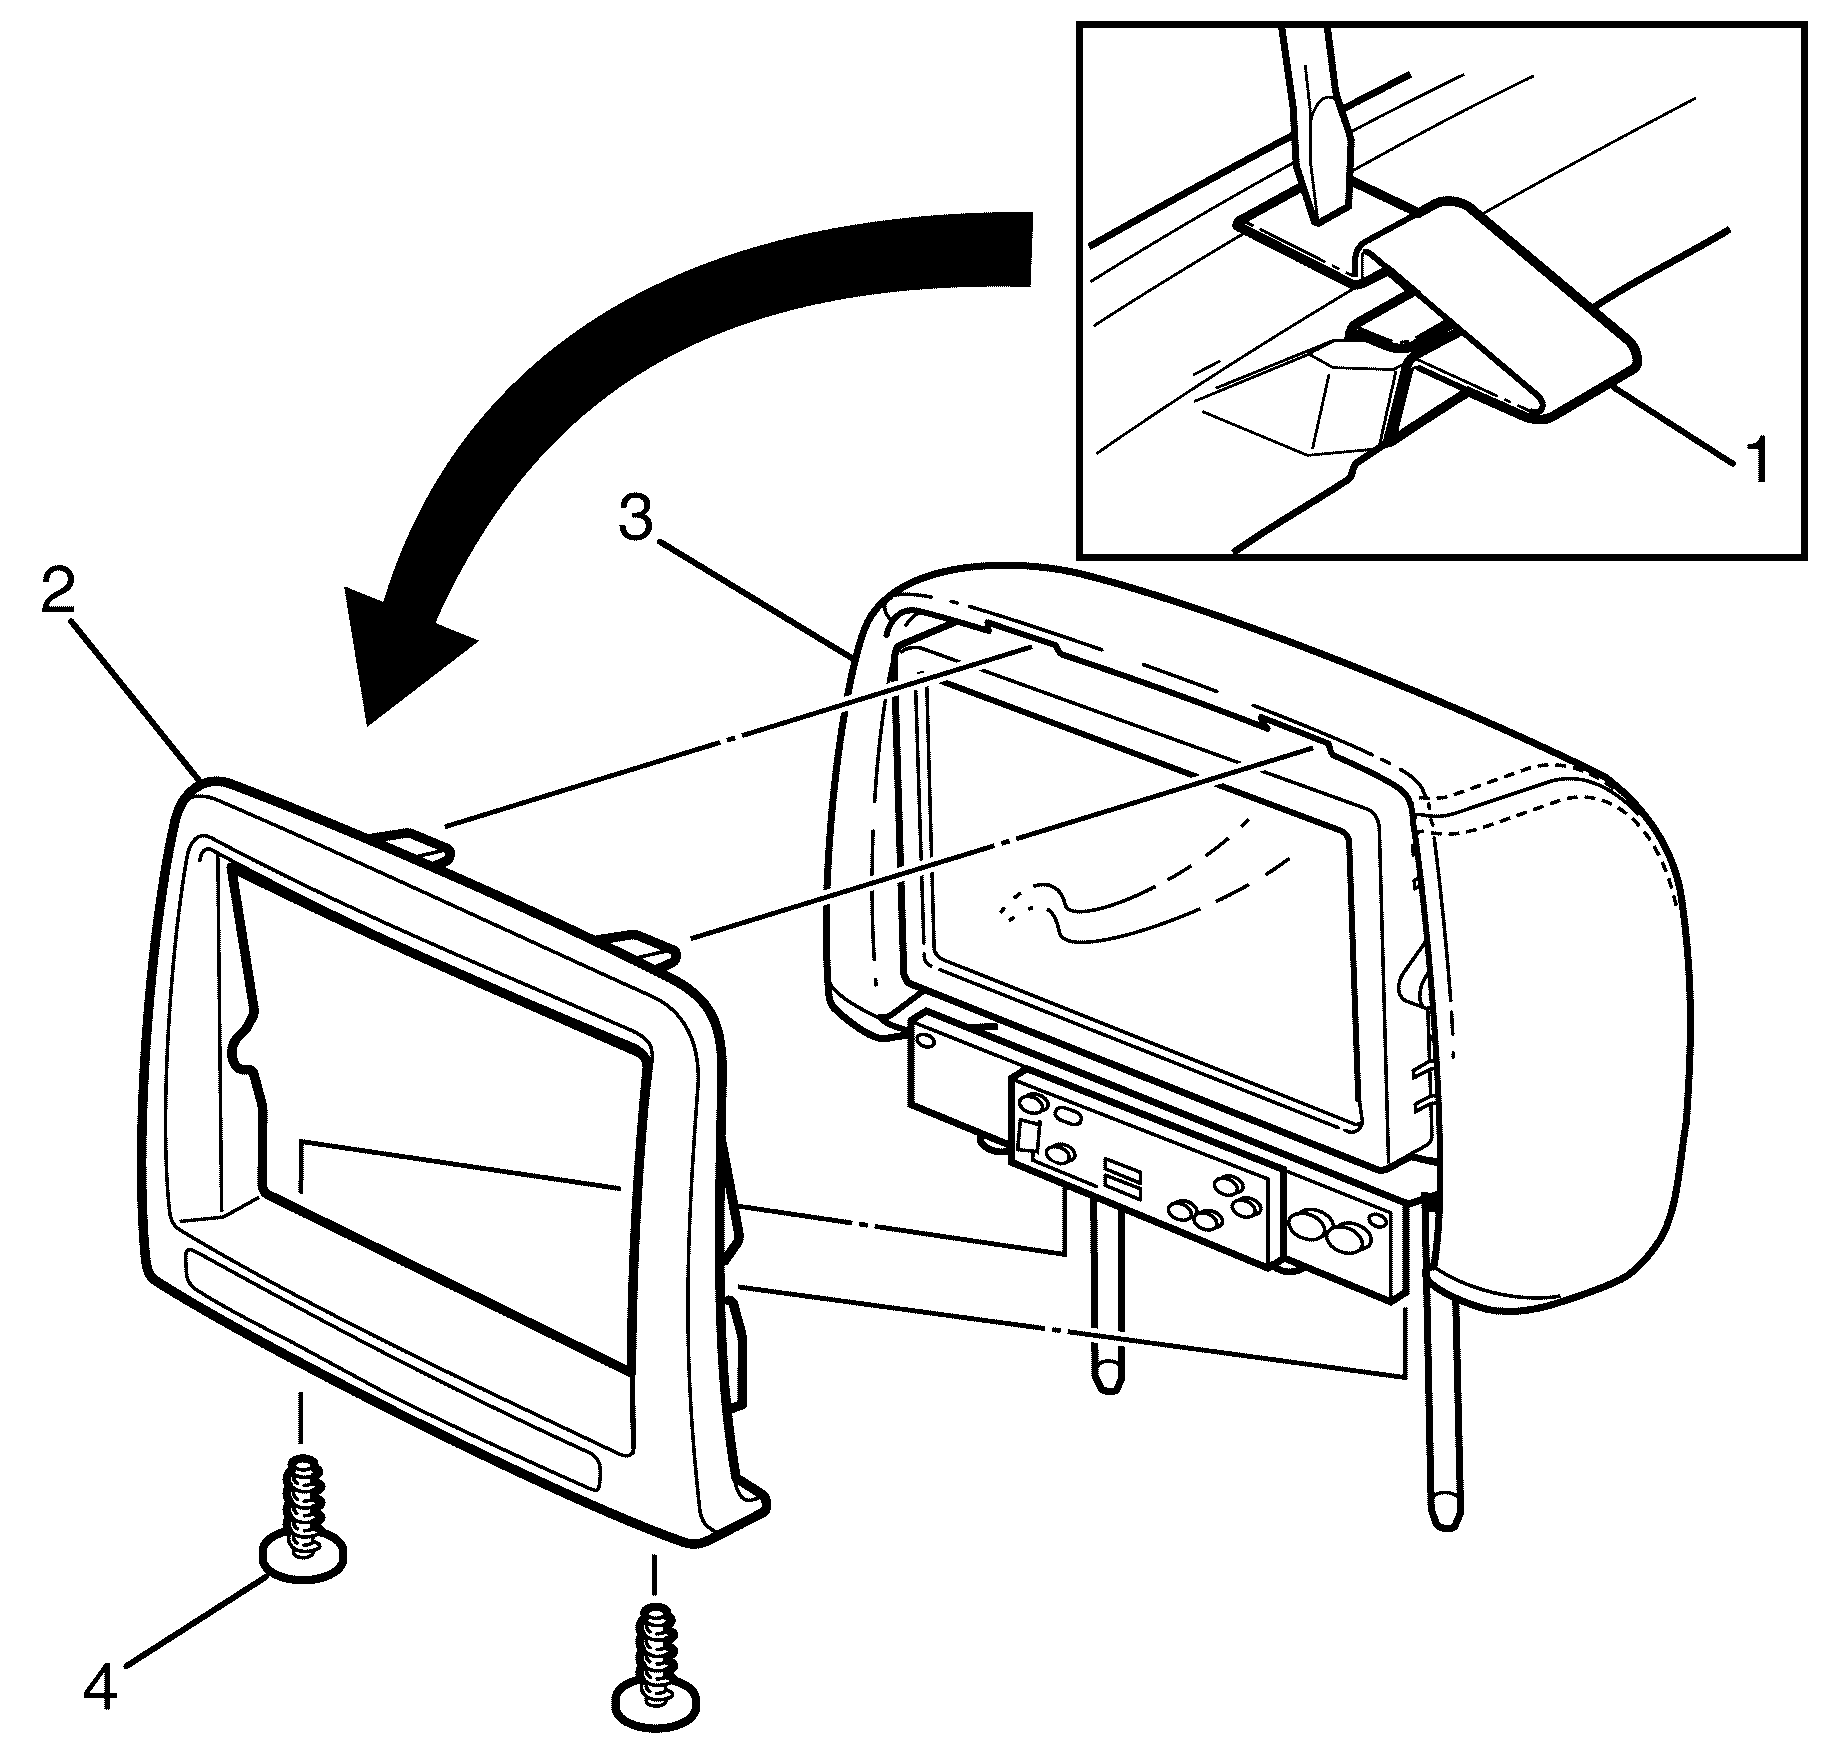
- Remove the DVD screen bezel (1) from the head restraint (2).
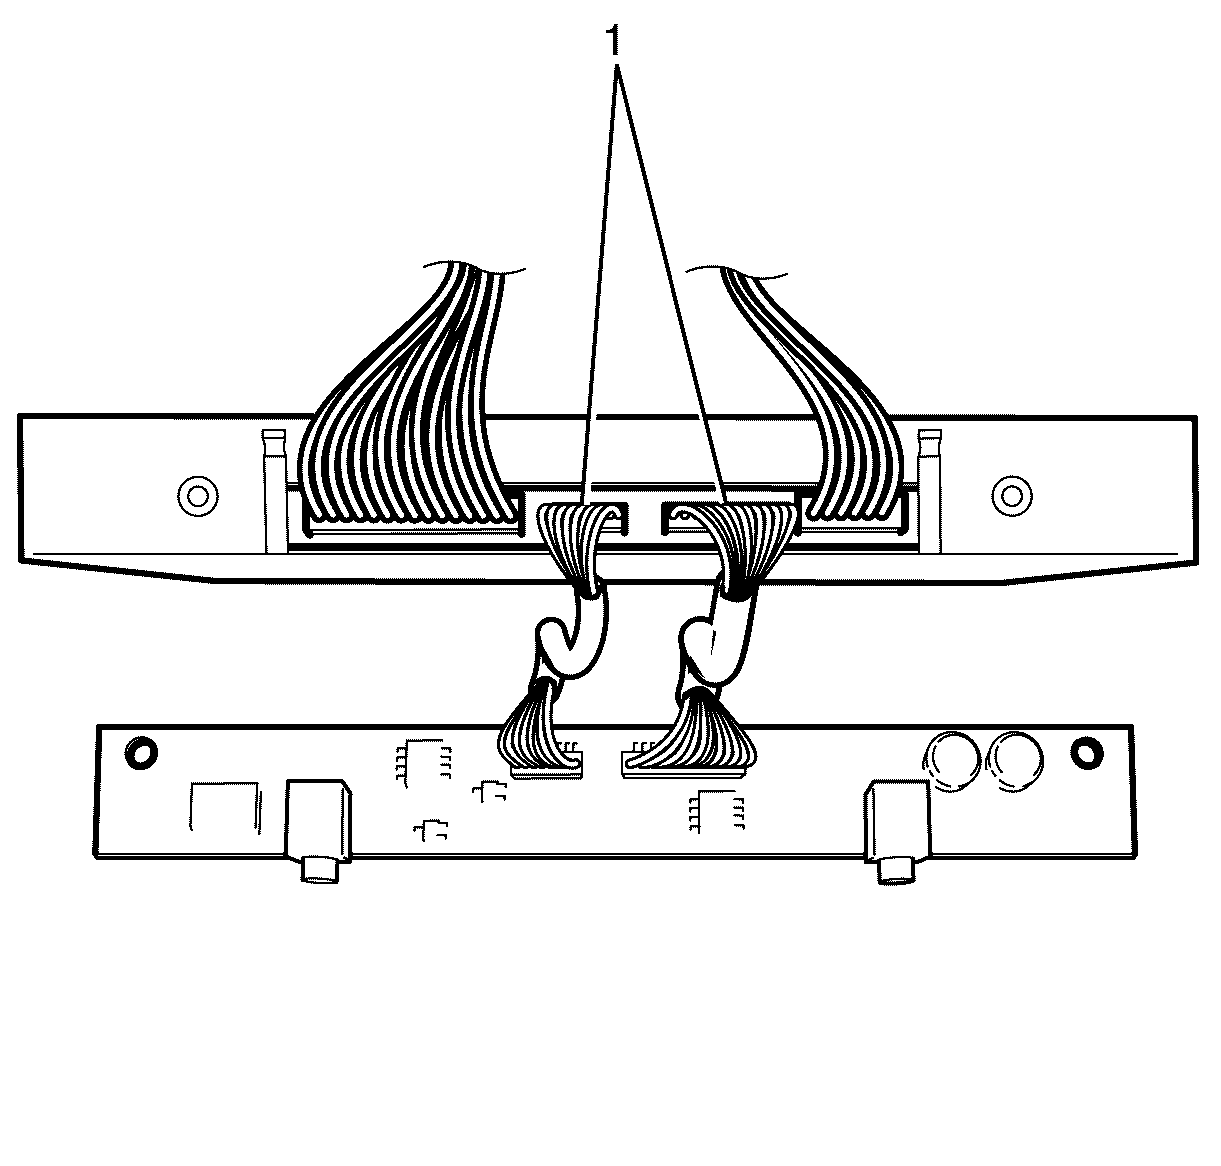
- Disconnect the wiring harness connectors (1) from the top of the DVD screen and remove the circuit board.
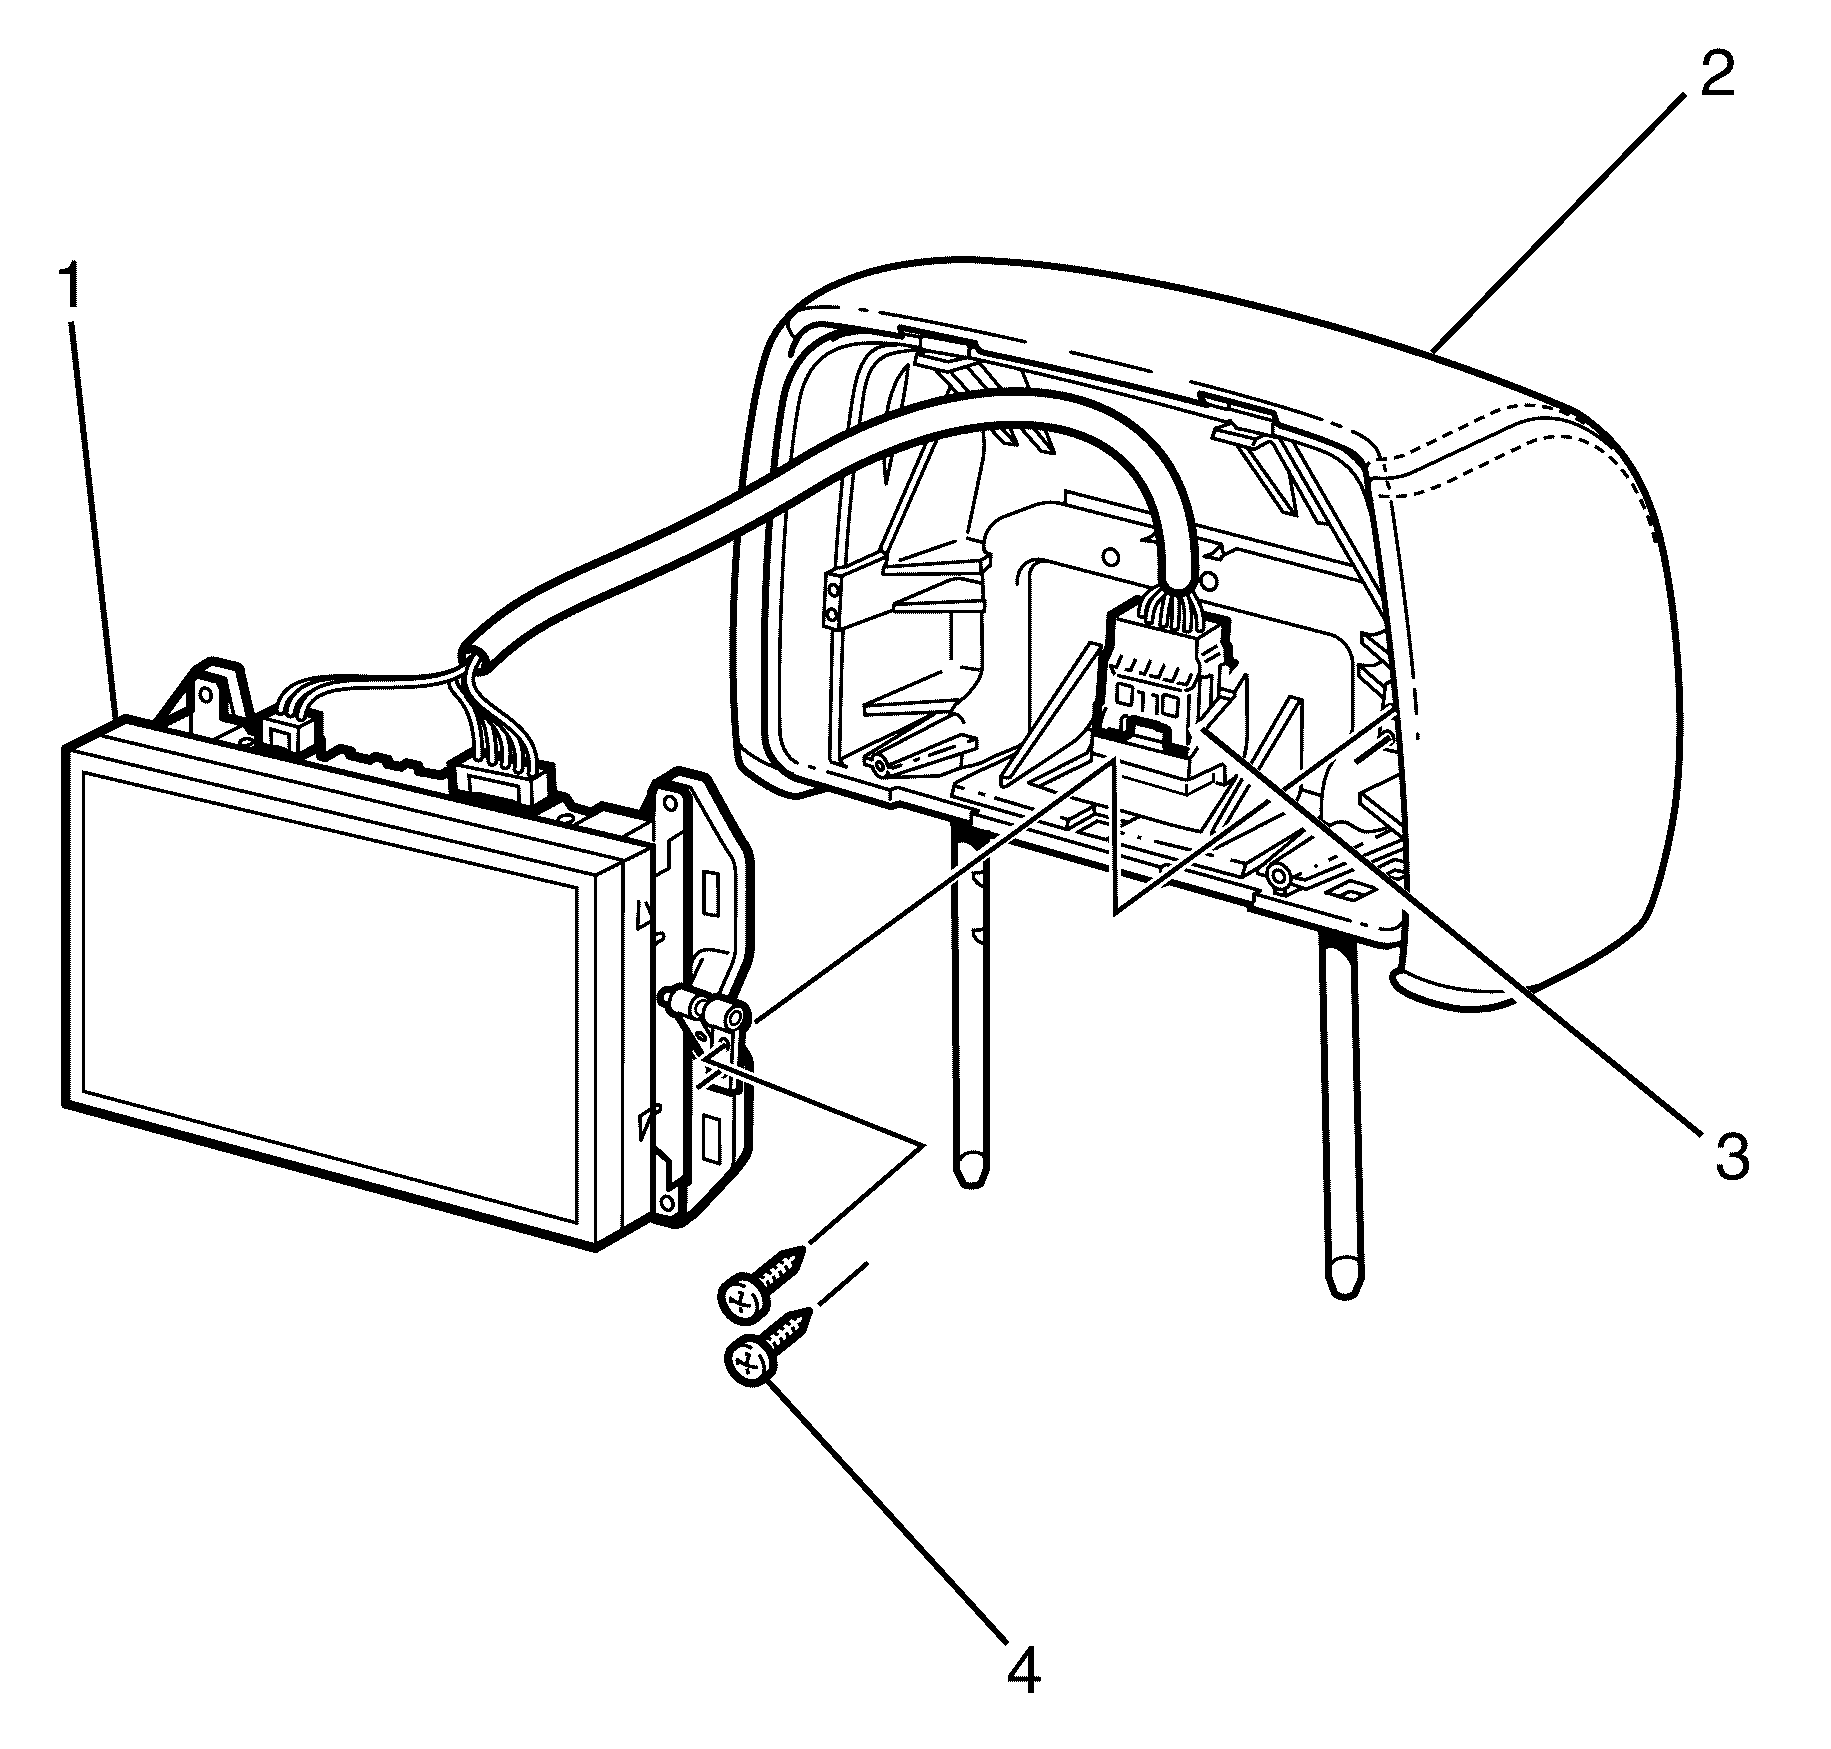
- Remove the DVD screen assembly to head restraint assembly screws (4).
- Rotate the top of the screen assembly (1) out, and from behind, carefully disconnect the wiring connector (3).
- Remove the screen assembly (1) from the head restraint assembly (2).
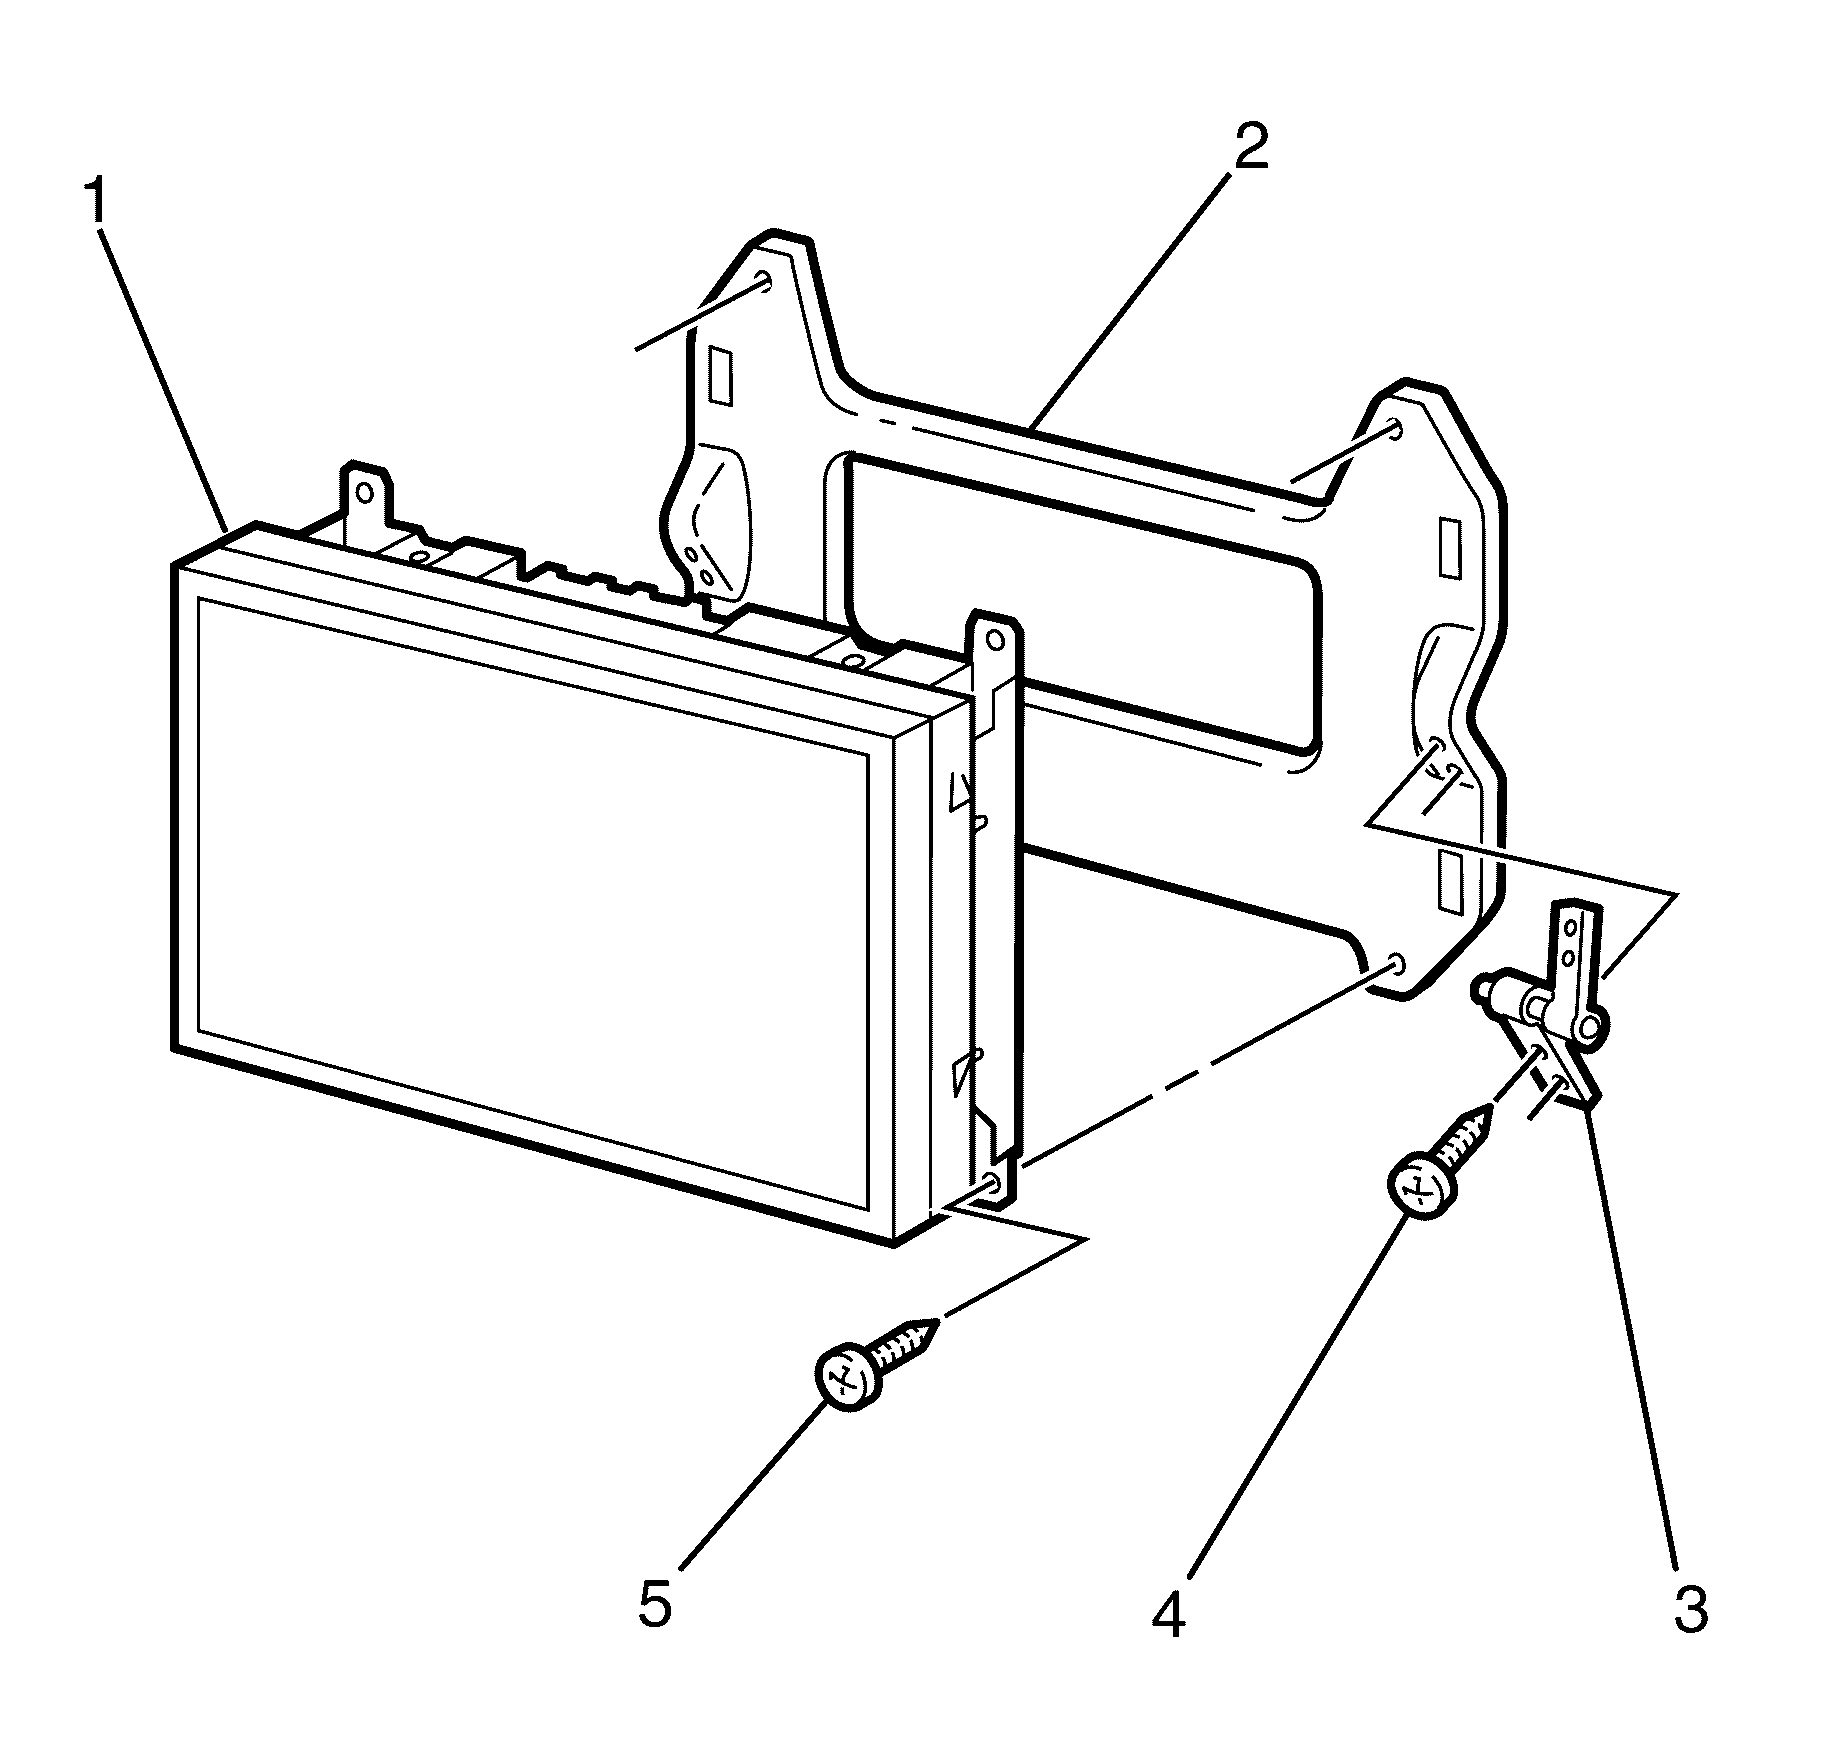
- Remove the DVD screen to mounting plate screws (4).
- Remove the DVD screen (1) from the mounting plate (2).
- Remove the pivot hinge to mounting plate screws (4).
- Remove the pivot hinge (3) from the mounting plate (2).
Important: Using an appropriate tool, carefully locate the retaining clip (1) along the upper edge of the escutcheon. Depress the clip and detach the escutcheon slightly. Repeat for the opposite retaining clip and remove the escutcheon.
Important: Using an appropriate tool depress the retaining lugs (3), in four places.
Important: Repeat step for opposite pivot hinge as required.
Installation Procedures
- Install the pivot hinge (3) to the mounting plate (2).
- Install the pivot hinge to mounting plate retaining screws (4).
- Install the DVD screen (1) to the mounting plate (2).
- Install the DVD screen to mounting plate retaining screws (4).
- Install the DVD screen assembly (1) to the head restraint assembly (2).
- Carefully connect the wiring connector (3).
- Install the DVD screen (1) to the head restraint assembly (2).
- Install the DVD screen assembly to head restraint assembly retaining screws (4).
- Connect the wiring harness connectors (1) to the top of the DVD screen and install the circuit board.
- Install the DVD screen bezel (1) to the head restraint (2).
- Install the RSE circuit board to head restraint assembly retaining screws (1).
- Install the escutcheon (2) to the head restraint assembly (3).
- Install the RSE head restraint escutcheon to head restraint assembly retaining screws (4).
- Install the front seat head restraint. Refer to Front Seat Head Restraint Replacement.
Notice: Refer to Fastener Notice in the Preface section.
Important: Repeat step for opposite pivot hinge as required.
Tighten
Tighten the screws to 2 N·m (18 lb in).
Notice: Refer to Fastener Notice in the Preface section.
Tighten
Tighten the screws to 2 N·m (18 lb in).
Notice: Refer to Fastener Notice in the Preface section.
Tighten
Tighten the screws to 2 N·m (18 lb in).
Important: Ensure the retaining lugs (3), four places, correctly engage.
Notice: Refer to Fastener Notice in the Preface section.
Tighten
Tighten the screws to 2 N·m (18 lb in).
Important: Make sure the retaining clips (1) along the upper edge of the escutcheon correctly engage.
Notice: Refer to Fastener Notice in the Preface section.
Tighten
Tighten the screws to 2 N·m (18 lb in).
