Tools Required
J 8037 Piston Ring Compressor
- Install the piston to the connecting rod.
- Separate the connecting rod and the connecting rod bearing cap.
- Install the piston rings to the piston assembly.
- Rotate the crankshaft so that the connecting rod journal being worked on is at the bottom of the compression stroke.
- Apply clean engine oil to the piston assembly.
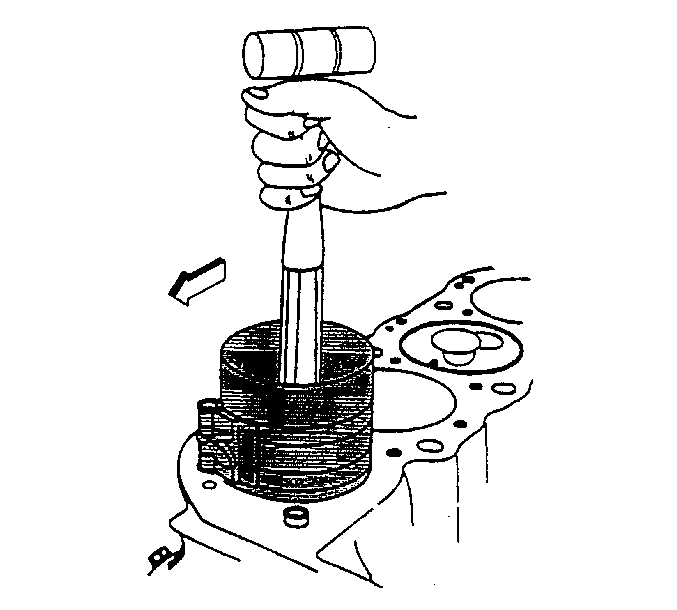
- Install the J 8037 to the piston assembly.
- With a hammer handle, use light blows to tap the piston down into its bore.
- Install the connecting rod bearing insert into the connecting rod and the connecting rod bearing cap.
- Install the connecting rod cap to the connecting rod.
- Install the connecting rod bolts.
- Rotate the engine.
Important: Position the piston assembly so the mark on the crown of the piston and the mark on the connecting rod are facing opposite directions.
Important: Install the piston rings with the marks facing up. Stagger the piston rings so the piston ring gaps are 45 degrees apart.

Important: Hold the ring compressor against the cylinder block until all the piston rings have entered the cylinder bore. From underneath the cylinder block, guide the connecting rod so that it does not come in contact with the connecting rod journal.
Notice: Use the correct fastener in the correct location. Replacement fasteners must be the correct part number for that application. Fasteners requiring replacement or fasteners requiring the use of thread locking compound or sealant are identified in the service procedure. Do not use paints, lubricants, or corrosion inhibitors on fasteners or fastener joint surfaces unless specified. These coatings affect fastener torque and joint clamping force and may damage the fastener. Use the correct tightening sequence and specifications when installing fasteners in order to avoid damage to parts and systems.
Important: Apply a small amount of molybdenum grease to the connecting rod bolt.
Tighten
Tighten the bolts in the following steps:
| 10.1. | First step: 39 N·m (29 lb ft). |
| 10.2. | Second step: Turn both bolts 60 degrees. |
| 10.3. | Third step: Then turn both bolts an additional 30 degrees. |
Important: A slight, but even effort will be needed to rotate the engine. If the effort to rotate the engine is uneven or extremely hard, slightly loosen the connecting rod bolts one at a time and rotate the engine to locate the cause and repair as needed.
