For 1990-2009 cars only
Removal Procedure
Note: DO NOT remove any constant tension clamp retaining a bellow to an air cleaner elbow. Once a constant tension clamp is removed the integrity of the clamp is damaged. The sealing joint between a bellow and the air cleaner bellow should not be broken. Once this joint is broken, the air cleaner duct assembly must be replaced.
- Open the hood.
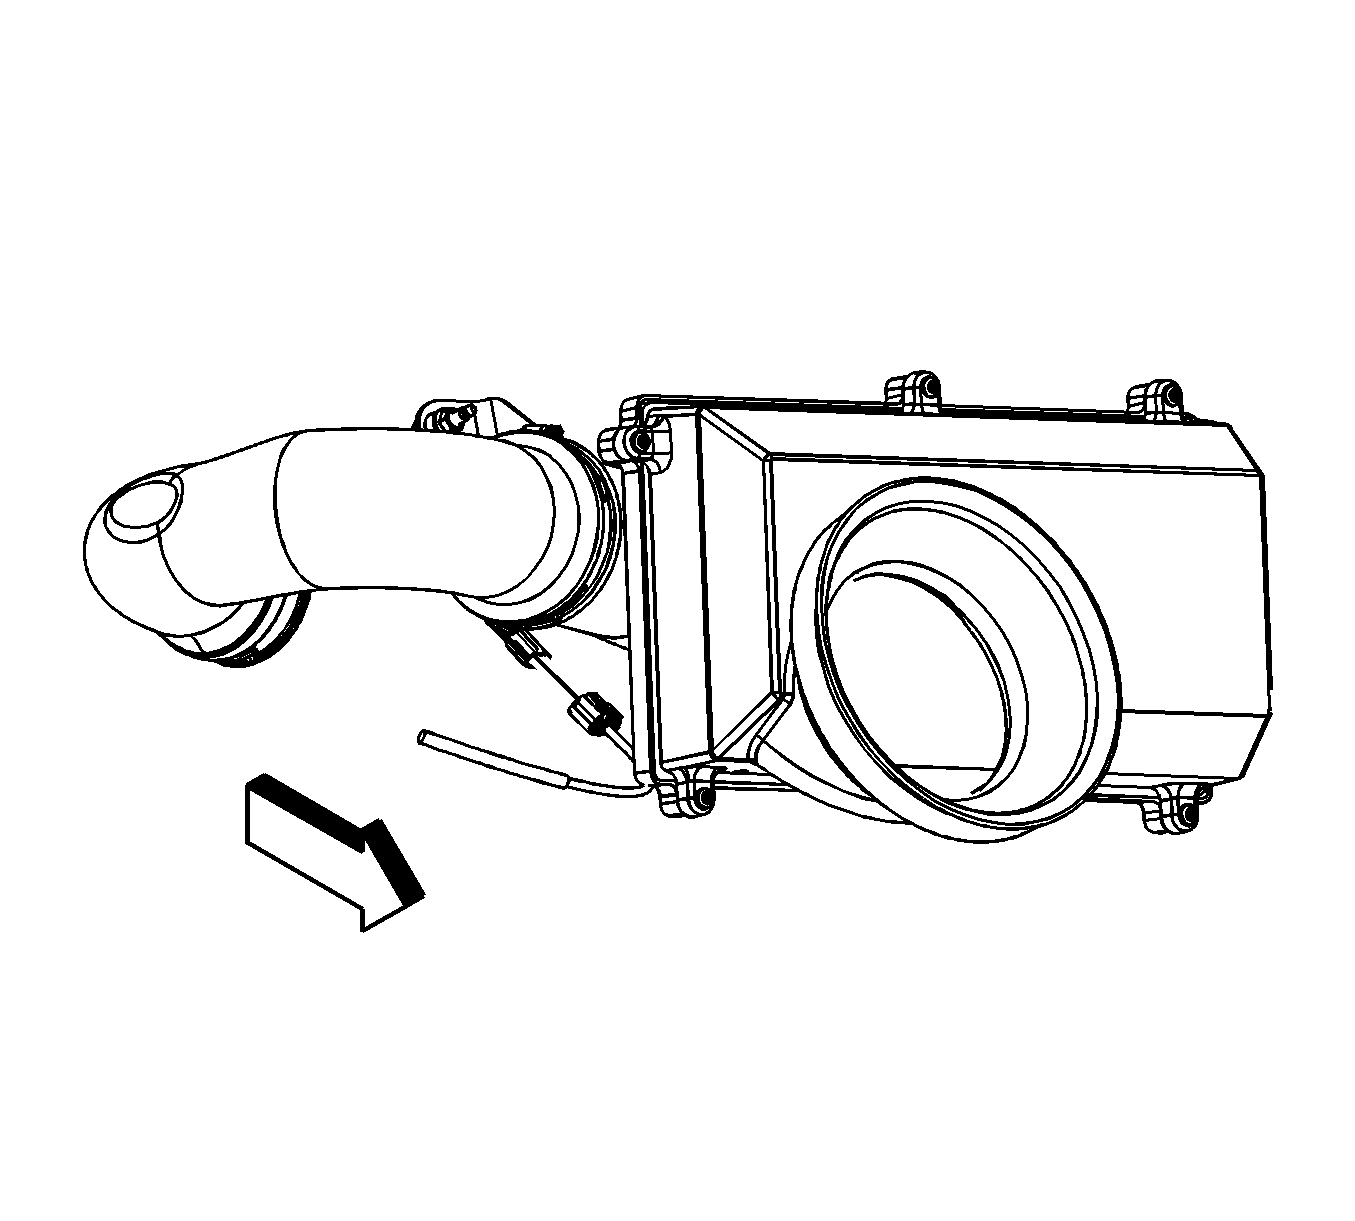
- Disconnect the engine wiring harness electrical connector from the mass air flow (MAF)/intake air temperature (IAT) sensor.
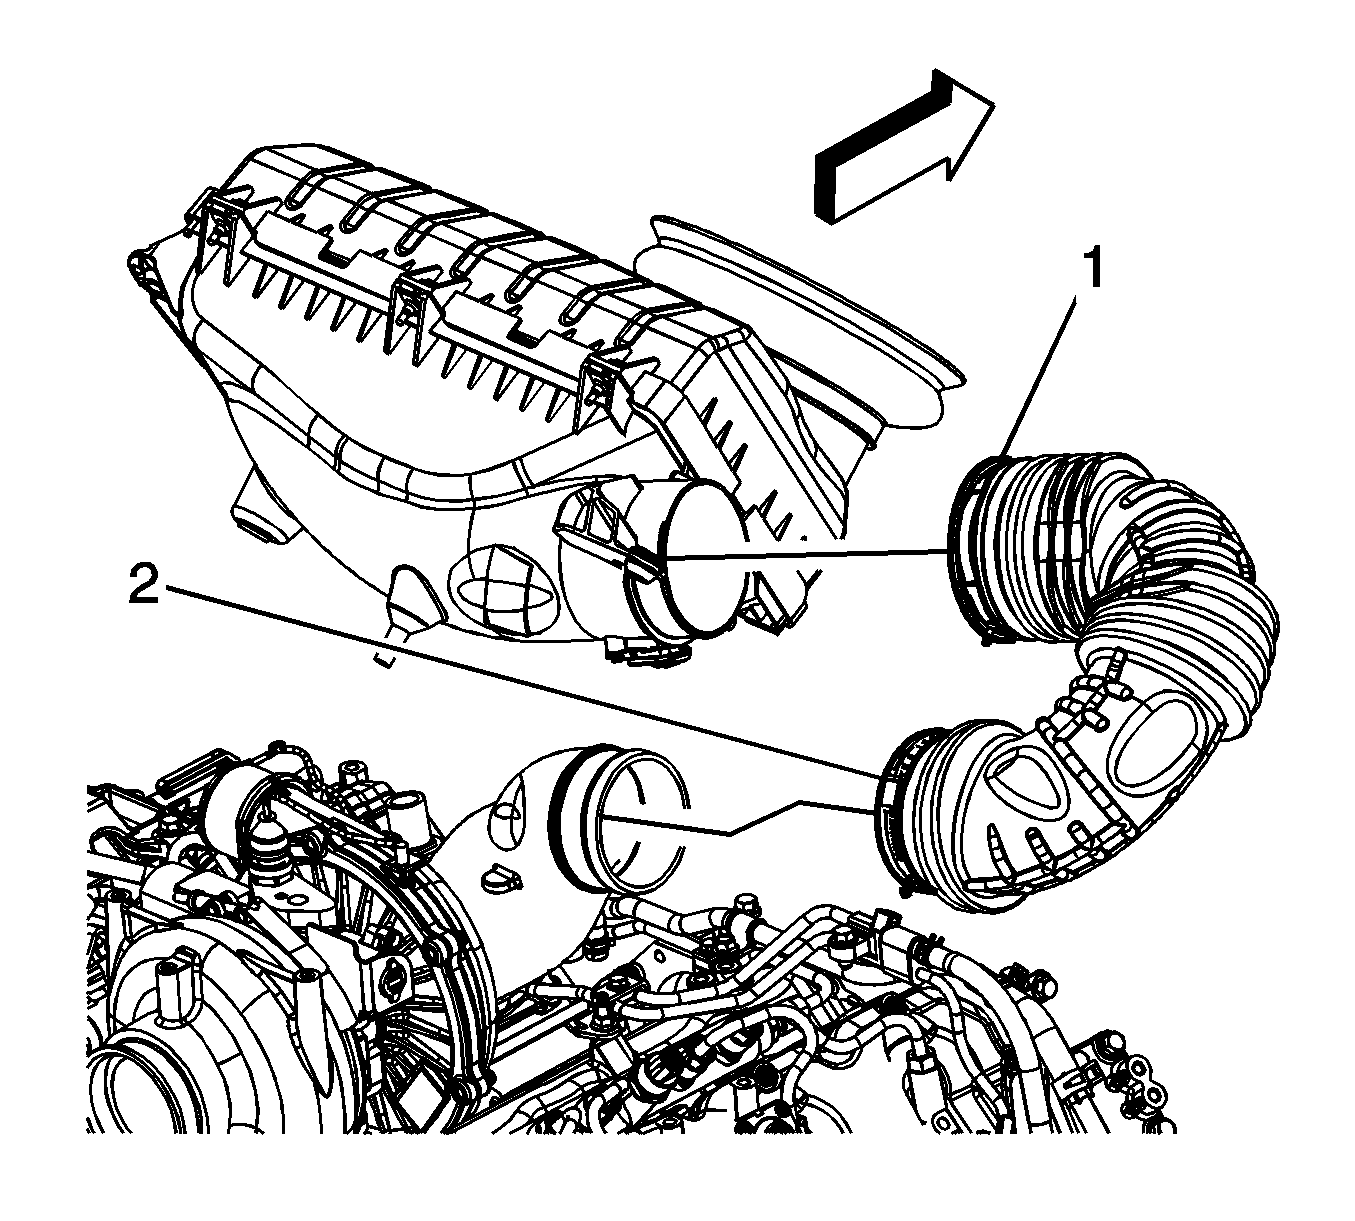
- Loosen the air cleaner outlet duct clamp (1) at the air cleaner assembly.
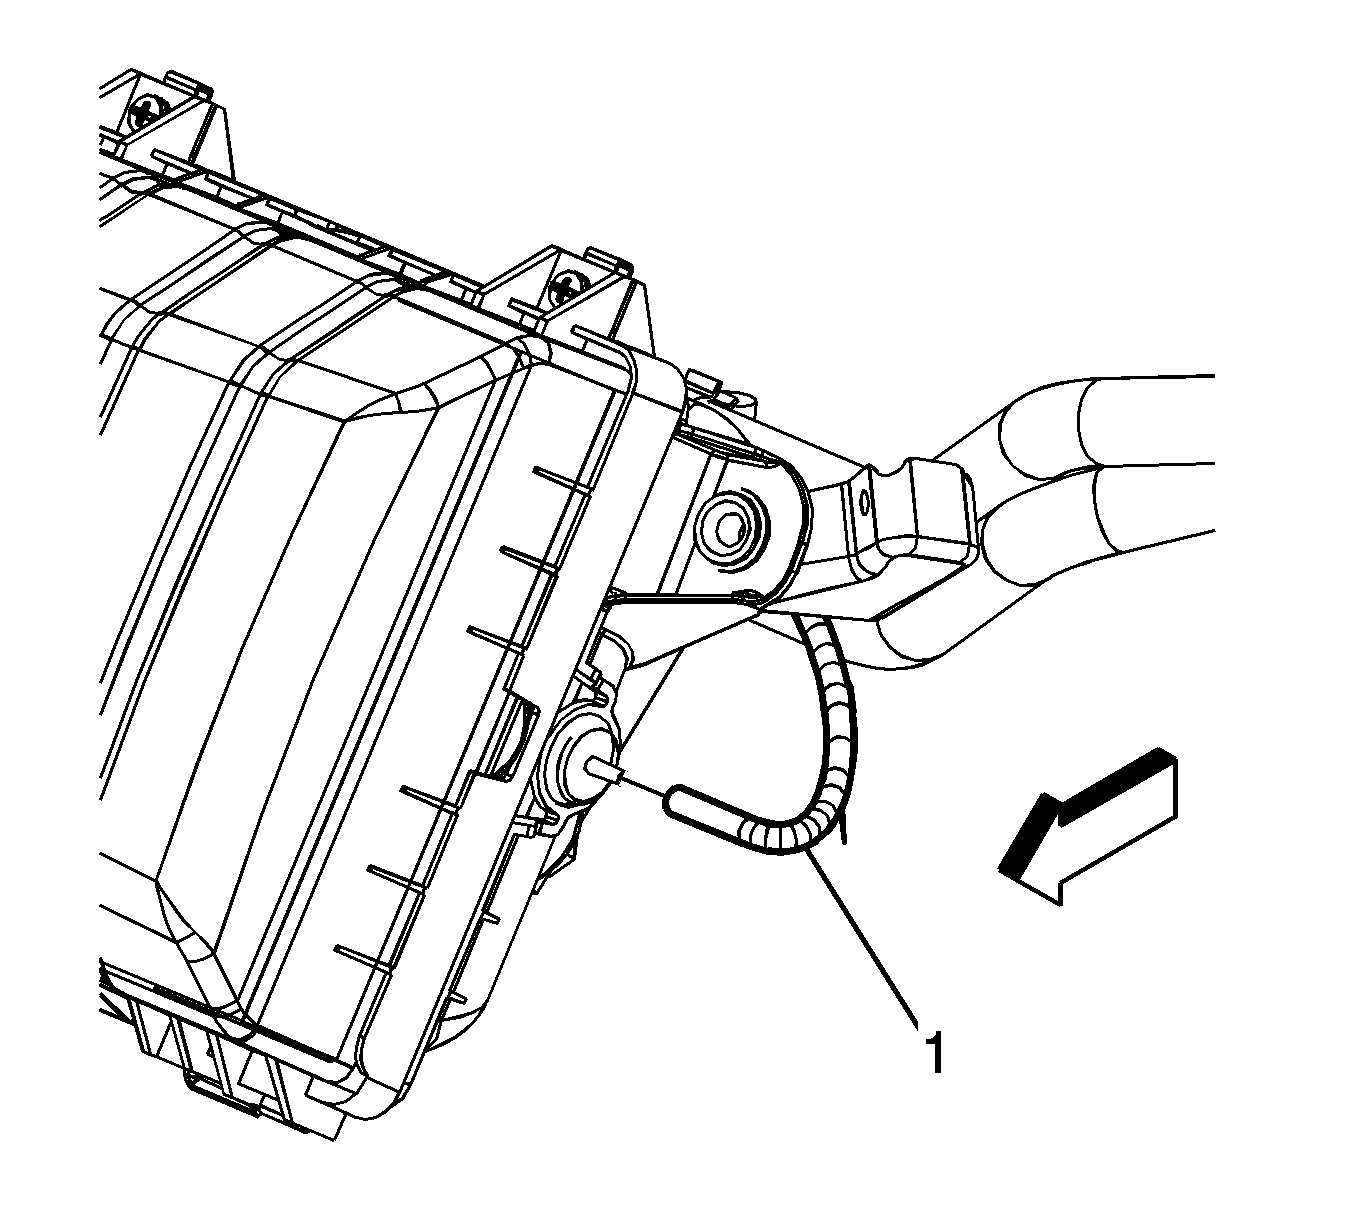
- Remove the air cleaner filter restriction gage front tube (1) from the air cleaner lower housing, if equipped.
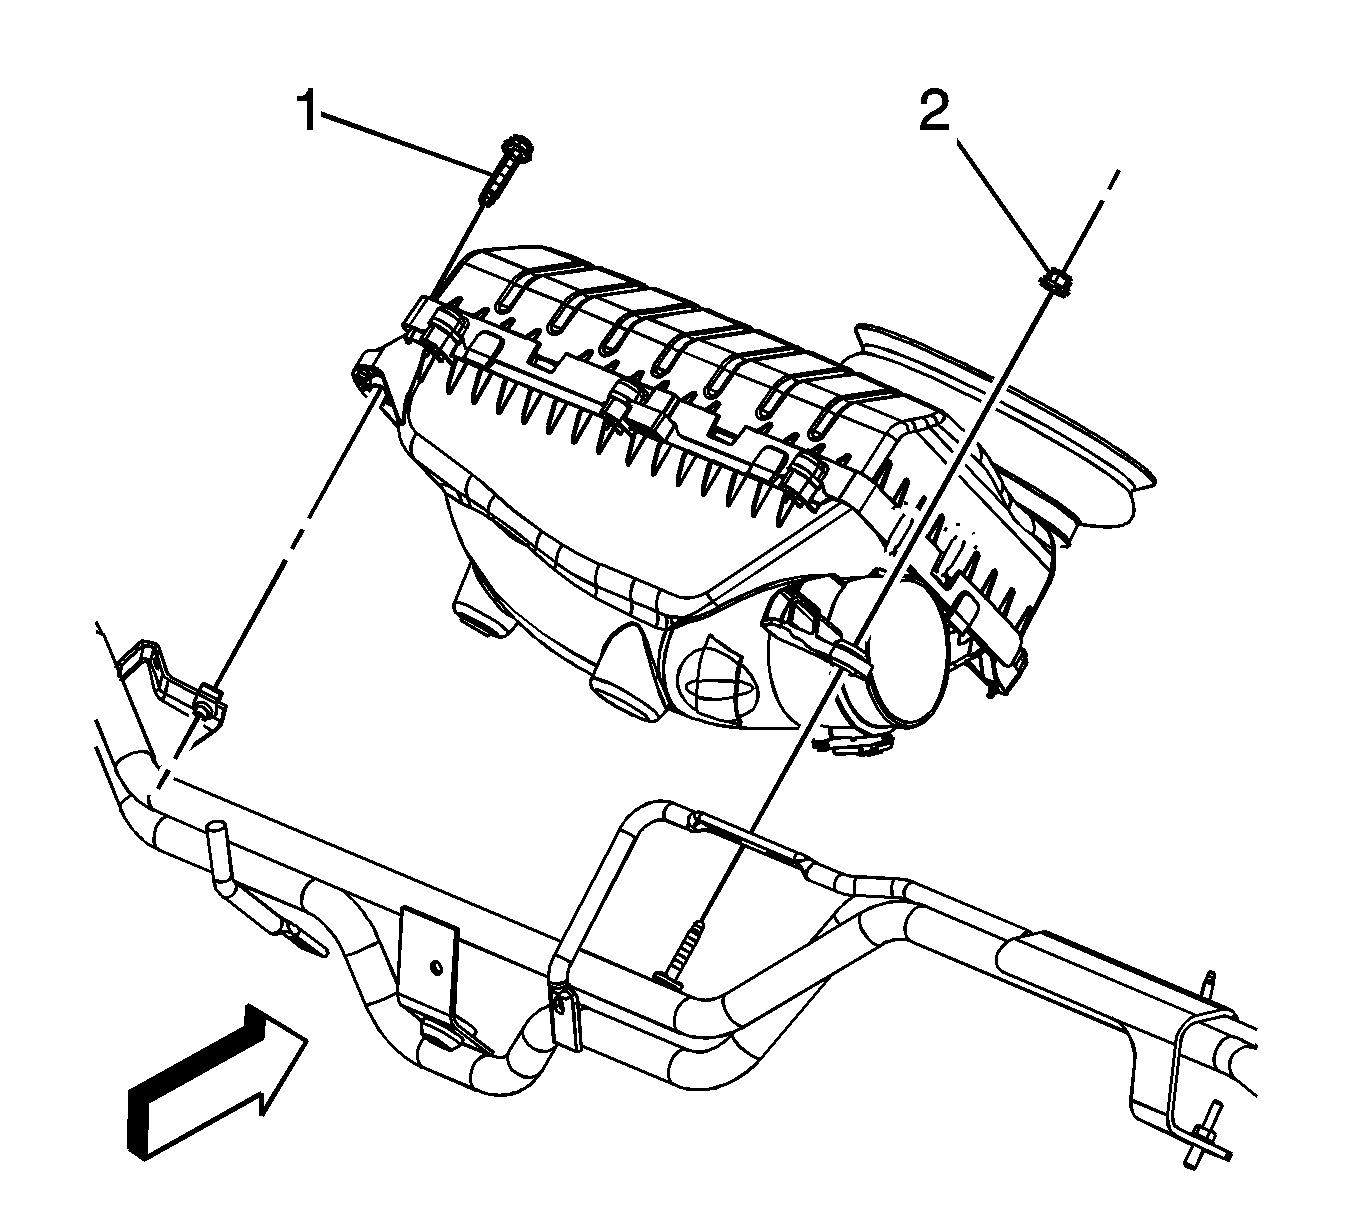
- Remove the air cleaner assembly bolt (1) and nut (2).
- Remove the air cleaner assembly from the outlet duct and the vehicle.
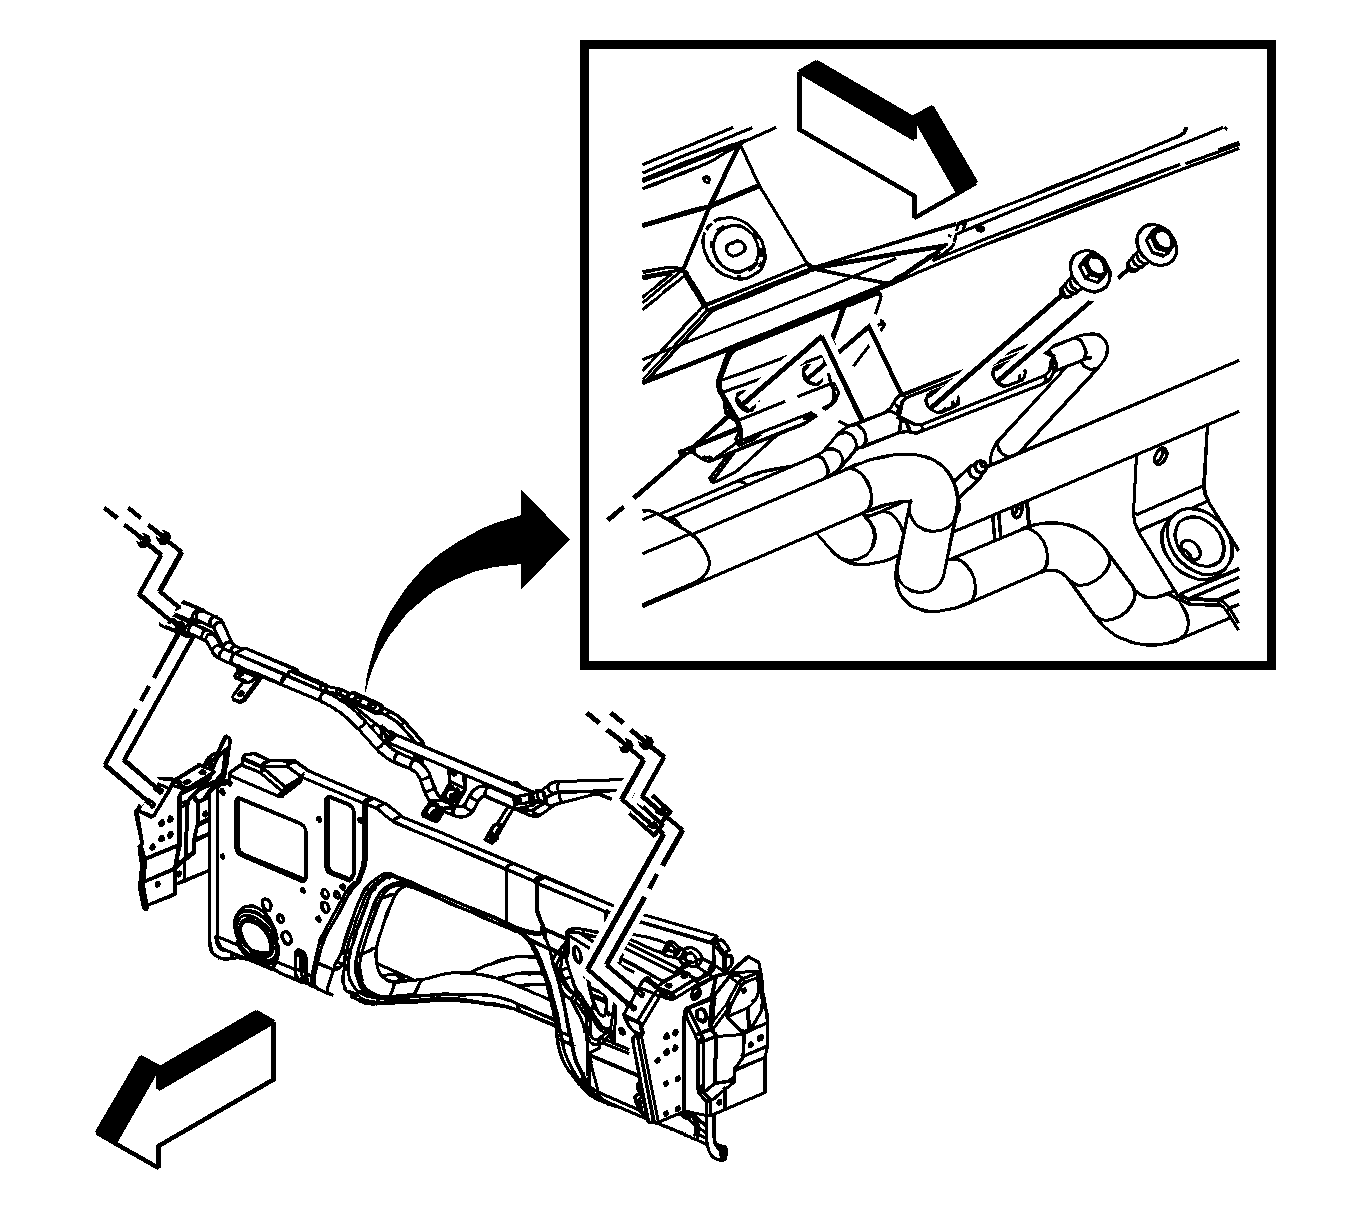
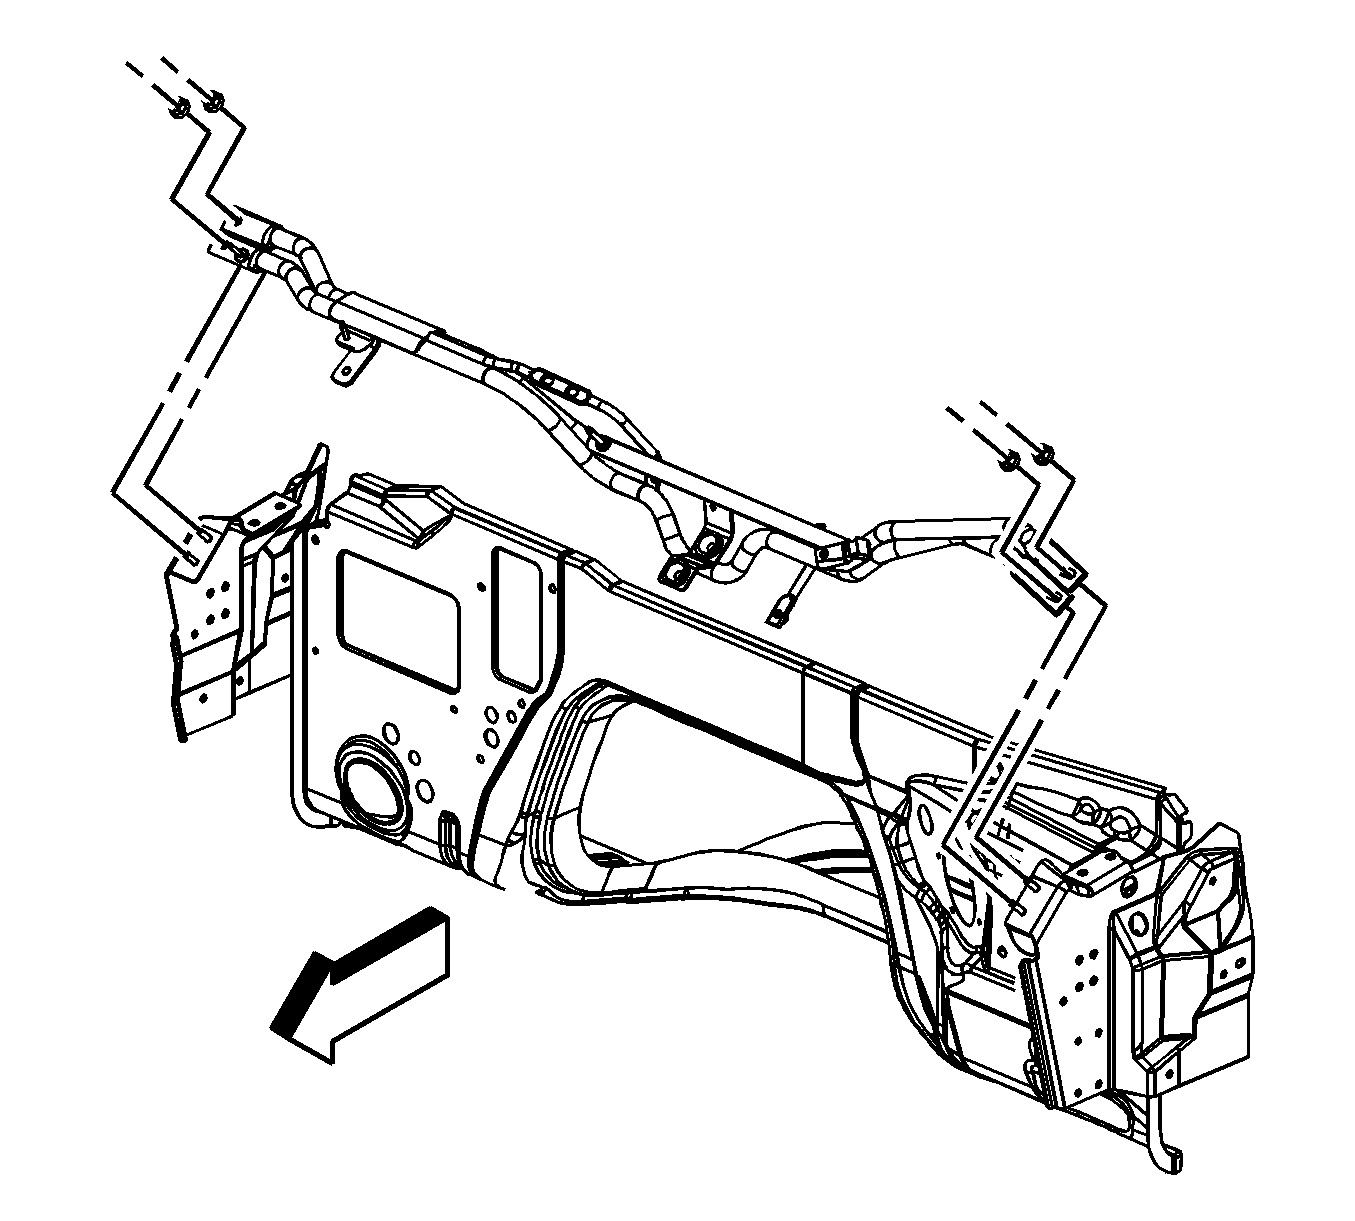
- Remove the air cleaner support bolts, if required.
- Remove the air cleaner support stud, if required.
- Remove the air cleaner support nuts, if required.
- Remove the air cleaner support, if required.
Installation Procedure
- Install the air cleaner support, if required.
- Install the air cleaner support nuts, if required.
- Install the air cleaner support stud, if required.
- Install the air cleaner support bolts, if required.
- Install the air cleaner assembly to the outlet duct and the vehicle.
- Install the air cleaner assembly bolt (1) and nut (2).
- Install the air cleaner filter restriction gage front tube (1) to the air cleaner lower housing, if equipped.
- Tighten the air cleaner outlet duct clamp (1) at the air cleaner assembly.
- Connect the engine wiring harness electrical connector to the MAF/IAT sensor.
- Open the hood.

Caution: Refer to Fastener Caution in the Preface section.
Tighten
Tighten the nuts to 25 N·m (18 lb ft).

Tighten
Tighten the stud to 25 N·m (18 lb ft).

Tighten
Tighten the bolts to 25 N·m (18 lb ft).

Tighten
Tighten the bolt/nut to 11 N·m (97 lb in).


Tighten
Tighten the clamp to 2.5 N·m (22 lb in).

