For 1990-2009 cars only
Removal Procedure
- Remove the engine cover. Refer to Engine Cover Replacement .
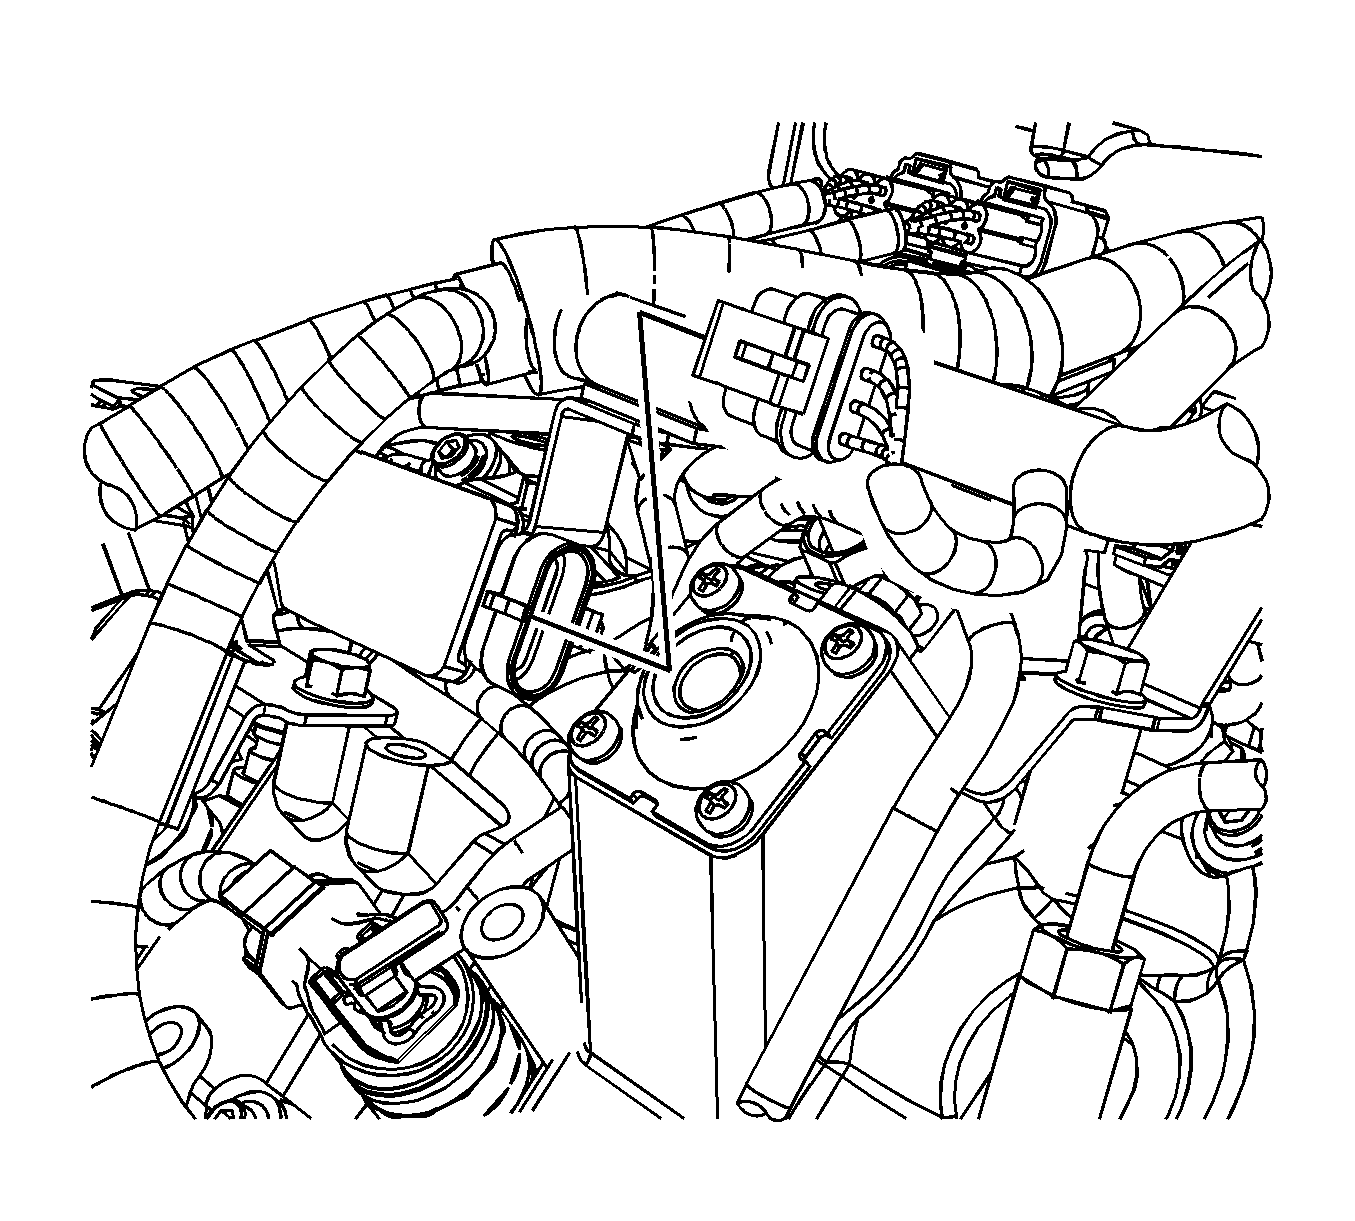
- Disconnect the engine wiring harness electrical connector from the turbocharger vane position sensor.
- Remove the turbocharger vane position sensor thermal reflective shield/tape.
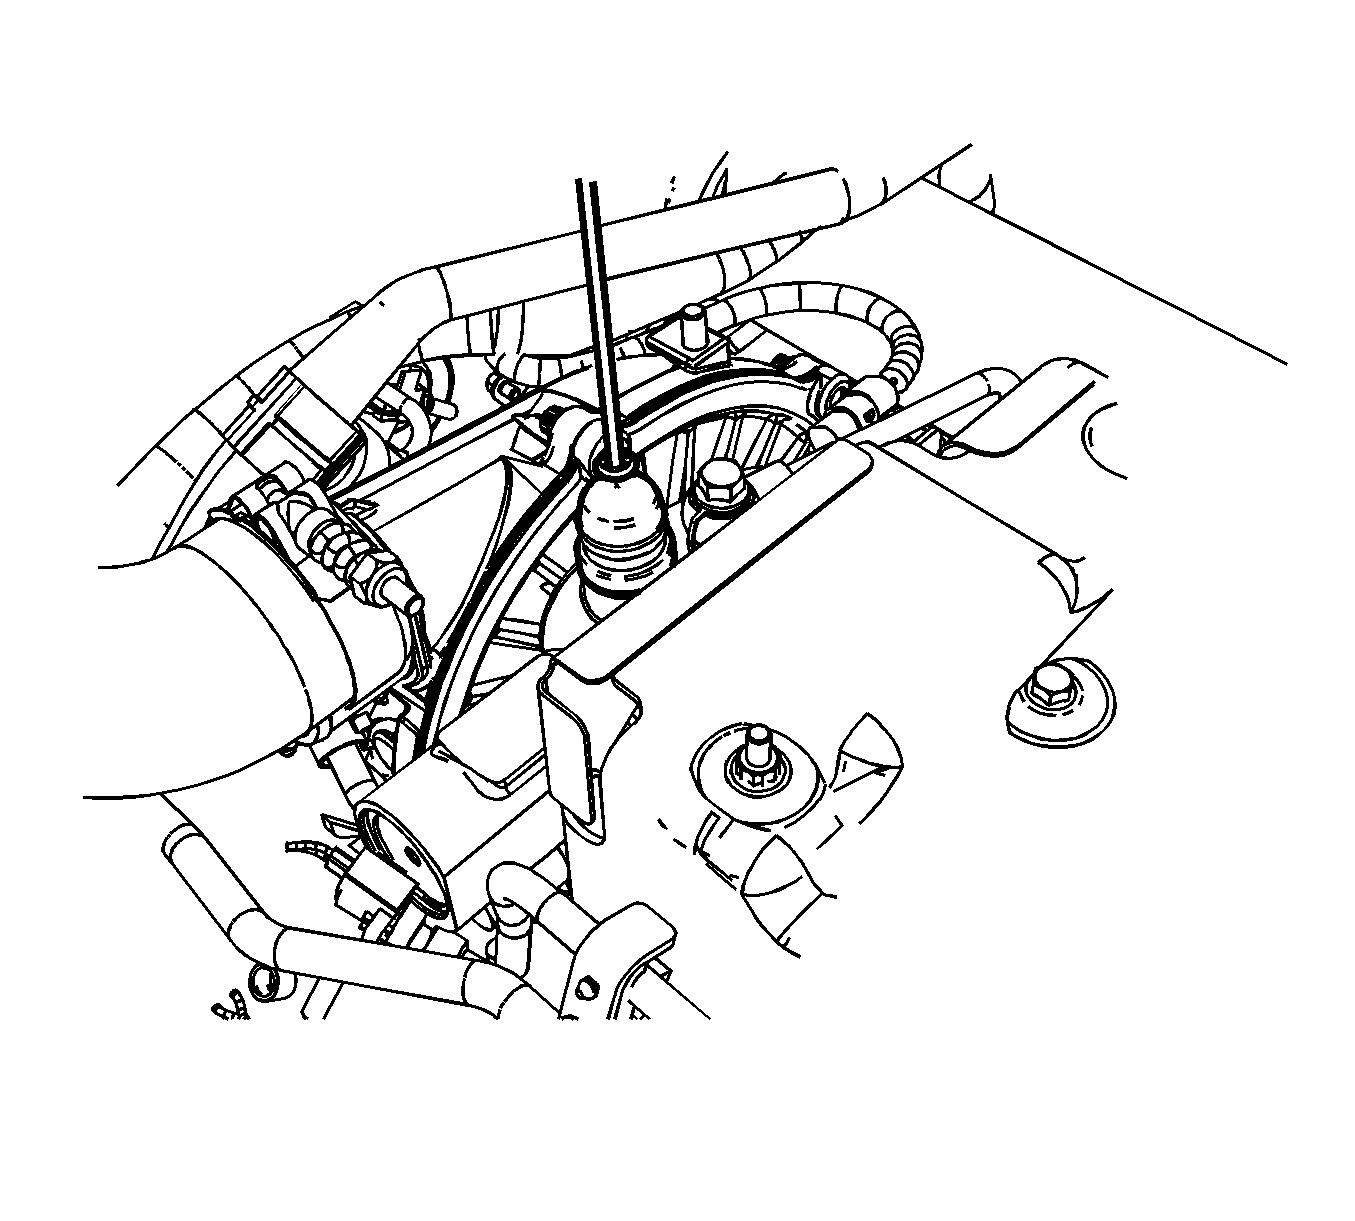
- Remove the turbocharger vane position sensor from the turbocharger.
Important: Note wire routing prior to removal.
Installation Procedure
- Install the turbocharger vane position sensor to the turbocharger.
- Connect the engine wiring harness electrical connector to the turbocharger vane position sensor.
- Install the thermal reflective shield/tape, refer to the following procedure.
Tighten
Tighten the sensor to 28 N·m (21 lb ft).
Thermal Reflective Shield/Tape Installation
Important:
• Ensure outside surface of sensor body is clean and oil-free prior to beginning the installation procedure. If sensor body surface is oily, use a mild degreaser in order to remove the oil from the surface. Ensure degreased surface is dry prior to
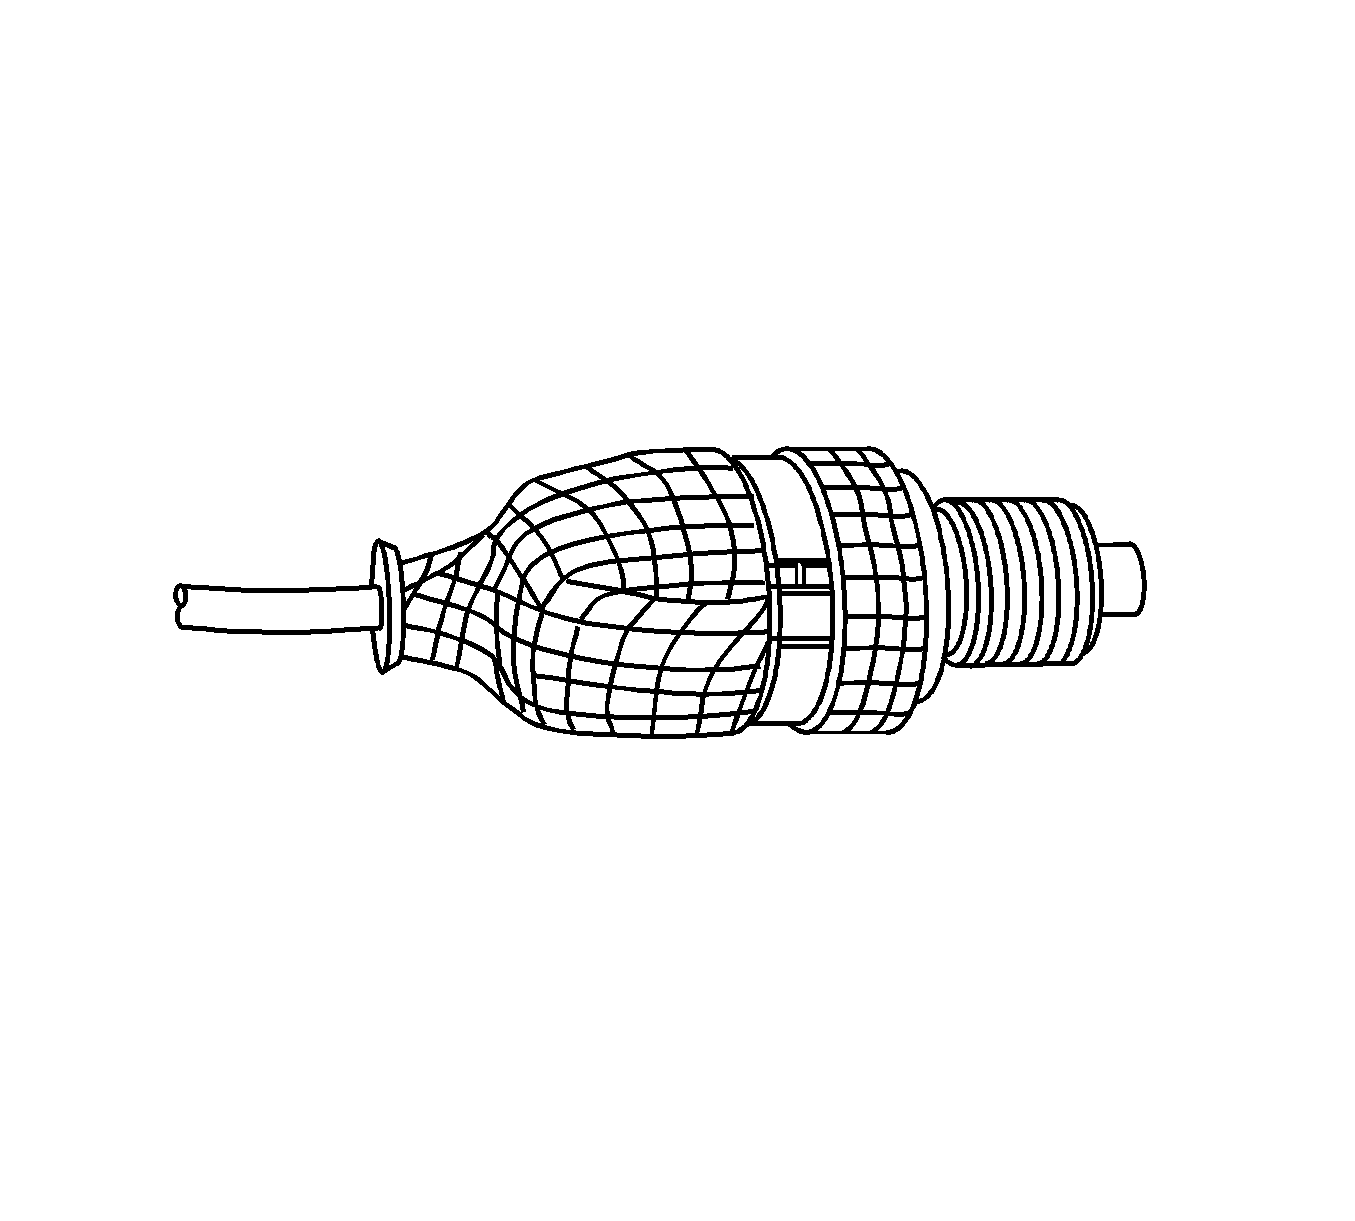
beginning the installation. • The thermal reflective shield and tie strap are to be installed over the vane position sensor AFTER the sensor is installed and torqued in the turbo centerhousing. Graphics below show the sensor prior to the installation process for clarity purposes
only.
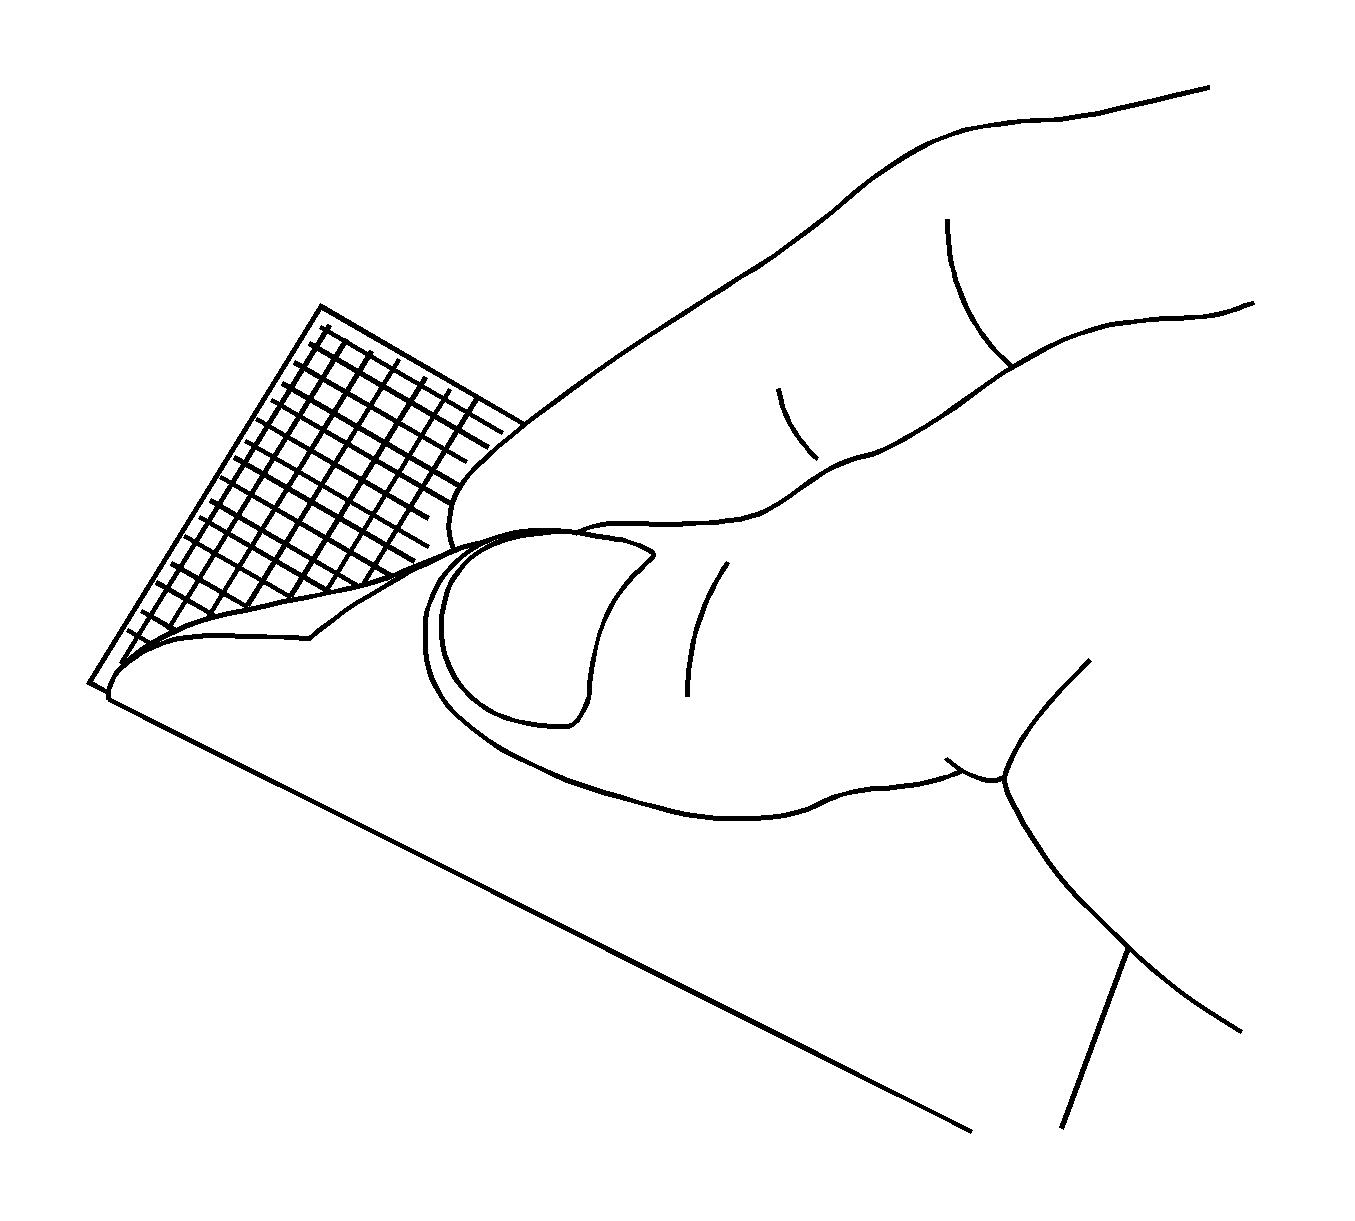
- Peel off the protective backing from the back side of the thermal reflective shield/tape.
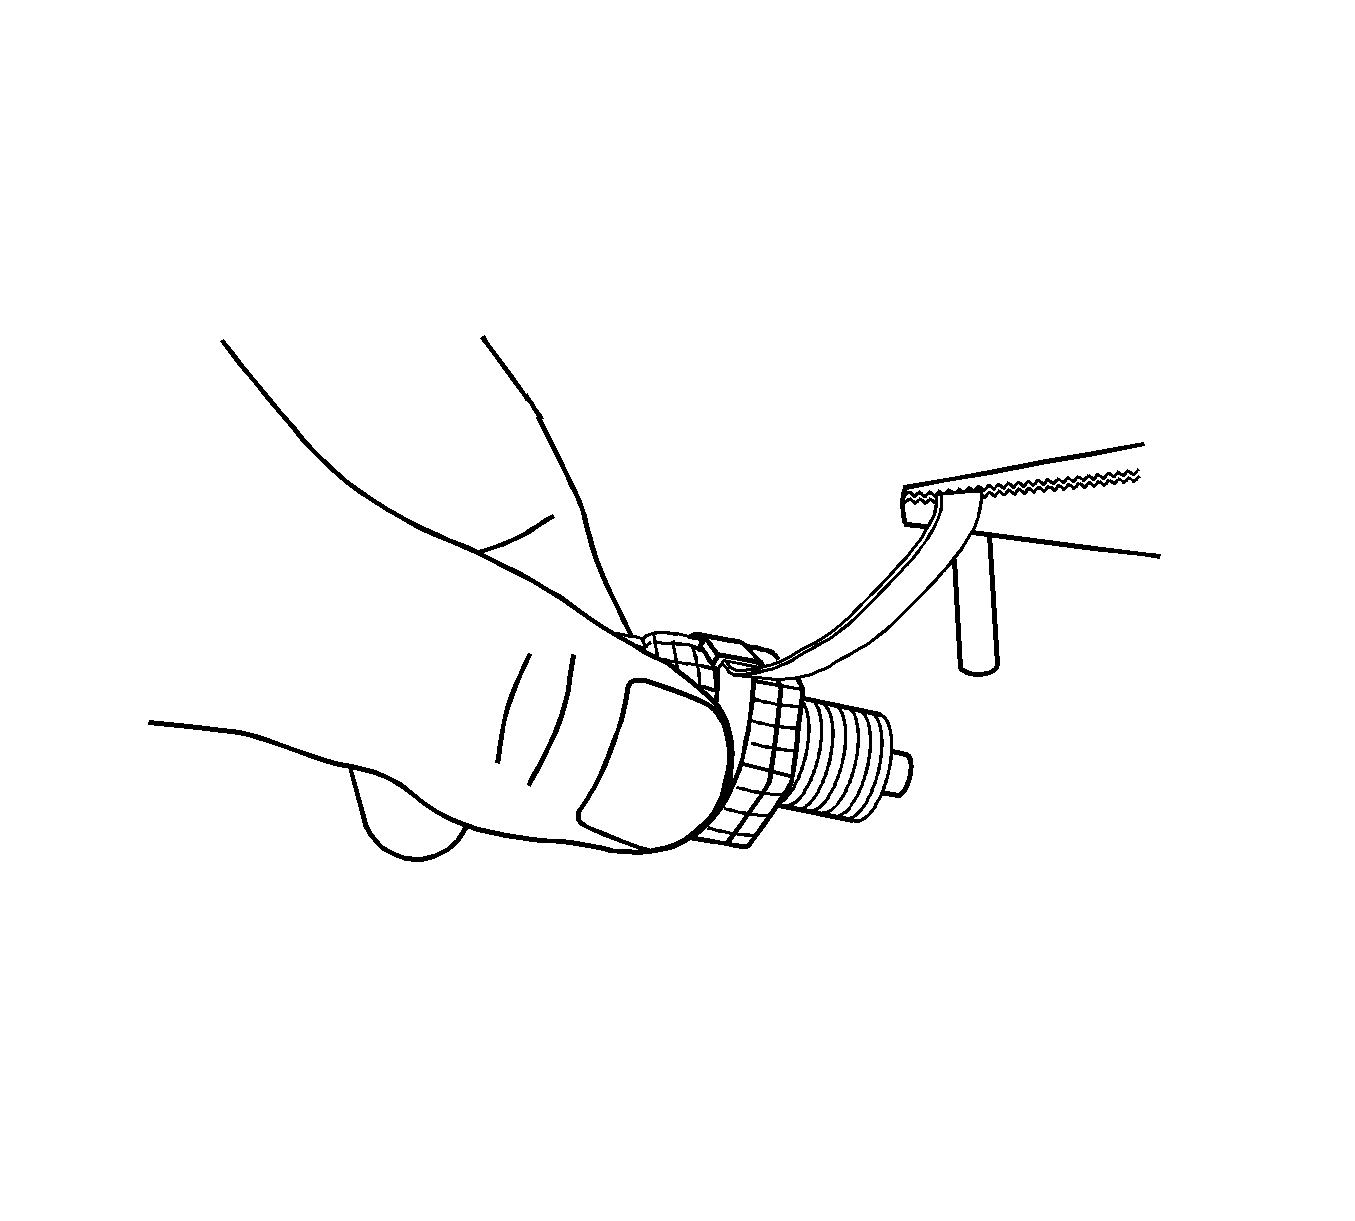
- With the sticky side of the shield/tape applied against the sensor body, align the bottom edge of the shield/tape with the bottom edge of the hex, and begin wrapping the sensor.
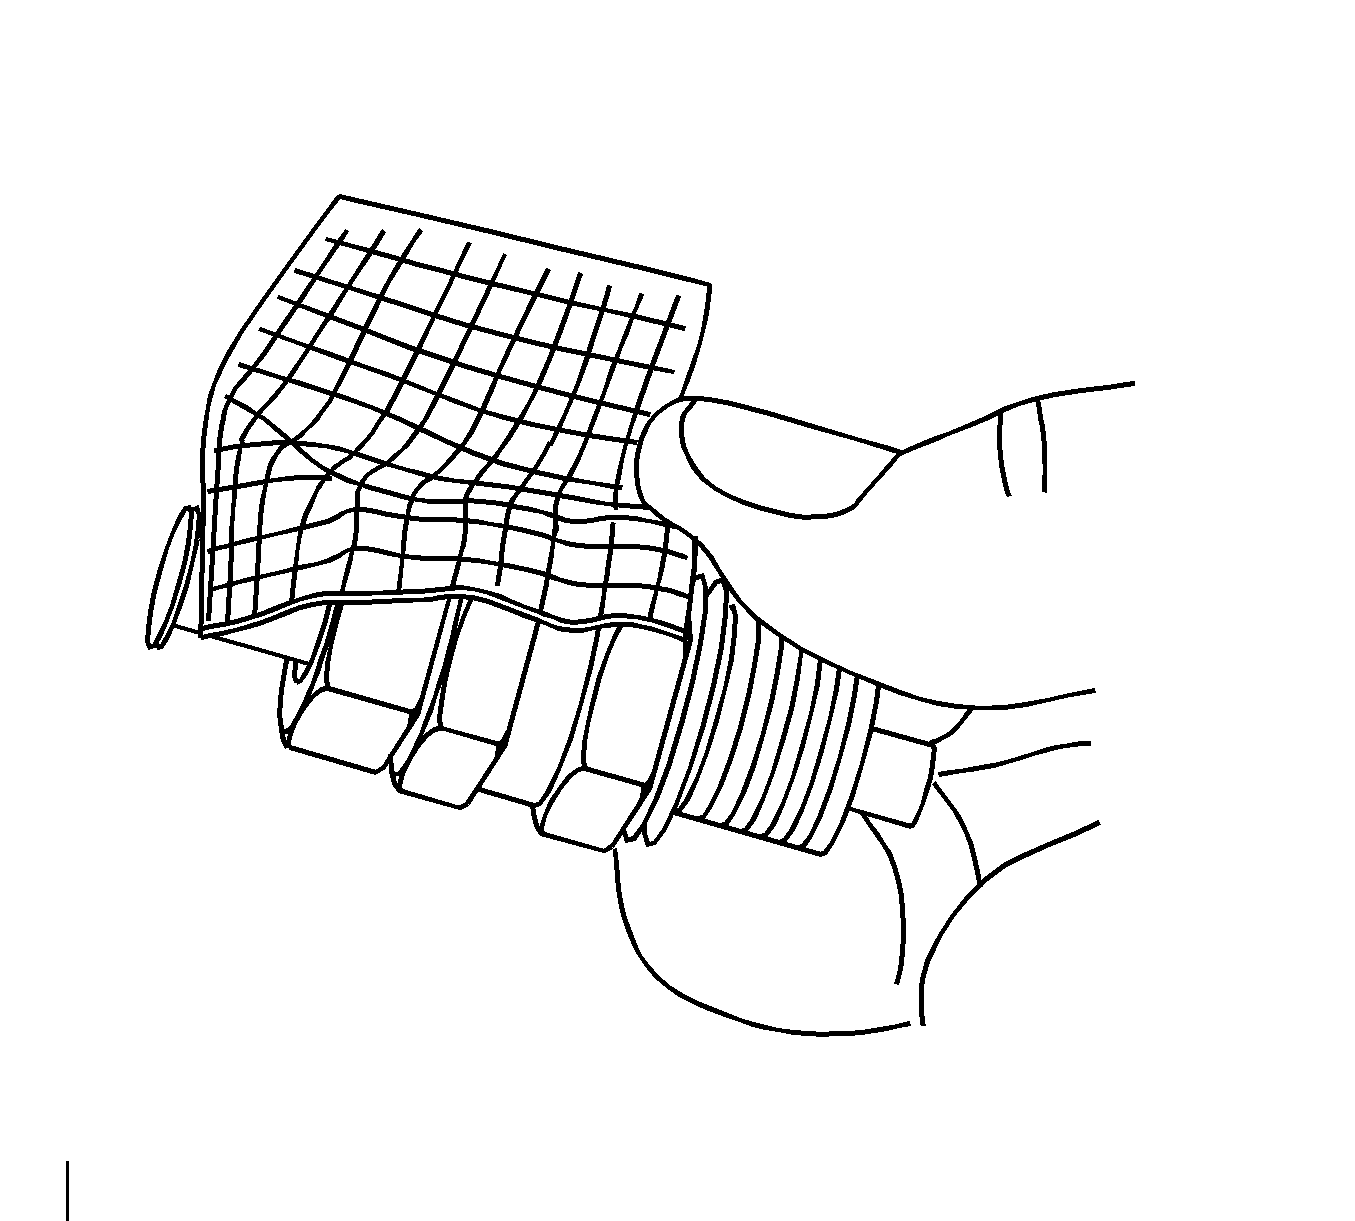
- Completely wrap the shield/tape around the sensor.
- Tuck the top of the shield/tape under the head of the brass cable crimp sleeve all around, allowing the shield/tape to fold over and overlap itself at the top.
- The top of the shield/tape is now shown tucked under the head of the brass cable crimp sleeve all around.
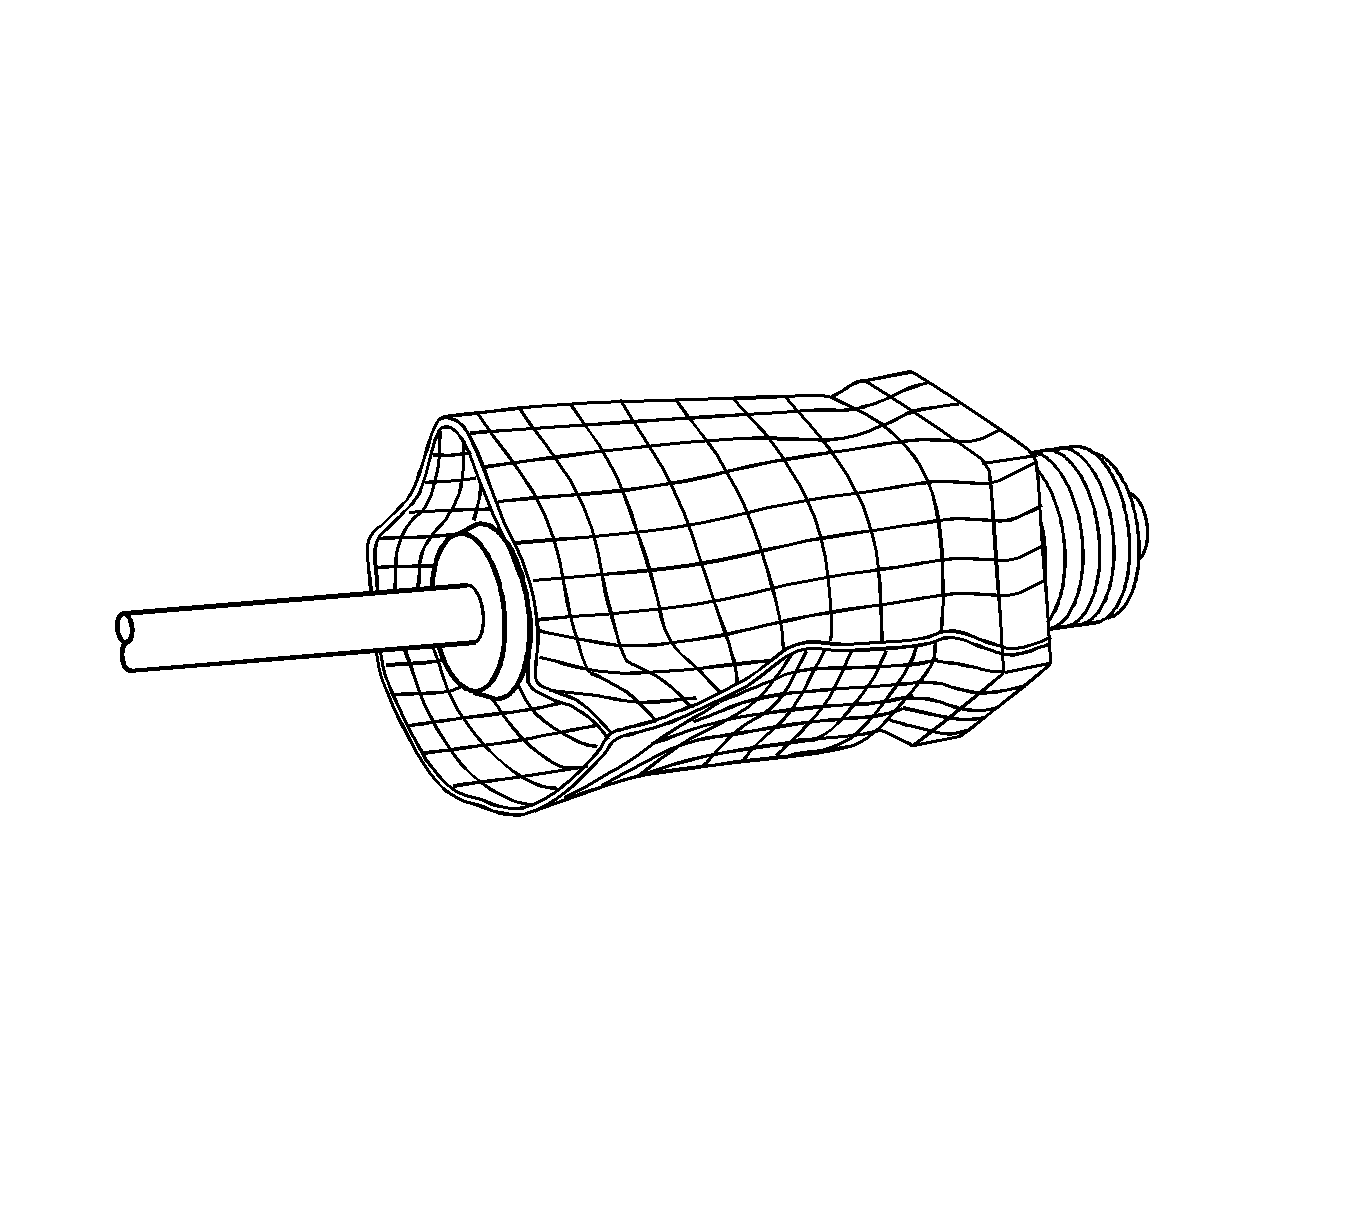
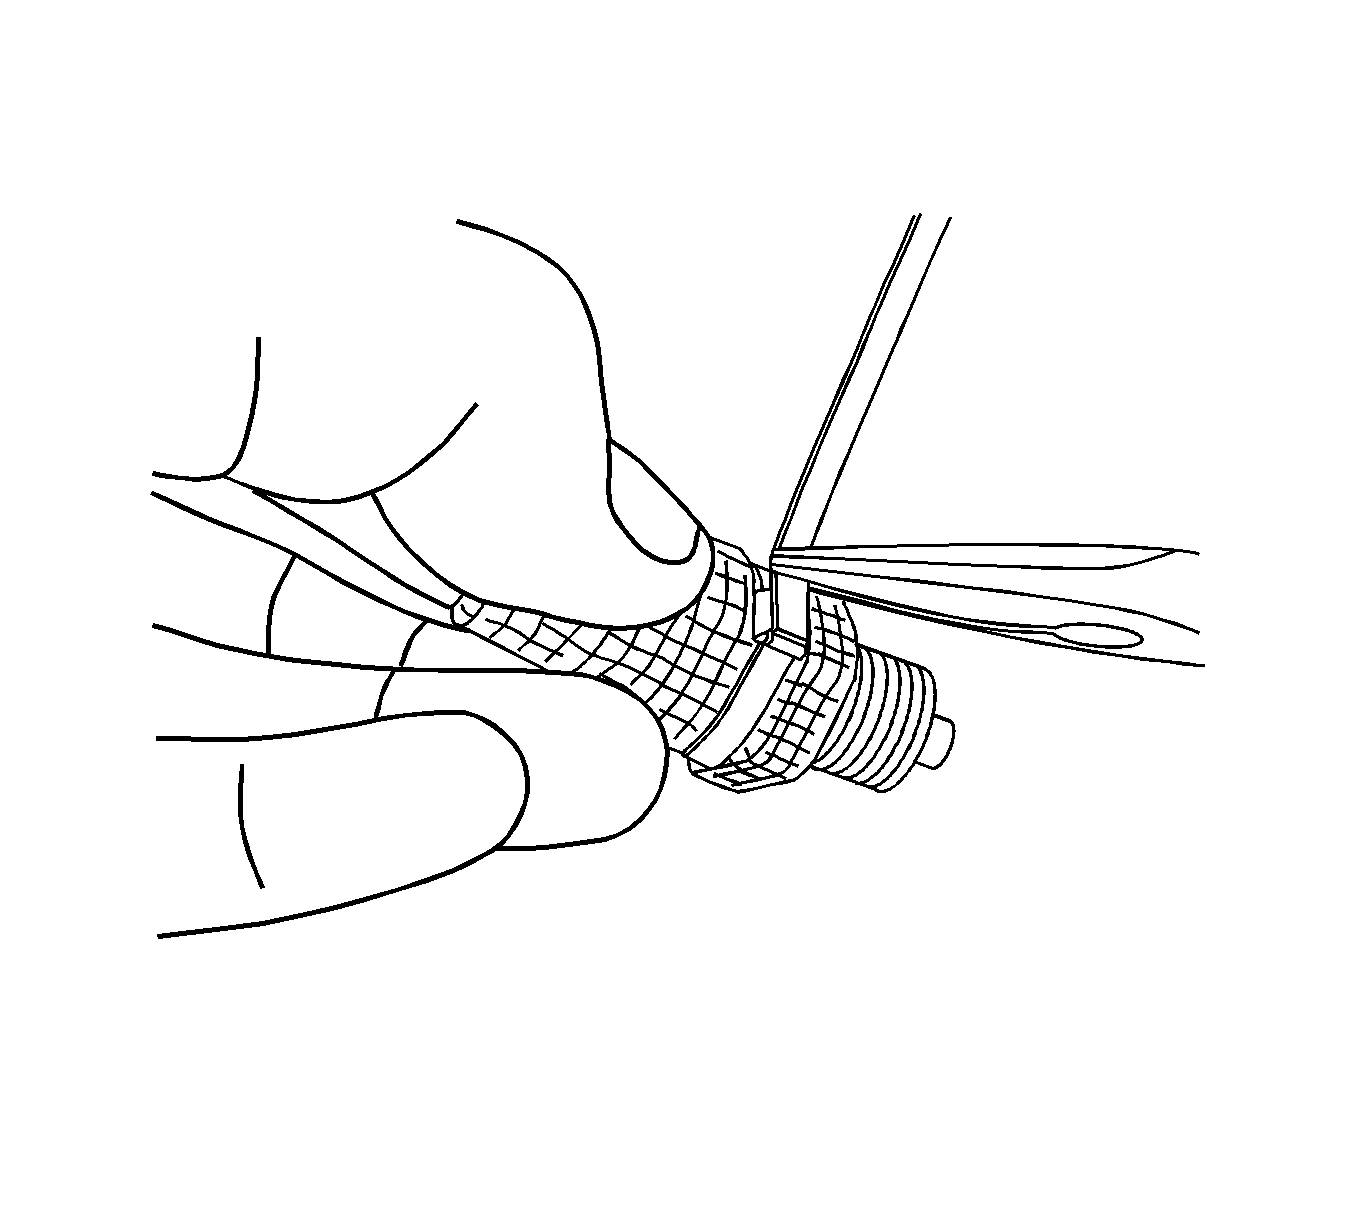
- Wrap the tie strap around the necked porting of the sensor body just above the hex. Insert the end of the strap in the buckle and tighten by pulling the end with needlenose pliers.
- Bend the end of the tie strap 180 degrees over the top of the buckle.
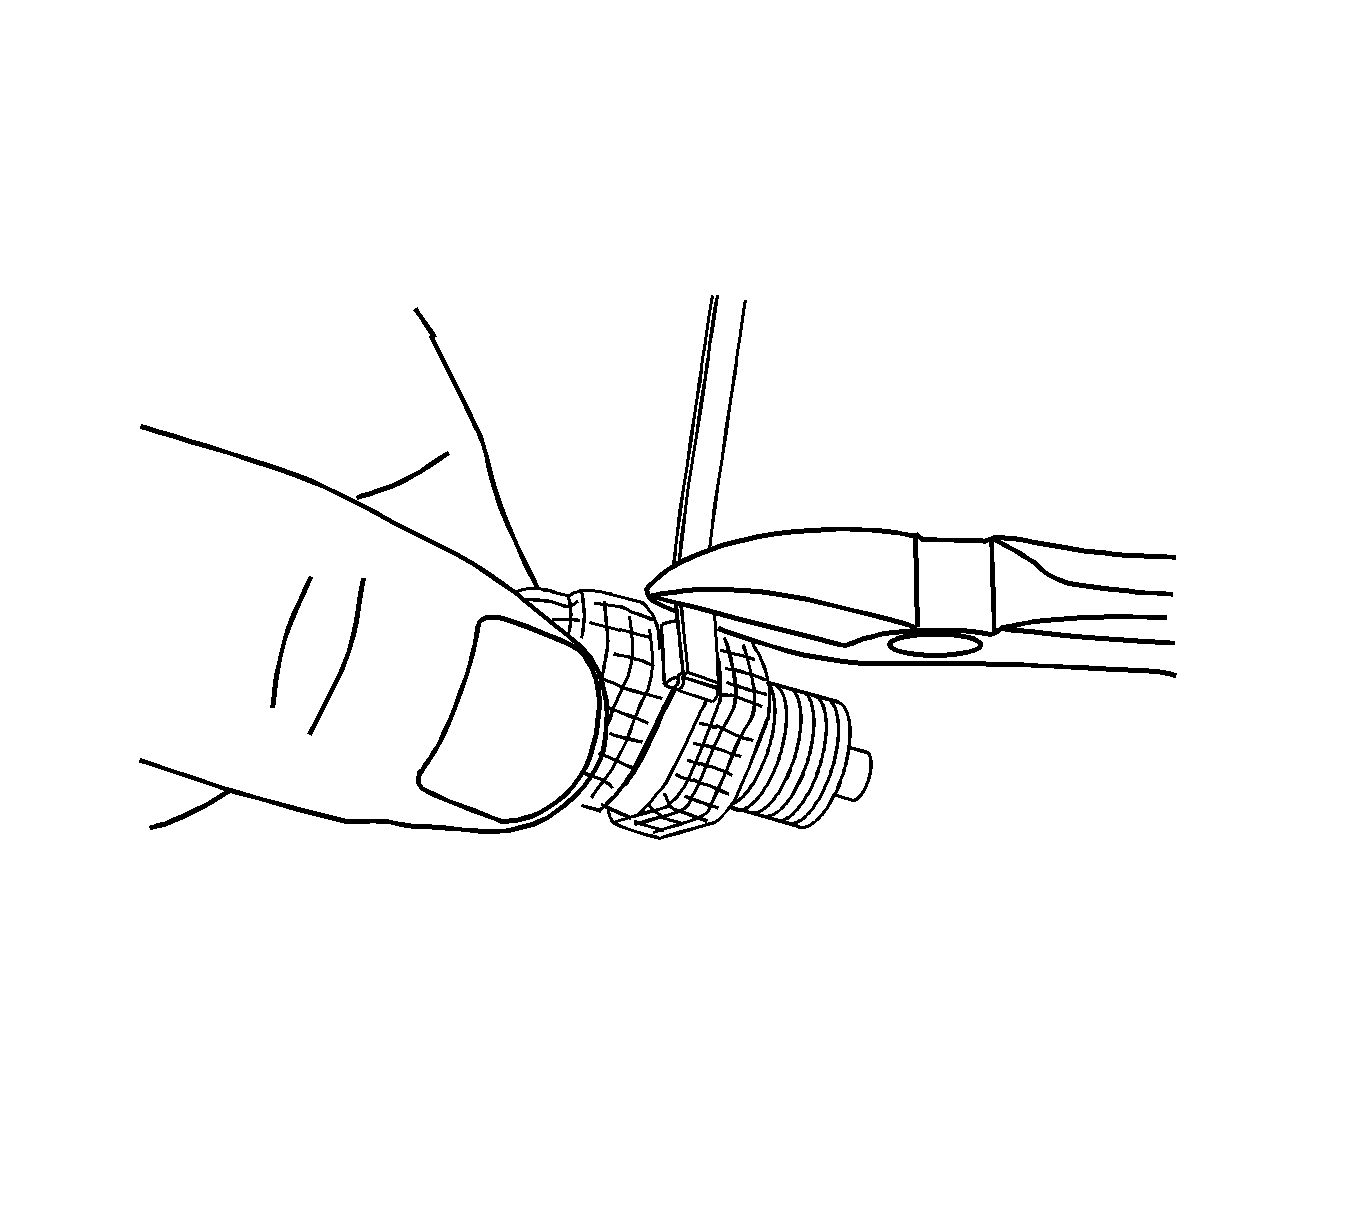
- Cut off the tie strap using side cutters so that the cut end will lie approximately over the center of the buckle. Push down the end of the tie strap over the buckle in order to minimize protrusion of the cut end or any sharp edges.
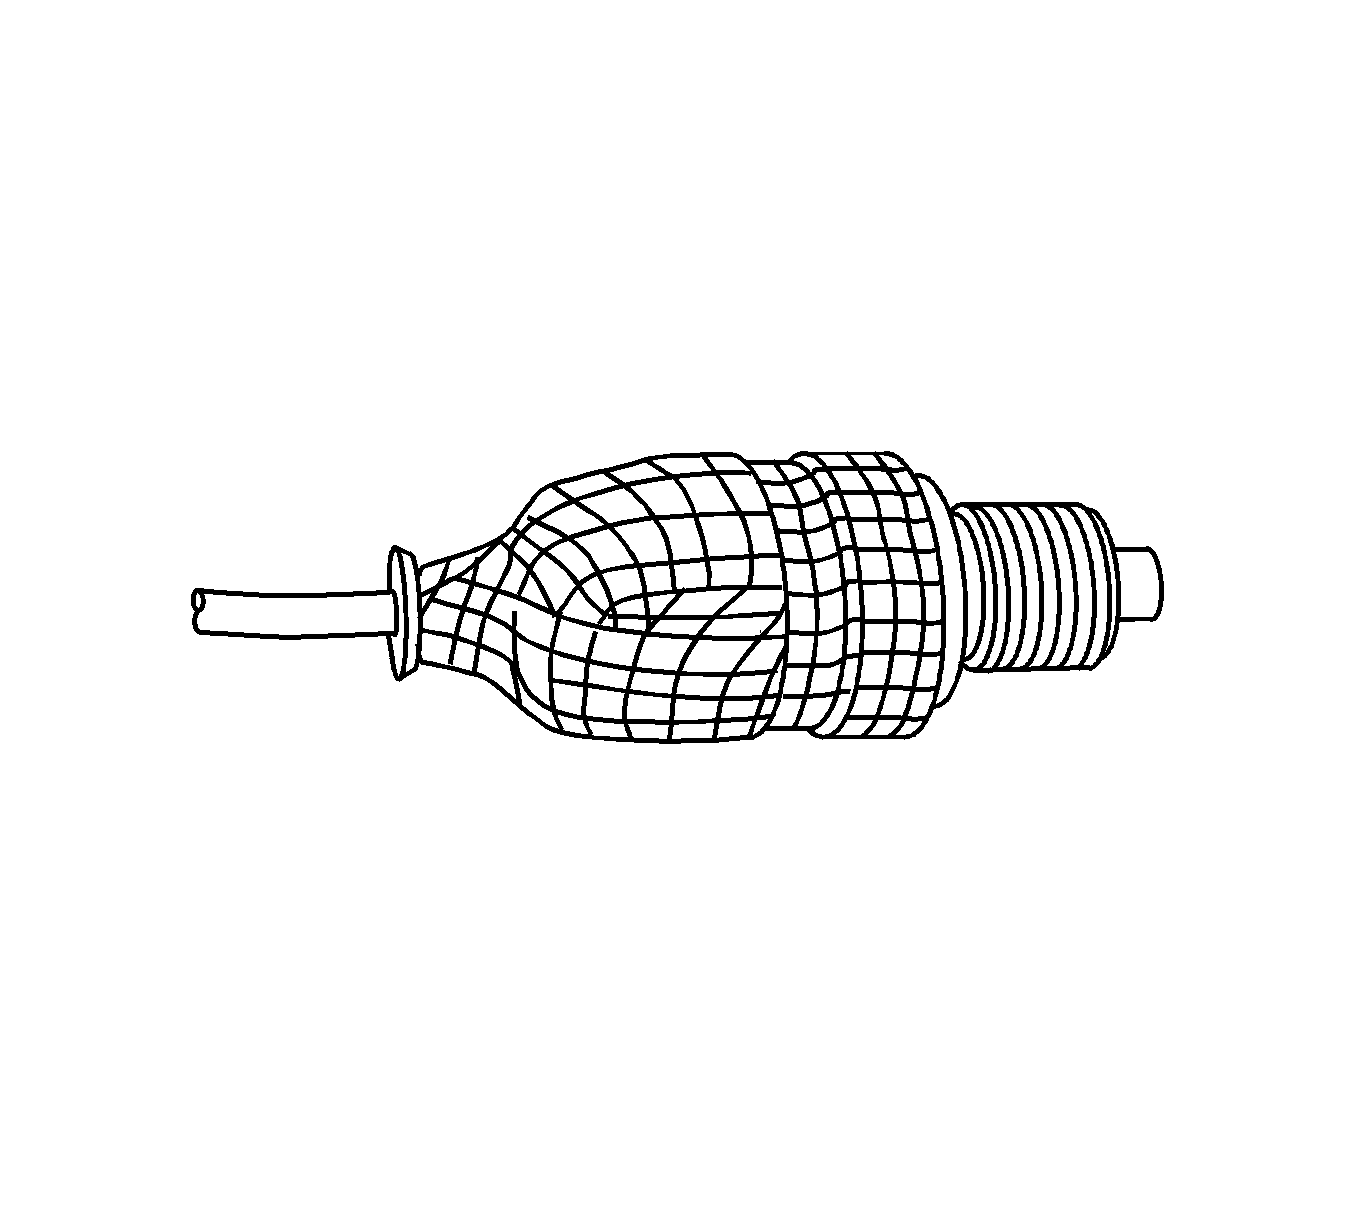
- Finished installation is shown.
- Install the engine cover. Refer to Engine Cover Replacement .
- Perform the turbocharger learn procedure. Refer to Turbocharger Learn .