Removal Procedure
Important: Mark, organize and sort the cylinder head components. Return the components to their original location during reassembly.
- Remove the valve rocker arm cover. Refer to Valve Rocker Arm Cover Replacement - Left Side or Valve Rocker Arm Cover Replacement - Right Side .
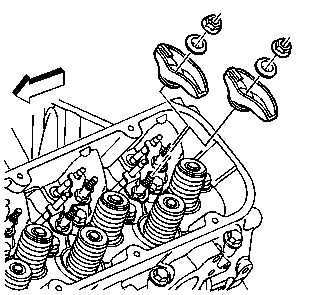
- Remove the valve rocker arm nuts, the valve rocker arm balls, and valve rocker arms.
- Remove the valve push rods.
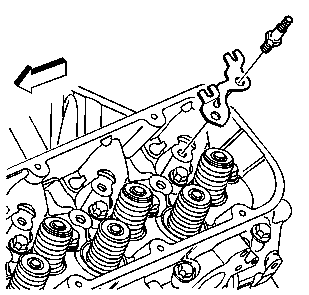
- Remove the valve rocker arm studs and push rod guide plates, if necessary.
- Clean and inspect the valve rocker arms and push rods.
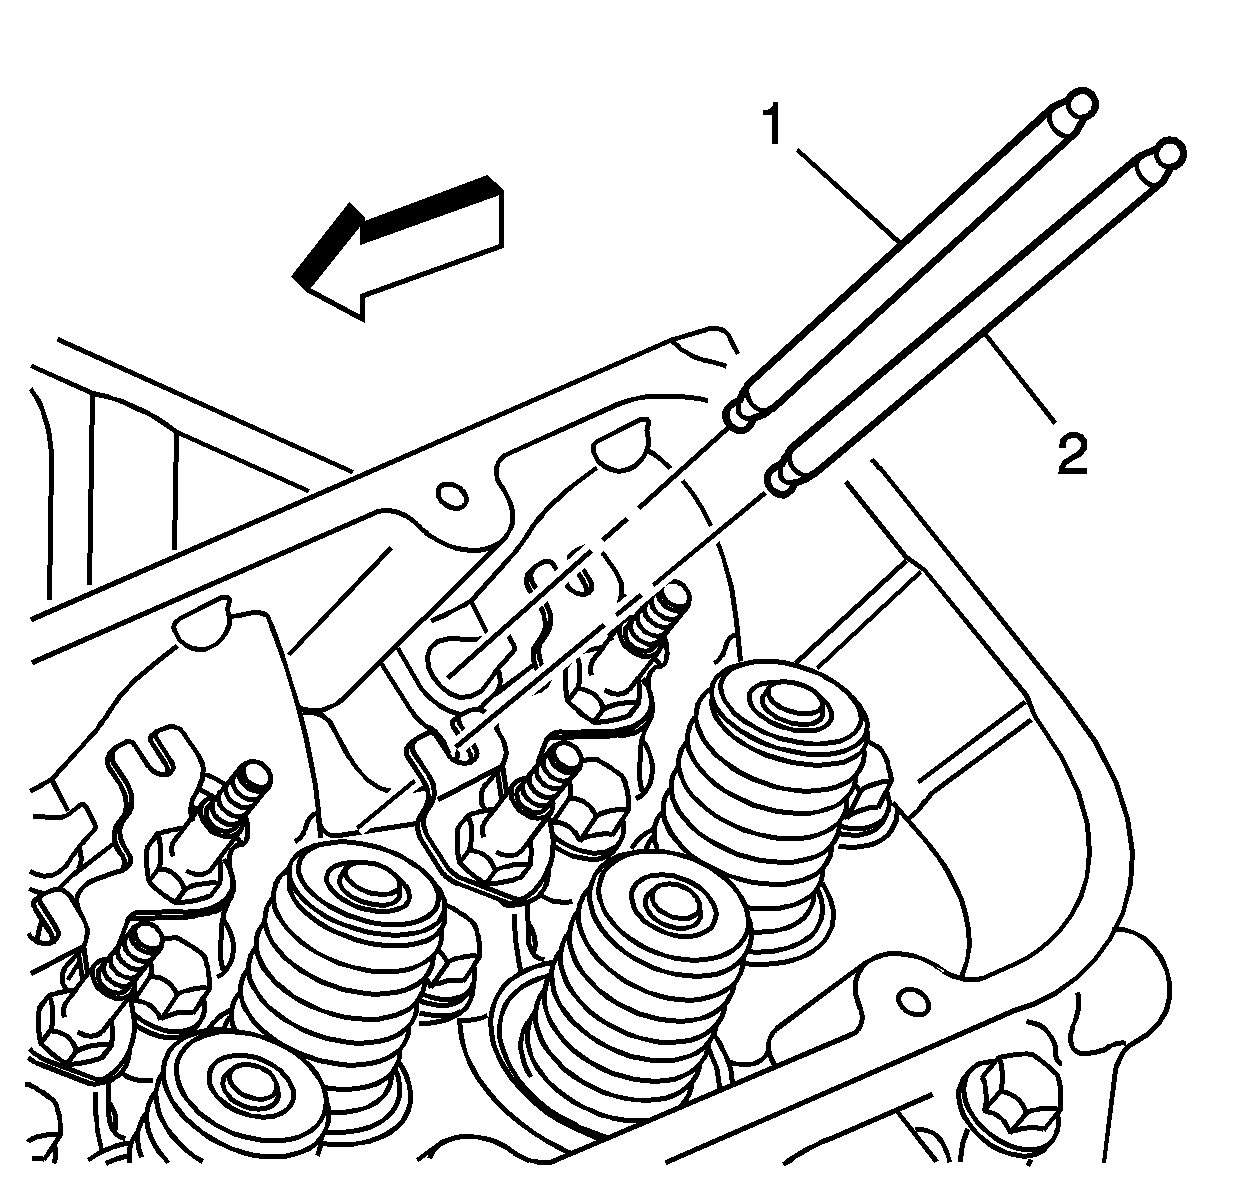
Important: The exhaust valve push rods (2) are longer than the intake valve push rods (1).
Installation Procedure
Important: Be sure to keep parts in order. Parts must be put back from where they were removed.
- Apply sealer GM P/N 12346004 (Canadian P/N 10953480) or equivalent to the valve rocker arm stud-to-cylinder head threads.
- Install the push rod guides and valve rocker arm studs.
- Install the valve push rods.
- Coat the valve rocker arm and valve rocker arm ball bearing surfaces with prelube GM P/N 1052367 (Canadian P/N 992869) or equivalent.
- Install the valve rocker arms, the valve rocker arm balls and the valve rocker arm nuts.
- Install the valve rocker arm cover. Refer to Valve Rocker Arm Cover Replacement - Left Side or Valve Rocker Arm Cover Replacement - Right Side .
Notice: Use the correct fastener in the correct location. Replacement fasteners must be the correct part number for that application. Fasteners requiring replacement or fasteners requiring the use of thread locking compound or sealant are identified in the service procedure. Do not use paints, lubricants, or corrosion inhibitors on fasteners or fastener joint surfaces unless specified. These coatings affect fastener torque and joint clamping force and may damage the fastener. Use the correct tightening sequence and specifications when installing fasteners in order to avoid damage to parts and systems.
Tighten
Tighten the valve rocker arm studs to 50 N·m (37 lb ft).
Important: The exhaust valve push rods (2) are longer than the intake valve push rods (1).
Tighten
Tighten the valve rocker arm nuts slowly to 25 N·m (18 lb ft), while guiding the tips of the rocker arms over the tips of the valves.
