Outside Rearview Mirror Glass Replacement - Lower First Design
Removal Procedure
Caution: When working with any type of glass or sheet metal with exposed or rough
edges, wear approved safety glasses and gloves in order to reduce
the chance of personal injury.
- Place both upper and lower mirror lens in the downward position.
| 1.1. | View the back side of the lower mirror lens, if the mirror lens is being retained by a snap-fits ring or plastic retainer design. |
| 1.2. | If the mirror lens has the snap-fits ring do the following. |
If the mirror lens has plastic retainers use the second design in Sub-Section Mirrors.
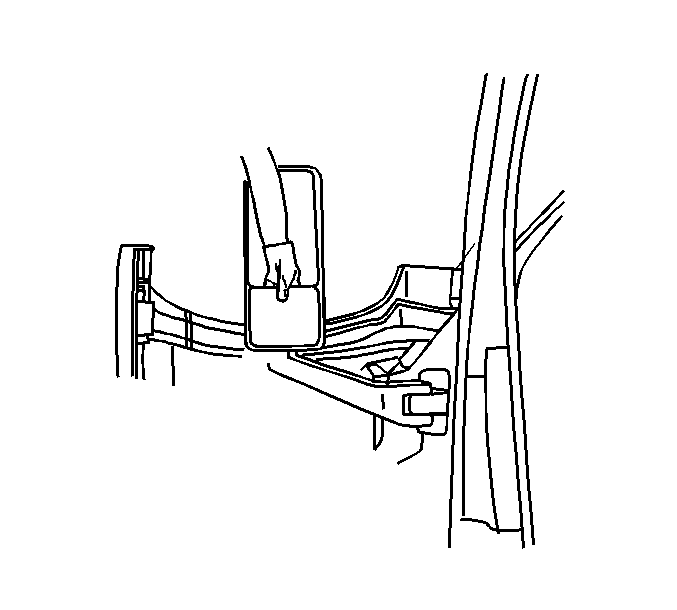
- Remove the damaged mirror back and the glass-assembly from the mirror housing by completing the following steps:
| 2.1. | Insert your fingers as far as possible behind the mirror back toward the center of the back. |
| 2.2. | With force sufficient in order to disengage the snap-fits from the adjuster mechanism, pull the mirror back out of the housing. |
- Inspect the adjuster mechanism for damage.
- Remove the mirror face from the mirror housing.
- Remove the mirror attachment ring from the old mirror lens.
Installation Procedure

- Install the attachment ring to the mirror lens, If damaged replace it.
- Inspect the components for any damage. Ensure that the mirror back and the glass sub-assembly have all the snap-fit hooks in place.
- Align the mirror back snap-fit hooks with the adjuster mechanism ramps.
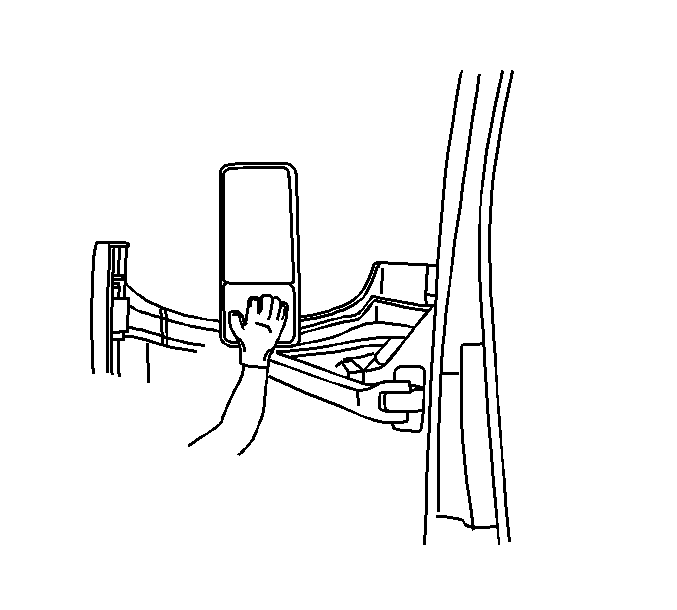
- Gently press the mirror back into the adjuster mechanism with the palm of the hand on the center of the glass. Use the palm of the hand to rotate the glass about the glass pivot until the engagement of the snap-fit hooks.
- Perform the following procedure in order to ensure that the mirror glass is fully installed:
| 5.1. | Place foam below the mirror assembly to catch the glass if it should fall. |
| 5.2. | Hold the assembly so that the mirror glass is face down. While taking care that the mirror hosing is not scratched, slap the upward surface of the housing. The mirror glass should stay retained in the housing. |
- Observe the following conditions that indicate a successful installation:
| • | The mirror back remains firmly attached to the motor pack. |
| • | Electrical/Manual action of the mirror is possible. |
