For 1990-2009 cars only
Front Floor Console Trim Plate Replacement Impala
Removal Procedure
- Apply the park brake.
- Shift the transaxle shift lever from Park to 2.
- Open the storage compartment door.
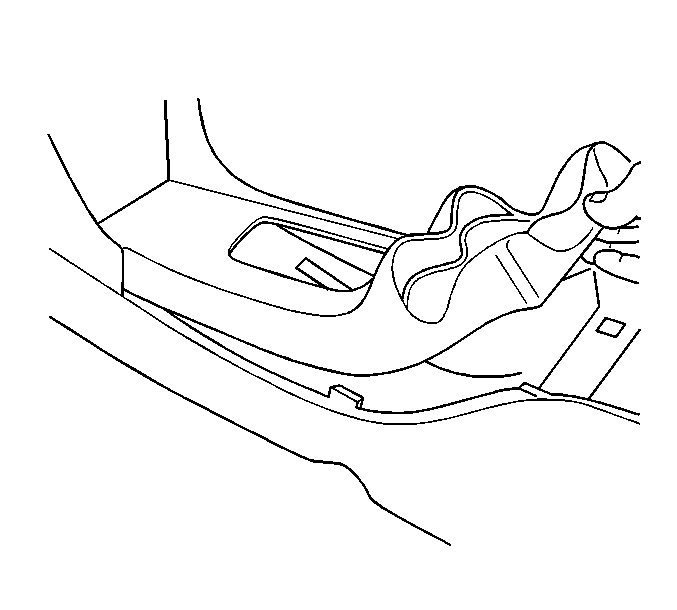
- Carefully pry the rear of the trim plate away from the front floor console.
- Pull the trim plate towards the rear of the vehicle in order to disengage the front of the trim plate.
- Disconnect the electrical connector at the rear of the front floor console trim plate.
- Rotate the trim plate 180 degrees. Lift the trim plate over the shift control handle.
- Disconnect the wiring harness retainers from the trim plate.
- Disconnect the ashtray lamp and the wiring harness.
- Disconnect the cigar lighter electrical connector.
- Remove the ashtray.
- Remove the front floor console trim plate.

Installation Procedure
- Install the ashtray.
- Connect the cigar lighter electrical connector.
- Install the ashtray lamp and the wiring harness.
- Connect the wiring harness retainers to the trim plate.
- Lower the trim plate over the shift control handle. Rotate the trim plate 180 degrees.
- Connect the electrical connector at the rear of the trim plate.
- Engage the trim plate. Ensure that the retainers are completely engaged.
- Close the storage compartment door.
- Shift the transaxle shift lever from 2 to Park.
- Release the park brake.

Front Floor Console Trim Plate Replacement Monte Carlo
Removal Procedure
- Apply the park brake.
- Shift the transaxle shift lever from Park to 2.
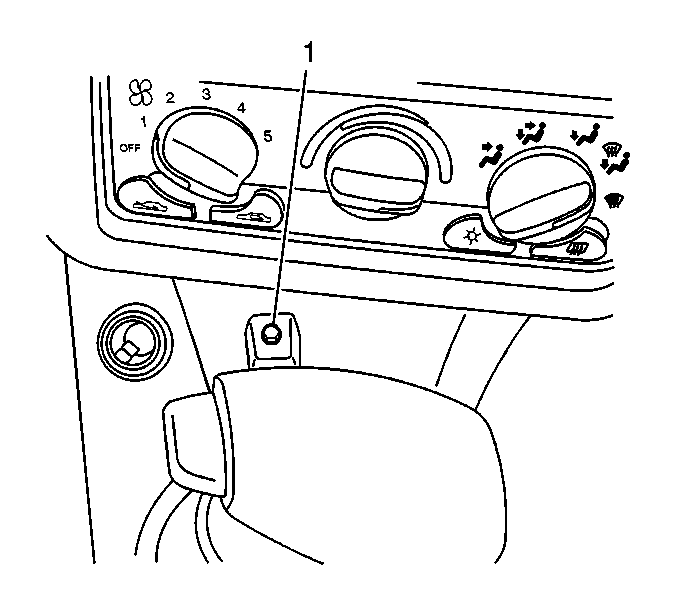
- Remove the front floor console trim plate screw (1) located between the instrument panel and the shift lever.
- Open the storage compartment door.
- Lift the trim plate up and slightly rearward.
- Remove the wiring harnesses from the retainers.
- Disconnect the traction control switch electrical connector.
- Remove the shift lever trim plate.
- Disconnect the heated seat switches from the trim plate.
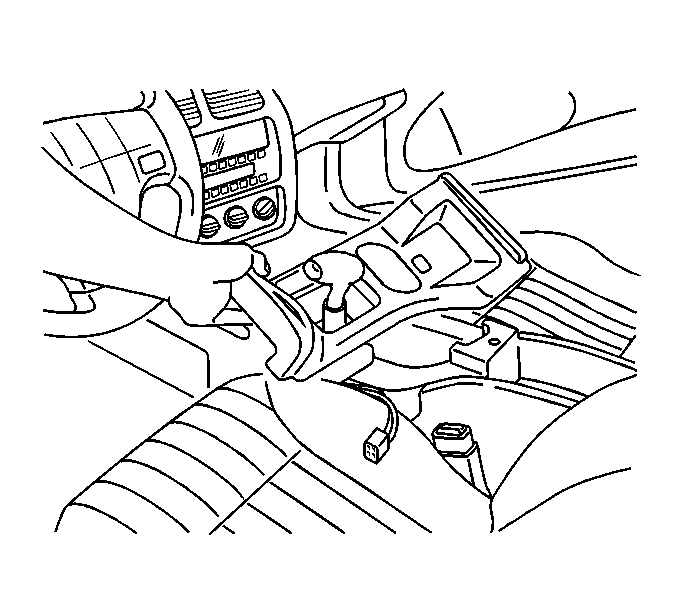
- Remove the trim plate by lifting the trim plate slightly and rotating the trim plate 180 degrees. Lift the trim plate over the shift control handle.
- Disconnect the electrical connector from the cigarette lighter.


Installation Procedure
- Lower the front floor console trim plate over the shift control handle as shown. Rotate the trim plate 180 degrees.
- Connect the electrical connector to the cigarette lighter.
- Connect the heated seat switches to the trim plate:
- Install the shift lever trim plate.
- Connect the traction control switch electric connector.
- Install the wiring harnesses to the retainers.
- Install the trim plate by pressing down on the retainers until fully seated.
- Install the trim plate screw (1) located between the instrument panel and the shift lever.
- Shift the transaxle shift lever from 2 to Park.
- Release the park brake.

| • | The driver seat connector is white. |
| • | The passenger seat connector is black. |

Notice: Use the correct fastener in the correct location. Replacement fasteners must be the correct part number for that application. Fasteners requiring replacement or fasteners requiring the use of thread locking compound or sealant are identified in the service procedure. Do not use paints, lubricants, or corrosion inhibitors on fasteners or fastener joint surfaces unless specified. These coatings affect fastener torque and joint clamping force and may damage the fastener. Use the correct tightening sequence and specifications when installing fasteners in order to avoid damage to parts and systems.
Tighten
Tighten the screw to 2 N·m (18 lb in).
