For 1990-2009 cars only
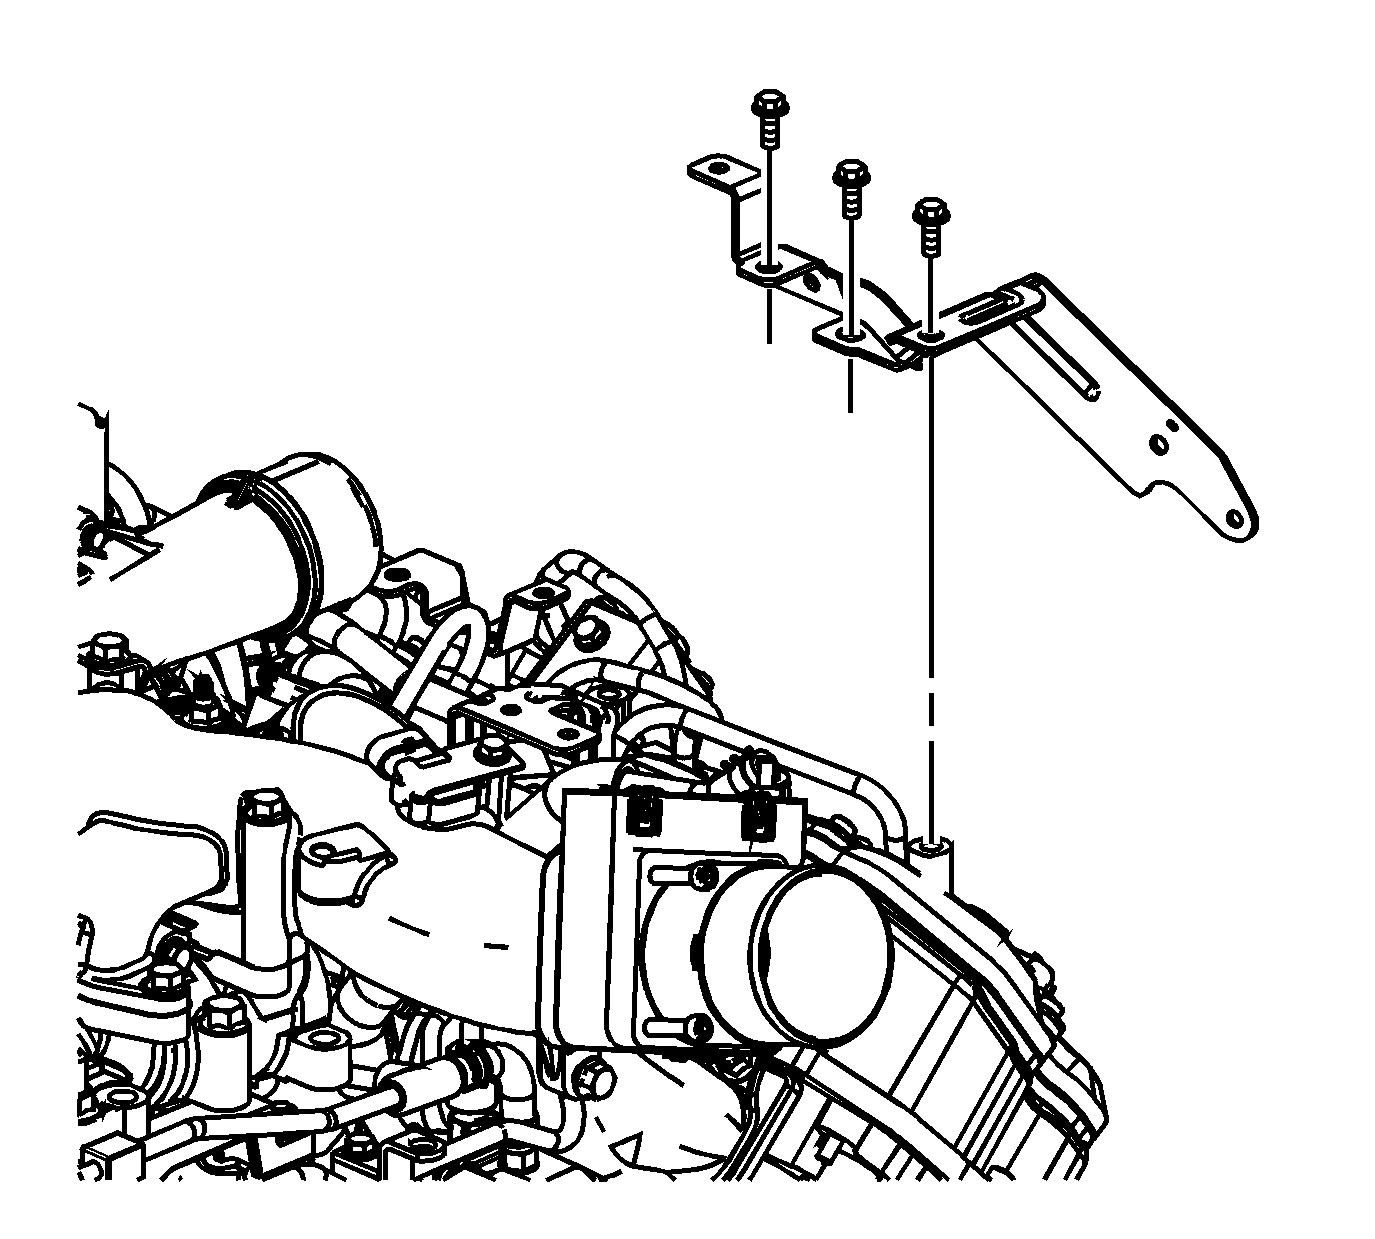
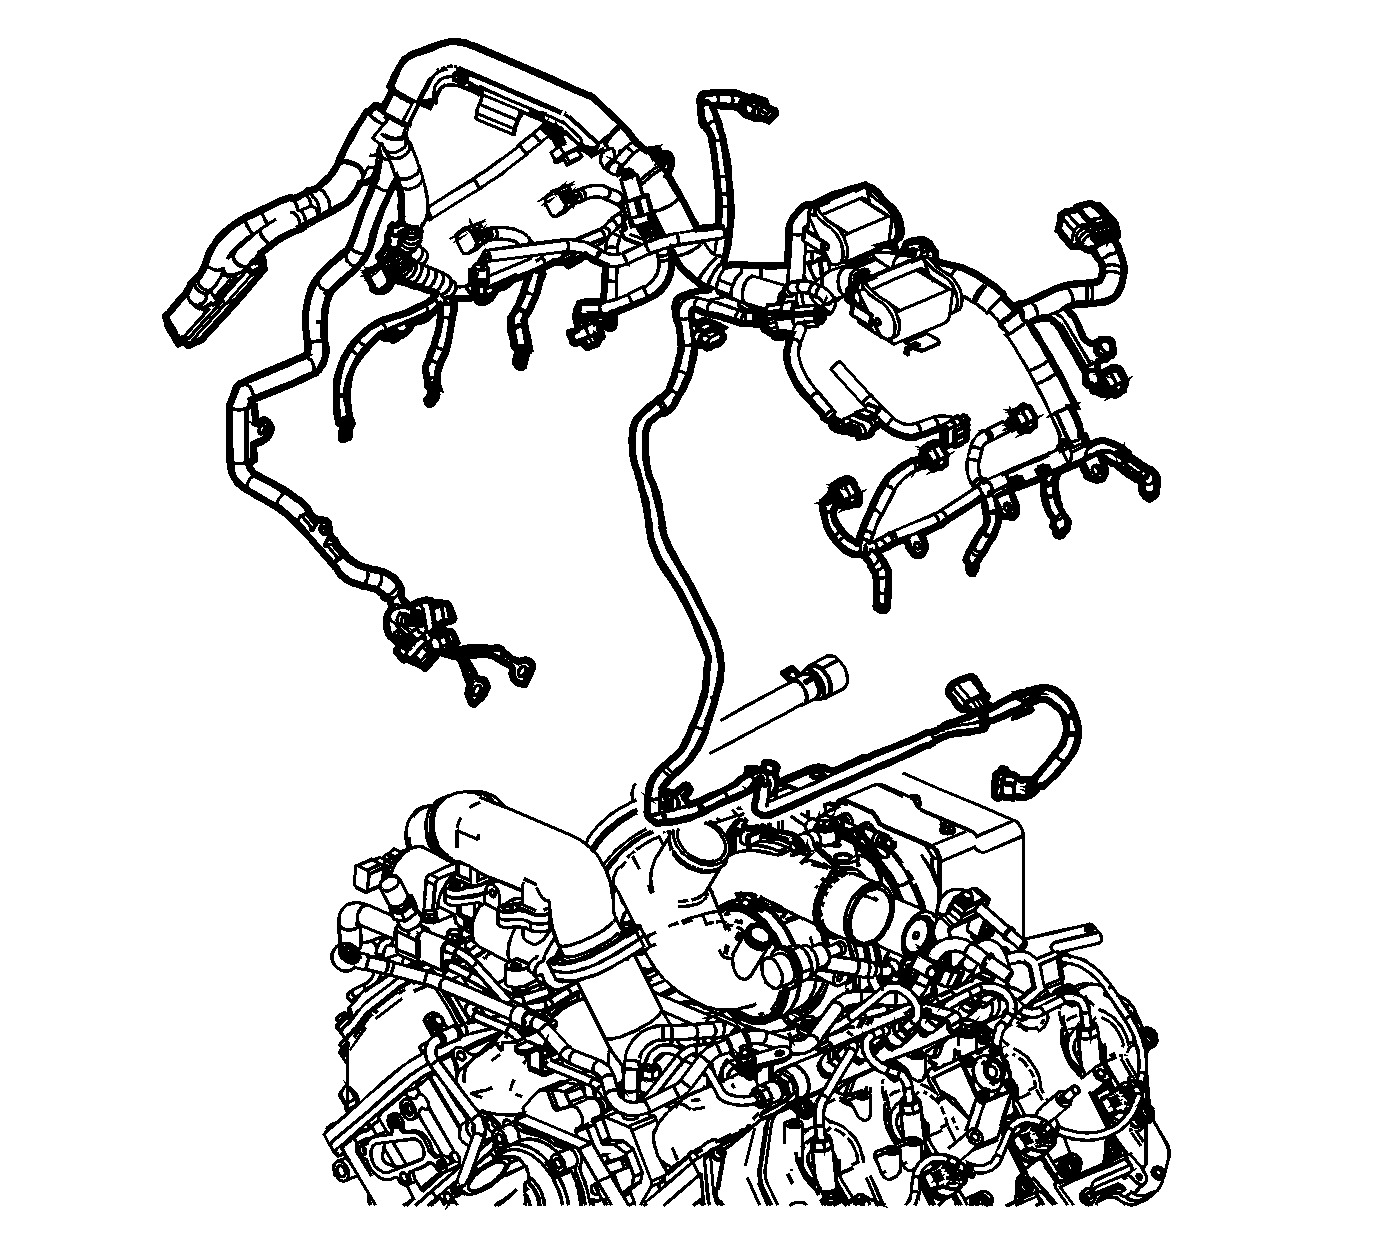
- Install the engine harness bracket.
- Install the engine harness bracket bolts and tighten to 10 N·m (89 lb in).
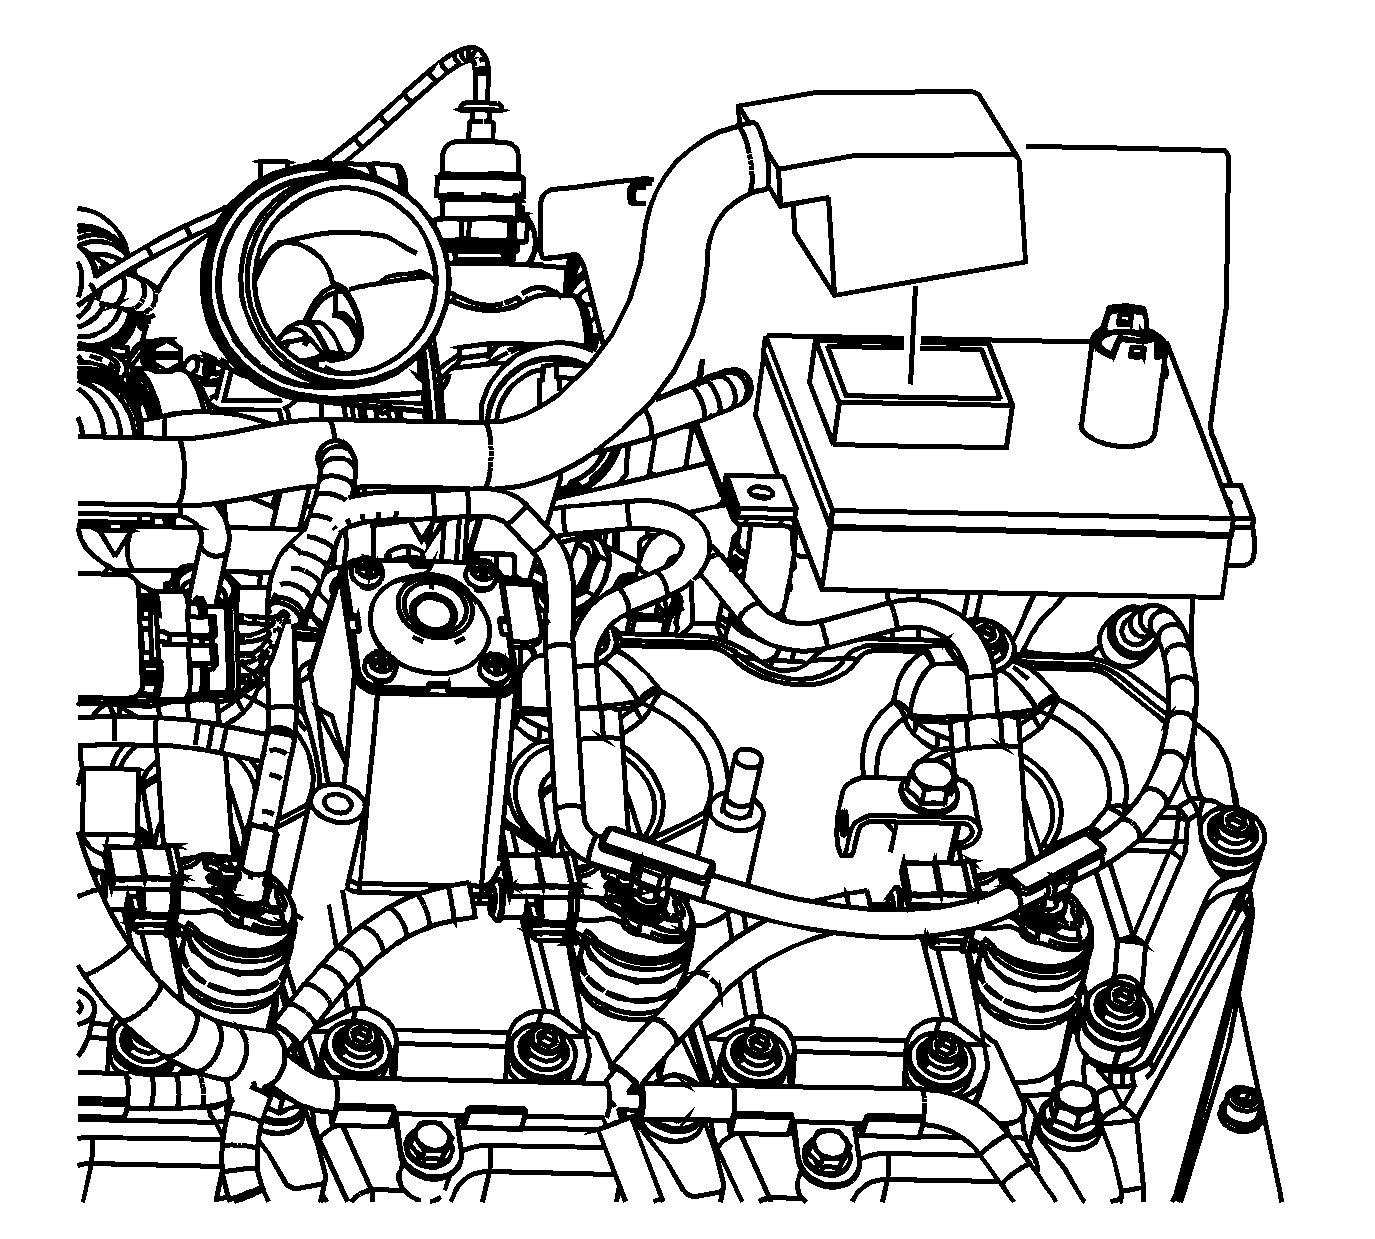
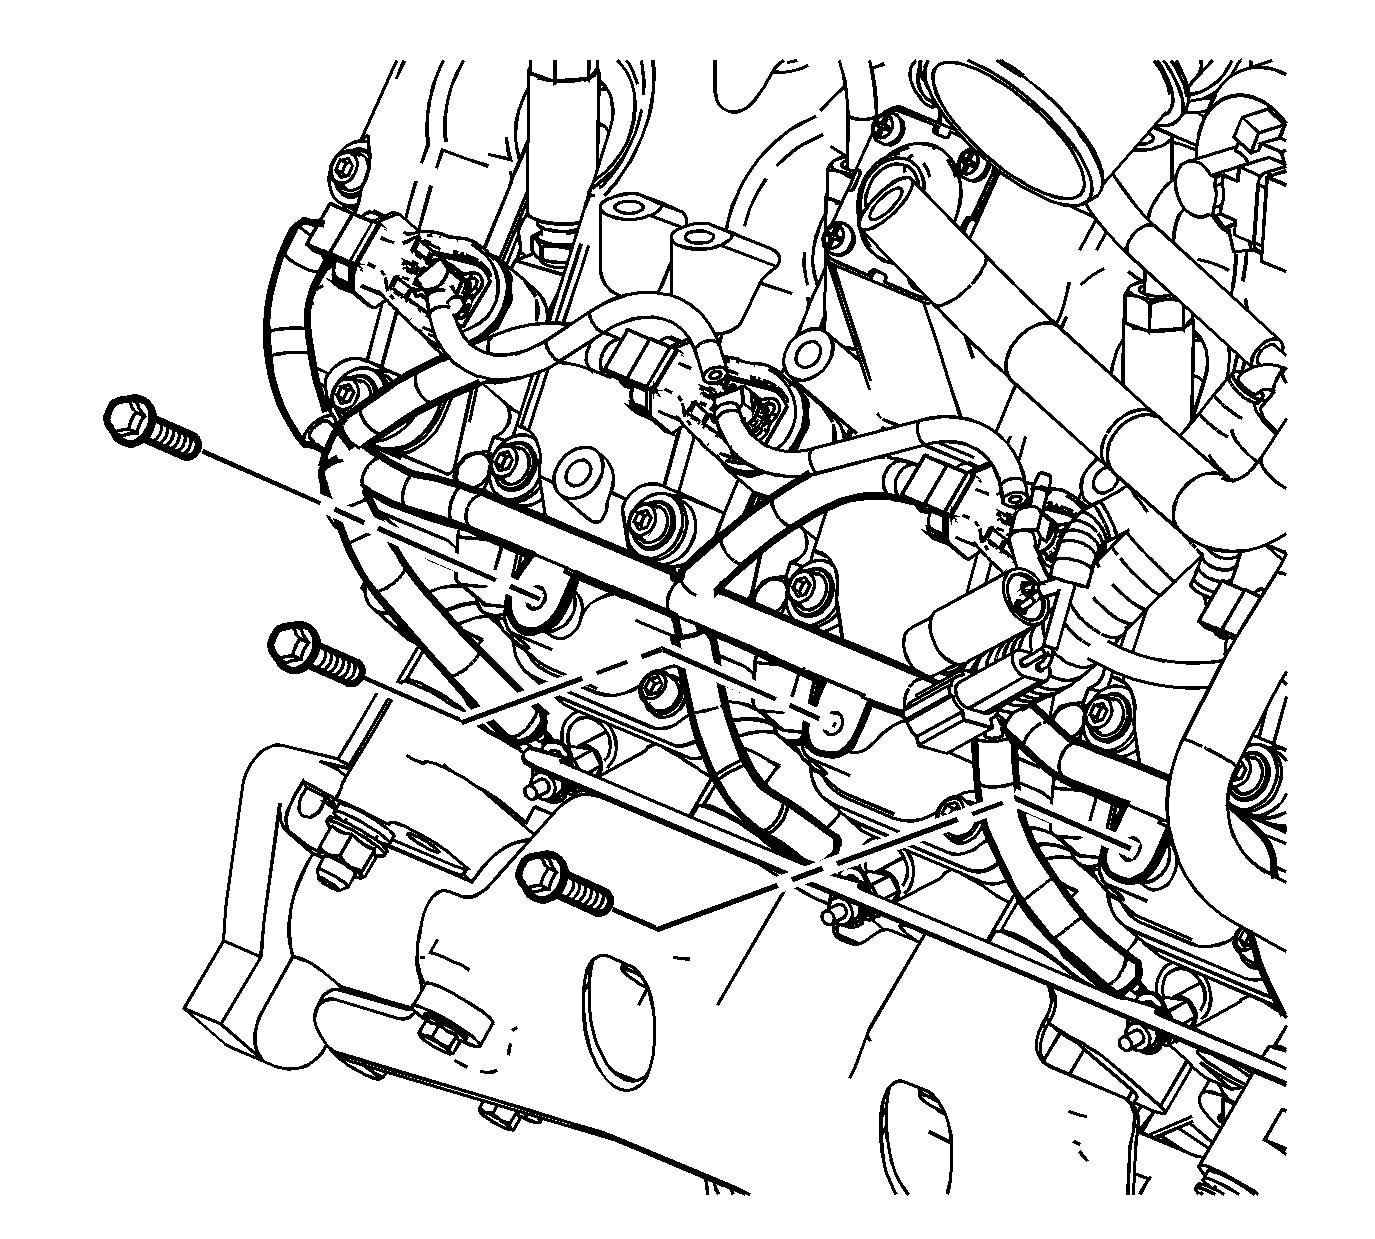
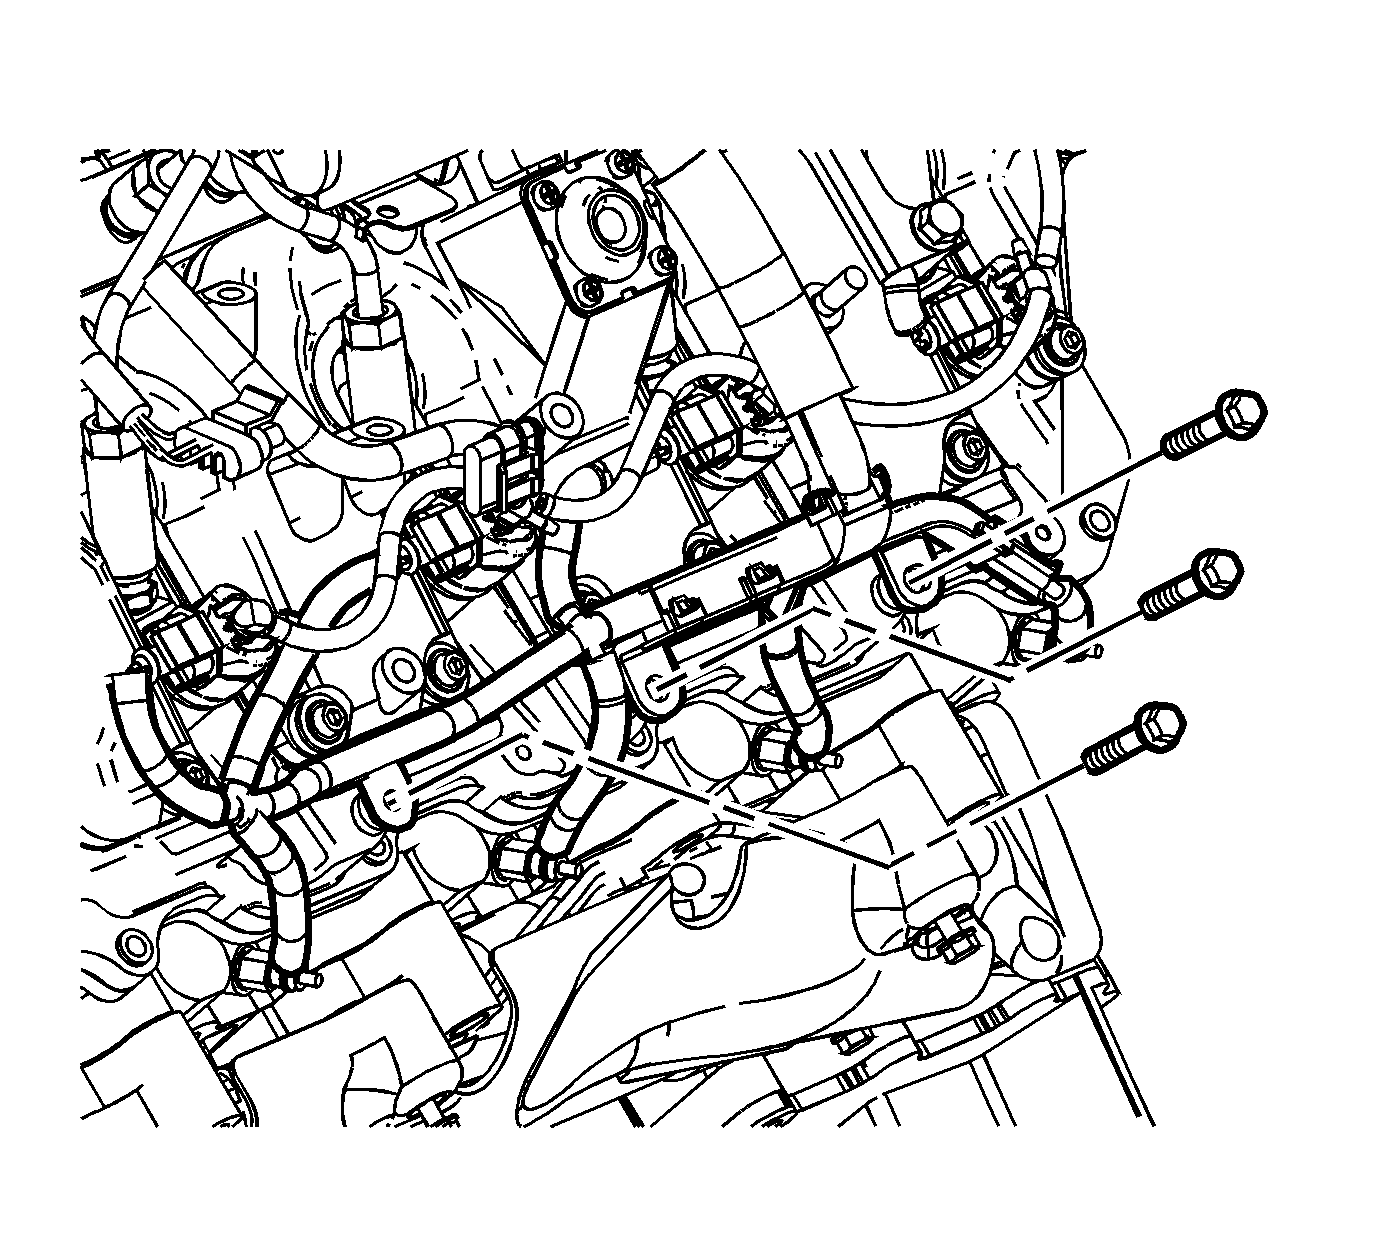
- Install the engine wiring harness assembly.
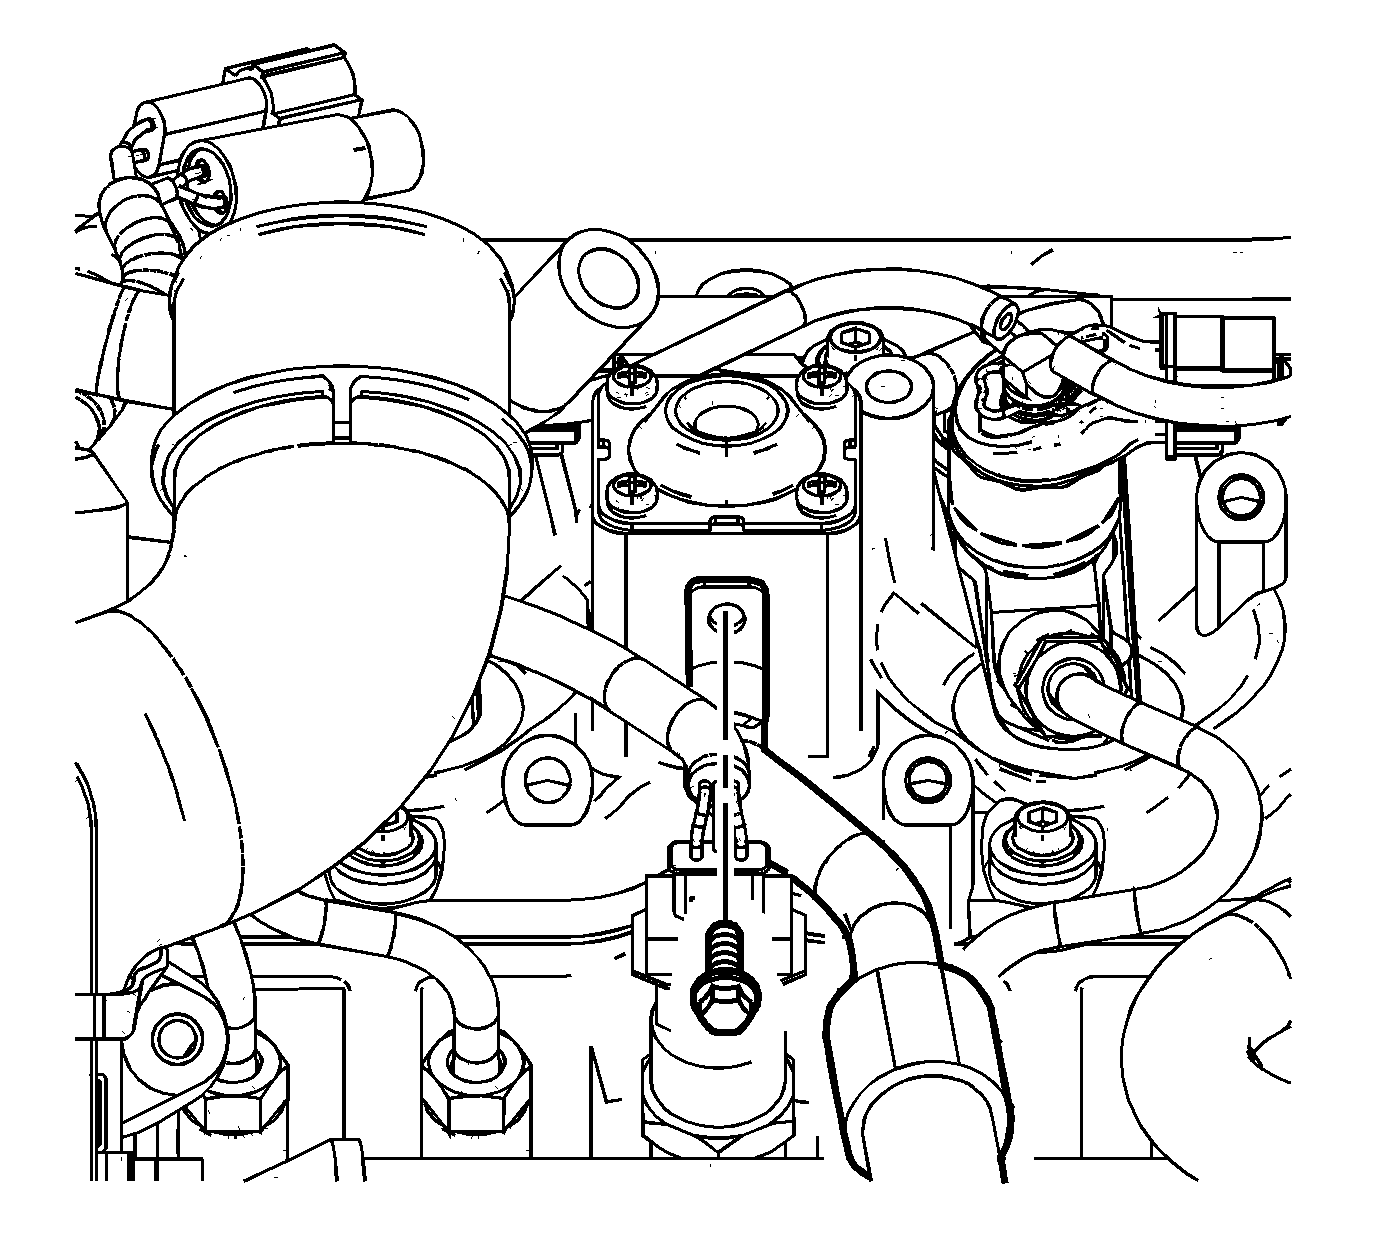
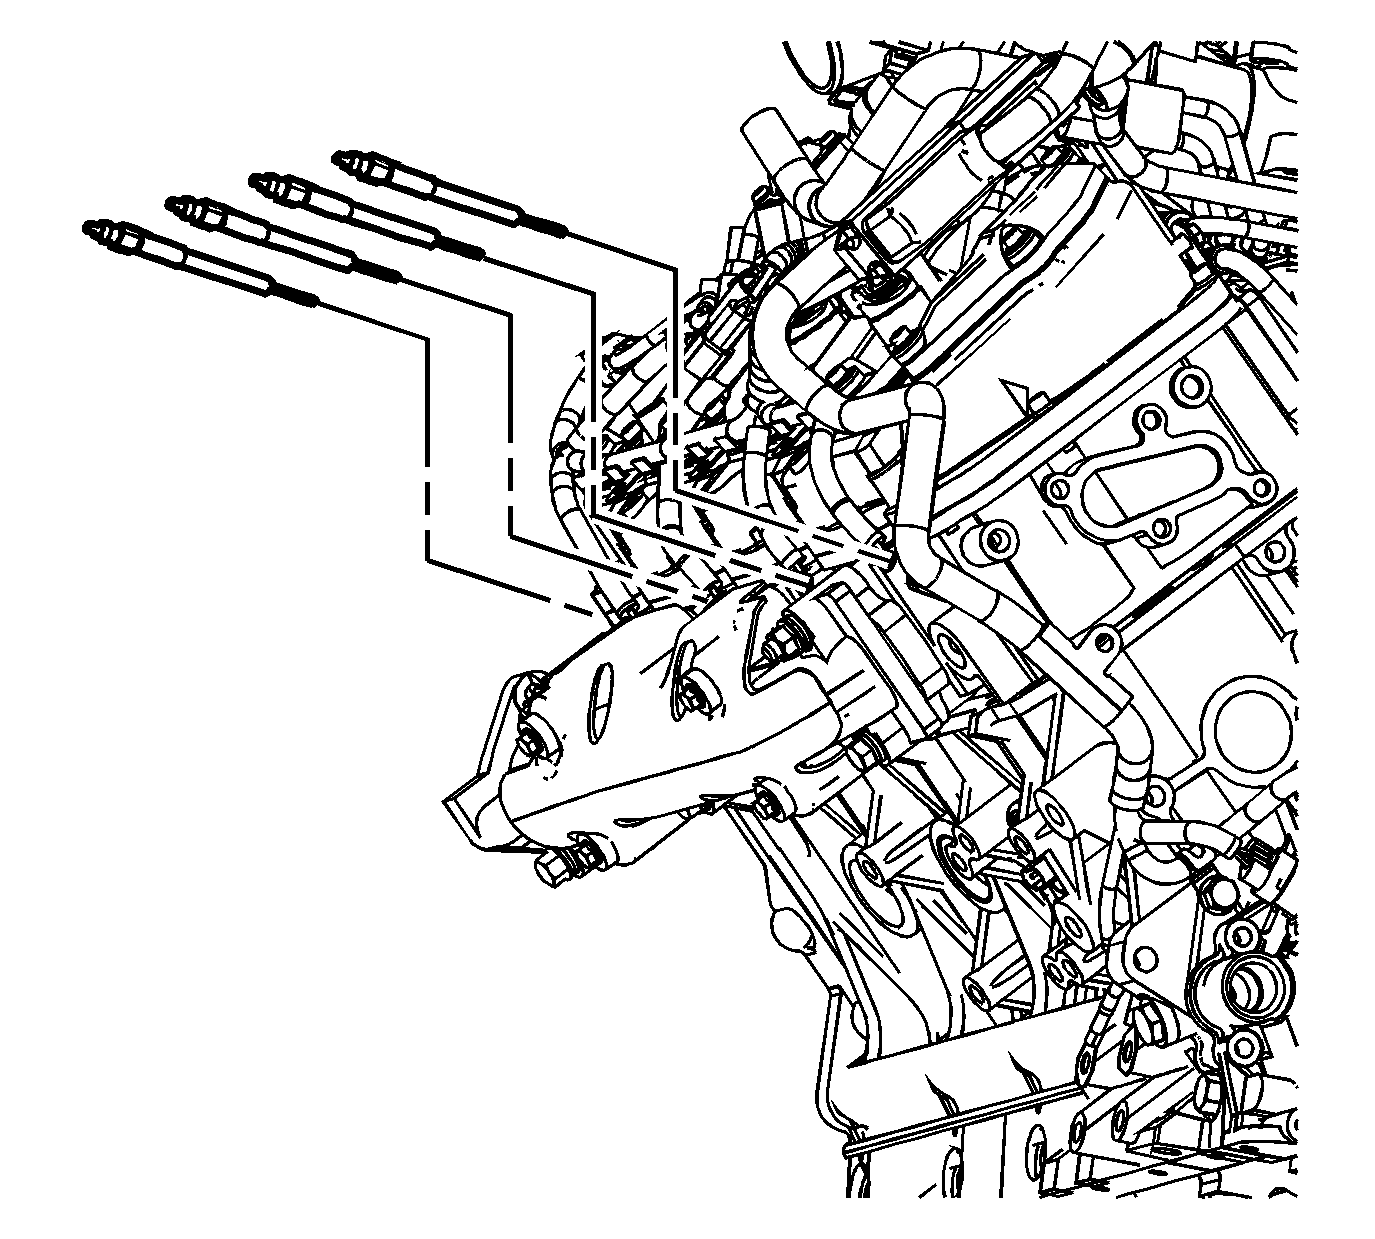
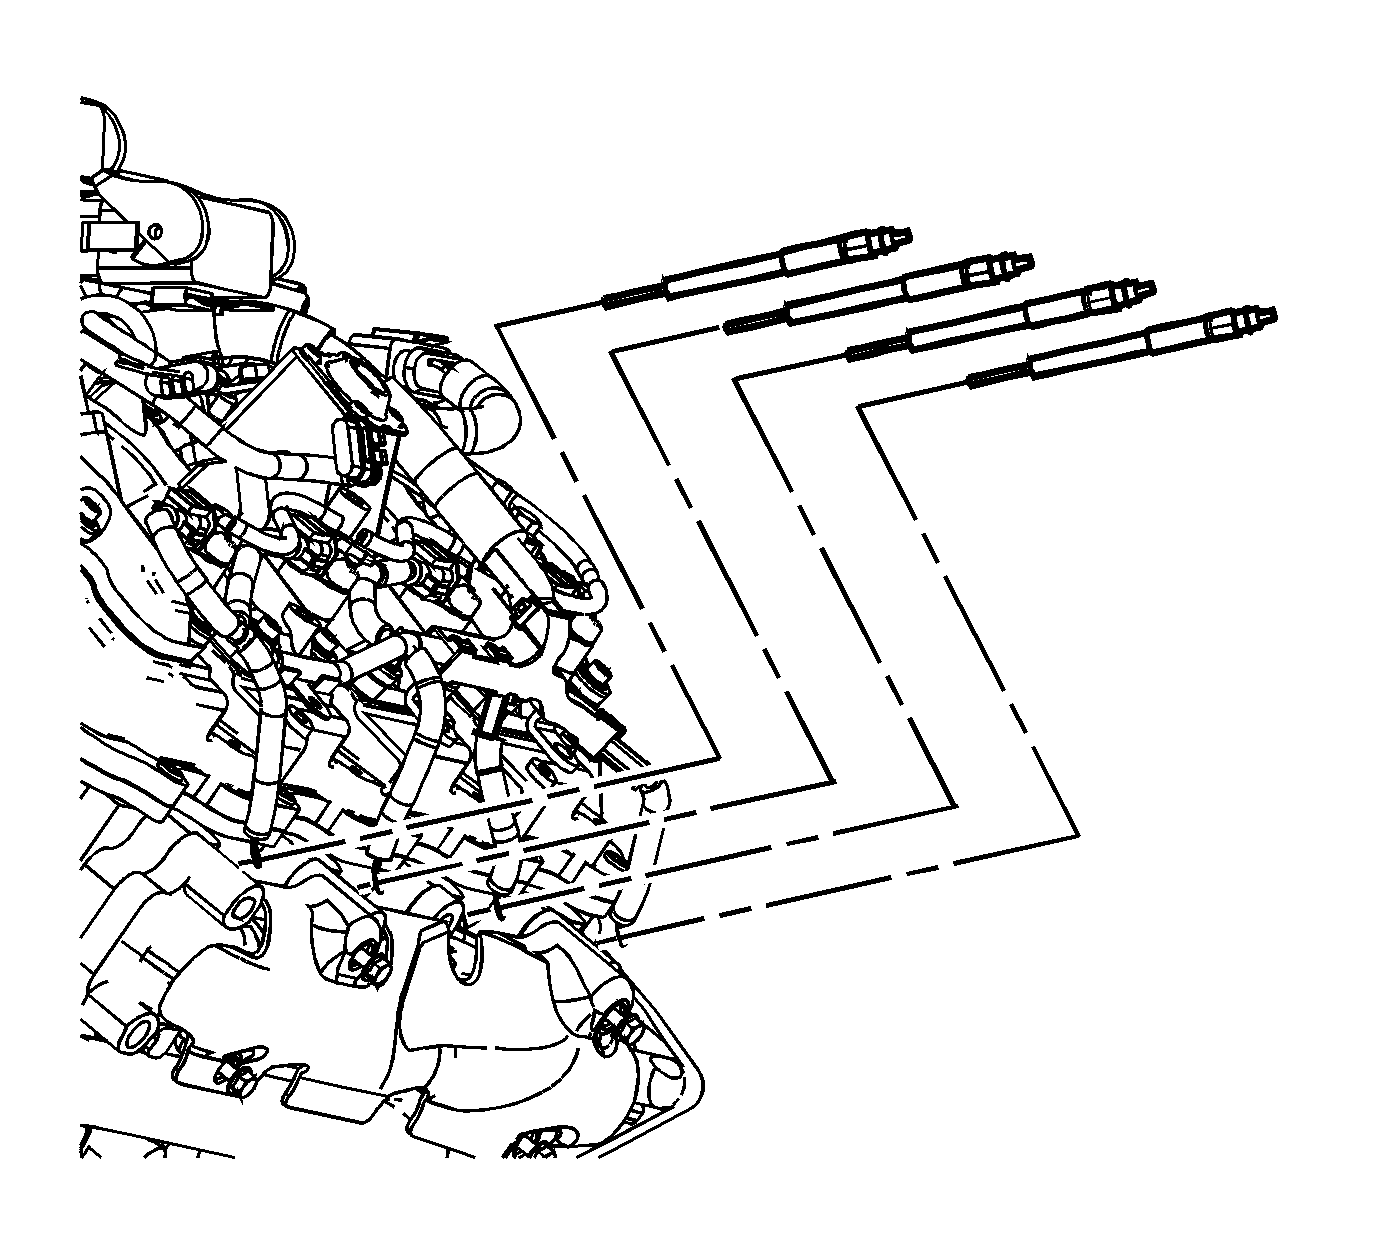
- Install the right glow plugs and tighten to 18 N·m (13 lb ft).
- Install the left glow plugs and tighten to 18 N·m (13 lb ft).
- Install the glow plug nuts and tighten to 2 N·m (18 lb in).
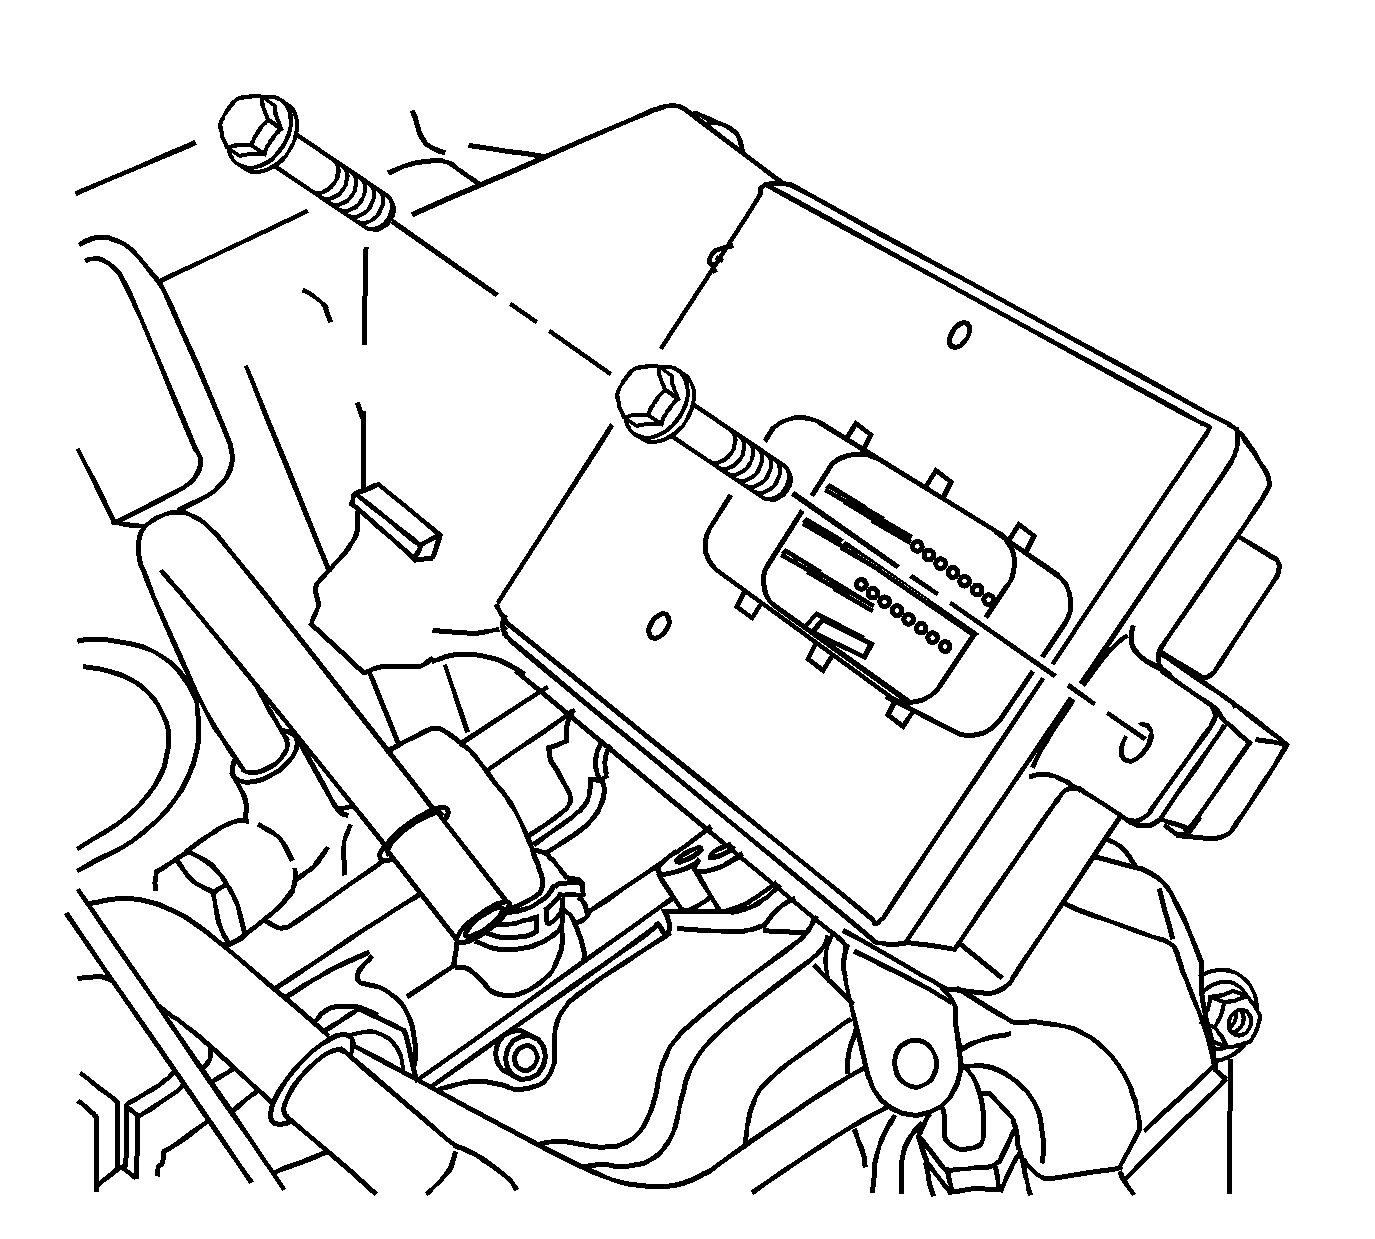
- Install the glow plug controller.
- Install the glow plug controller bolts and tighten to 10 N·m (89 lb in).
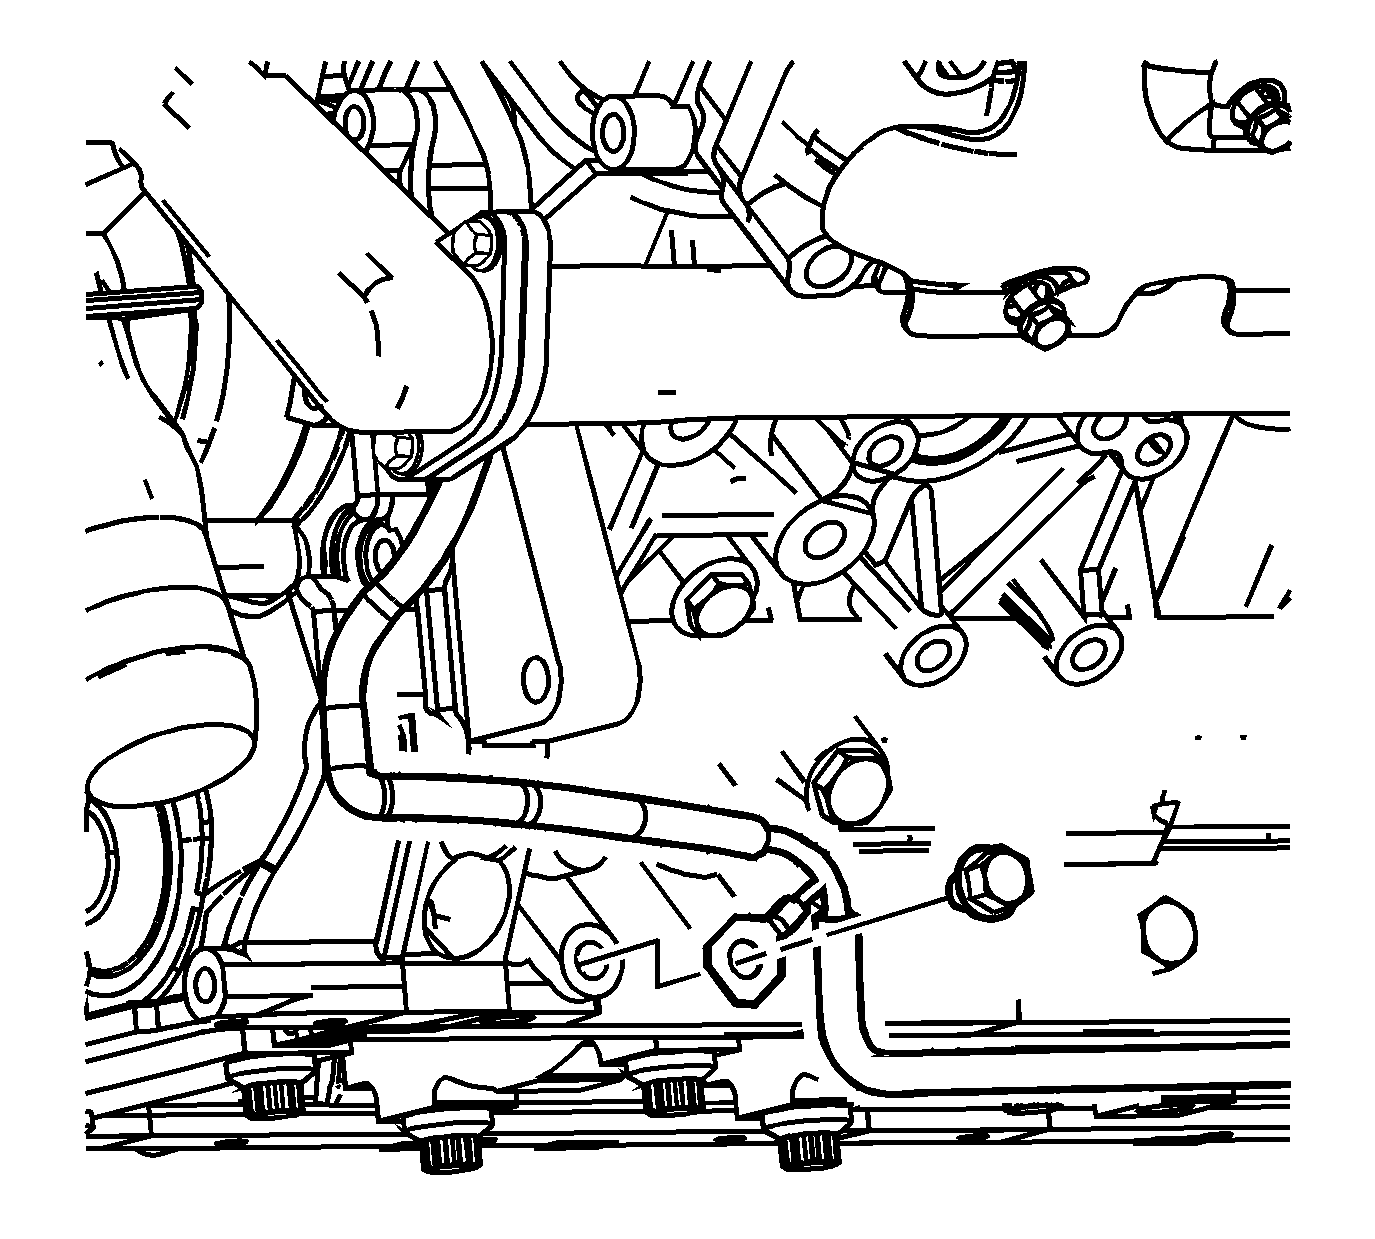
- Install the oil level sensor harness bolt and tighten to 40 N·m (29 lb ft).
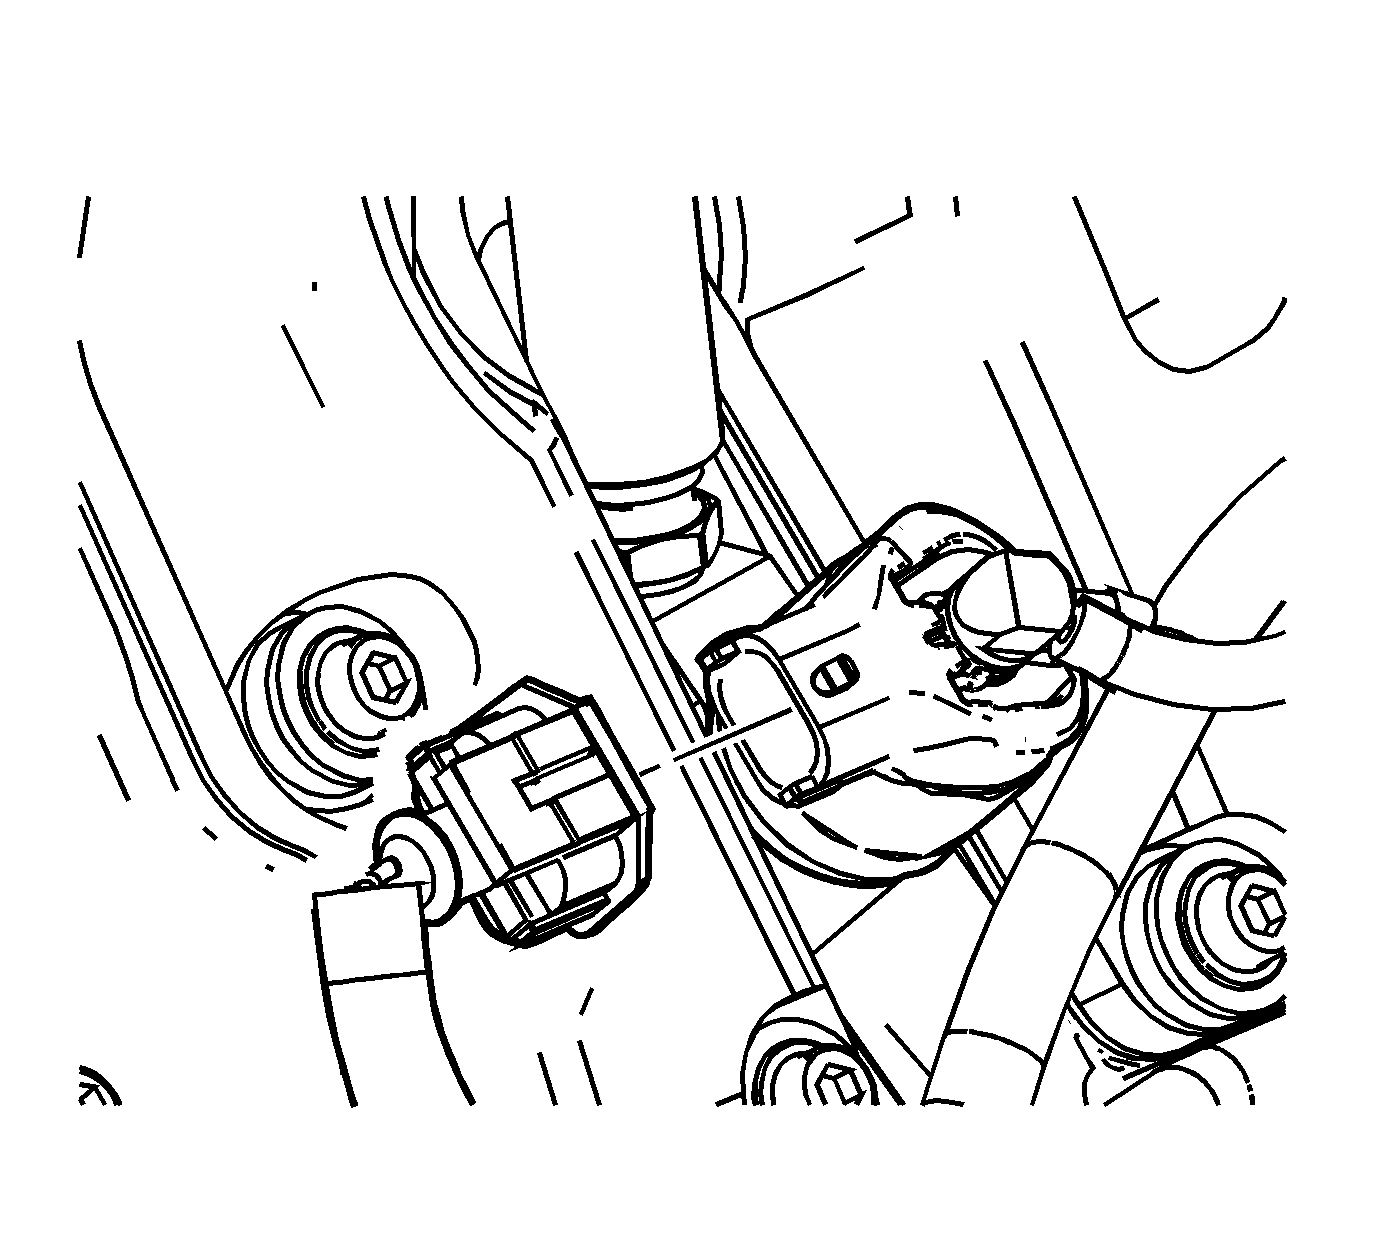
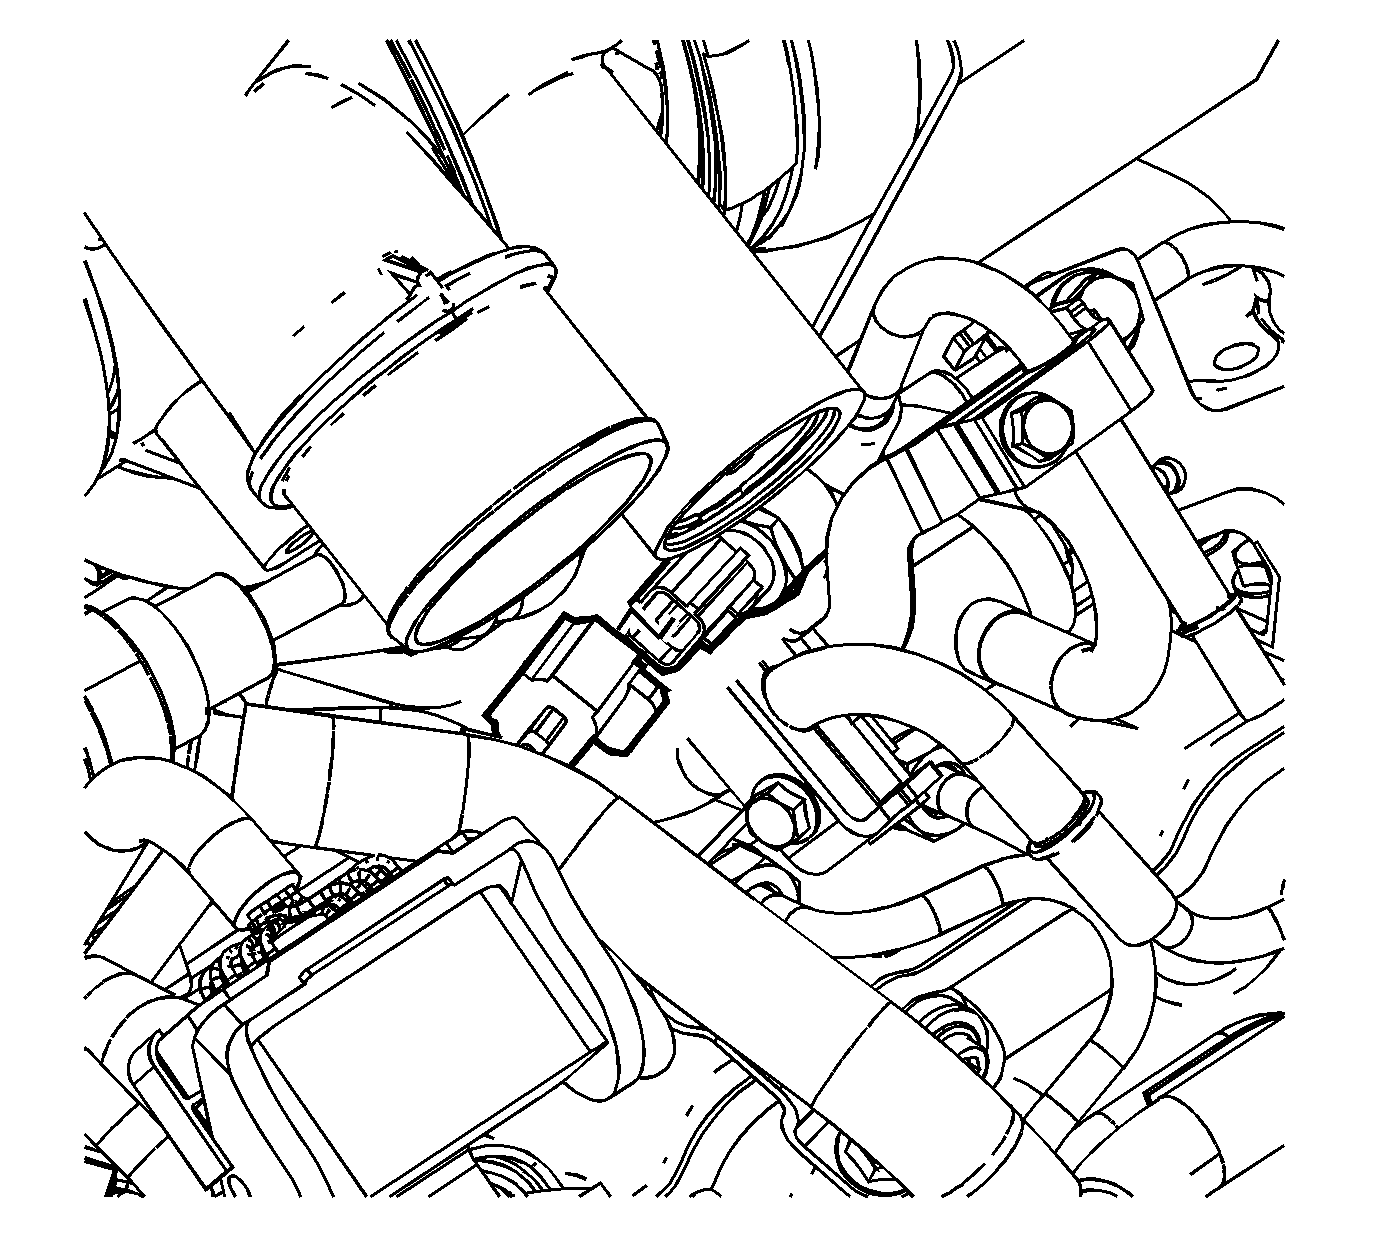
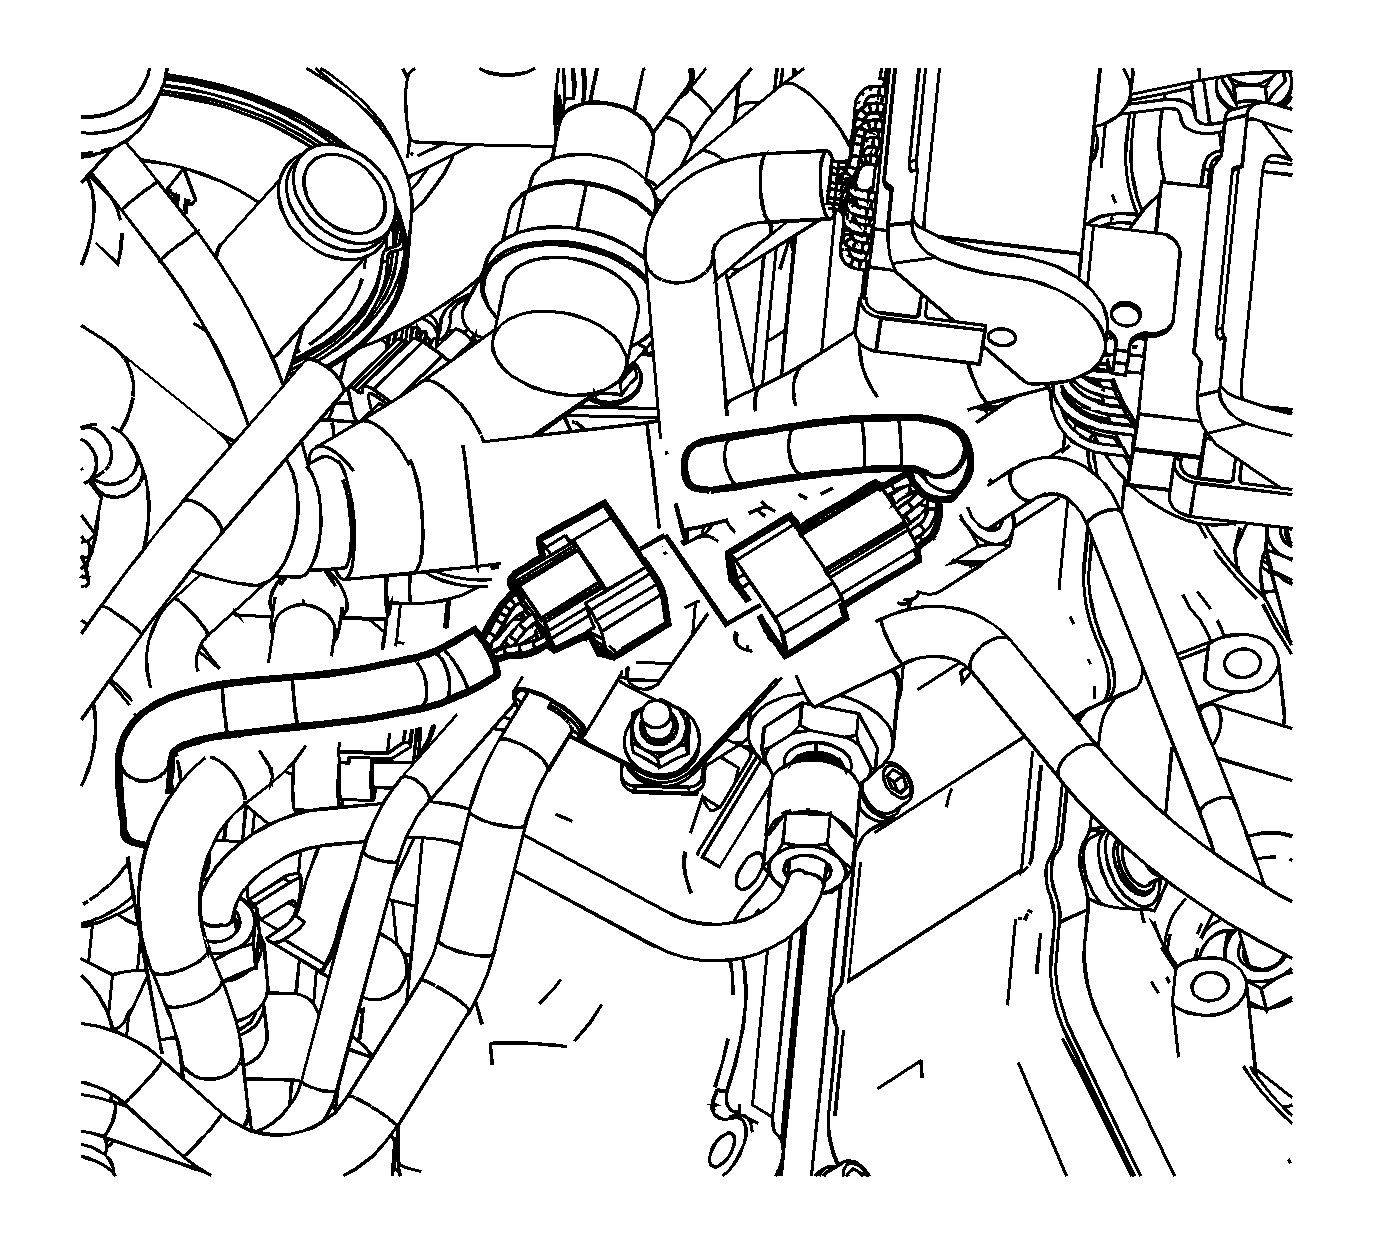
- Connect the oil pressure sensor electrical connector.
- Connect the fuel rail pressure sensor.
- Connect the turbocharger vane control solenoid valve.
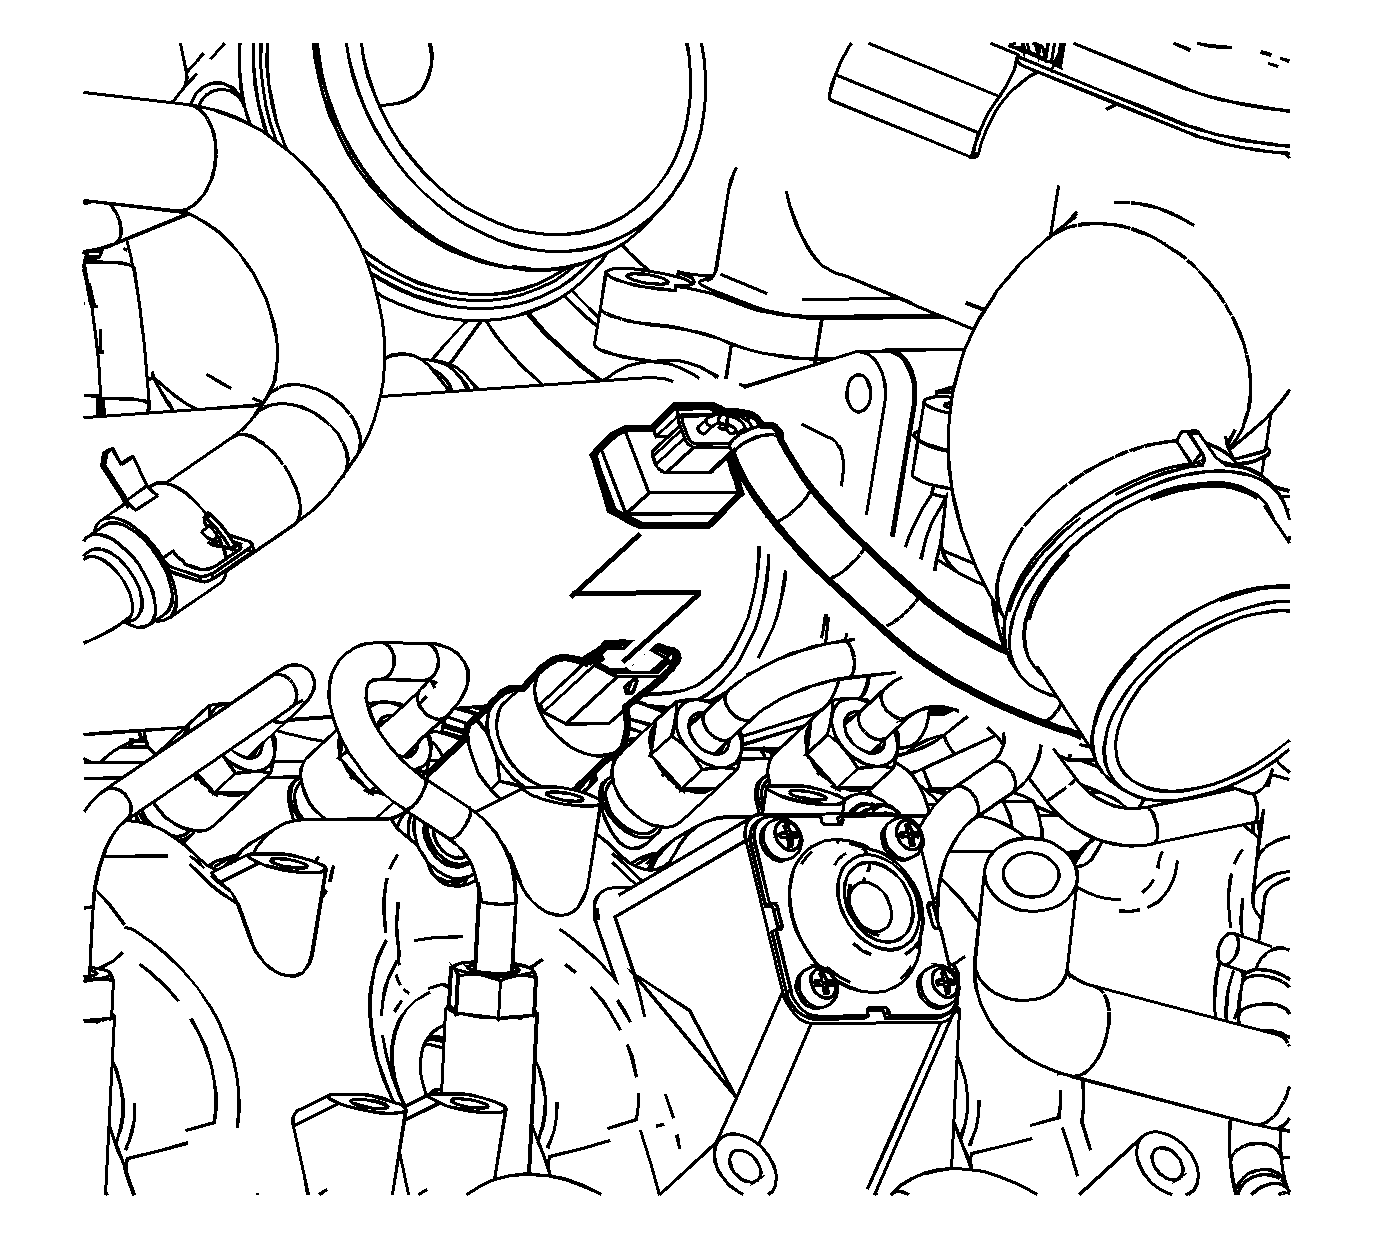
- Connect the fuel injector electrical connections.
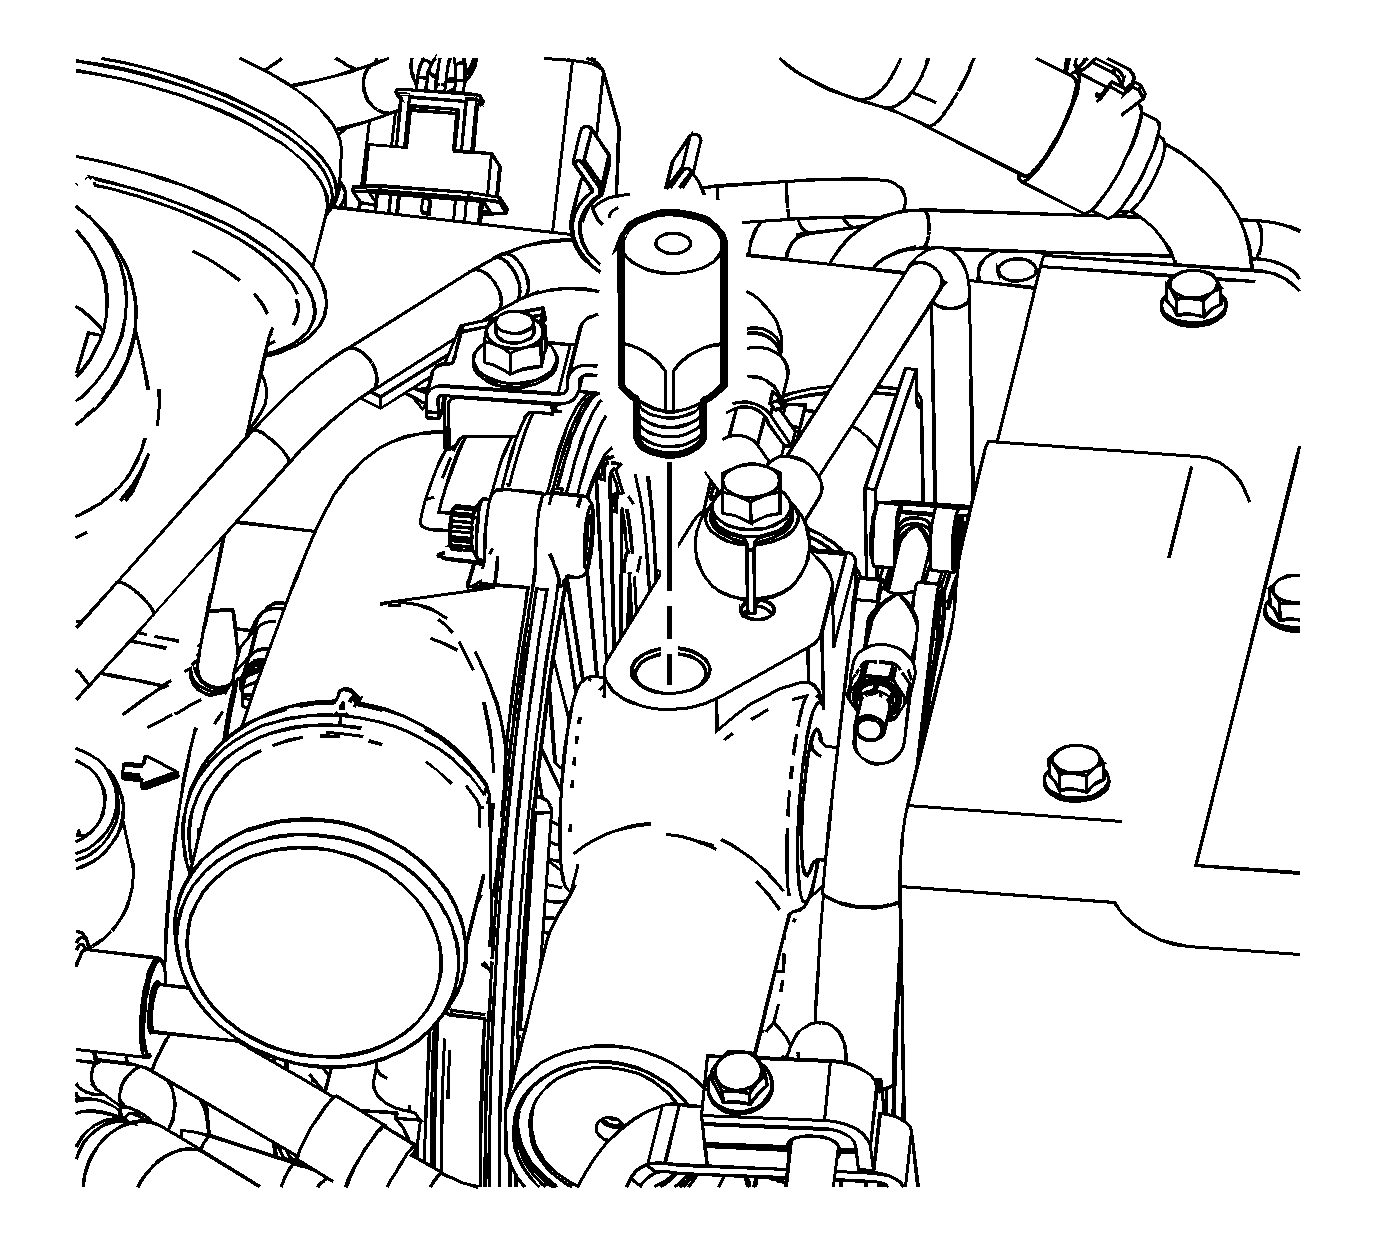
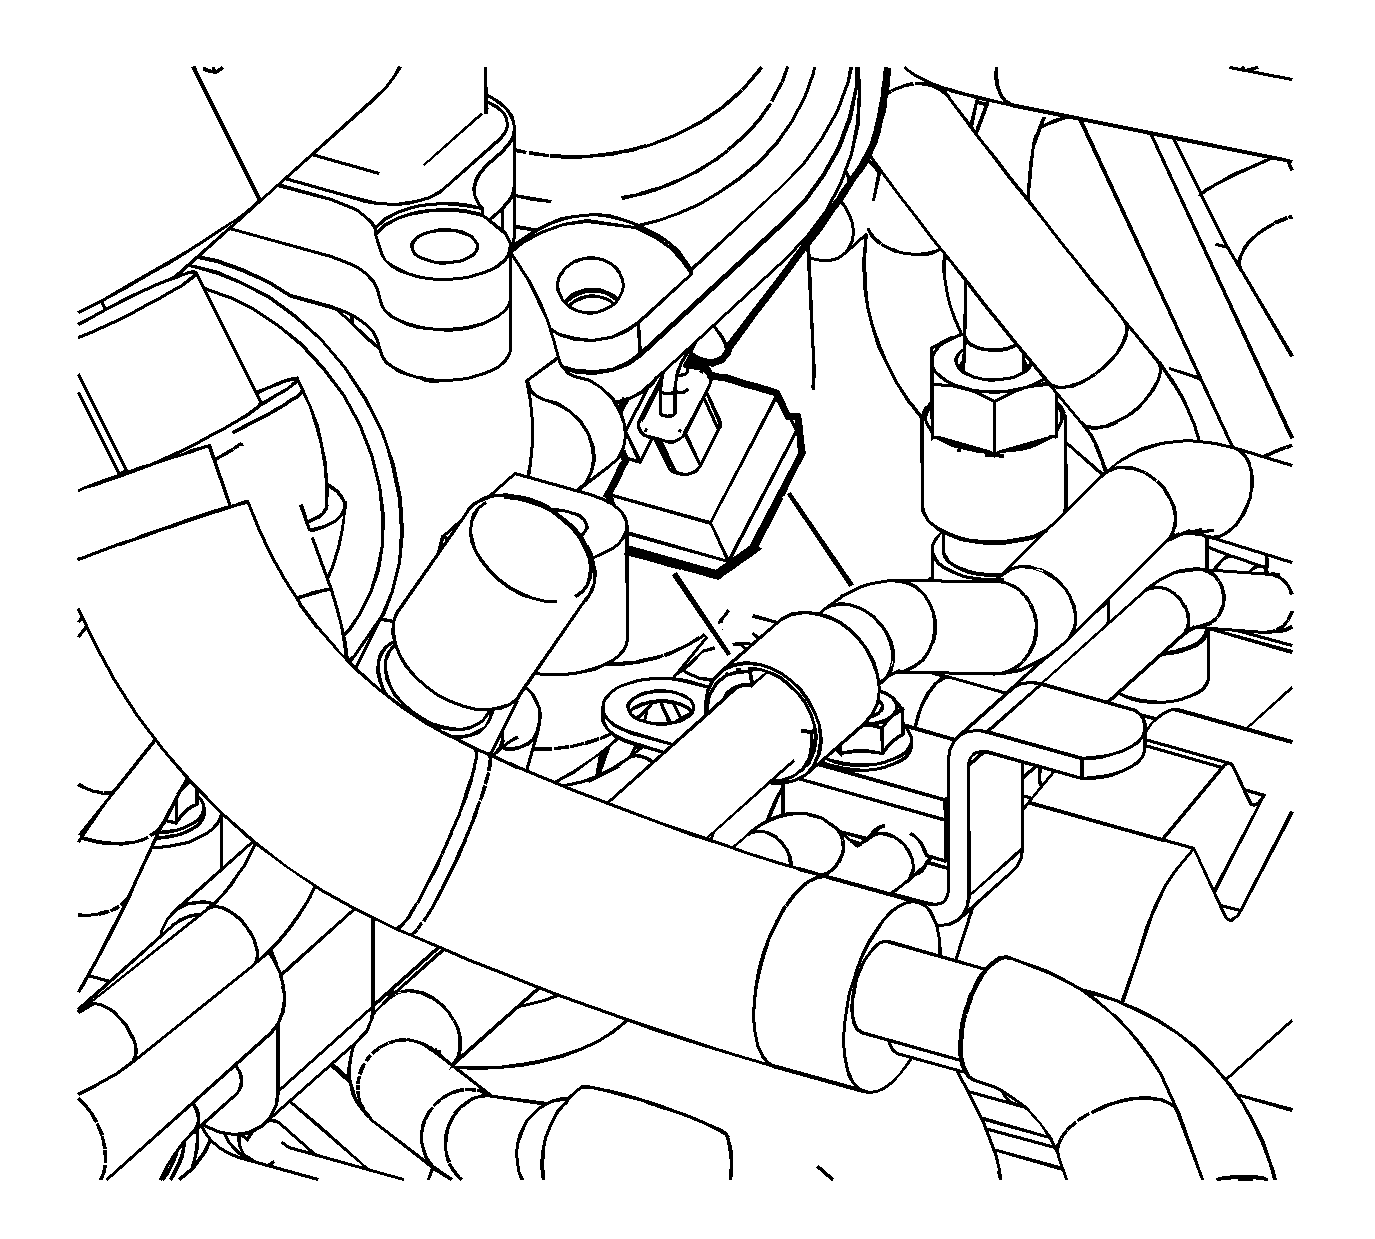
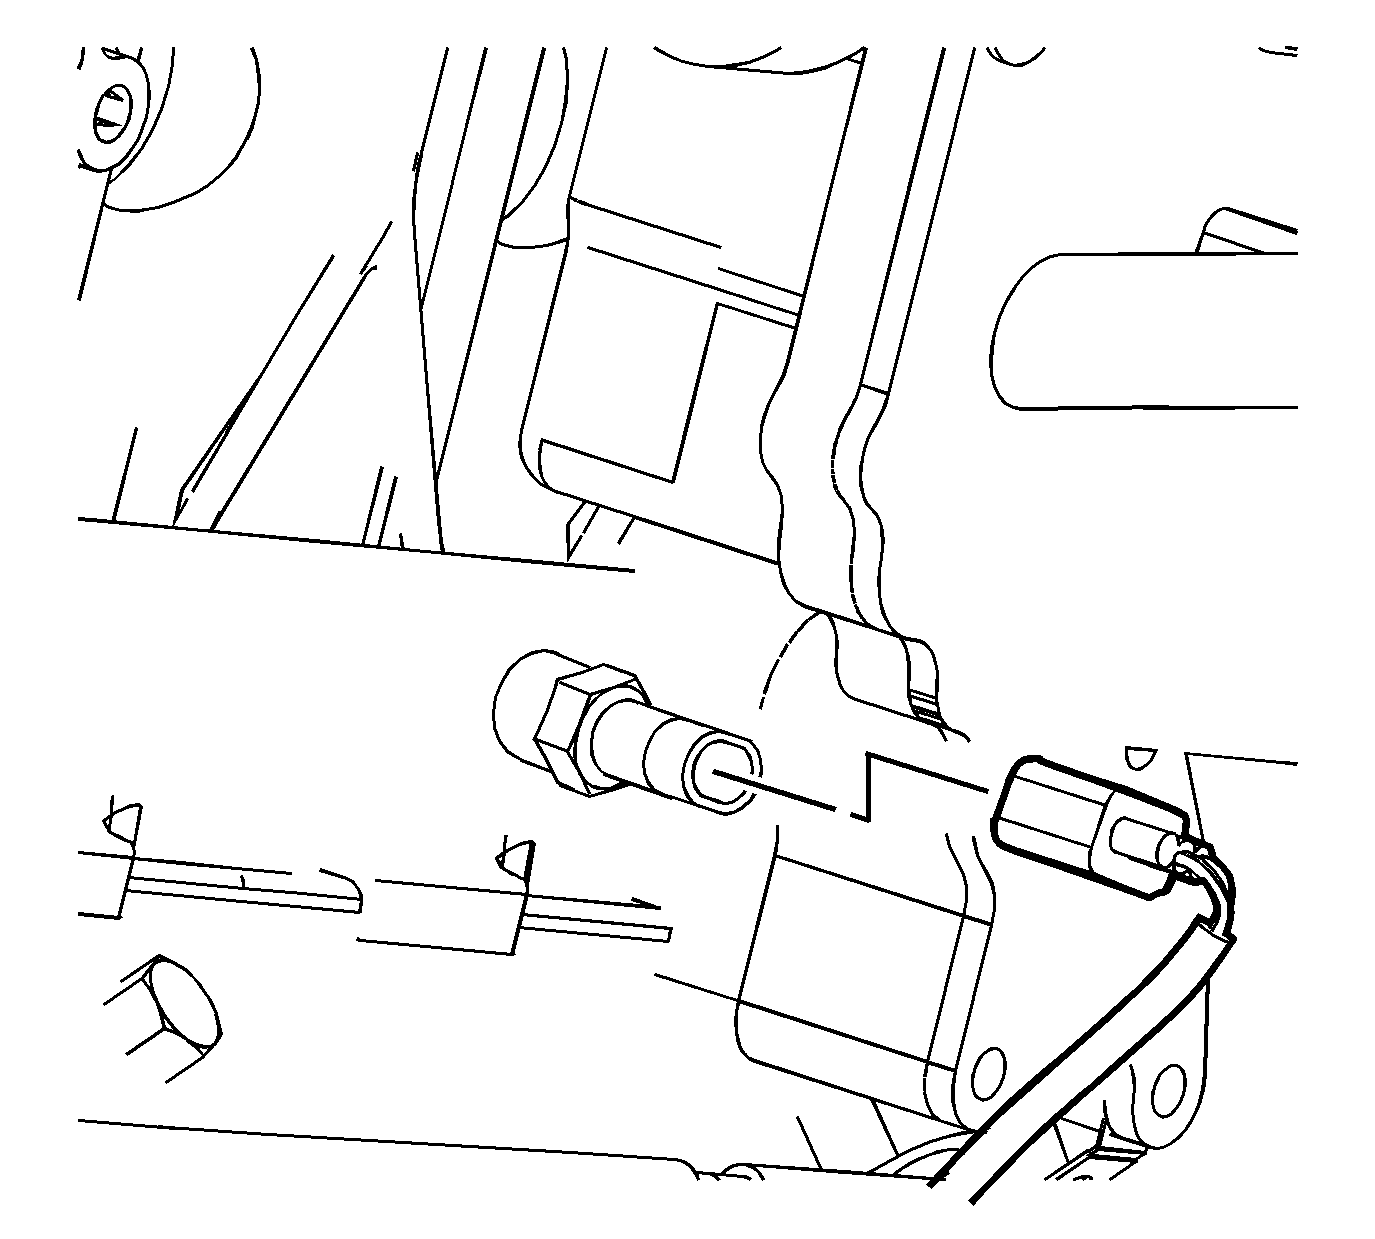
- Connect and install the turbocharger vane position sensor and tighten to 23 N·m (16 lb ft).
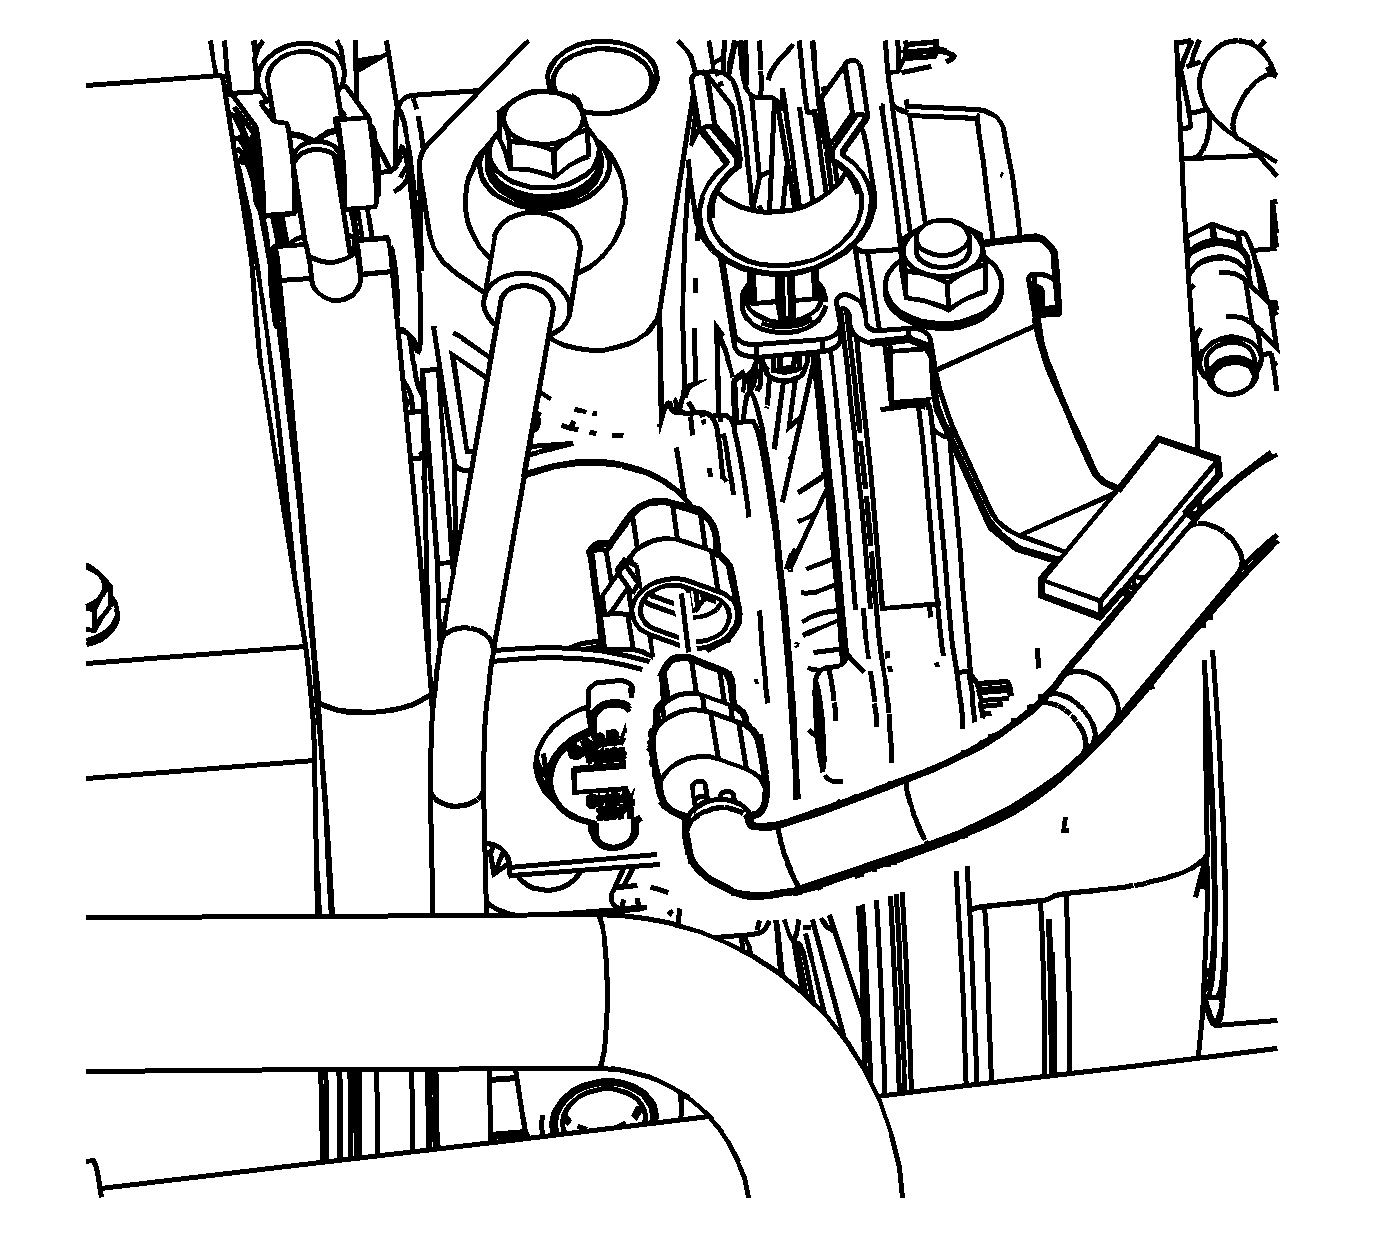
- Connect the glow plug controller electrical connector.
- Connect the fuel temperature sensor connector.
- Connect the oil level sensor electrical harness connector.
- Connect the fuel pressure control valve electrical connector.
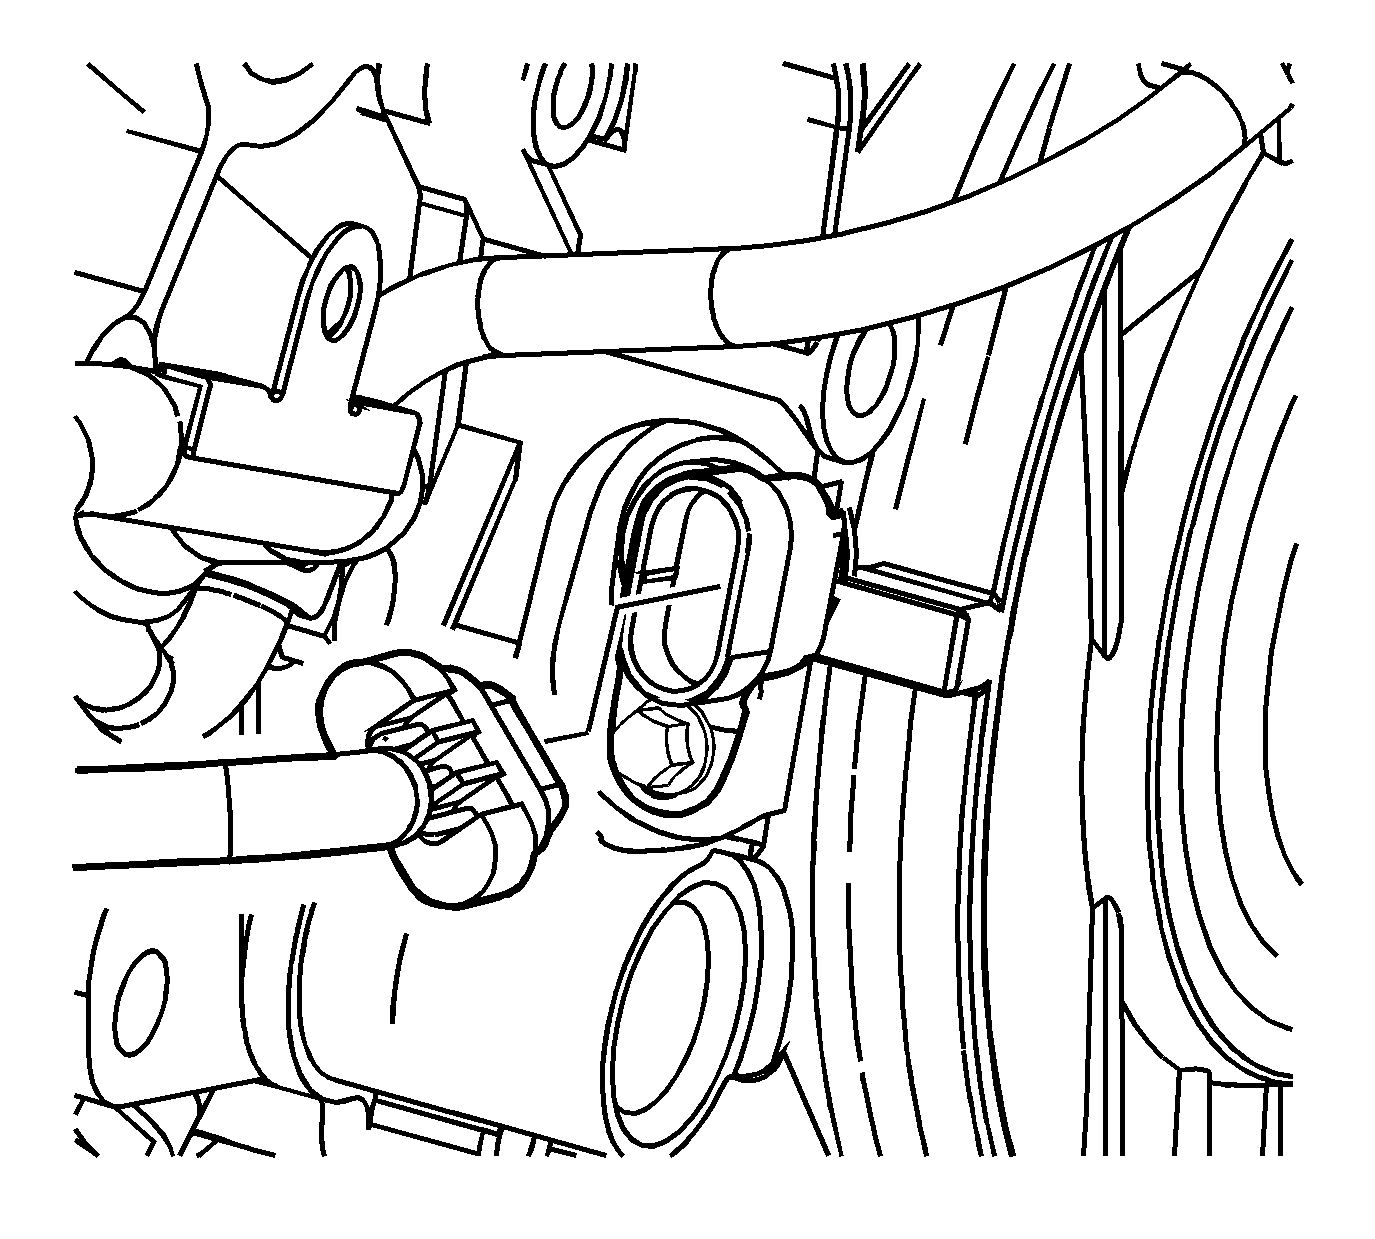
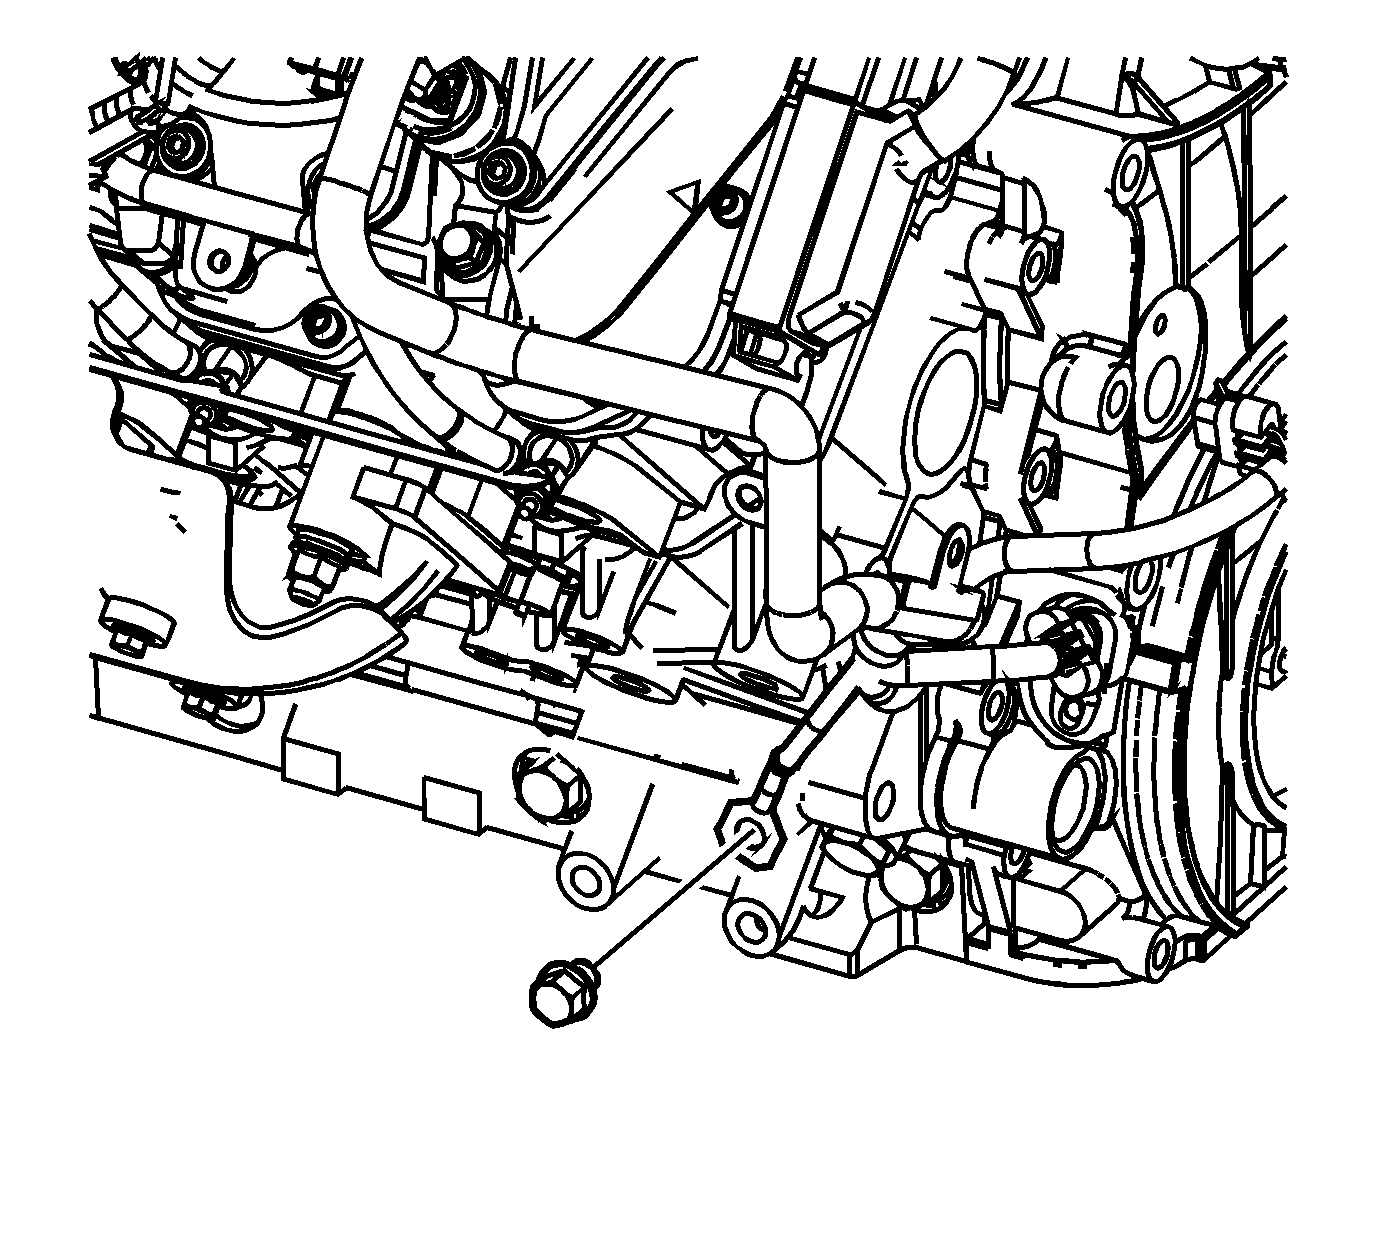
- Connect the crankshaft position sensor electrical connector.
- Install the ground bolt and tighten to 41 N·m (30 lb ft).
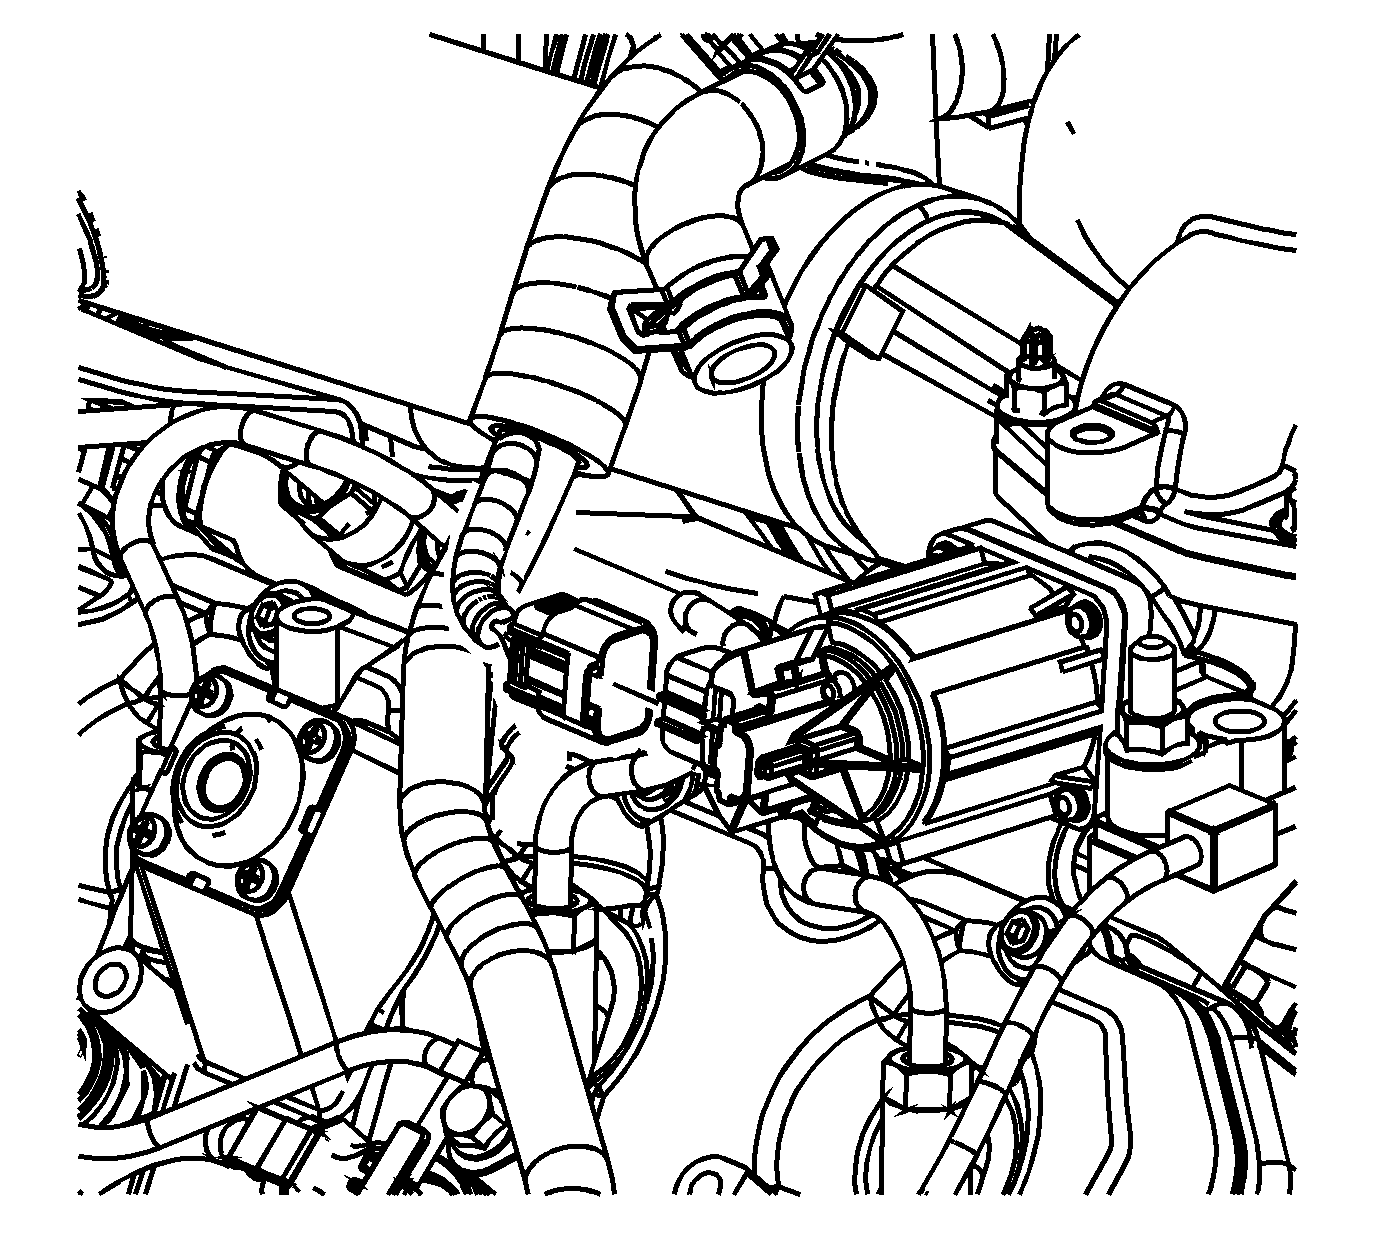
- Connect the exhaust gas recirculation (EGR) valve electrical connector.
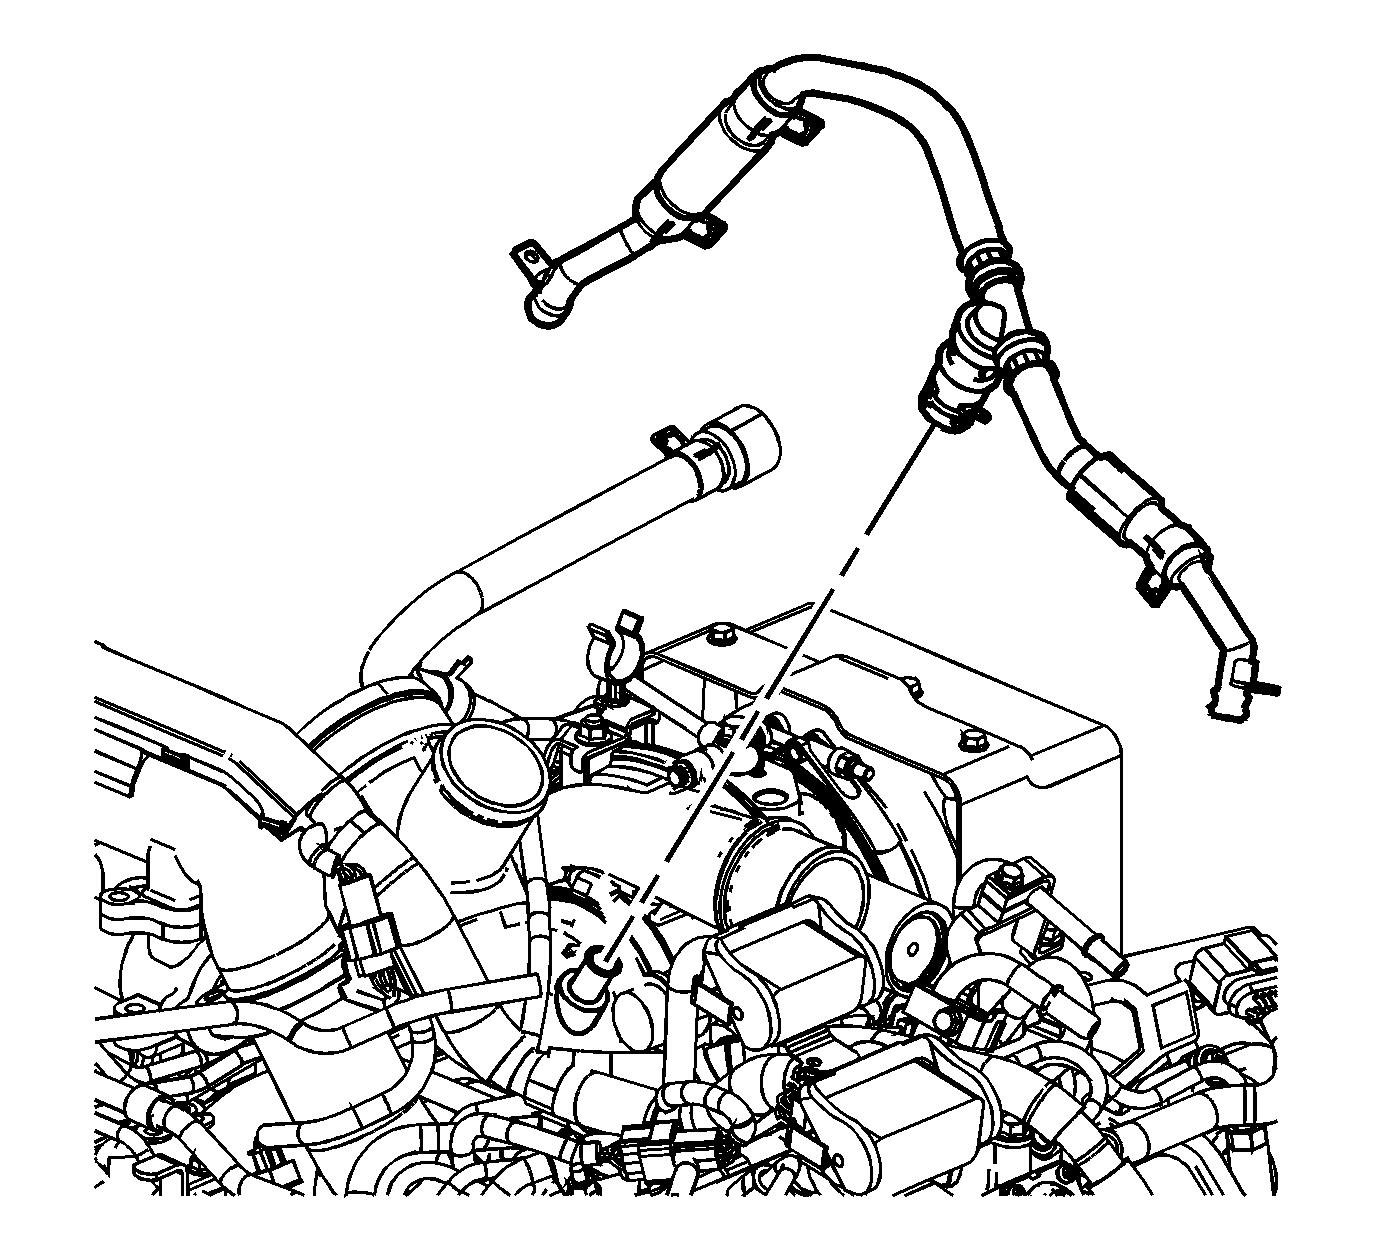
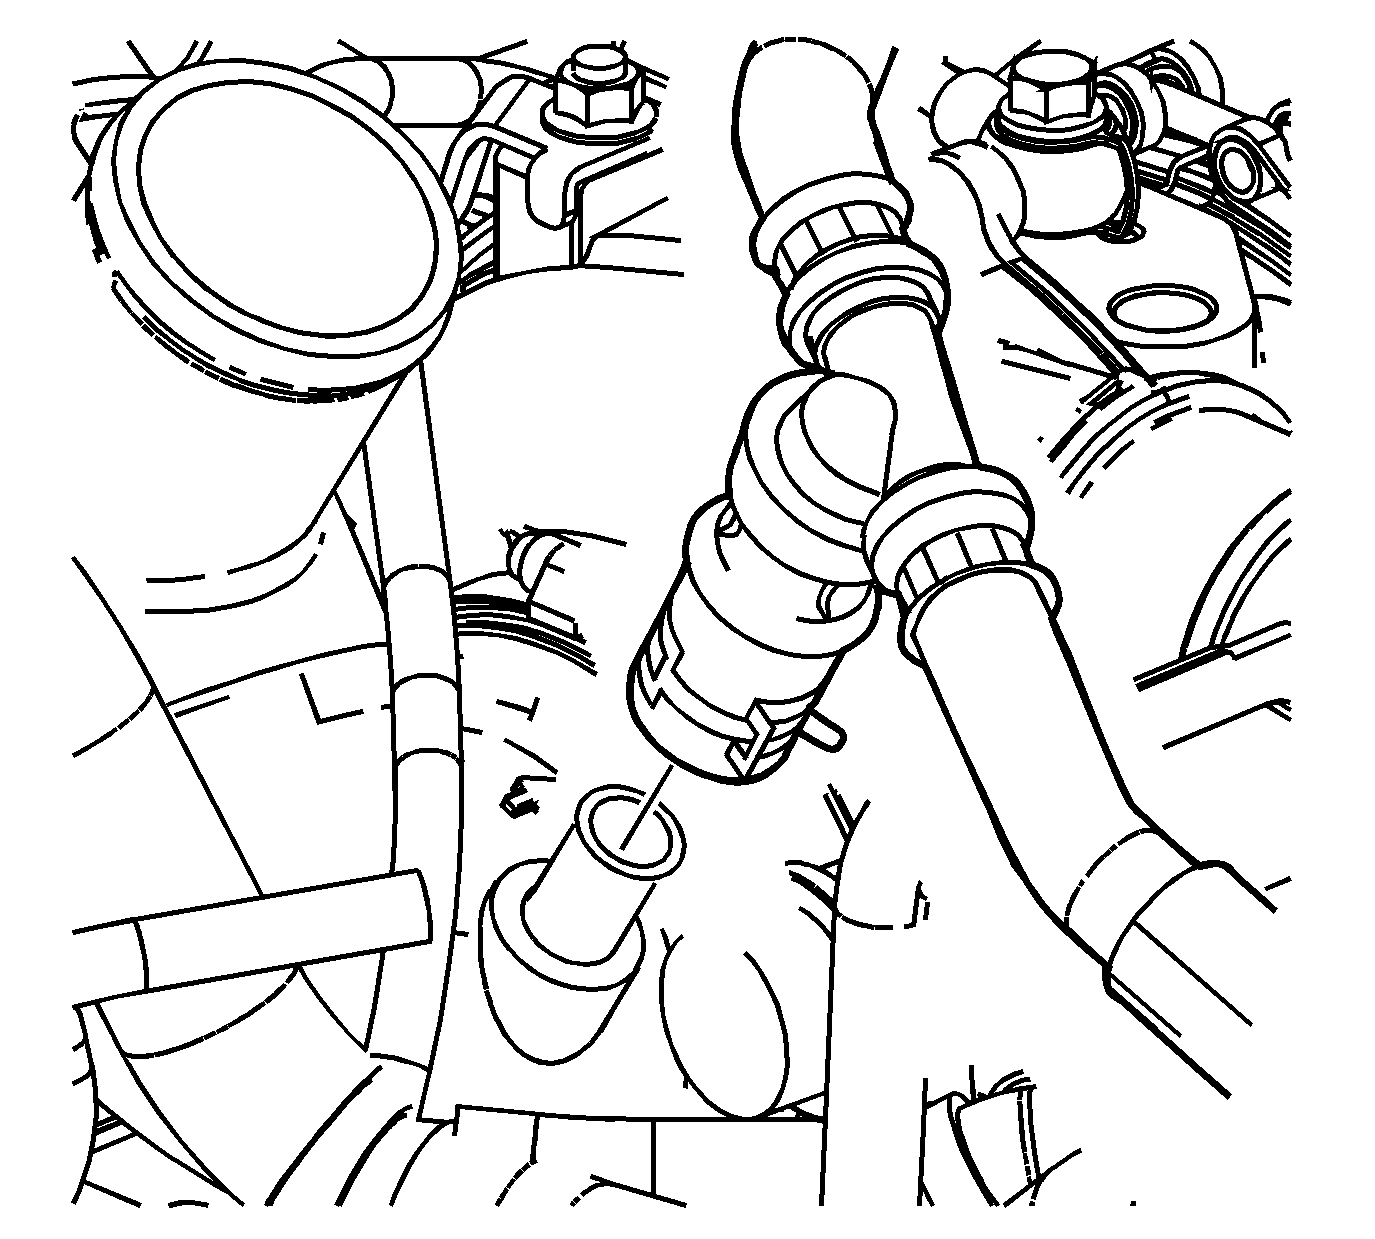
- Install the positive crankcase ventilation (PCV) pipe.
- Install the left PCV pipe bolt and tighten to 25 N·m (18 lb ft).
- Install the right PCV pipe bolt and tighten to 25 N·m (18 lb ft).
- Connect the PCV hose clamp.
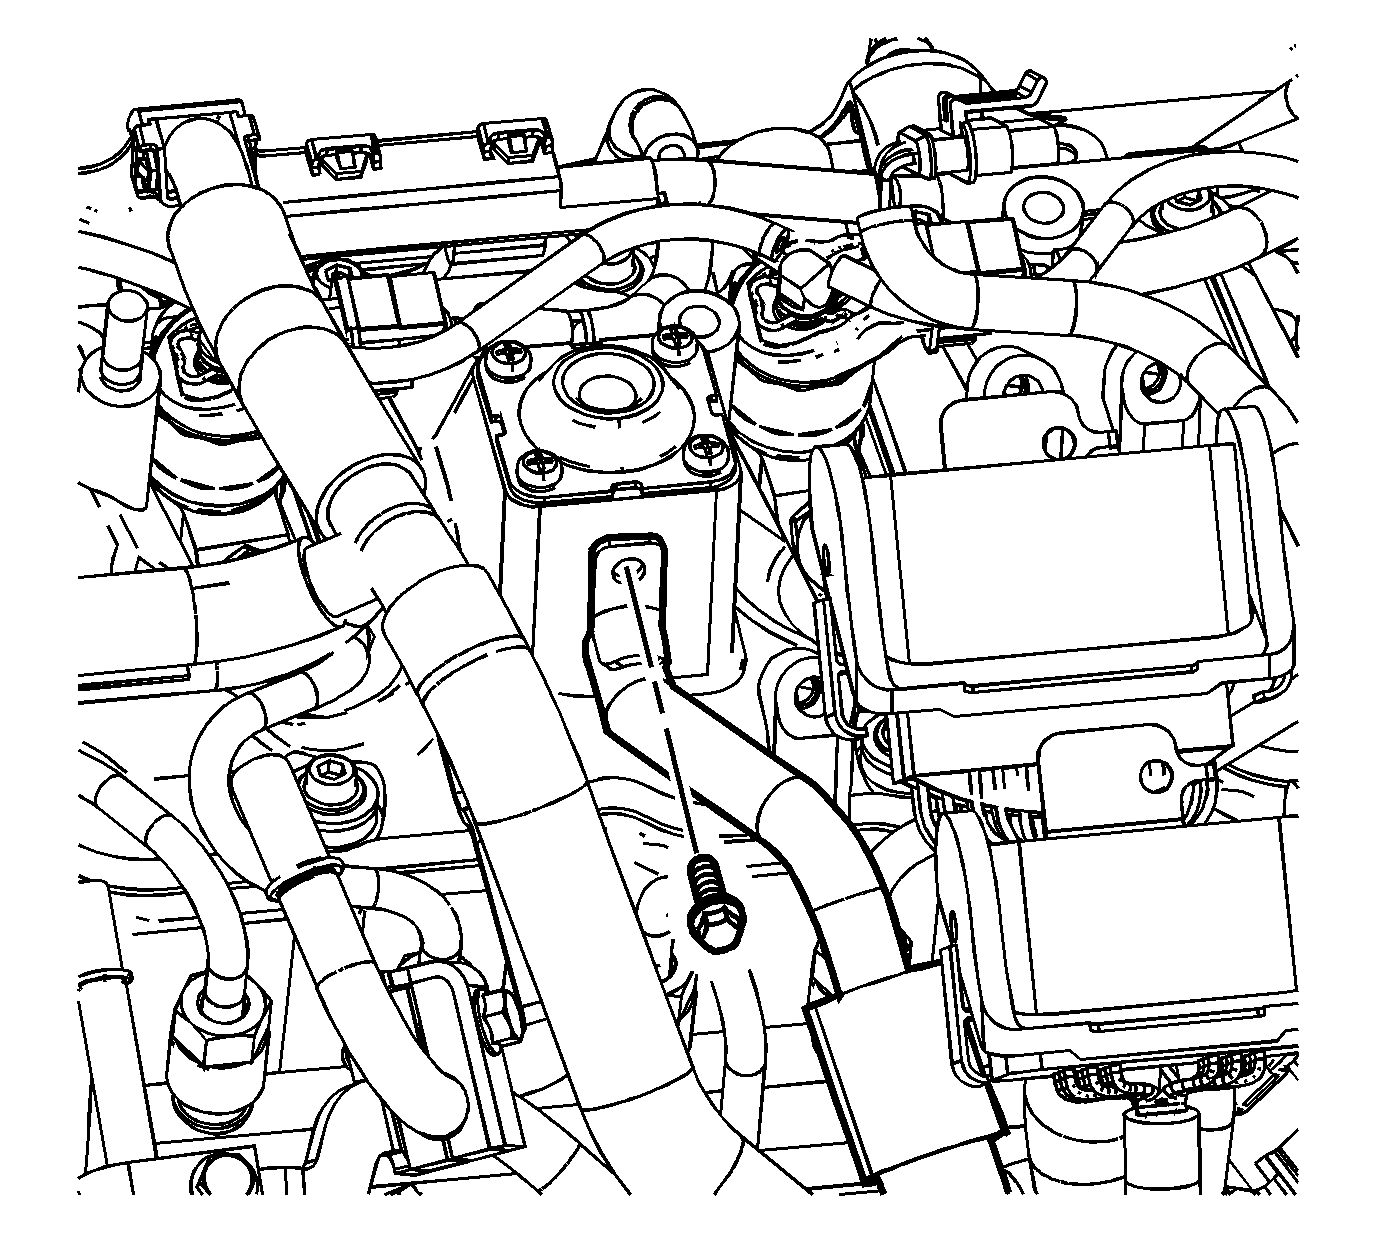
- Install the right glow plug harness bracket bolts. Tighten the glow plug harness bracket bolt to 10 N·m (89 lb in).
- Install the left glow plug harness bracket bolts. Tighten the glow plug harness bracket bolt to 10 N·m (89 lb in).
Caution: Refer to Fastener Caution in the Preface section.
Caution: Label all the injector electrical connectors before the connectors are removed in order to prevent reconnecting to the wrong injector. Failure to properly connect the injectors in the correct sequence will cause severe engine damage.
