For 1990-2009 cars only
Tools Required
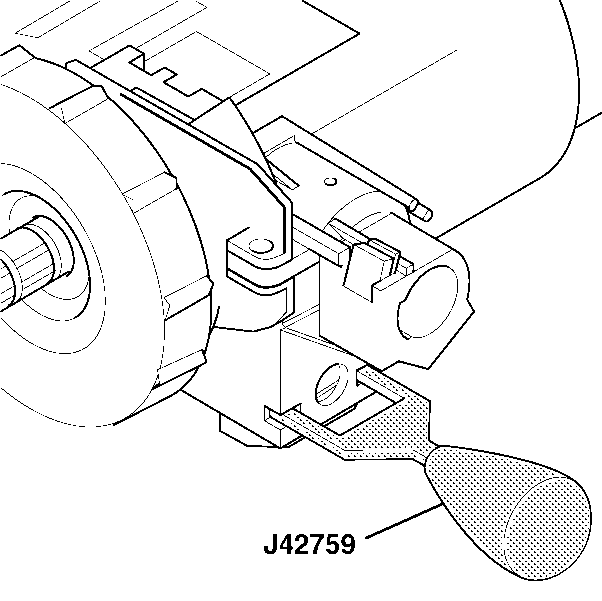
J-42759 Ignition Switch Connector Release Tool
Removal Procedure
- Disconnect the negative battery cable. Refer to Battery Negative Cable Disconnection and Connection in Engine Electrical.
- Disable the SIR system. Refer to SIR Disabling and Enabling in SIR.
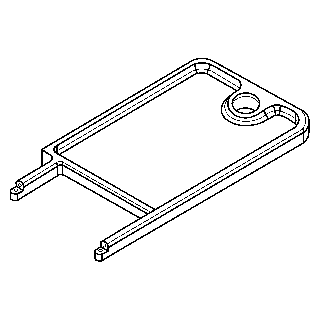
- Remove the hush and knee bolster. Refer to Driver Knee Bolster Bracket Replacement in Instrument Panel, Gauges, and Console.
- Remove the steering column trim covers. Refer to Steering Column Trim Covers Replacement .
- With the key installed, turn the key to the RUN position.
- Install an allen wrench into the hole on top of the lock cylinder housing.
- Slide the lock cylinder out of the lock cylinder housing.
- Disconnect the passlock and key buzzer from the lock cylinder housing.
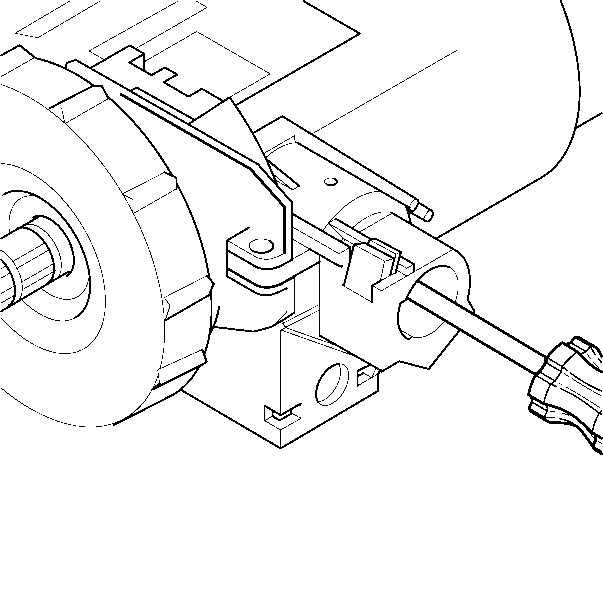
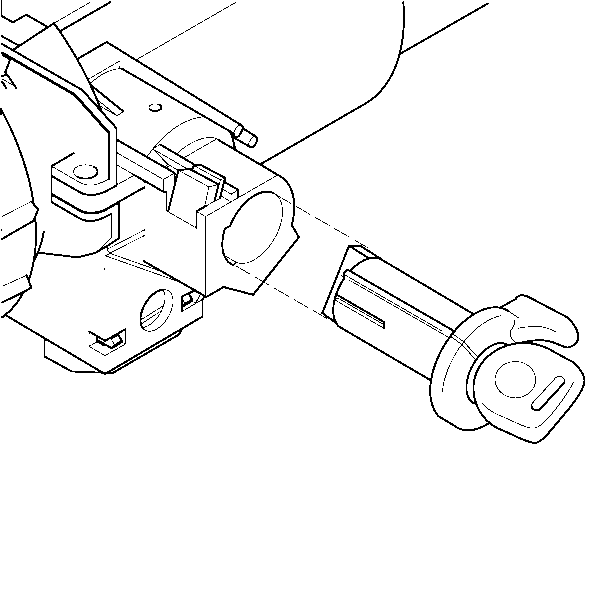
- Insert J-42759 into the lock cylinder housing to release the tabs on the ignition switch.
- Pull the ignition switch out of the lock cylinder housing.
- Disconnect the connector from the ignition switch.
Caution: Refer to SIR Caution in the Preface section.
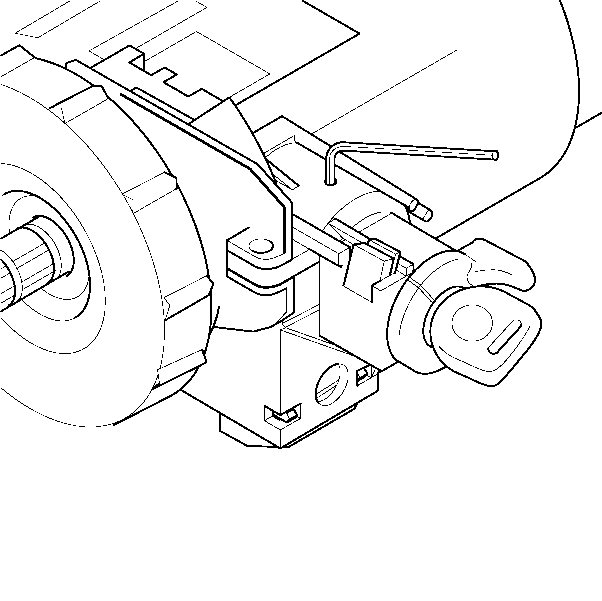
Push down on the allen wrench to release the tab on the lock cylinder inside the lock cylinder housing.
Installation Procedure
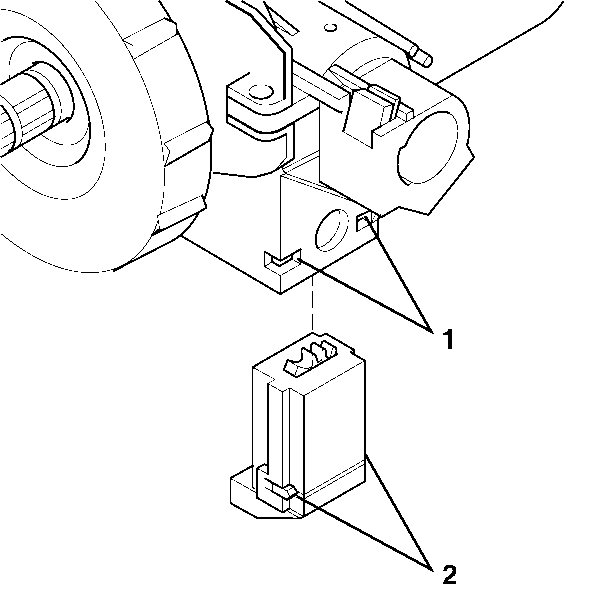
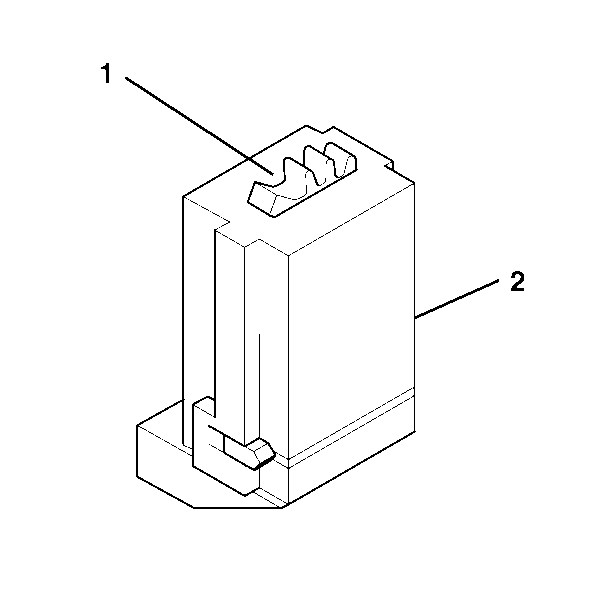
- Verify the alignment of the gear (1) in the ignition switch (2). If gear (1) not in position shown, turn gear in ignition switch (2) until you reach the correct position.
- Use a screwdriver to rotate the lock cylinder housing gear counterclockwise until it hits a stop.
- Connect the connector to the ignition switch.
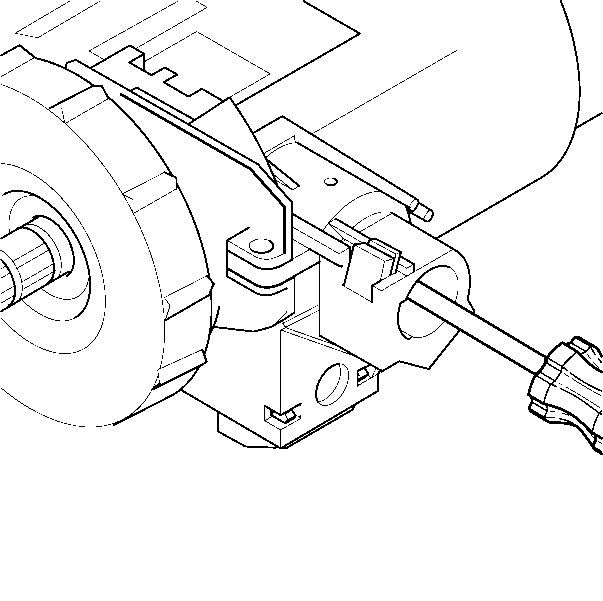
- Insert the ignition switch into the lock cylinder housing. The tabs (2) on the ignition switch MUST be seated inside the lock cylinder housing (1) for proper installation.
- Use a screwdriver to rotate the lock cylinder housing gear clockwise to the START position allowing it to spring return into the RUN position.
- Align the lock cylinder and install the lock cylinder into the lock cylinder housing.
- Connect the passlock and key buzzer into the lock housing.
- Install the steering column trim covers. Refer to Steering Column Trim Covers Replacement .
- Install the hush and knee bolster. Refer to Driver Knee Bolster Bracket Replacement in Instrument Panel, Gauges, and Console.
- Enable the SIR system. Refer to SIR Disabling and Enabling in SIR.
- Connect the negative battery cable. Refer to Battery Negative Cable Disconnection and Connection in Engine Electrical.
Important: The gears between the ignition switch and the lock cylinder housing must be in the correct position. Failure to do so will cause a misalignment of the gears in the ignition switch and the lock cylinder housing, which may result in a NO START or BATTERY DRAIN.