For 1990-2009 cars only
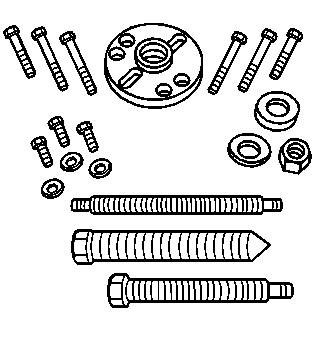
Tools Required
J 23523-F Balancer Remover and Installer
Removal Procedure
- Disconnect the battery negative cable. Refer to Battery Negative Cable Disconnection and Connection .
- Remove the fan shroud assembly. Refer to Engine Coolant Fan Lower Shroud Replacement .
- Remove the drive belt. Refer to Drive Belt Replacement .
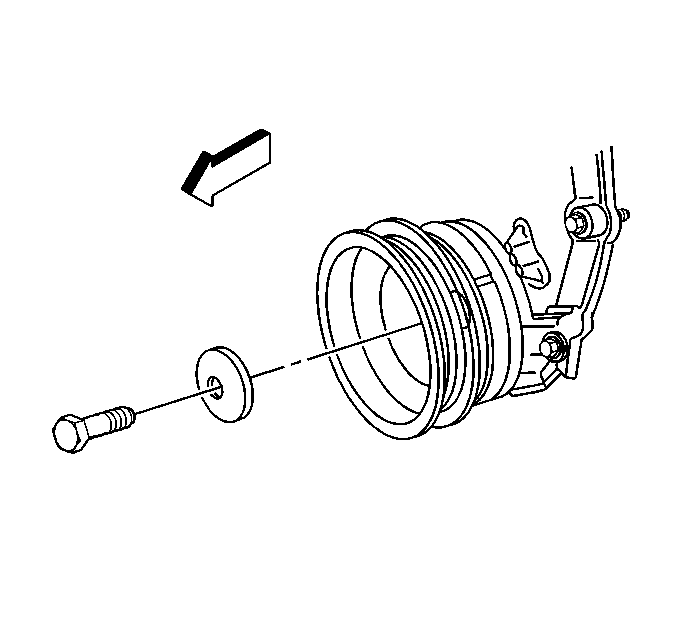
- Remove the crankshaft balancer bolt and washer.
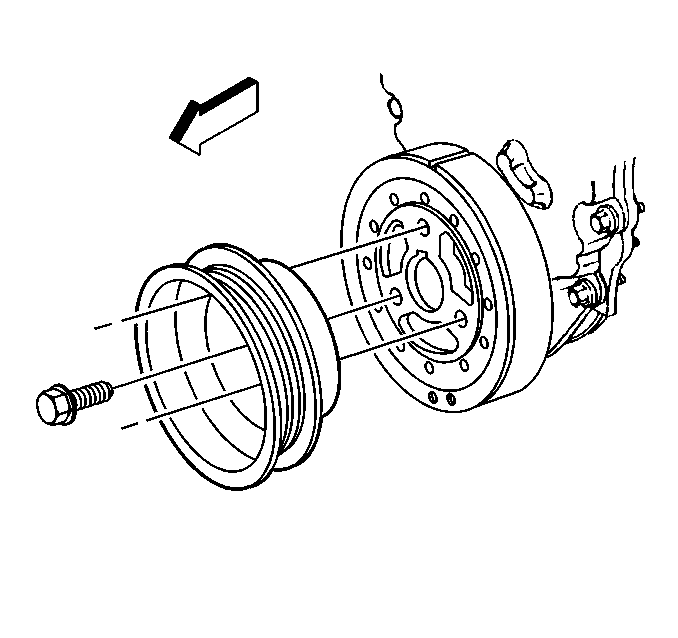
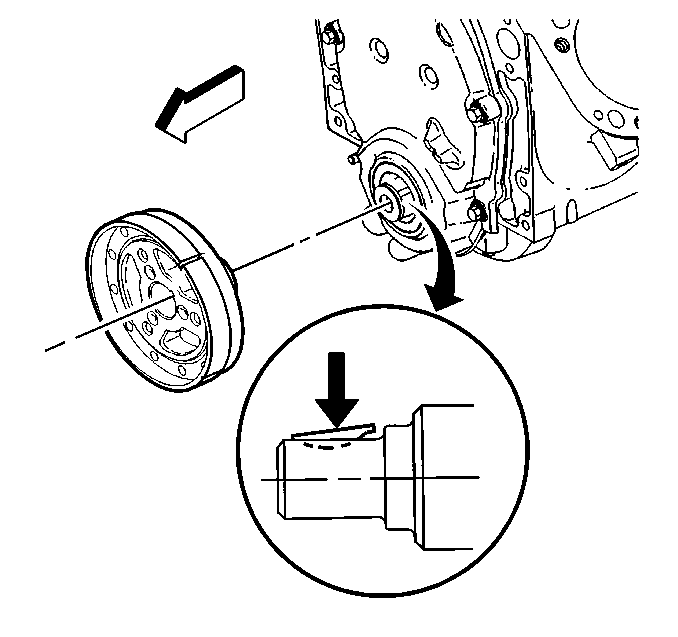
- Remove the bolts and the crankshaft pulley.
- Use the J 23523-F in order to remove the crankshaft balancer.
- Remove the J 23523-F from the crankshaft balancer.
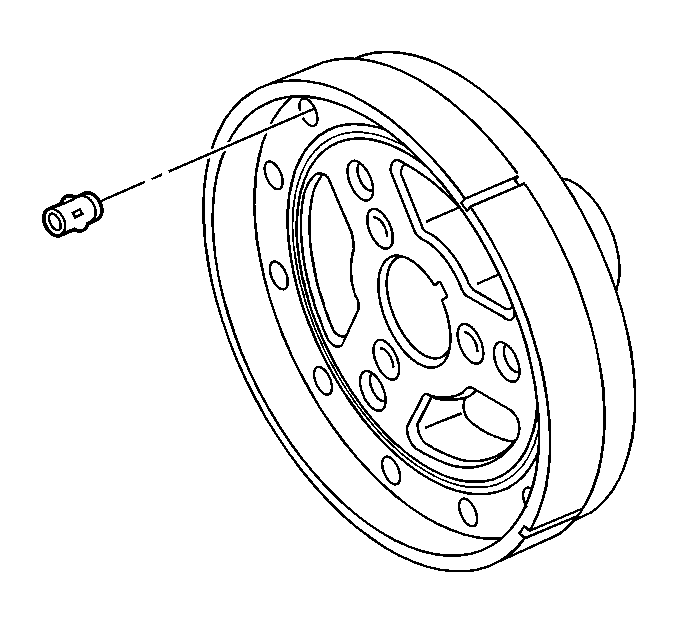
- Note the position and length of any front groove pins (crankshaft balancer), if applicable.
- Clean and inspect all parts. Refer to Crankshaft Balancer Cleaning and Inspection .
Notice: Refer to Fastener Notice in the Preface section.
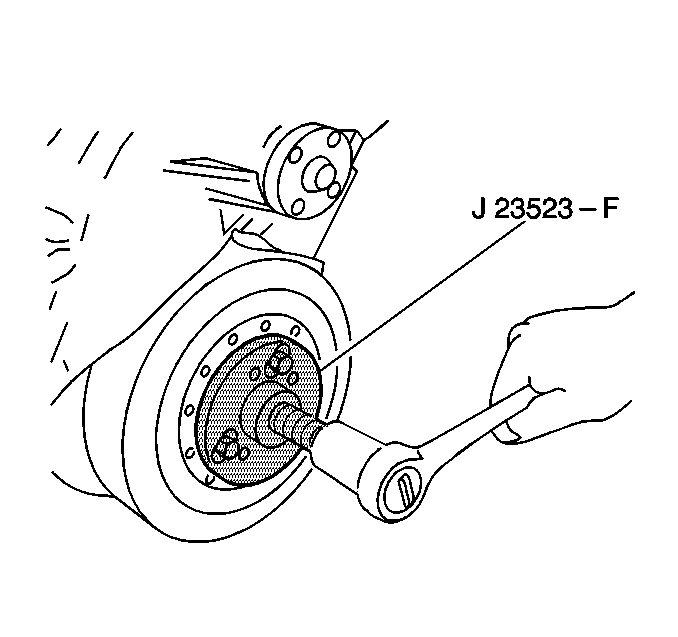
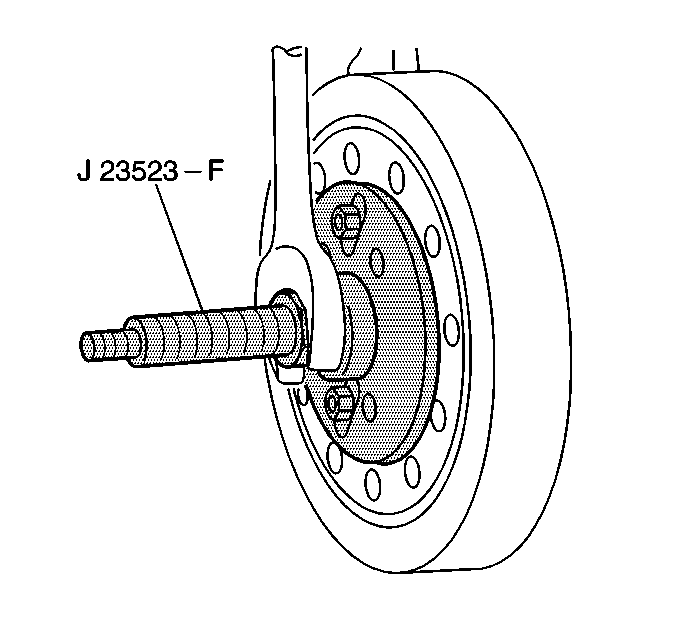
| 6.1. | Install the J 23523-F plate and bolts onto the crankshaft balancer. |
Tighten
Tighten the bolts to 25 N·m (18 lb ft).
| 6.2. | Install the J 23523-F forcing screw into the plate. |
| 6.3. | Rotate the J 23523-F forcing screw clockwise in order to remove the crankshaft balancer. |
Installation Procedure
- Apply a small amount of grease to the crankshaft front cover oil seal sealing surface.
- Look to ensure that the front groove pin (crankshaft balancer) is installed in the proper location if applicable.
- Apply a small amount of adhesive onto the crankshaft balancer keyway in order to seal the crankshaft balancer keyway and crankshaft joint. Refer to Adhesives, Fluids, Lubricants, and Sealers for the correct part number.
- Align the keyway of the crankshaft balancer with the crankshaft balancer key.
- Install the crankshaft balancer onto the end of the crankshaft.
- Use the J 23523-F in order to press the crankshaft balancer onto the crankshaft.
- Remove the J 23523-F .
- Install the crankshaft pulley and bolts.
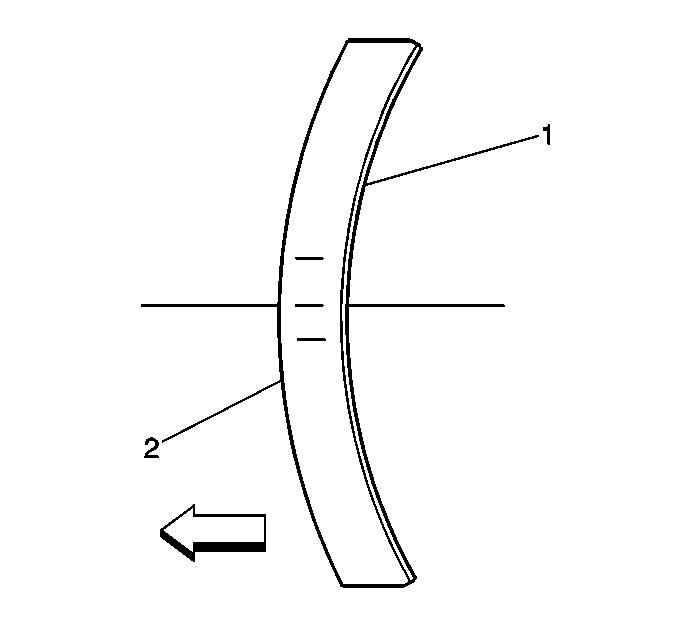
- Ensure that the crown of the crankshaft balancer washer (2) is faced away from the engine.
- Install the crankshaft balancer washer and the bolt.
- Install the drive belt. Refer to Drive Belt Replacement .
- Install the fan shroud assembly. Refer to Engine Coolant Fan Lower Shroud Replacement .
- Connect the battery negative cable. Refer to Battery Negative Cable Disconnection and Connection .
The length and location of the pins must be the same as the original length and location.
Notice: Refer to Fastener Notice in the Preface section.
| 6.1. | Install the J 23523-F plate and bolts onto the front of the crankshaft balancer. |
Tighten
Tighten the plate bolts to 25 N·m (18 lb ft).
| 6.2. | Install the J 23523-F screw into the end for the crankshaft. |
| 6.3. | Install the J 23523-F bearing, the washer, and the nut onto the screw. |
| 6.4. | Rotate the J 23523-F nut clockwise until the crankshaft balancer hub is completely seated against the crankshaft position sensor reluctor ring. |
Tighten
Tighten the crankshaft pulley bolts to 58 N·m (43 lb ft).
Tighten
Tighten the crankshaft balancer bolt to 95 N·m (70 lb ft).
