For 1990-2009 cars only
Removal Procedure
- Apply the parking brake.
- Position the steering column shift lever to park.
- Remove the knee bolster trim panel. Refer to Driver Knee Bolster Replacement in Instrument Panel, Gages and Console.
- Remove the knee bolster bracket. Refer to Driver Knee Bolster Bracket Replacement in Instrument Panel, Gages and Console.
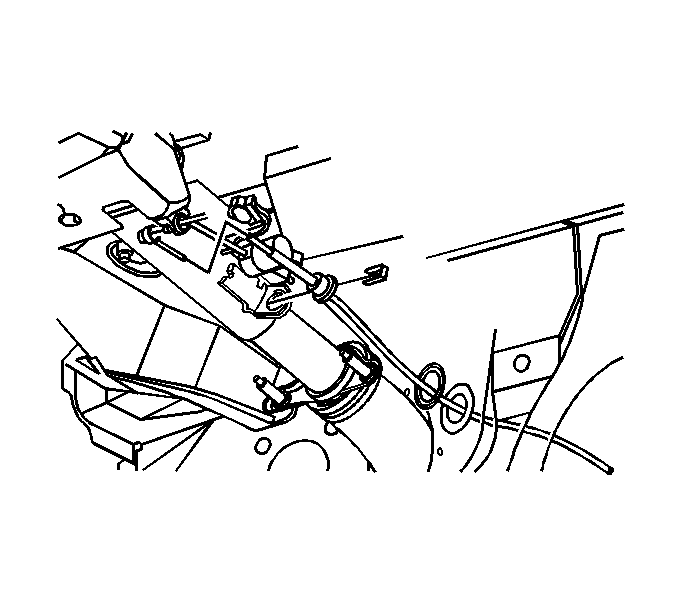
- Remove the clip securing the shift cable to the steering column bracket.
- Remove the shift cable from the steering column shift control.
- Remove the rubber grommet from the floor panel.
- Remove the air cleaner assembly.
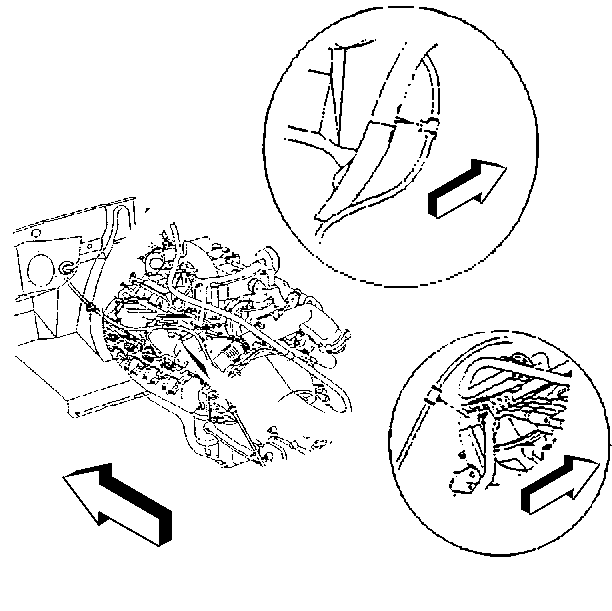
- Remove the shift cable clips from the left front of the engine compartment.
- Raise the vehicle. Refer to Lifting and Jacking the Vehicle in General Information.
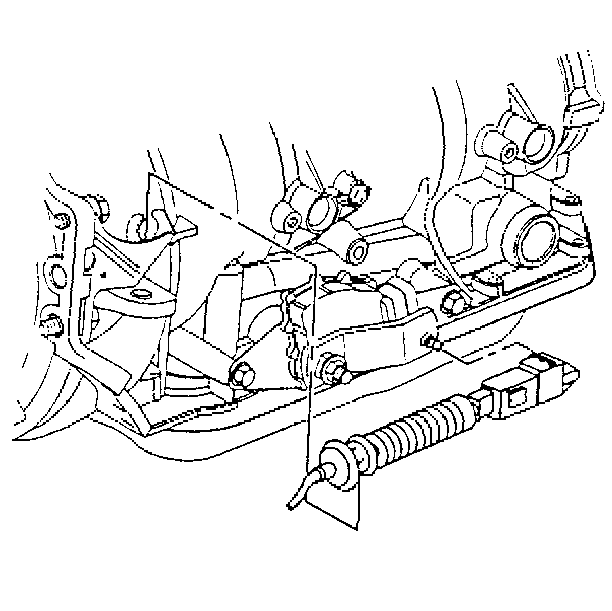
- Remove the shift cable clips from the left rear engine bracket.
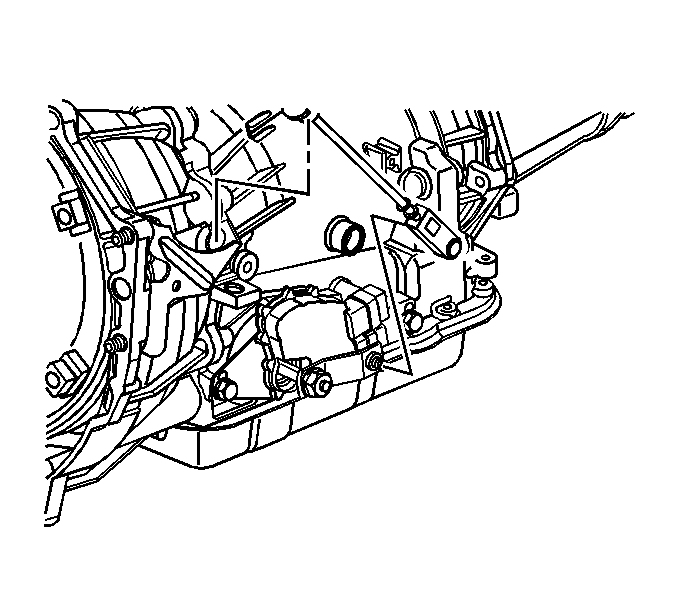
- Remove the shift cable from the stud ball.
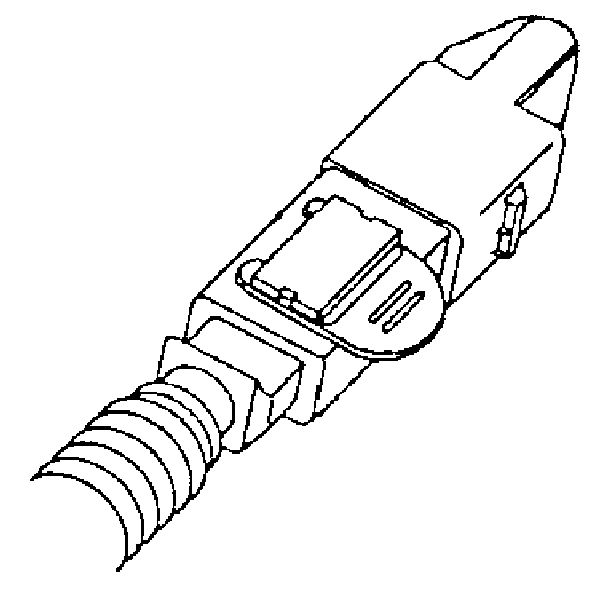
- Remove the locking clip from the cable at the bracket.
- Lower the vehicle.
- Remove the shift cable from the vehicle.
Installation Procedure
- Install the shift cable to the vehicle.
- Raise the vehicle.
- Remove the black shipping tab from the transmission end of the shift cable and discard the tab.
- Install the ball stud on the transmission.
- Install the shift cable to the transmission bracket.
- Install the cable clip.
- Install the shift cable end to the transmission shift control lever by pushing the cable end onto the transmission shift control lever stud ball.
- Lock the primary lock.
- Lock the secondary lock.
- Install the shift cable clips to the engine brackets.
- Lower the vehicle.
- Install the rubber grommet to the floor panel.
- Install the shift cable to the steering column shift control.
- Install the clip securing the shift cable to the steering column bracket.
- Install the cable to the shift lever ball stud.
- Adjust the shift cable. Refer to Range Selector Lever Cable Adjustment .
- Install the knee bolster bracket. Refer to Driver Knee Bolster Bracket Replacement in Instrument Panel, Gages and Console.
- Install the knee bolster trim panel. Refer to Driver Knee Bolster Replacement in Instrument Panel, Gages and Console.
Important: Prior to installing the shift cable to the vehicle, ensure that the column shift lever and the transmission control lever are in the mechanical park position. The transmission control lever can be positioned to mechanical park by rotating the control lever clockwise until it reaches its full clockwise position.


Important: Ensure the shift lever is in the Park position.
