Tools Required
| • | J 22888-20A Differential Side Bearing Puller |
| • | J 35378 Differential Side Bearing Puller Pilot |
| • | J 35409 Differential Side Bearing Installer |
| • | J 35405 Differential Preload Wrench |
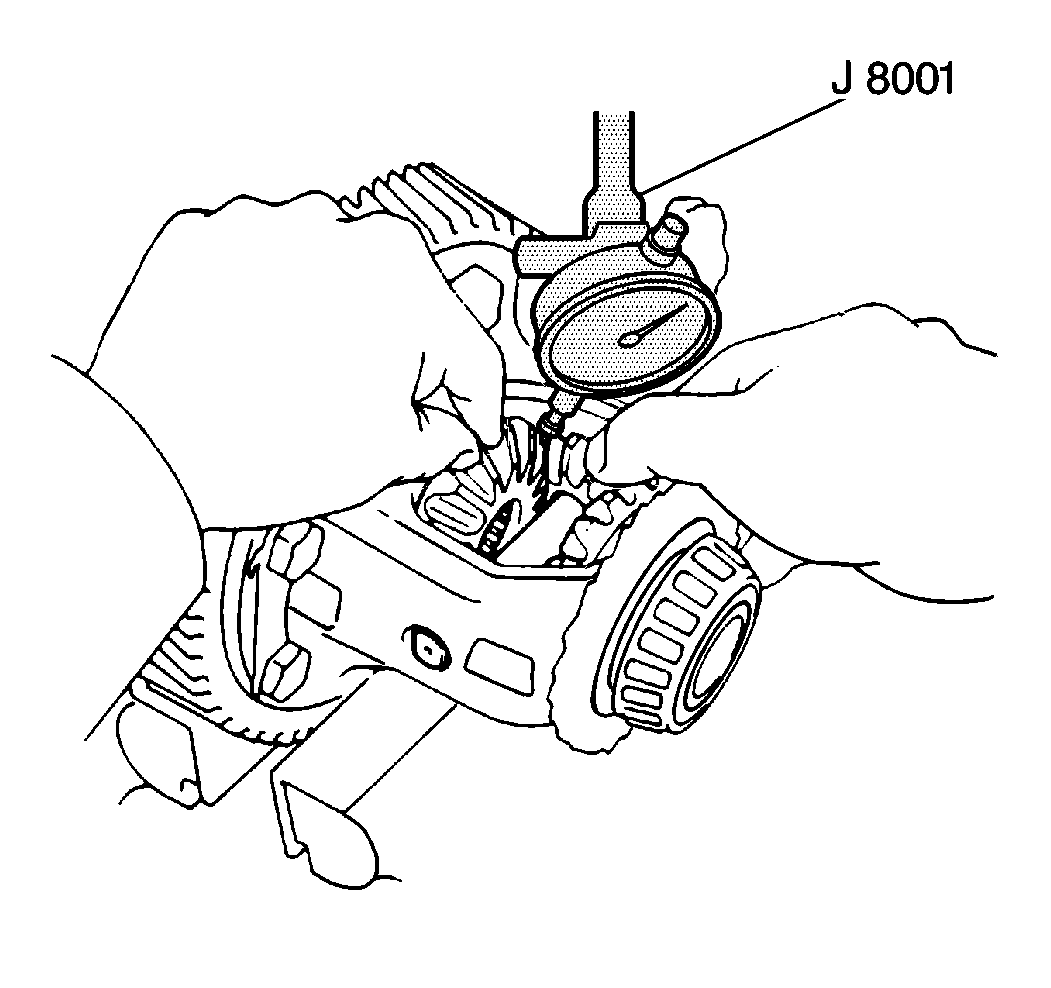
| • | J 8001 Dial Indicator |
Removal Procedure
- Remove the differential from the transaxle. Refer to Transmission Disassemble .
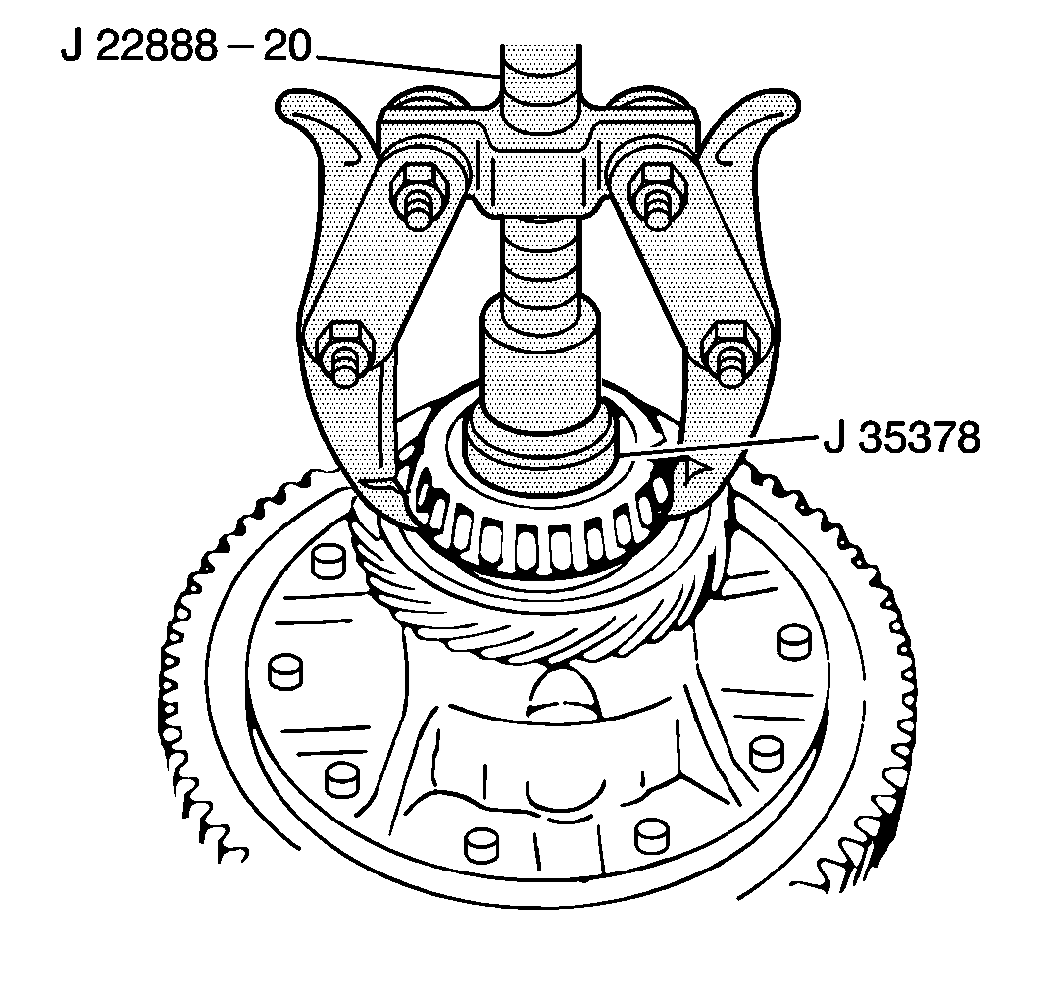
- Remove the side bearings using a J 22888-20A and a J 35378 . Place the legs of the puller into the cutouts on the speedometer driver gear.
- Remove the following components:
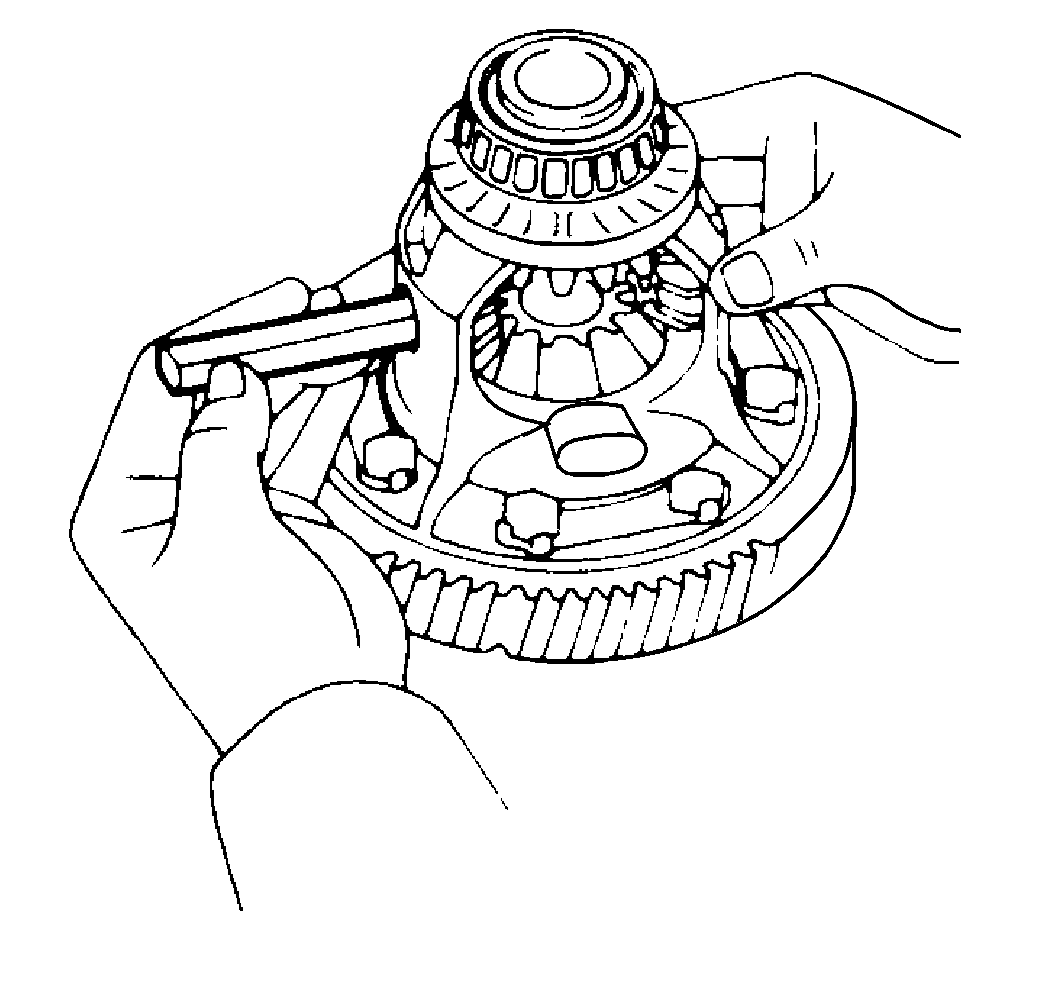
- Remove the ring gear using a copper or a brass hammer.
- Discard the bolts and the locking plates.
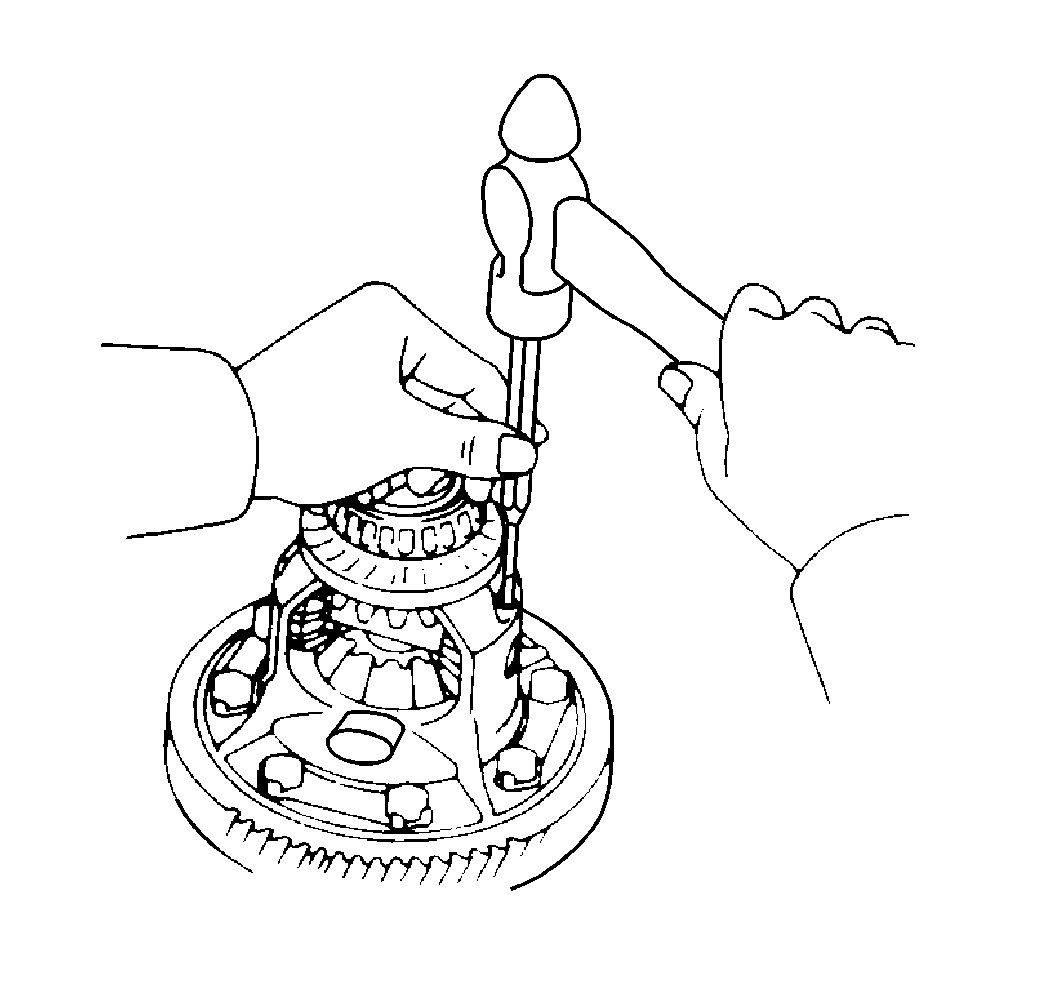
- Remove the pinion shaft lock pin.
- Remove the pinion shaft from the case.
- Remove the following components:
- Remove the following components:
- Inspect the following parts for chips or excessive wear:
- Replace all faulty components.
| • | Eight ring gear bolts |
| • | The locking plates |
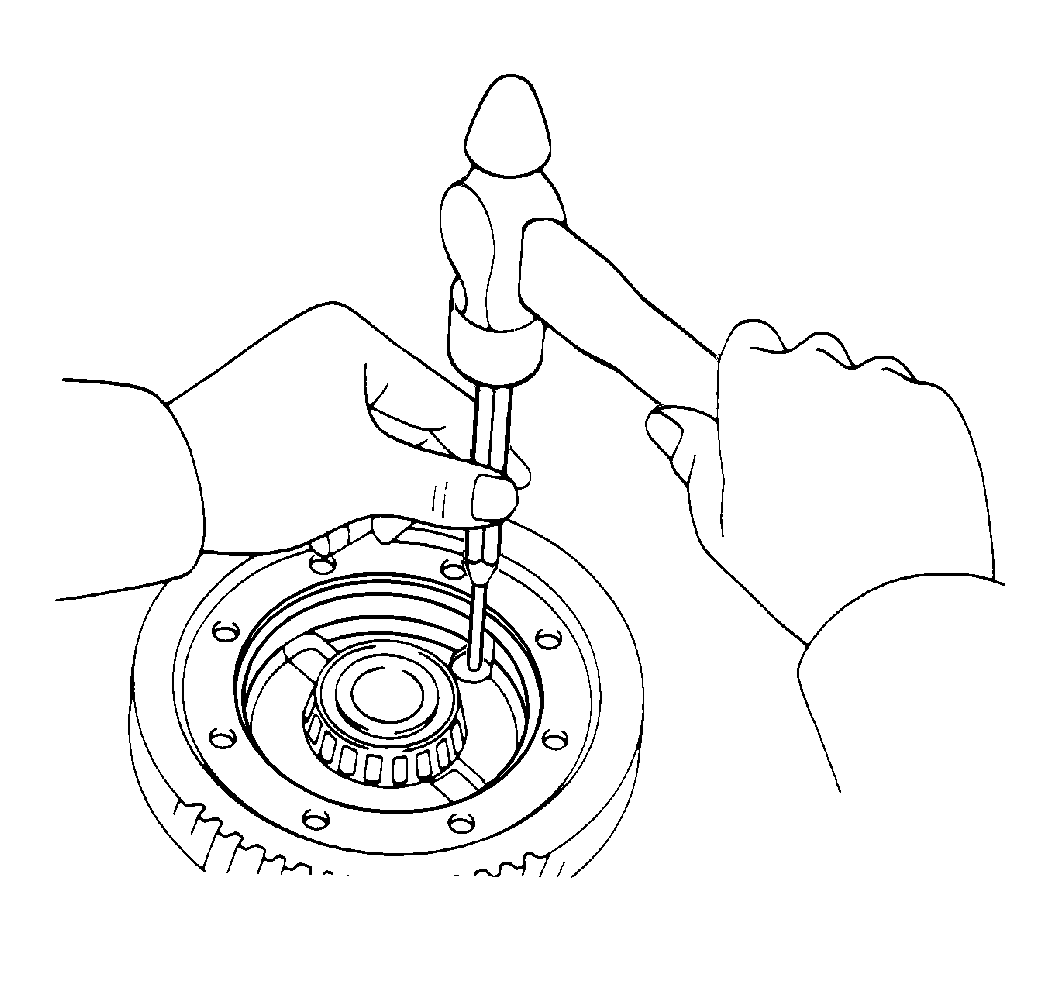
Important: Remove the peened over cast flashing prior to lock pin removal.
| • | Two pinion gears |
| • | Two thrust washers |
| • | Two side gears |
| • | Two thrust washers |
| • | The side bearings |
| • | The ring gear |
| • | The pinion shaft |
| • | The pinion gears |
| • | The thrust washers |
Installation Procedure
- Install the ring gear bolts.
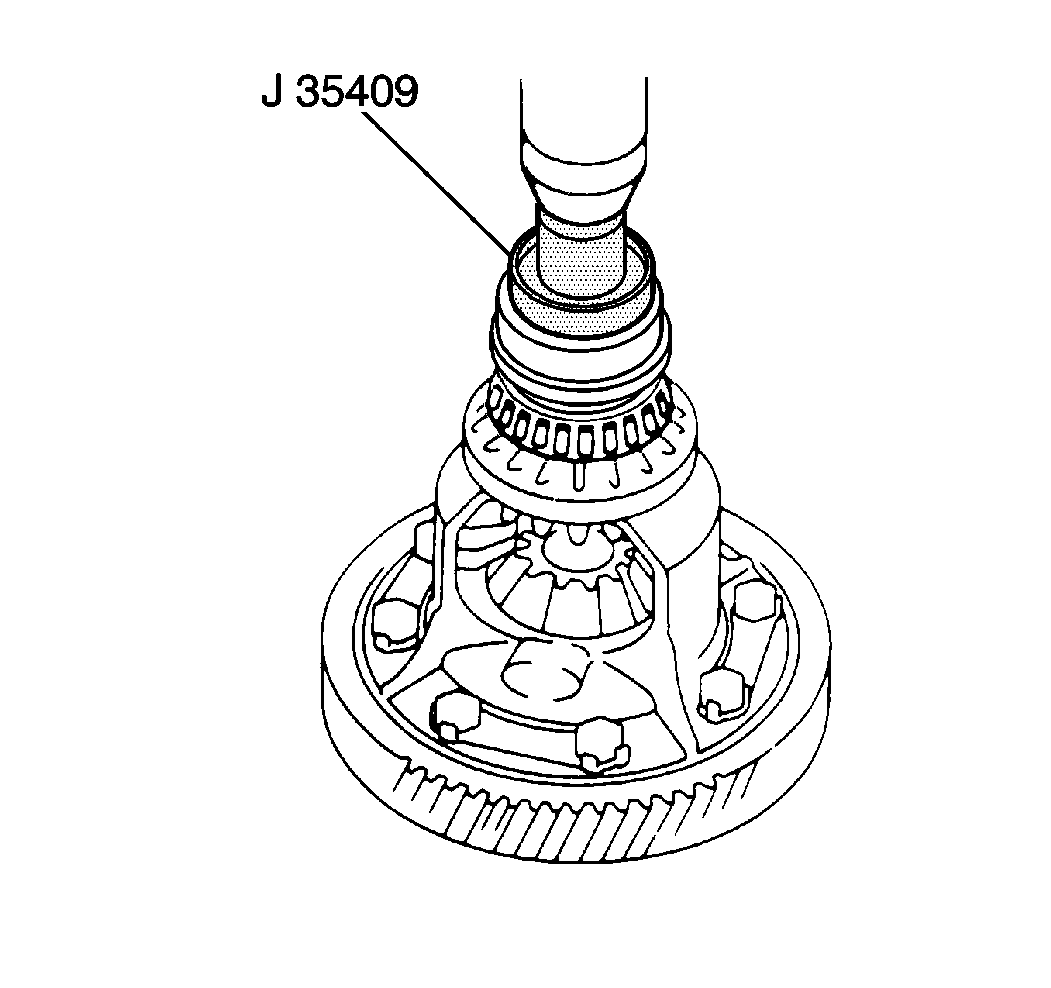
- Install the side bearings using a J 35409 and a press.
- Install the following components:
- Install the following components:
- Install the pinion shaft.
- Measure the pinion gear backlash with a J 8001 . Measure one side of the gear while holding one pinion toward the case. If the backlash is not 0.05-0.20 mm (0.0020-0.0079 in), install different thrust washers. Refer to Transmission Specifications .
- Select washers of the same size for both sides of the gear.
- Install the pinion shaft lock pin.
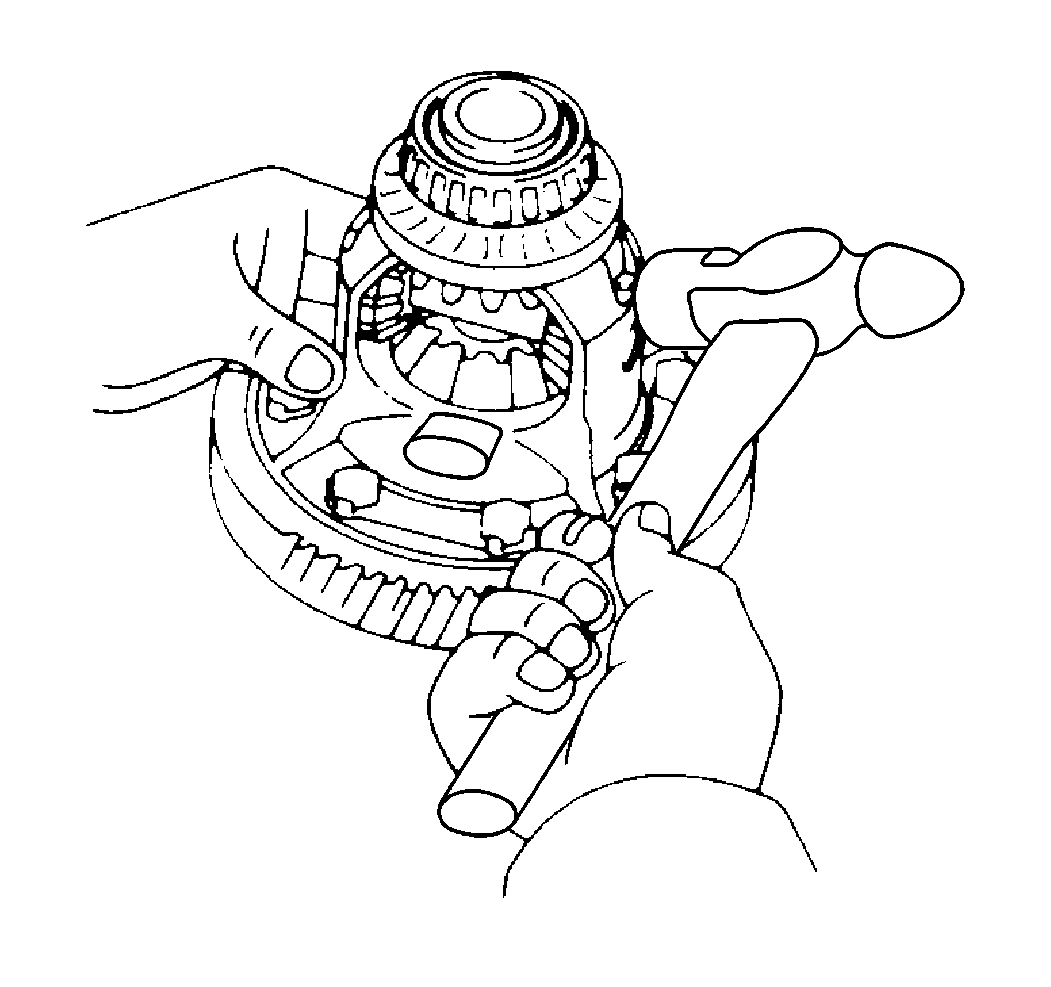
- After you obtain the correct backlash, stake the differential case.
- Install the differential into the transaxle.
- Pre-assemble the transaxle to measure bearing preload.
- Measure the side bearing preload with the thinnest shim in the transaxle case, using a J 35405 and a torque wrench.
- If the appropriate condition is true, then you are finished with the installation procedure. If the appropriate condition is not true, then continue with the remainder of the procedure.
- Remove the outer race (transaxle case side) of the side bearing. Refer to Transmission Disassemble .
- Select an adjusting shim. Refer to Transmission Specifications . The preload will change 0.3-0.4 N·m (2.6-3.5 lb ft) with each shim thickness.
Notice: Use the correct fastener in the correct location. Replacement fasteners must be the correct part number for that application. Fasteners requiring replacement or fasteners requiring the use of thread locking compound or sealant are identified in the service procedure. Do not use paints, lubricants, or corrosion inhibitors on fasteners or fastener joint surfaces unless specified. These coatings affect fastener torque and joint clamping force and may damage the fastener. Use the correct tightening sequence and specifications when installing fasteners in order to avoid damage to parts and systems.
Tighten
Tighten the ring gear bolts uniformly and incrementally to 77 N·m
(57 lb ft).
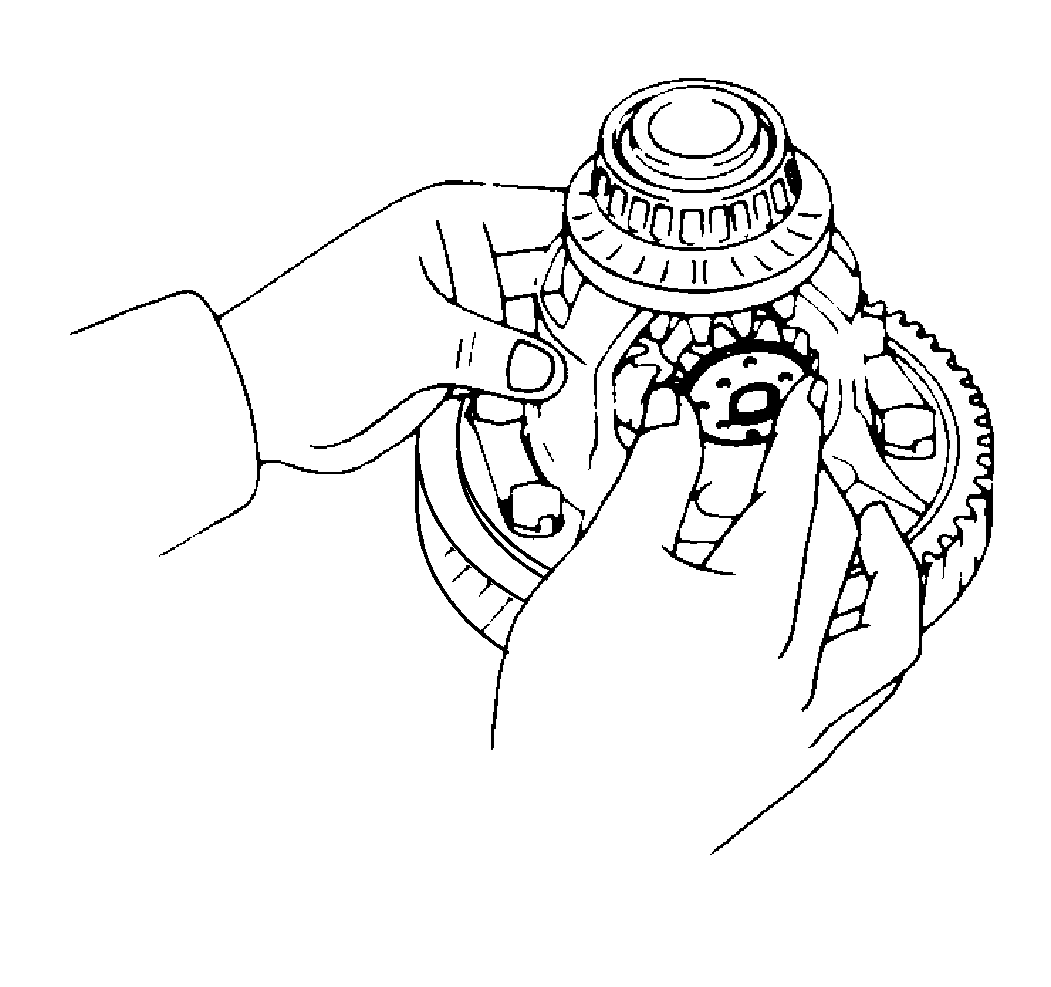
| • | Two pinion gears |
| • | Two thrust washers |
| • | Two side gears |
| • | Two thrust washers |
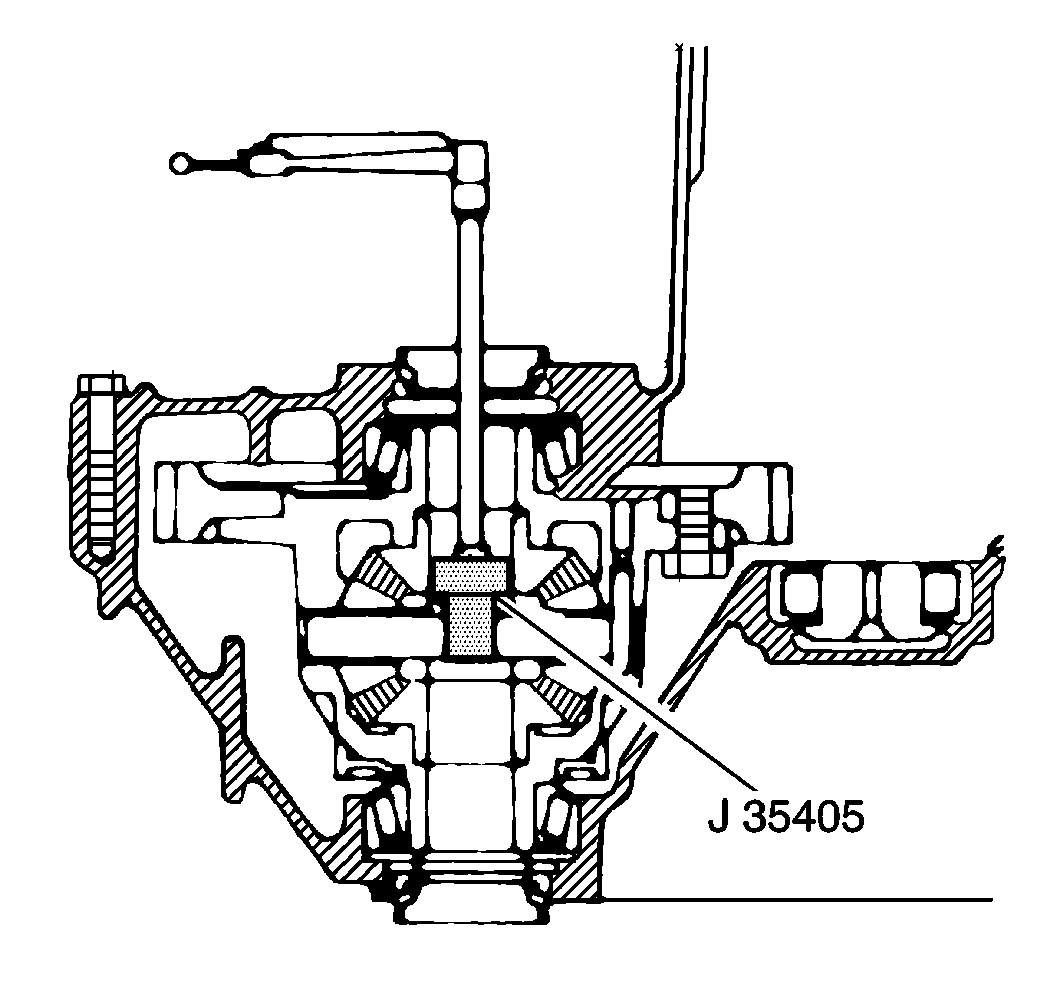
Verify that one of the following conditions is true:
| • | New bearing preload is 0.8-1.6 N·m (6.9-13.9 lb ft) |
| • | Reused bearing preload is 0.5-1.0 N·m (4.3-8.7 lb ft) |
