Extension Housing Installation 5L40-E/5L50-E 2WD Excluding XLR
Tools Required
J 44765 Seal Installer
- Inspect both inner and outer output shaft bearings for the following:
- If either bearing is damaged replace extension housing.
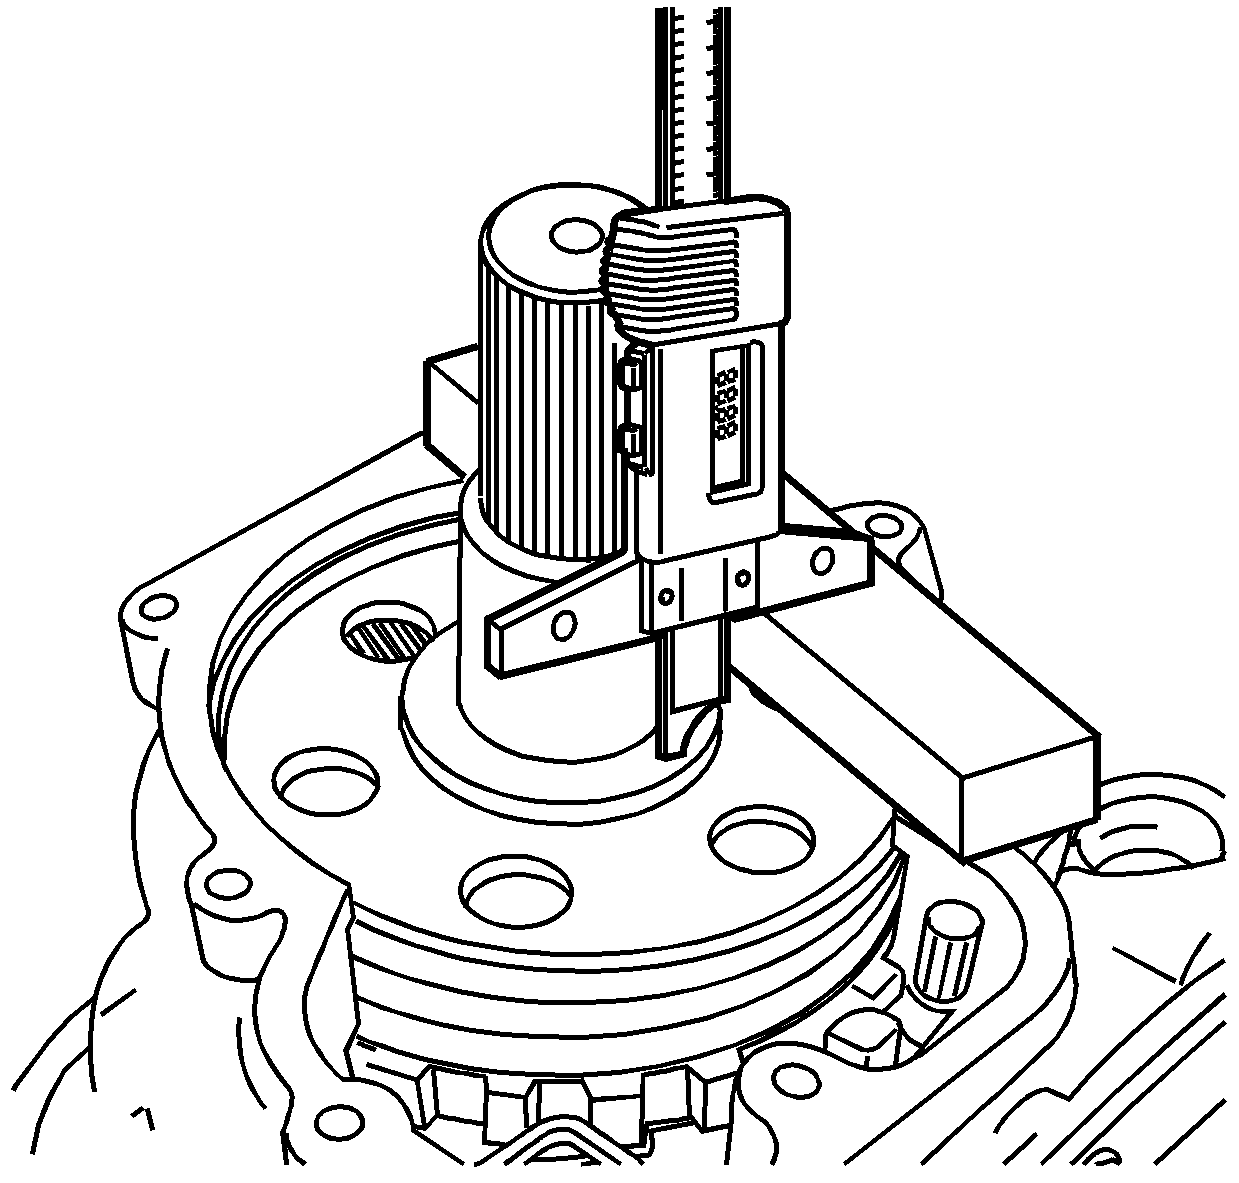
- Rotate the transmission 90 degrees.
- Measure from the bottom to the face of the ouput shaft. Record this as dimension B. Refer to the End Play Specifications to determine the correct washer size.
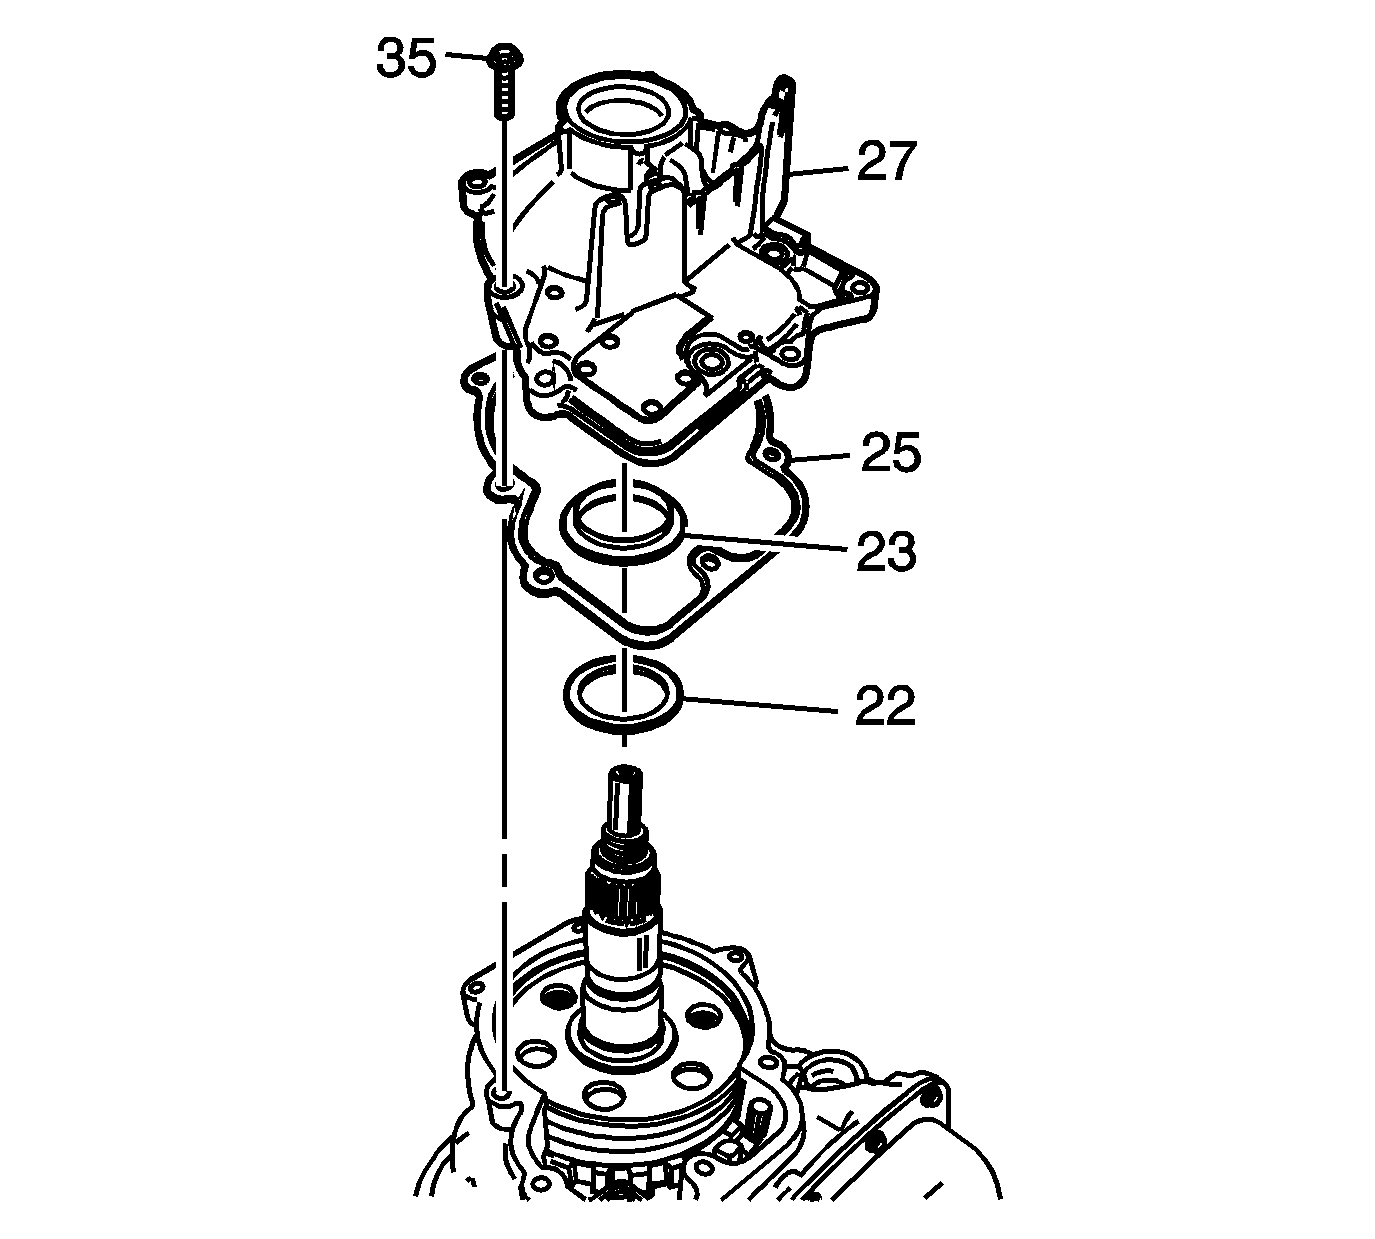
- Install the input and reaction carrier washer (22).
- Install the input and reaction carrier thrust bearing (23) onto the extension housing.
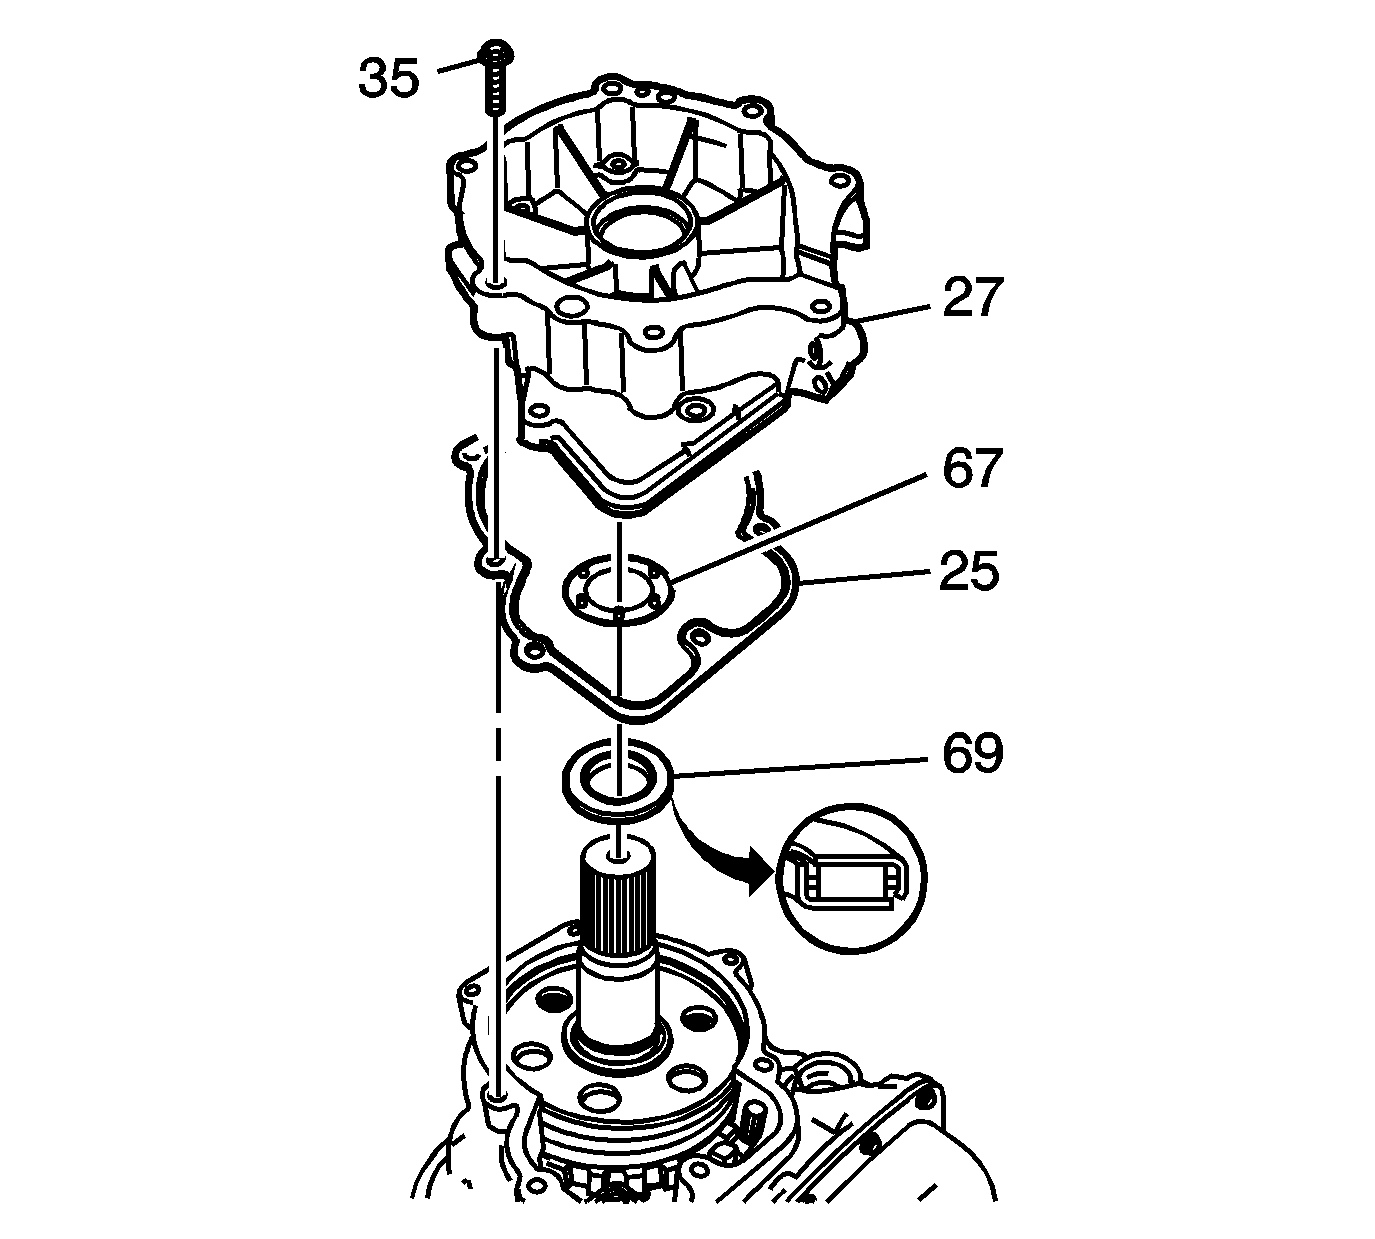
- Install the extension housing gasket (25) onto the extension housing (27).
- Install the extension housing (27) onto the case.
- Install the extension housing bolts (35).
- Using J 44765 install the prop shaft flange seal (29).
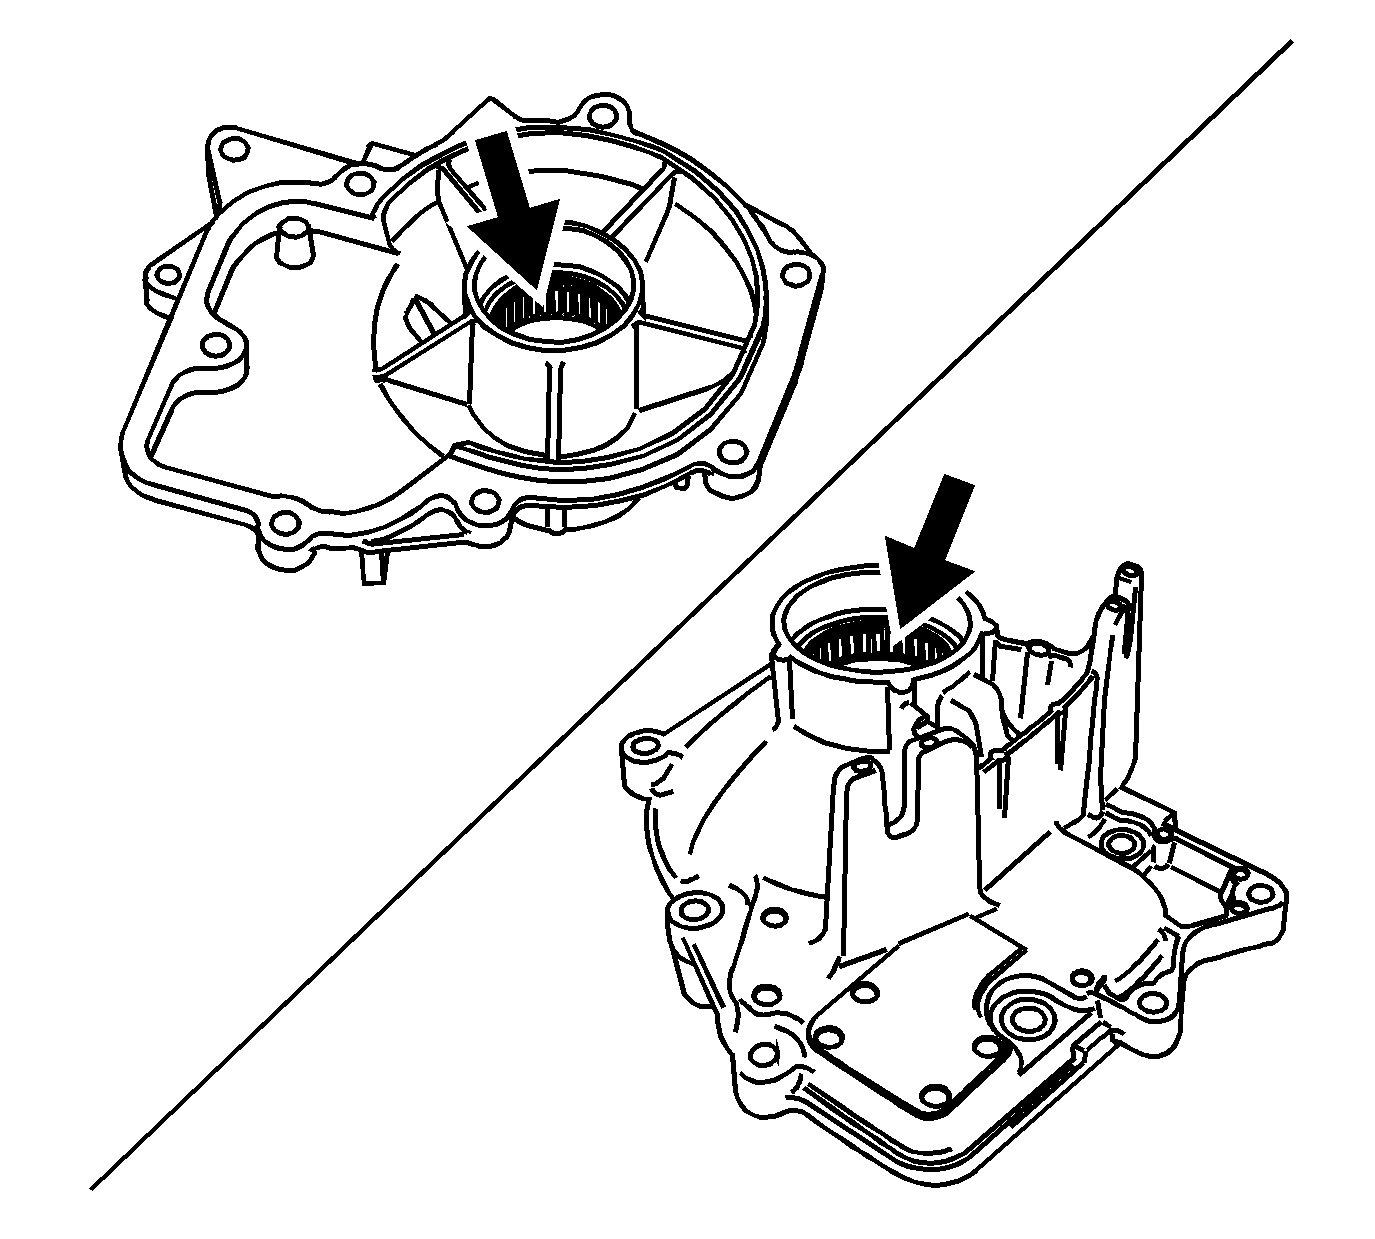
| • | Damaged cage |
| • | Roller pitted |

Notice: Use the correct fastener in the correct location. Replacement fasteners must be the correct part number for that application. Fasteners requiring replacement or fasteners requiring the use of thread locking compound or sealant are identified in the service procedure. Do not use paints, lubricants, or corrosion inhibitors on fasteners or fastener joint surfaces unless specified. These coatings affect fastener torque and joint clamping force and may damage the fastener. Use the correct tightening sequence and specifications when installing fasteners in order to avoid damage to parts and systems.
Tighten
Tighten the extension housing bolts to 22 N·m (16 lb ft).
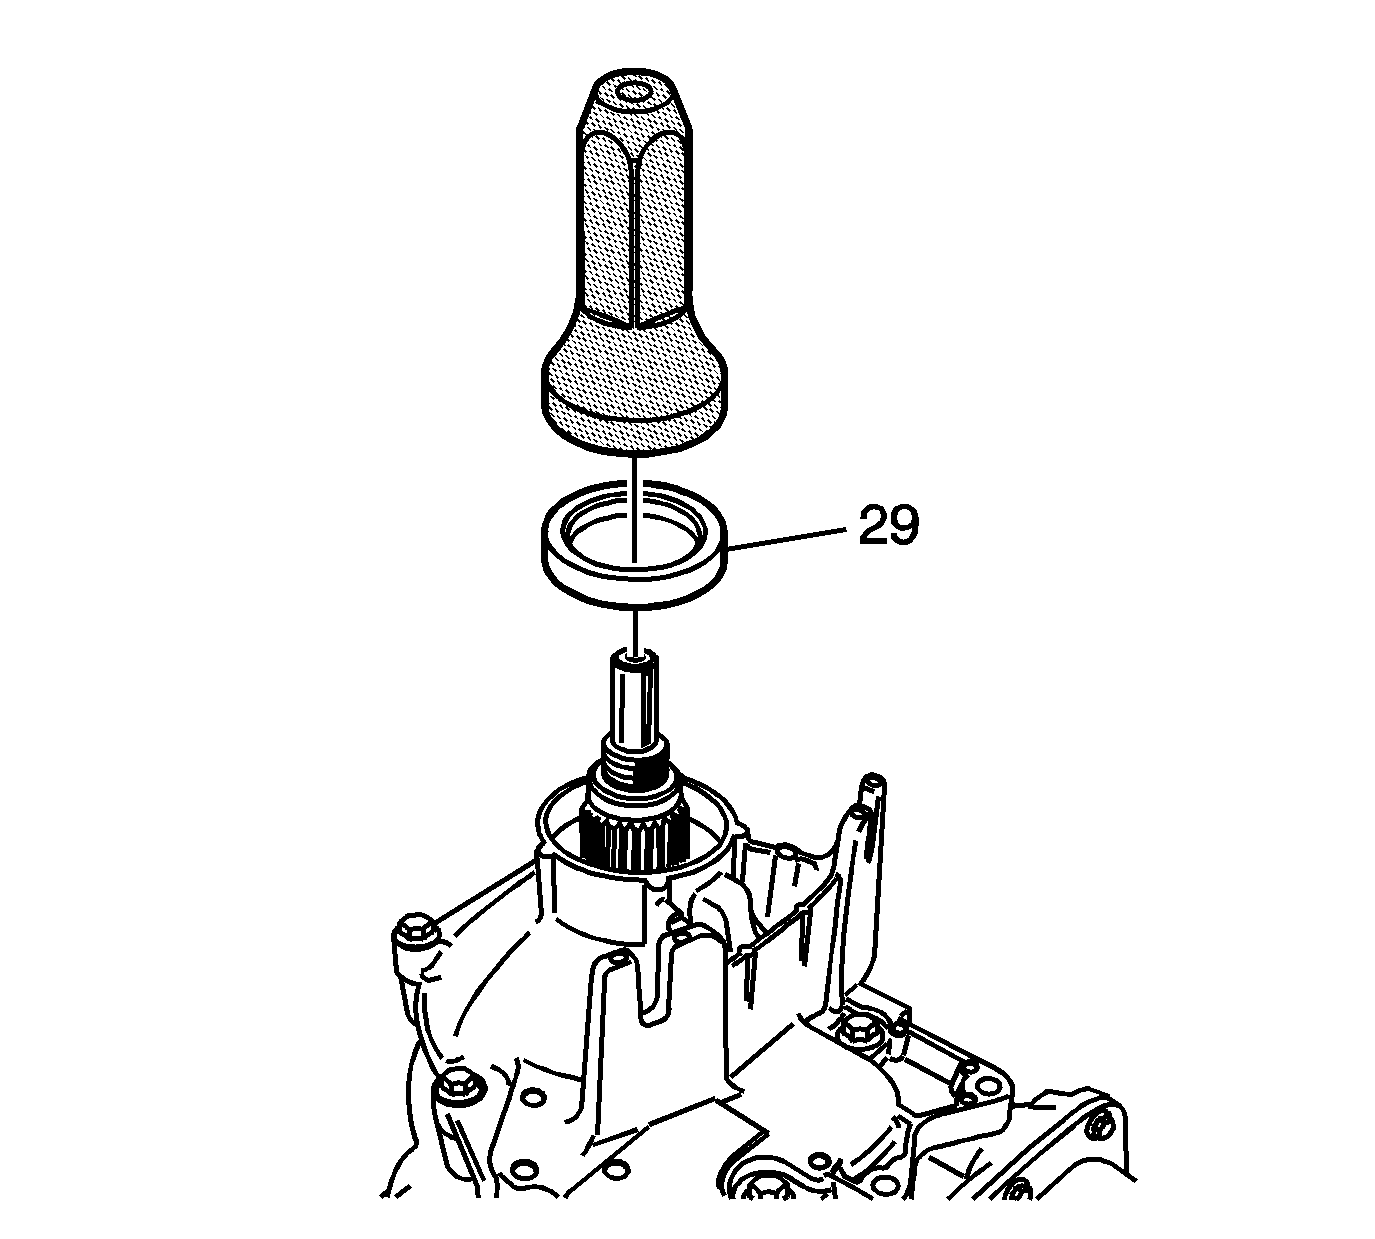
Notice: Install the seal onto the tool before installing into the case to prevent damage to the seal.
Extension Housing Installation 5L40-E/5L50-E AWD Including XLR
Tools Required
J 44765 Seal Installer
- Inspect both inner and outer output shaft bearings for the following:
- If either bearing is damaged, replace the extension housing.
- Rotate the transmission 90 degrees.
- Measure from the bottom to the face of the bearing. Record this as dimension B. Refer to the End Play Specifications to determine the correct washer size.
- Install the input and reaction carrier thrust bearing (69).
- Install the extension housing gasket (25) onto the extension housing (27).
- Install the extension housing (27) onto the case.
- Install the extension housing bolts (35).
- Using J 44765 install the prop shaft flange seal (29) - 5L40-E/5L50-E AWD.
- Using J 46741 install the prop shaft flange seal (68) - XLR only.
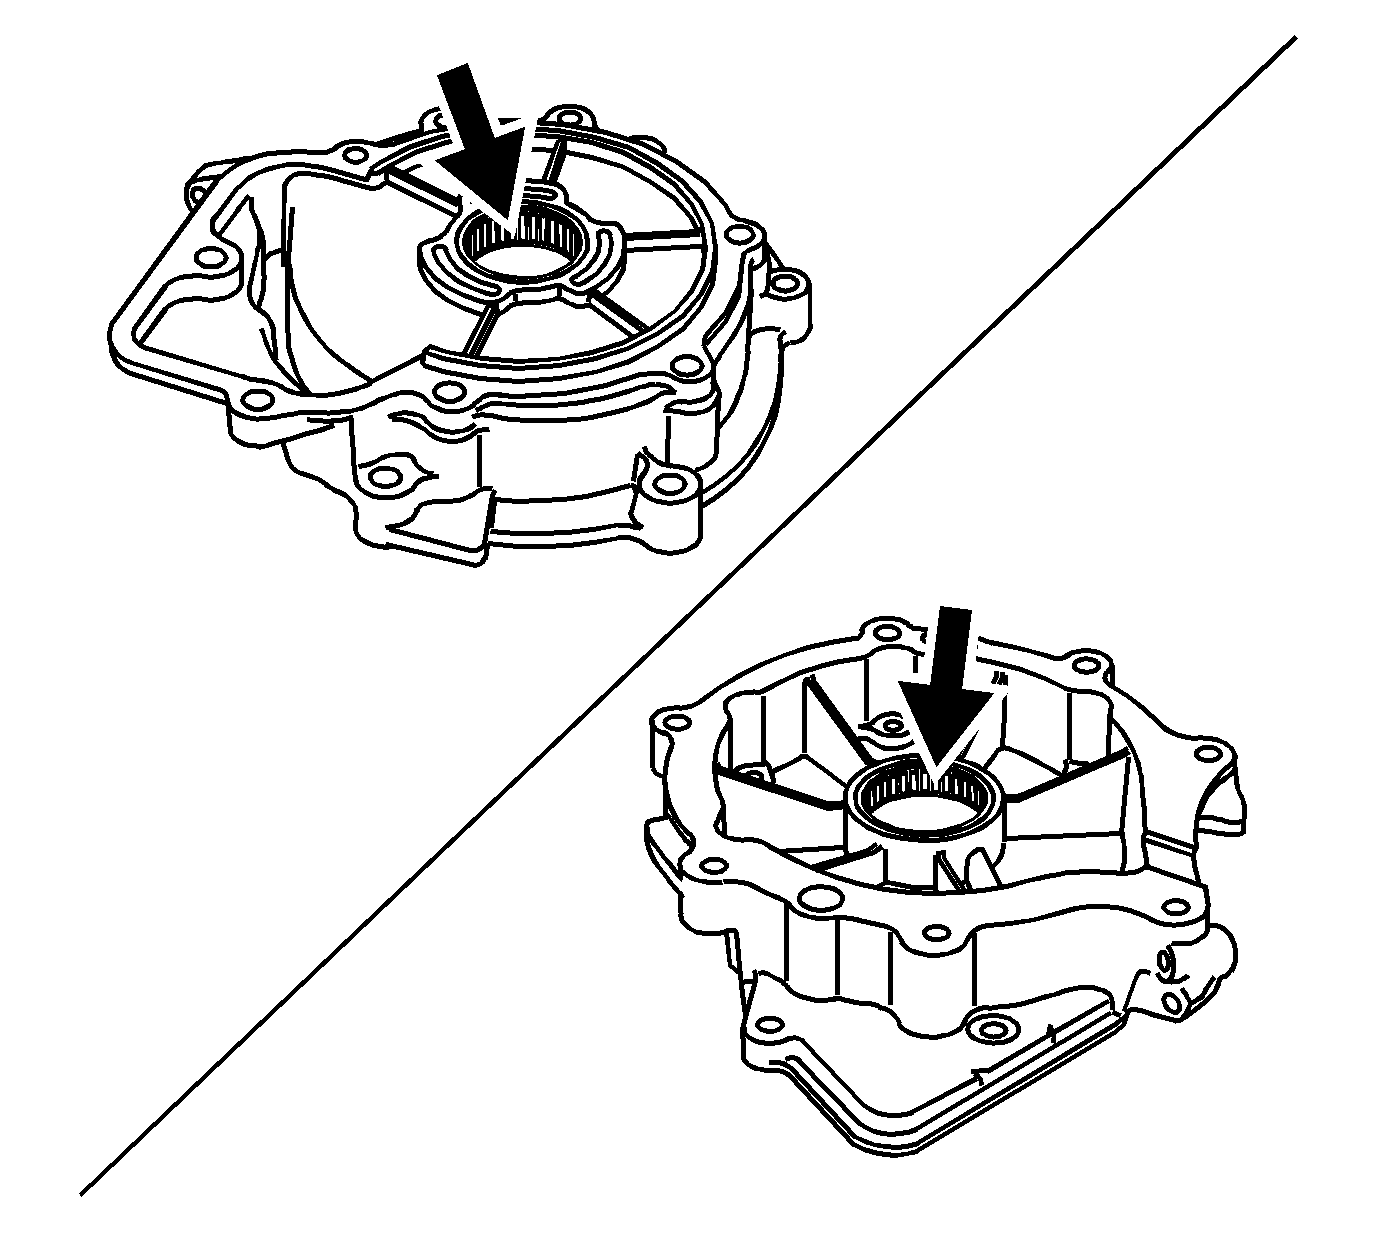
| • | Damaged cage |
| • | Roller pitted |
Notice: Use the correct fastener in the correct location. Replacement fasteners must be the correct part number for that application. Fasteners requiring replacement or fasteners requiring the use of thread locking compound or sealant are identified in the service procedure. Do not use paints, lubricants, or corrosion inhibitors on fasteners or fastener joint surfaces unless specified. These coatings affect fastener torque and joint clamping force and may damage the fastener. Use the correct tightening sequence and specifications when installing fasteners in order to avoid damage to parts and systems.
Tighten
Tighten the extension housing bolts to 22 N·m (16 lb ft).
Notice: Install the seal onto the tool before installing into the case to prevent damage to the seal.

