For 1990-2009 cars only
Removal Procedure
- Remove the air cleaner assembly. Refer to Air Cleaner Assembly Replacement in Engine Controls - 4.8L, 5.3L, and 6.0L.
- Remove the retaining bolt for the coolant recovery reservoir and set the reservoir aside.
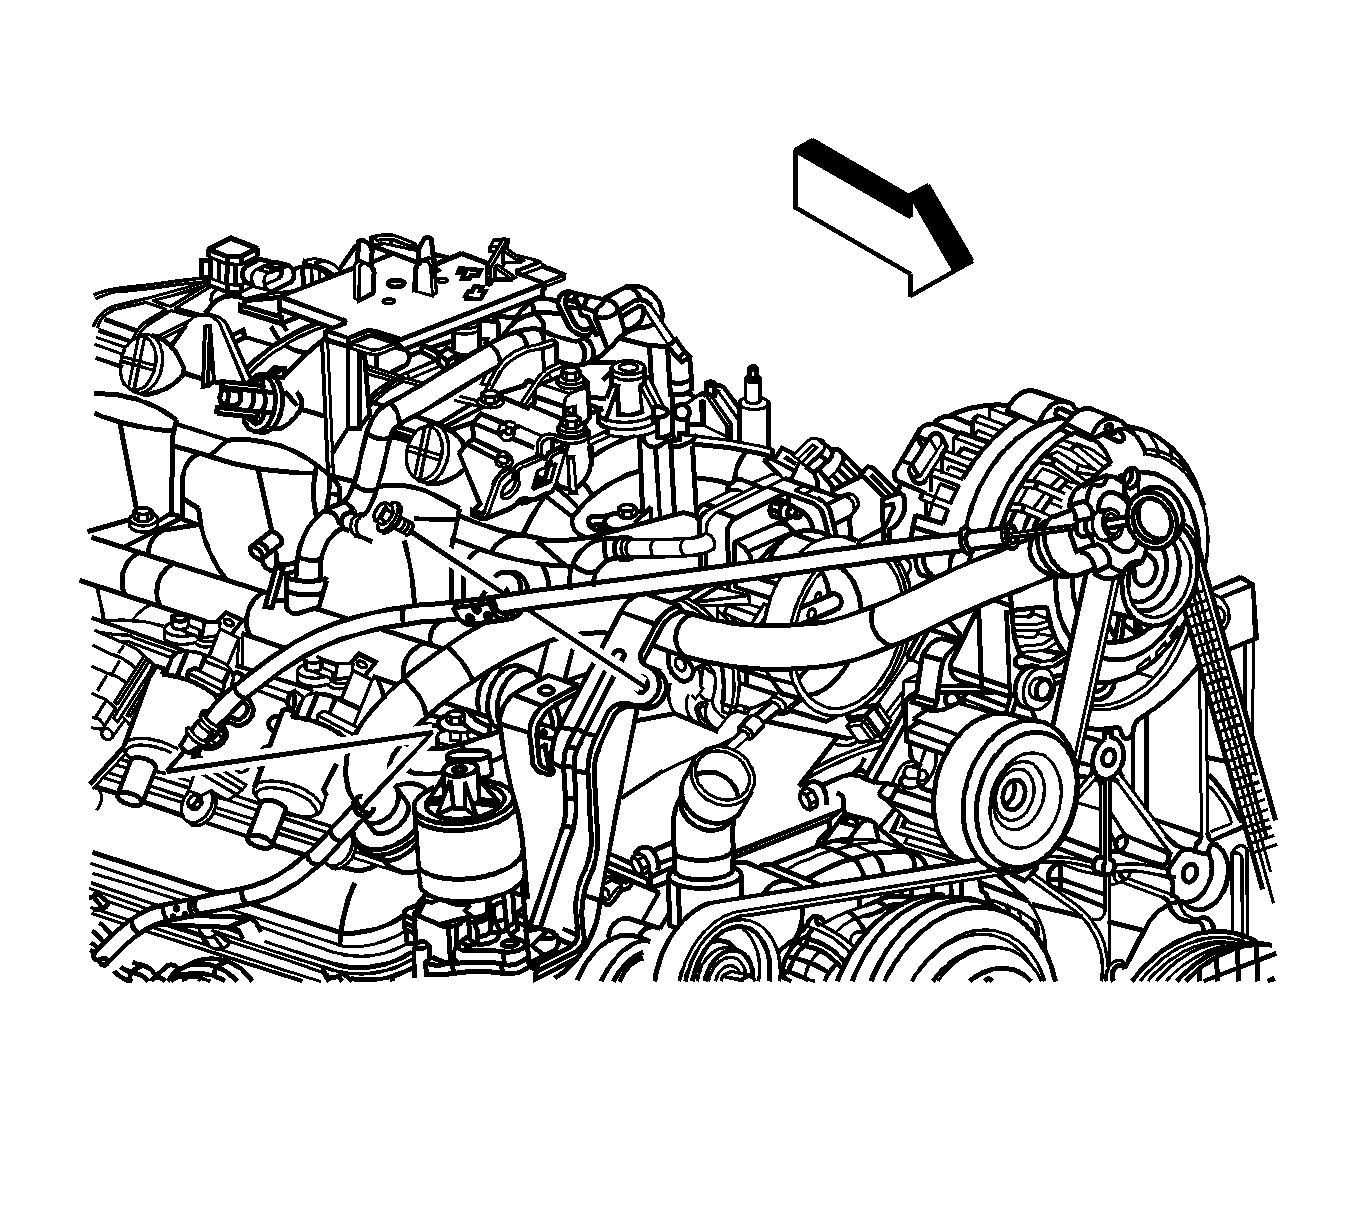
- Remove the oil level indicator from the tube.
- Remove the oil level indicator tube bolt from the oil fill tube retaining bracket.
- Remove the oil level indicator tube from the lower tube.
- Inspect the O-ring seal for cuts or damage.
- Remove the O-ring seal from the tube (if required).
- Remove the lower oil fill tube bolt from the engine block.
- Remove the lower oil fill tube.
Important: The O-ring seal may be reused if not cut or damaged.
Installation Procedure
- Lubricate the O-ring seal with clean engine oil.
- Install the O-ring seal onto the lower oil level indicator tube.
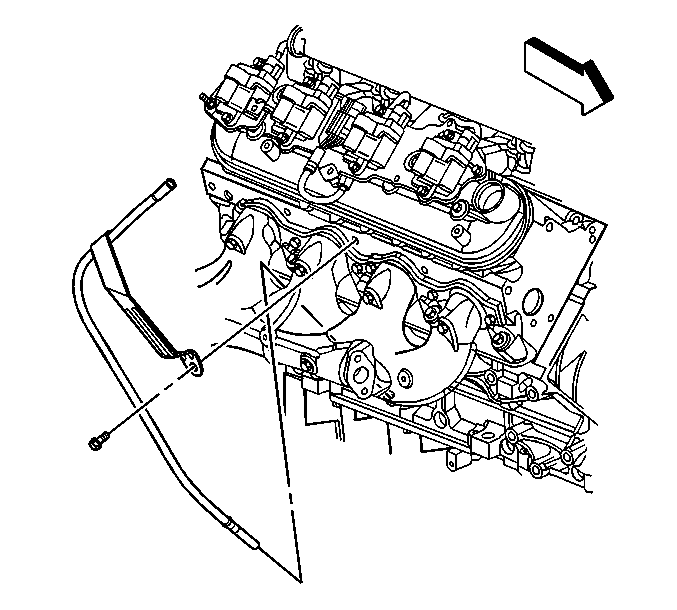
- Install the lower oil level indicator tube behind the exhaust manifold.
- Raise and suitably support the vehicle. Refer to Lifting and Jacking the Vehicle in General Information.
- Install the lower oil level indicator tube into the block. The tube must be installed with the collar flush to the block.
- Lower the vehicle.
- Install the oil level indicator tube bolt
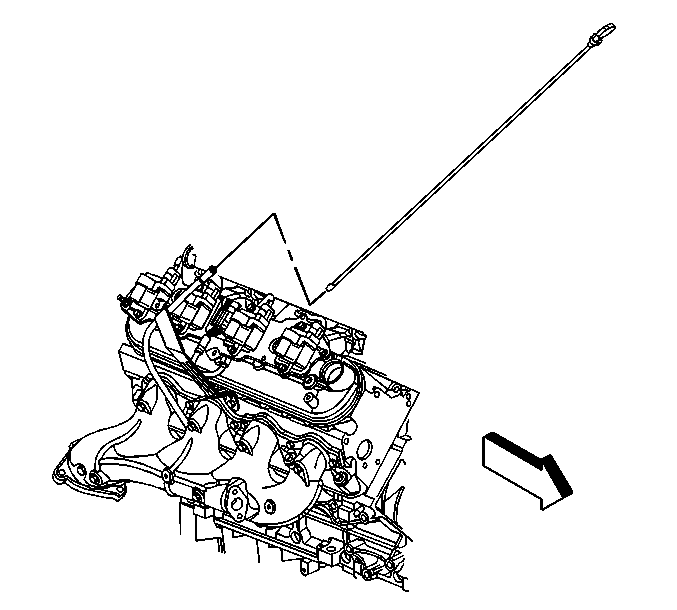
- Install the upper oil level indicator tube into the lower oil fill tube.
- Install the upper oil fill tube into the retaining bracket.
- Position the coolant recovery reservoir and install the retaining bolt.
- Install the air cleaner assembly. Refer to Air Cleaner Assembly Replacement in Engine Controls.
Notice: Refer to Fastener Notice in the Preface section.
Tighten
Tighten the oil level indicator tube bolt to 25 N·m (18 lb ft).
Tighten
Tighten the oil fill tube bolt to 10 N·m (88 lb in).
