For 1990-2009 cars only
Removal Procedure
- Paint the service hinges body color.
- For forward most intermediate door (60 door) hinge replacement move the front seat forward, clear of B-pillar.
- Remove the door that requires hinge replacement. Refer to Rear Side Door Replacement .
- Remove interior trim at pillar. Refer to Upper Pillar Garnish Molding Replacement , Lower Pillar Garnish Molding Replacement , or Center Pillar Upper Garnish Molding Replacement - Right Side .
- Cut the production body side door hinge. Use a reciprocating saw to gain access for drilling.
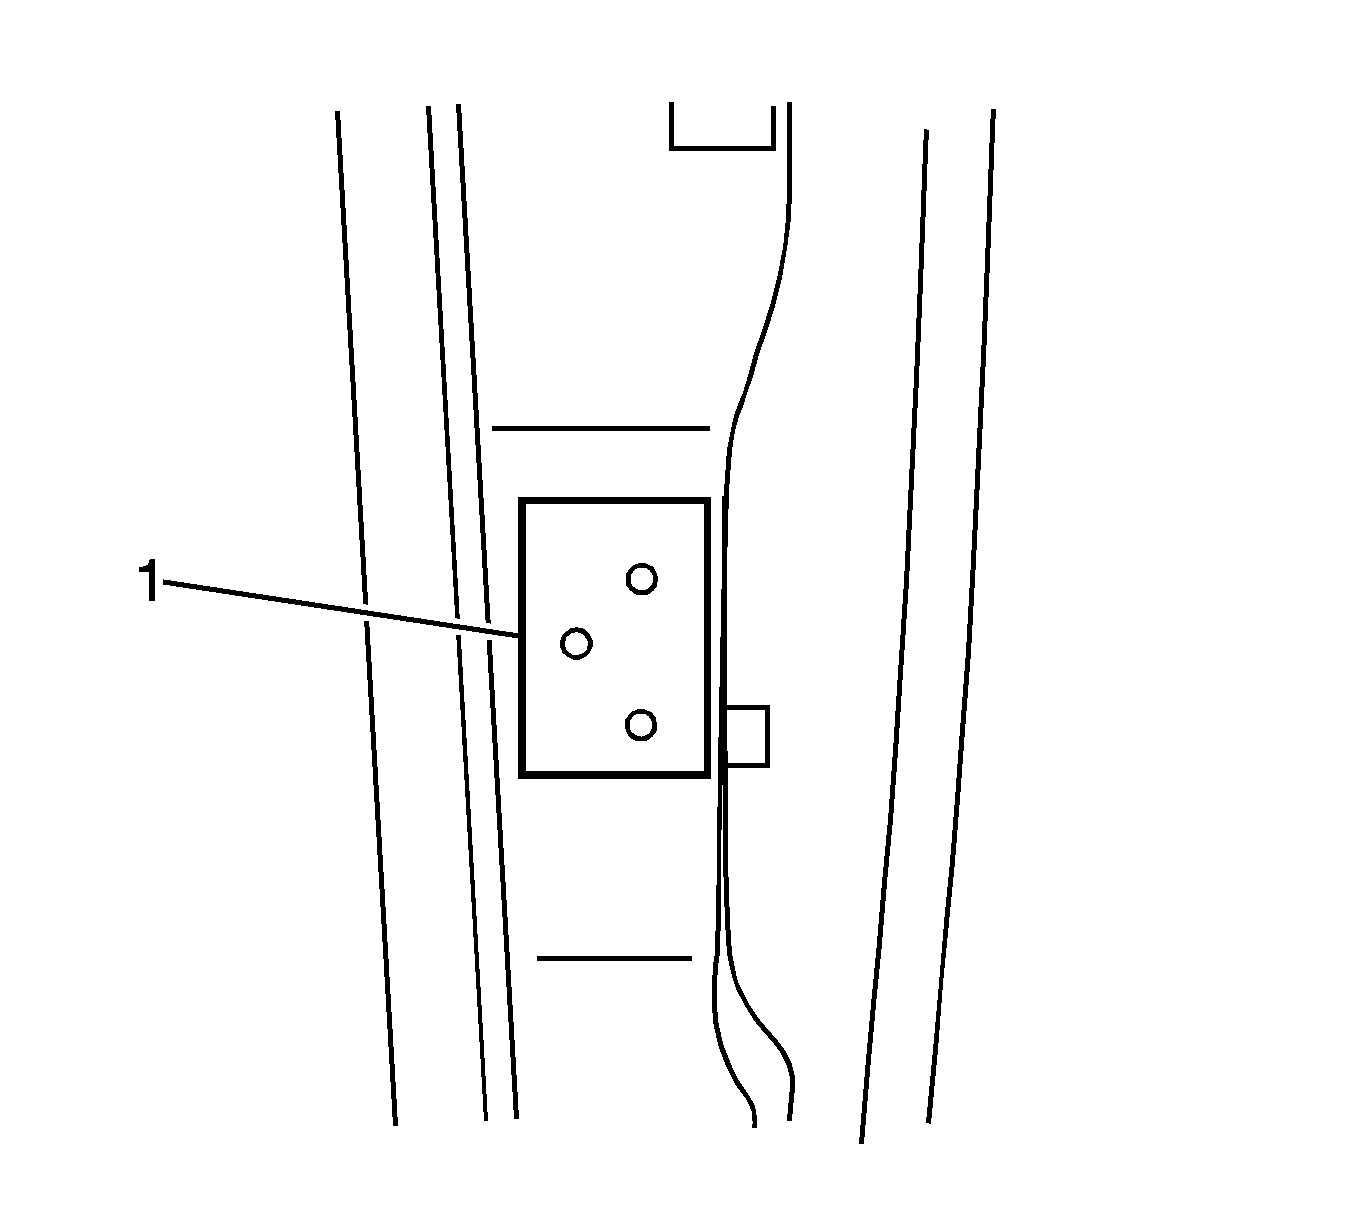
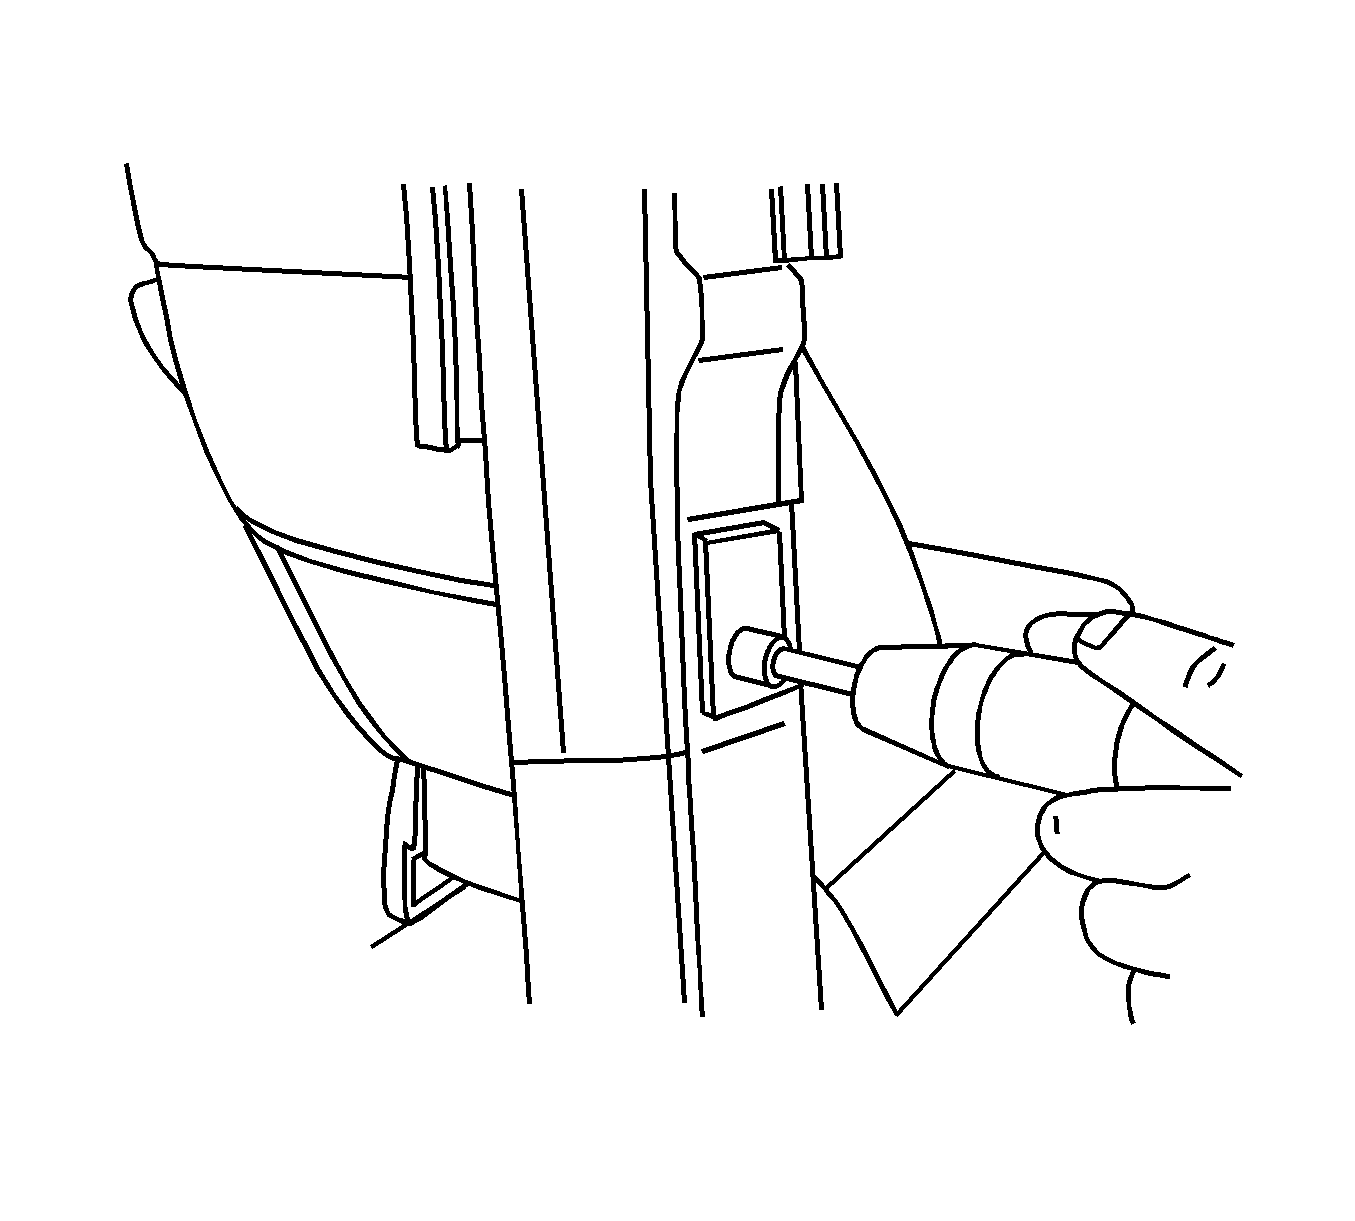
- Tape around the periphery of the body side hinge to mark the hinge (1) location.
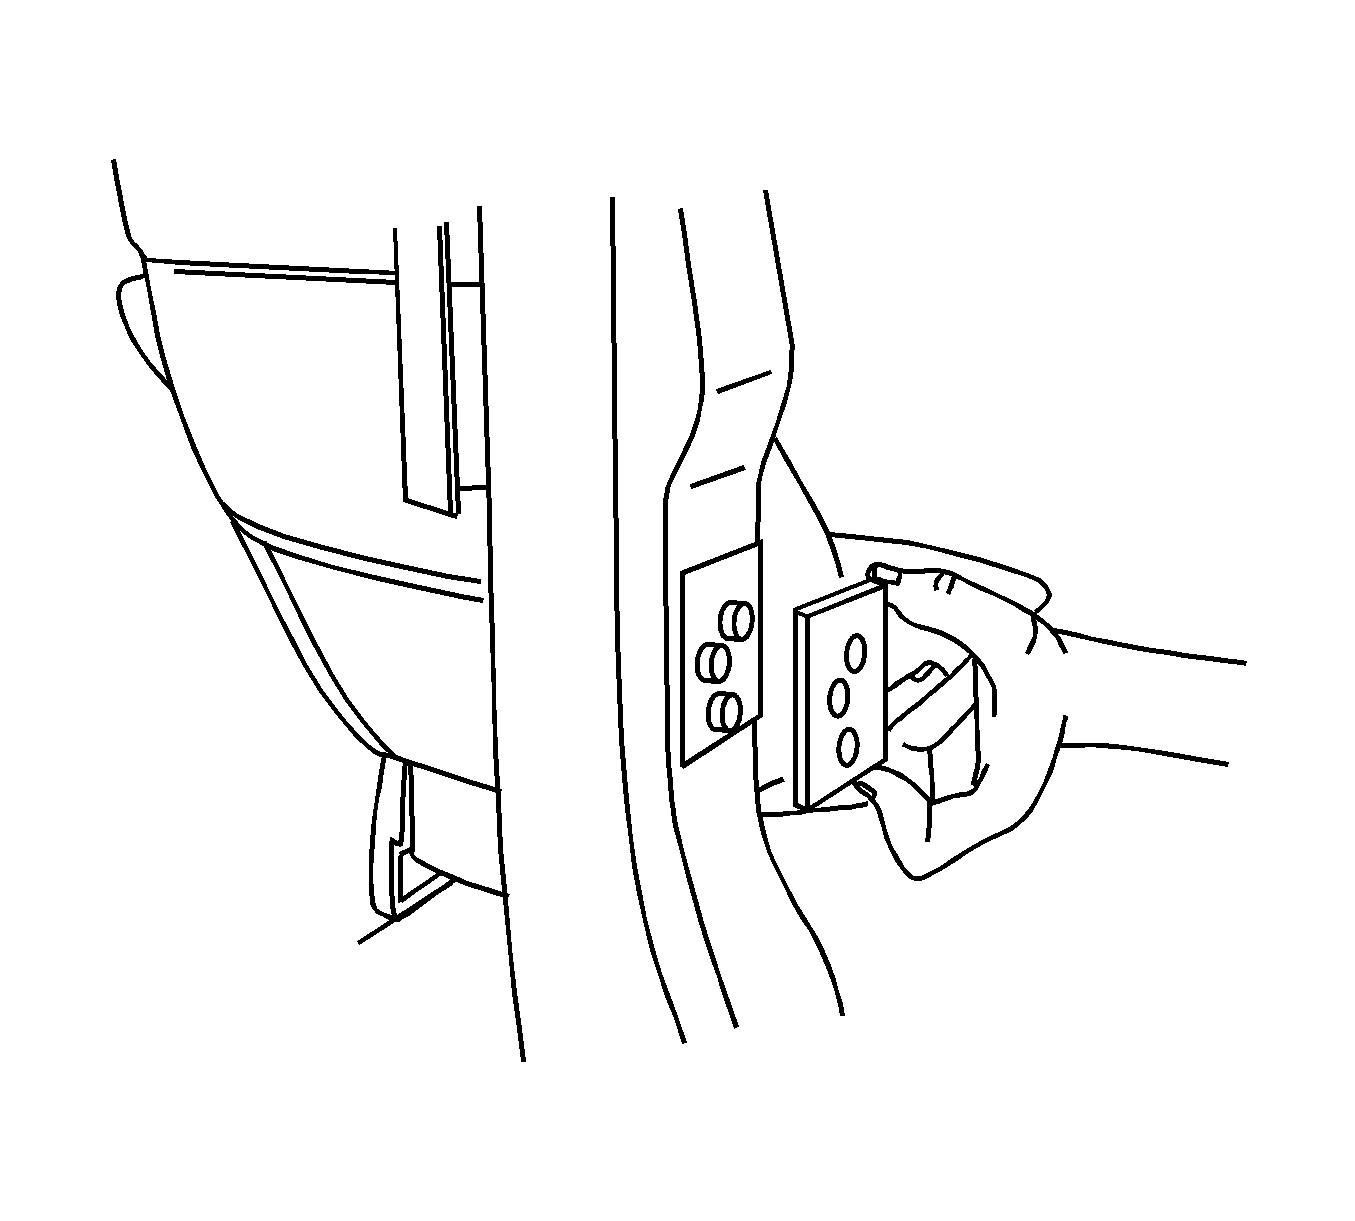
- Place the service backing plate on the production hinge surface and mark the 3-hole pattern.
- Center punch the marked 3-hole pattern.
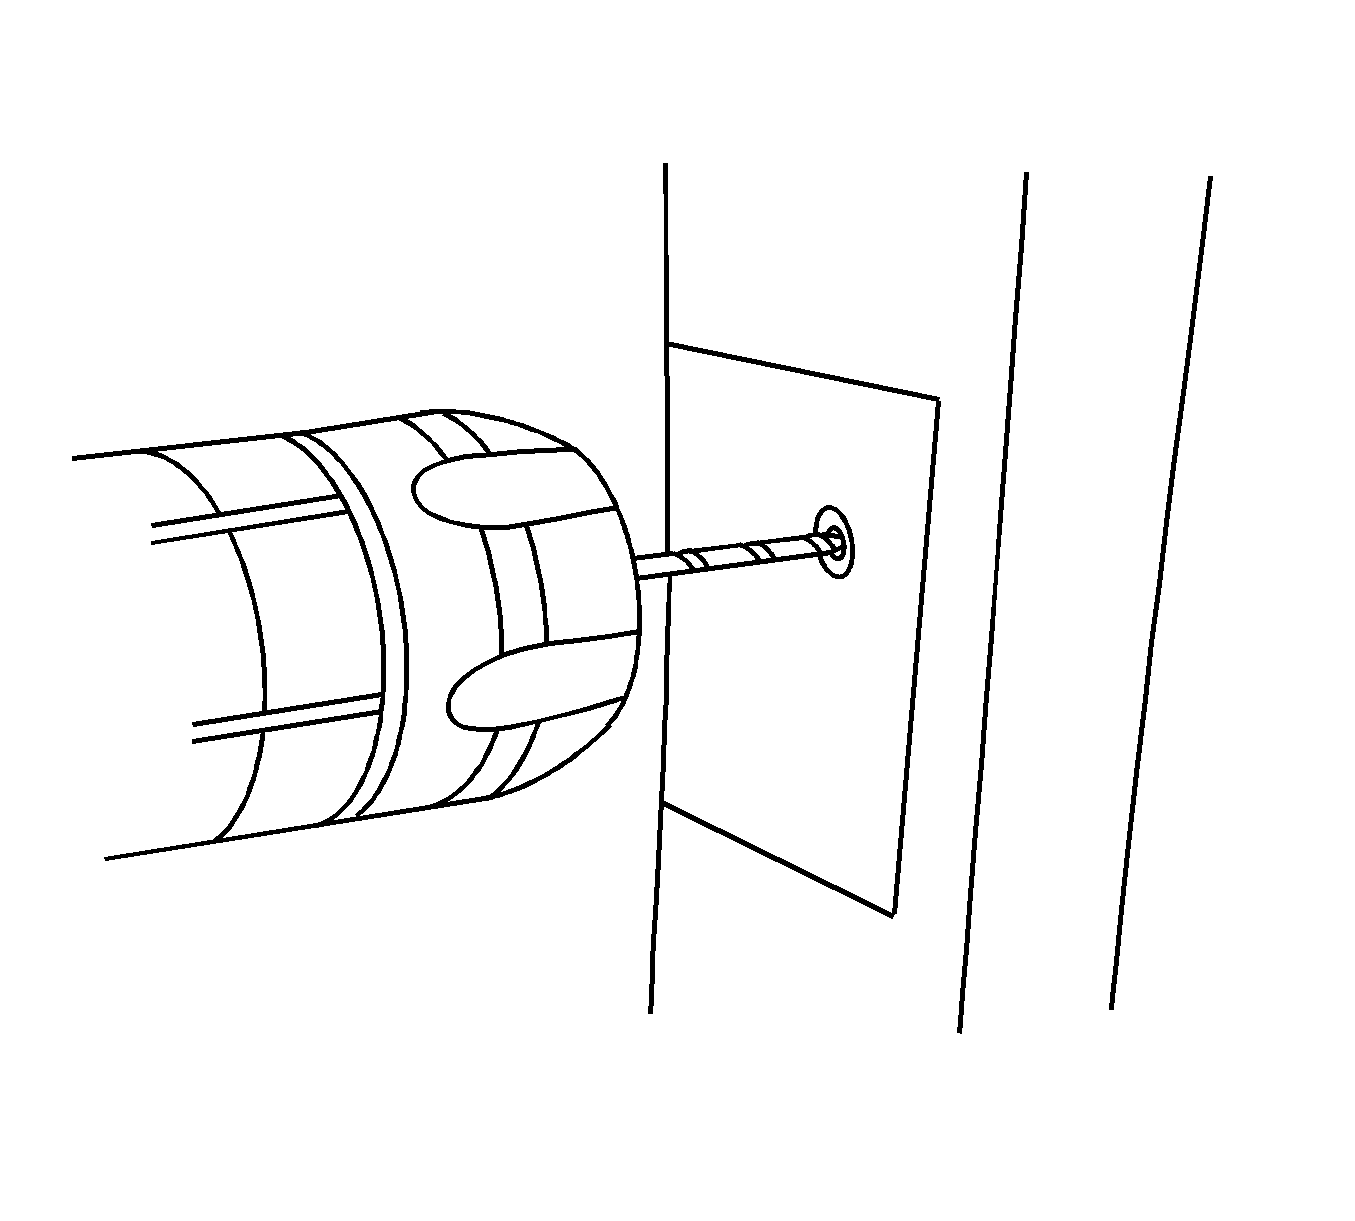
- Drill pilot holes with a 3 mm (1/8 in) drill bit all the way through the production hinge and body pillar.
- Protect the interior of the vehicle and the adjacent door interior from potential metal grindings.
- Lightly sand the body side hinge surface to locate the 3 production welds, look for witness mark.
- Center punch the 3 production welds for locating drill bit.
- Using the center punch locations, use a 19 mm (3/4 inch) rota-broach to drill out the remainder of the production hinge without drilling through the body side hinge pillar.
- Cut the hinge weld nuggets off.
- Grind the pillar hinge mating surface flush.
- Using the pilot holes drilled to center the drill bit, drill 13 mm (33/64 in) holes through the pillar.
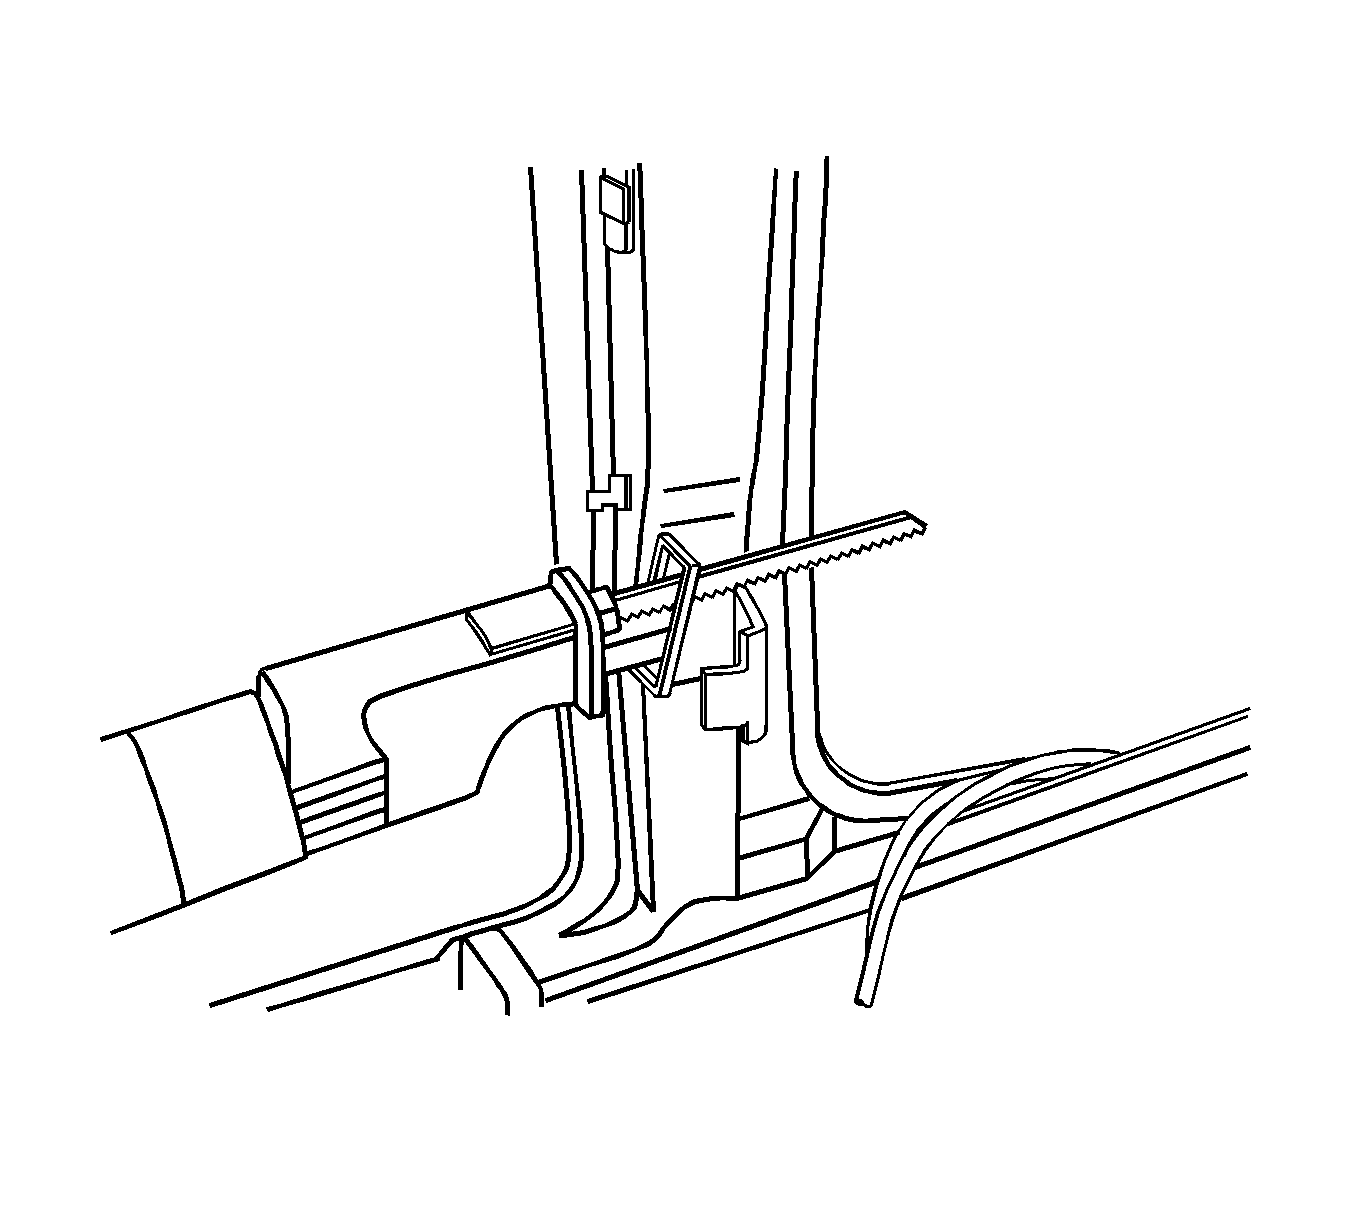
Important: For the forward most intermediate door (60 door), move the backing plate rearward 4 mm (0.16 in) before marking the 3-hole pattern.
Installation Procedure
- Paint the bare surface of the pillar hinge mounting area according to GM refinish specification GM 4901M-D-2000.
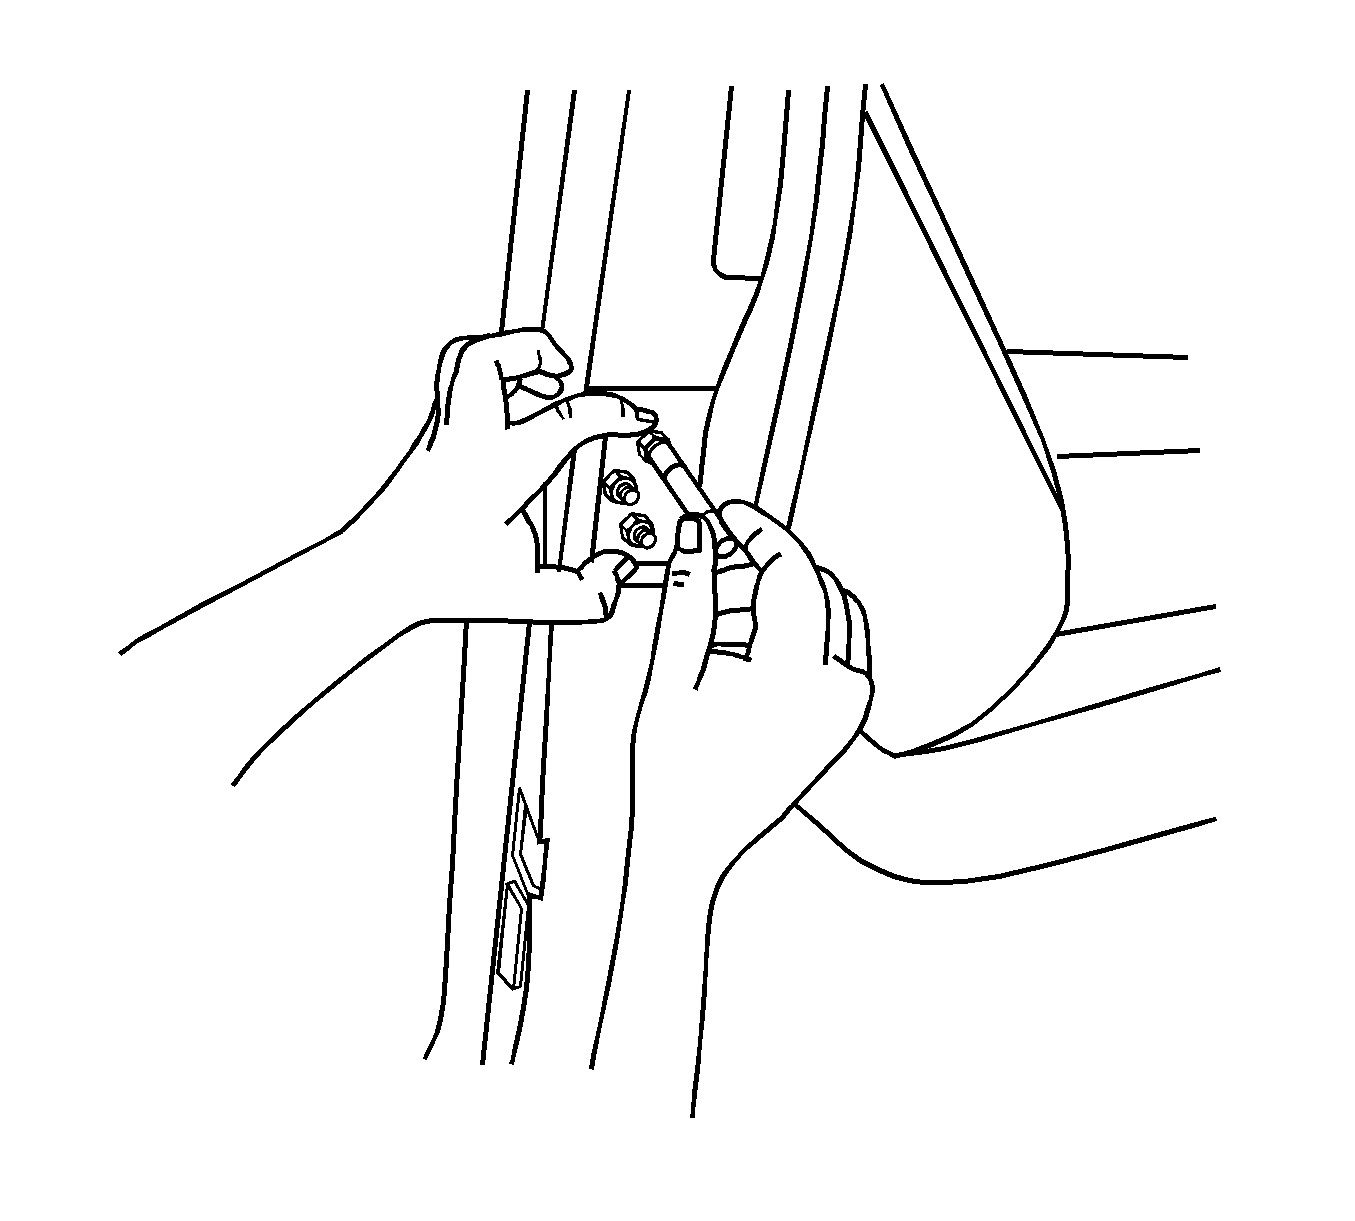
- Install the service hinge and backing plate.
- Apply clear silicone sealant around the entire edge of the service hinge to prevent water leaks.
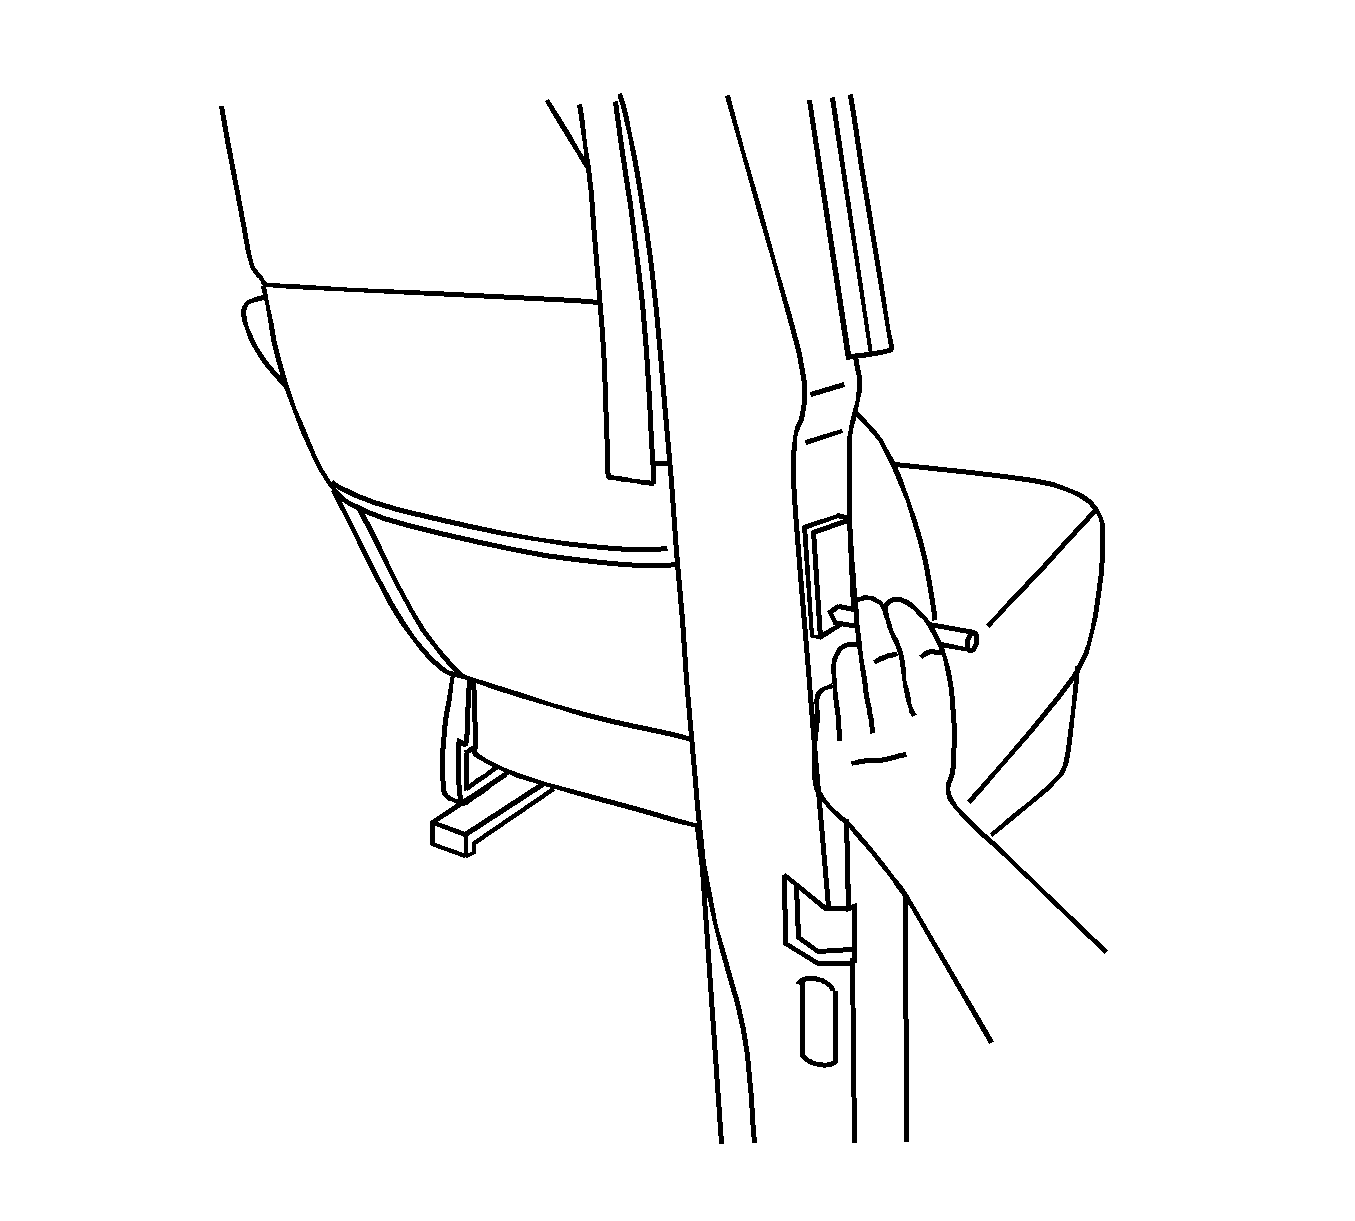
- Install the door. Refer to Rear Side Door Replacement .
- Adjust adjacent front side door striker as necessary to achieve flushness between the two doors. Refer to Rear Side Door Latch Striker Adjustment - Front .
- Install interior trim at pillar. Refer to Upper Pillar Garnish Molding Replacement , Lower Pillar Garnish Molding Replacement , or Center Pillar Upper Garnish Molding Replacement - Right Side .
Important: Prior to painting, refer to the publication GM 4901M-D-2000 GM Approved Refinish Materials for recommended products. Do not combine paint systems. Refer to paint manufacturer's recommendations.
Notice: Refer to Fastener Notice in the Preface section.
Tighten
Tighten the bolts to 23 N·m (17 lb ft).
