For 1990-2009 cars only
Tools Required
| • | J 34992 Compressor Holding Fixture |
| • | J 33013-B Hub and Drive Plate Remover/Installer |
| • | J 39400-A Halogen Leak Detector |
Removal Procedure
- Remove the air compressor from the vehicle. Refer to Air Conditioning Compressor Replacement .
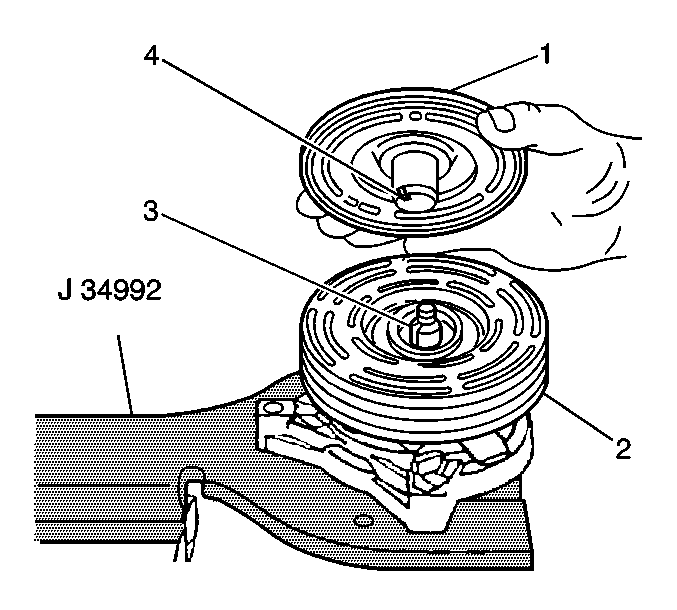
- Use the J 34992 in order to install the compressor in the vise.
- Use both thumb screws in order to attach the compressor to the J 34992 .
- Remove the shaft protector from the clutch hub shaft.
- Ensure that the center screw forces the tip to thrust against the end of the shaft.
- Thread the J 33013-B into the hub.
- While holding the body of the J 33013-B of the remover with a wrench, turn the center screw into the remover body in order to remove the clutch plate and hub assembly (1).
- Remove the shaft key (4). Retain the shaft key for reassembly.
- Remove the old clutch plate and hub assembly from the compressor.

Notice: Do not drive or pound on the clutch hub or shaft. Internal damage to the compressor may result. The forcing tip on the J 33013-B remover/installer center screw must be flat or the end of the shaft/axial plate assembly will be damaged.
Installation Procedure
- Install the new clutch plate and hub assembly to the compressor.
- Install the shaft key (4) into the hub key groove.
- Clean the following components:
- Align the shaft key (4) with the shaft keyway (3).
- Place the clutch plate and the hub assembly (1) onto the compressor shaft.
- Install the forcing tip on the J 33013-B .
- Reverse the body direction on the center screw.
- Install the J 33013-B with the bearing (1).
- Back off the body of the J 33013-B as necessary in order to permit the center screw to be threaded onto the end of the compressor shaft.
- Hold the center screw with a wrench.
- Tighten the hex portion of the J 33013-B body in order to press the hub onto the shaft.
- Tighten the body several turns.
- Install the clutch plate and hub assembly to the final position.
- Inspect the air gap (2).
- Ensure that the air gap between frictional surfaces of the clutch plate and clutch rotor measures within 3.81-5.08 mm (0.15-0.20 in).
- Check the clutch plate and hub assembly in three places for clearance.
- Remove the installer. Ensure that the shaft key remains in place in the keyway.
- Remove the J 33013-B .
- Verify proper positioning of the shaft key.
- Spin the pulley rotor by hand in order to verify that the rotor does not rub against the clutch drive plate.
- Install the shaft protector to the clutch hub shaft.
- Remove both thumb screws from the compressor to the J 34992 .
- Remove the J 34992 from the compressor and the vise.
- Install the air compressor to the vehicle. Refer to Air Conditioning Compressor Replacement .
- Evacuate and recharge the refrigerant system. Refer to Refrigerant Recovery and Recharging .
- Leak test the fitting(s) of the repaired or reinstalled component using the J 39400-A .
Allow the key to project approximately 0.50-0.76 mm (0.020-0.030 in) out of the keyway (3). The shaft key curves slightly in order to provide an interference fit in the hub key groove.
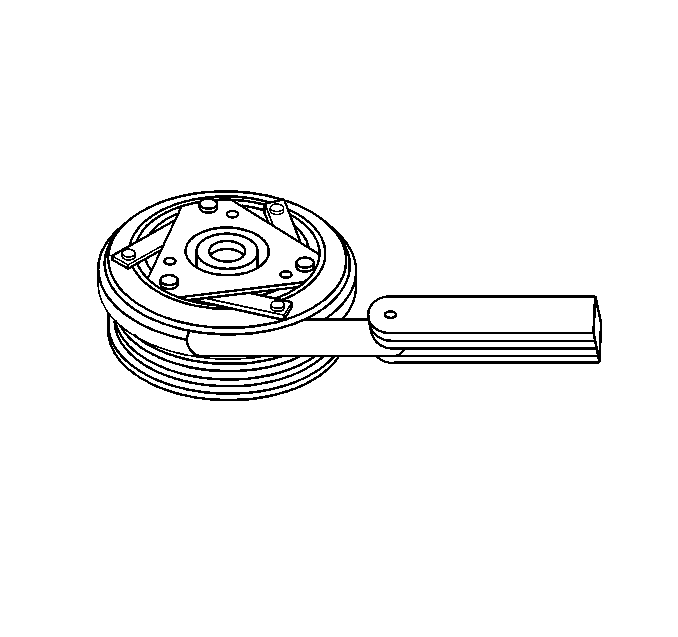
| • | The clutch plate |
| • | The clutch rotor (2) |
Ensure that the shaft key is even with or slightly above the clutch hub.
