For 1990-2009 cars only
Removal Procedure
- Remove the seat cushion outer trim panel. Refer to Front Seat Cushion Outer Trim Panel Replacement.
- Position the seat fully forward.
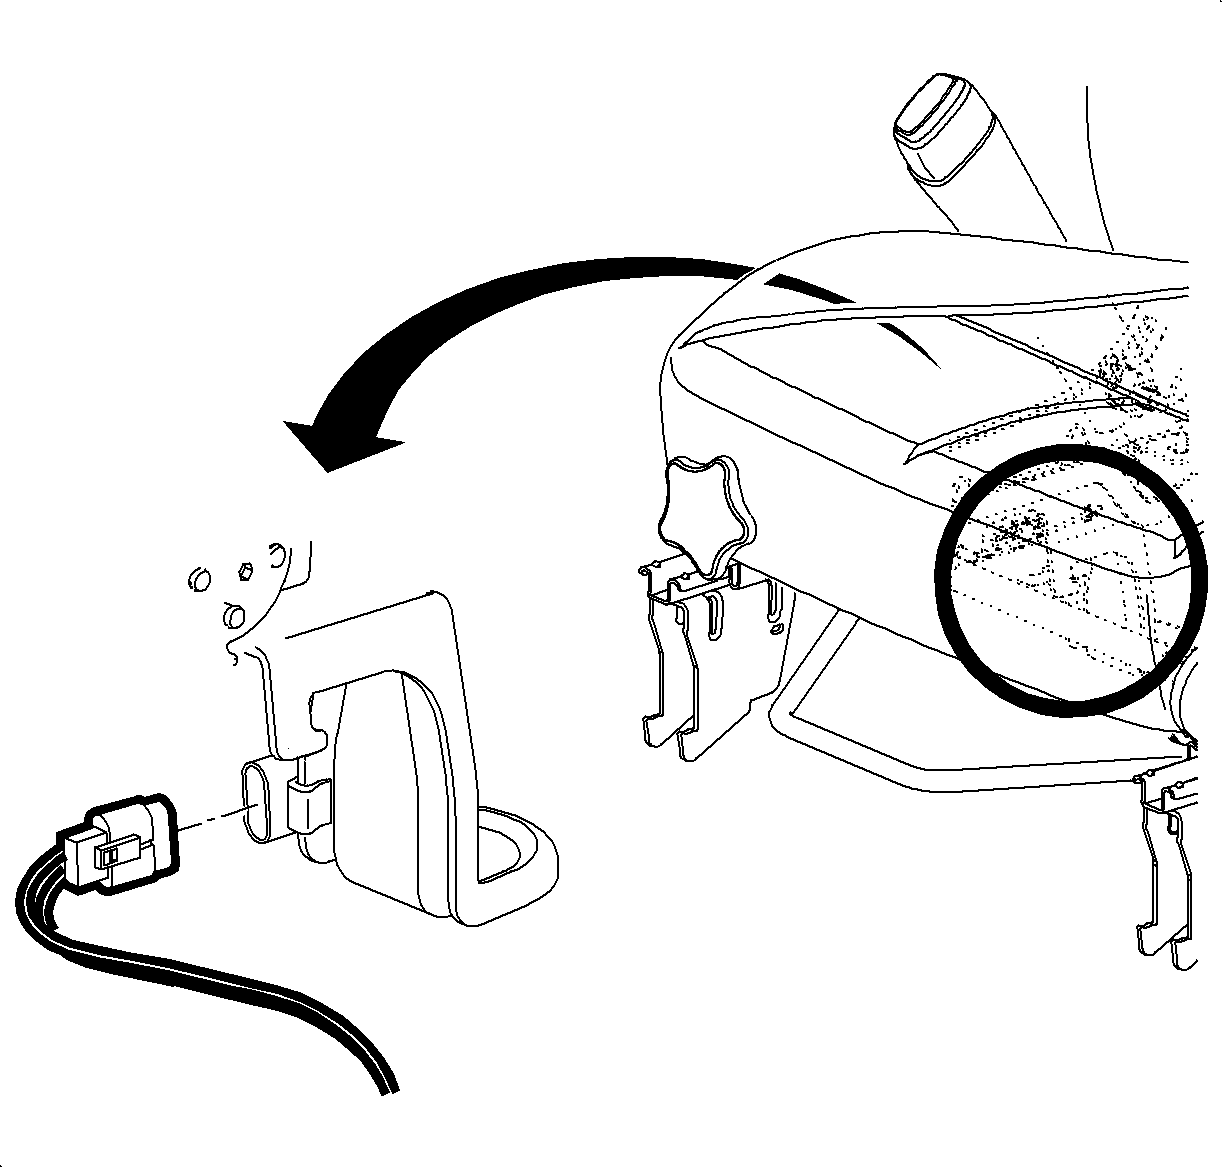
- Disconnect the shoulder belt from the seat quick disconnect feature by using a flat-bladed tool to press the tab.
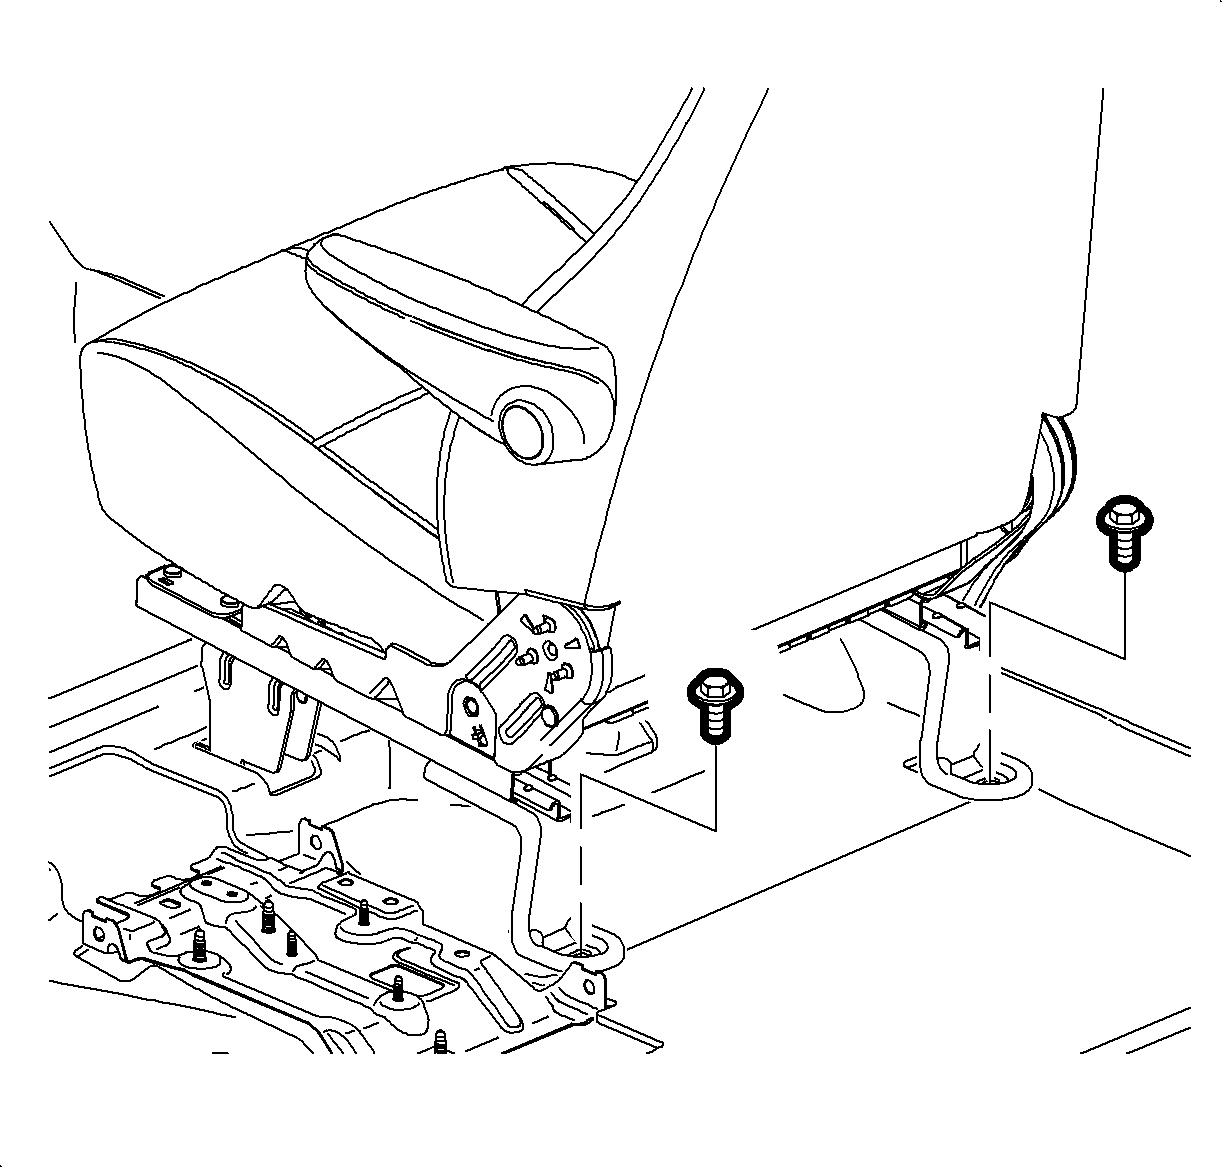
- Remove the front seat adjuster bolts.
- Move the seat to the full rearward position.
- Disconnect the seat electrical connectors.
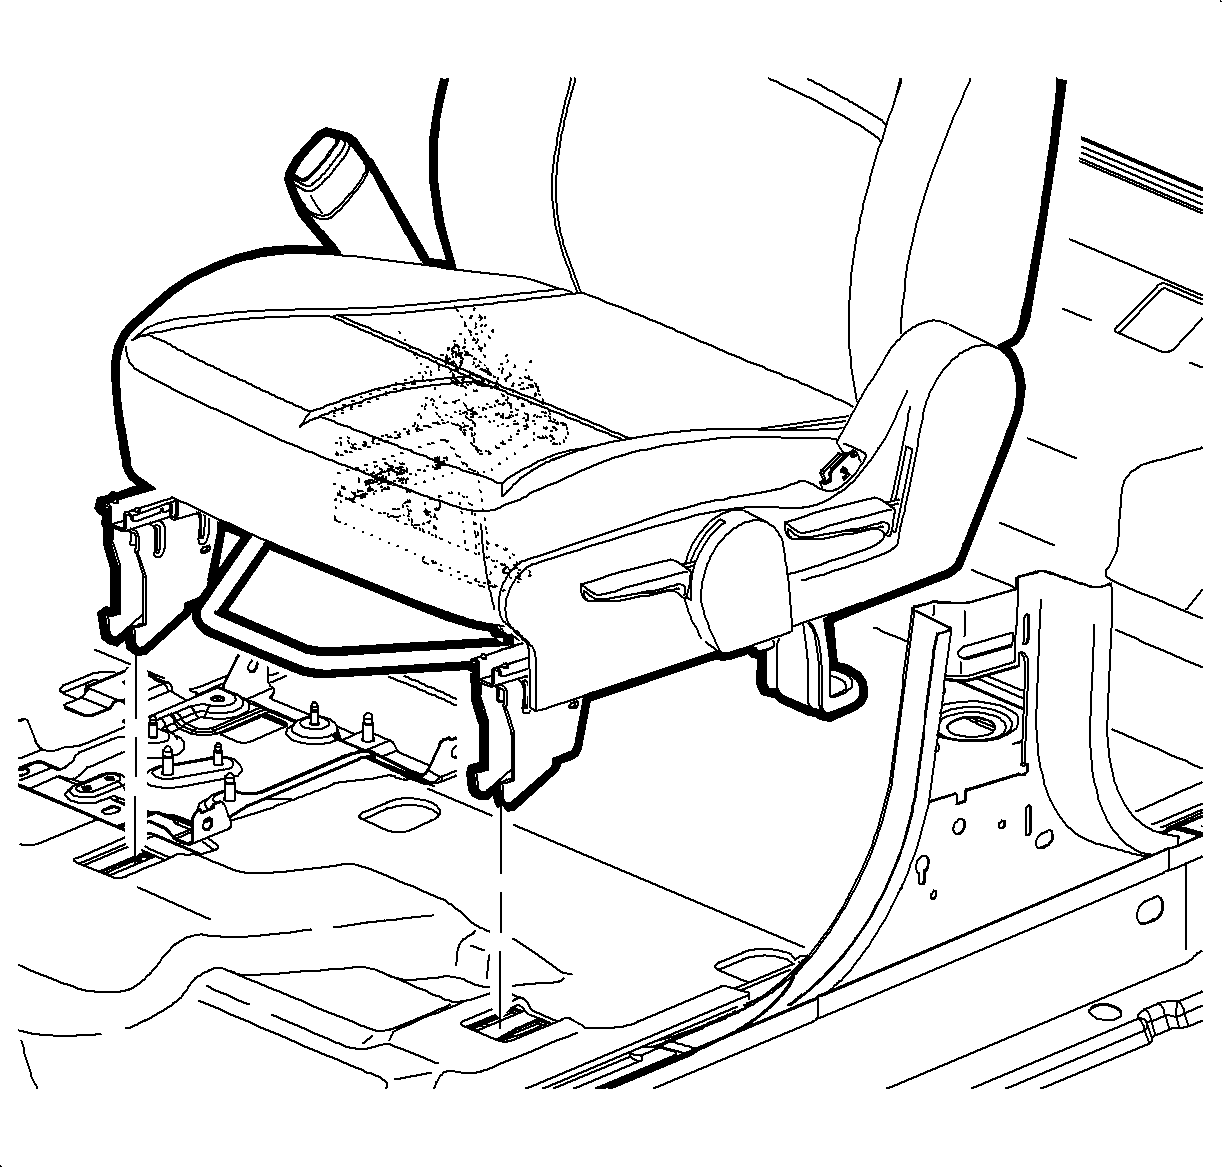
- Lift the front seat adjuster hooks from the floor pan.
- Remove the seat from the vehicle.

Installation Procedure
- Adjust the seat adjuster tracks to the fully rearward position.
- Position the seat in the vehicle and engage the front adjuster hooks in the floor pan.
- Connect the seat electrical connectors.
- Position the seat in the fully forward position to expose the rear bolt locations.
- Install the seat adjuster bolts and tighten to 50 N·m (37 lb ft).
- Install the shoulder belt webbing in the quick disconnect anchor.
- Install the seat cushion outer trim panel. Refer to Front Seat Cushion Outer Trim Panel Replacement.
- Inspect the front seat belt for proper operation.
Note: This step must be performed to assure proper timing of the adjusters.
Caution: Refer to Fastener Caution in the Preface section.
