Tools Required
| • | J 44015
Steering Linkage Installer |
| • | J 45341
Rear Wheel Drive Shaft Removal Tool |
| • | J 24319-B
Steering Linkage and Tie Rod Puller |
Removal Procedure
- Raise and support the vehicle. Refer to
Lifting and Jacking the Vehicle
.
- Remove the tire and wheel assembly. Refer to
Tire and Wheel Removal and Installation
.
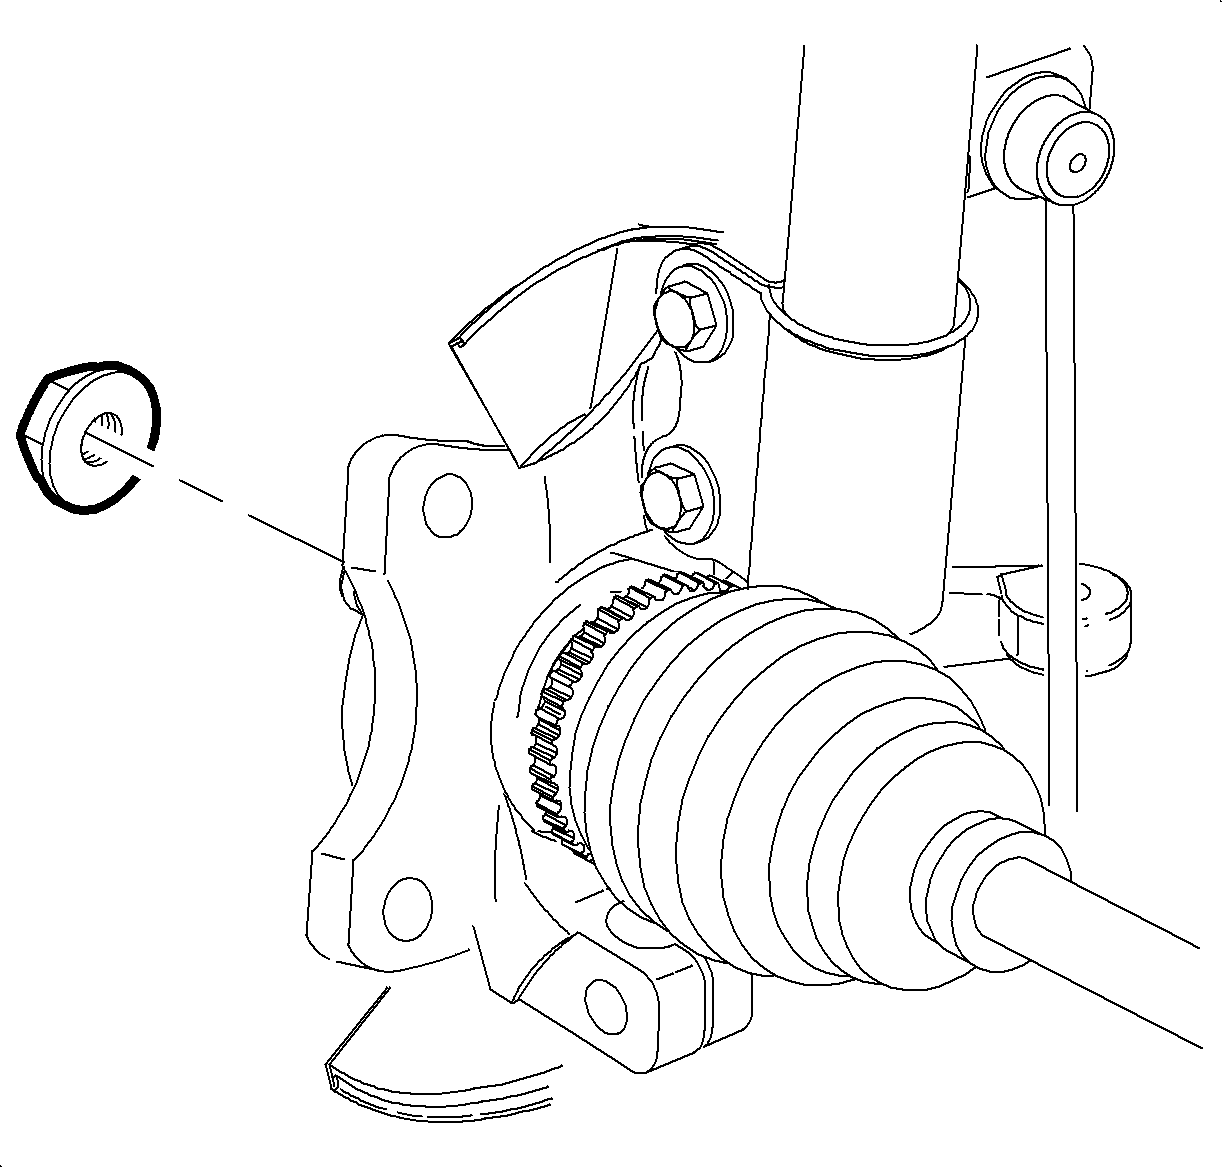
- Remove and discard the wheel drive shaft spindle nut.
Notice: Hold the ball stud from turning when removing/installing the nut. The boot can
become torn and damaged if the ball stud turns.
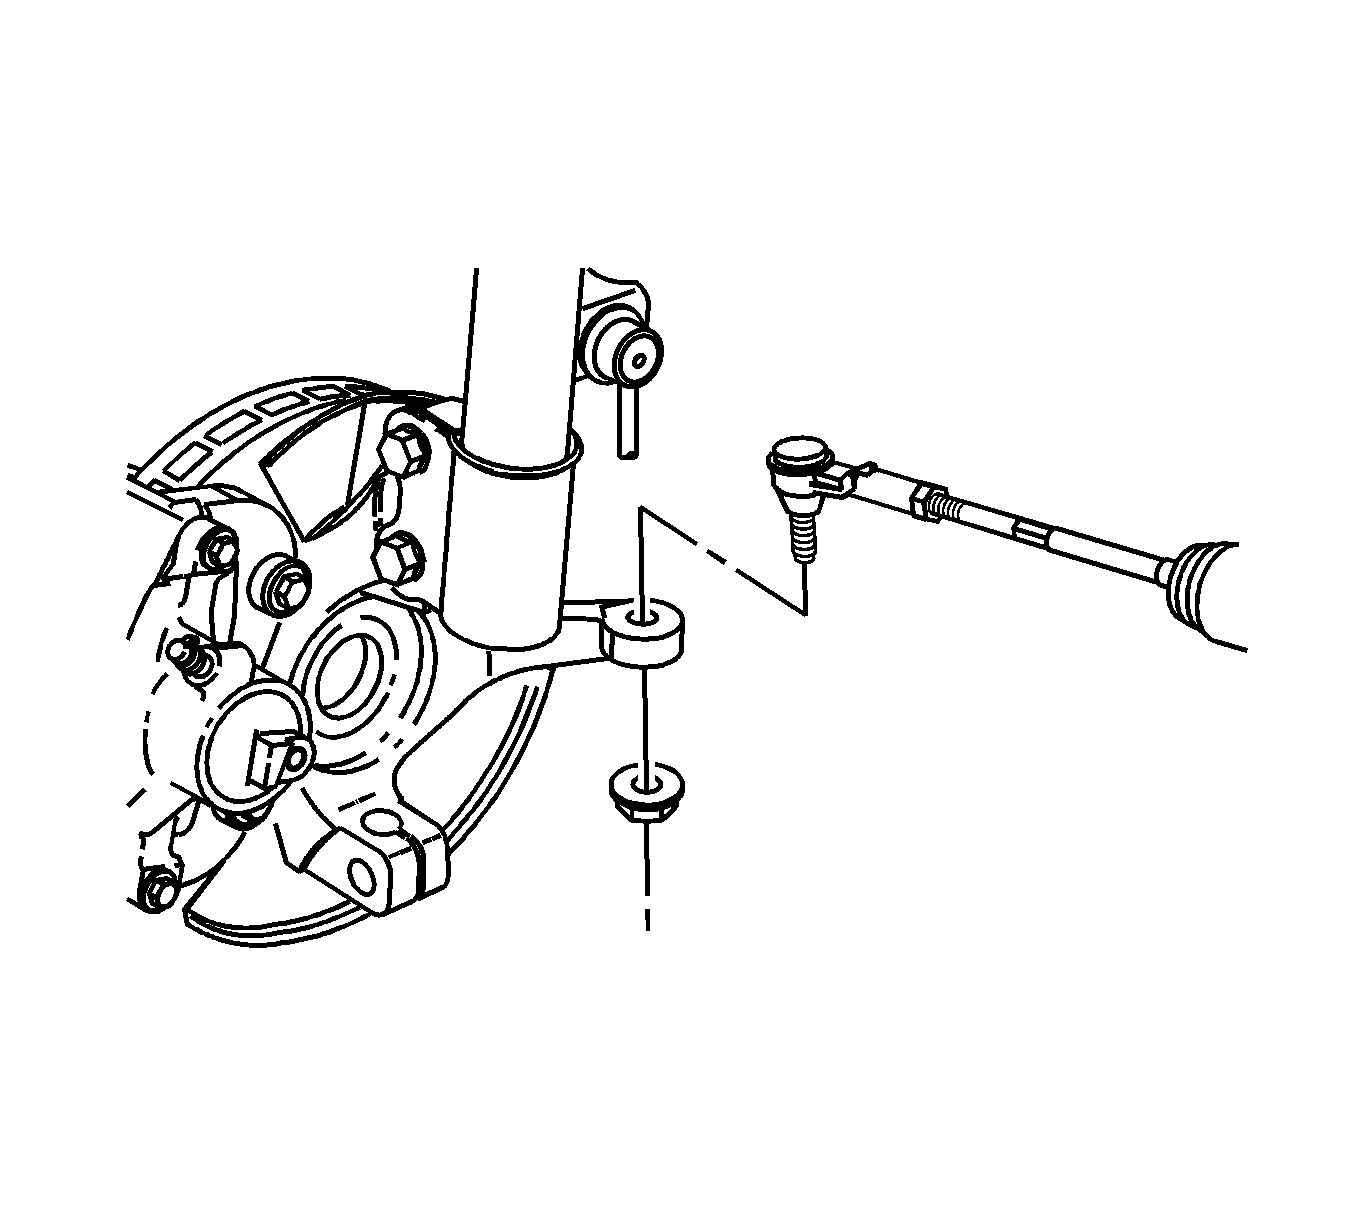
- Remove the outer tie rod end-to-steering knuckle nut. Do not loosen the tie rod end jam nut.
Important: Do not use a wedge type tool to separate the tie rod end from the steering knuckle.
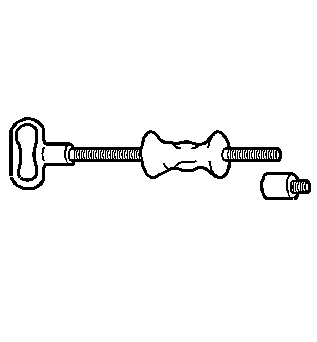
- Using the
J 24319-B
separate the tie rod end from the steering knuckle.
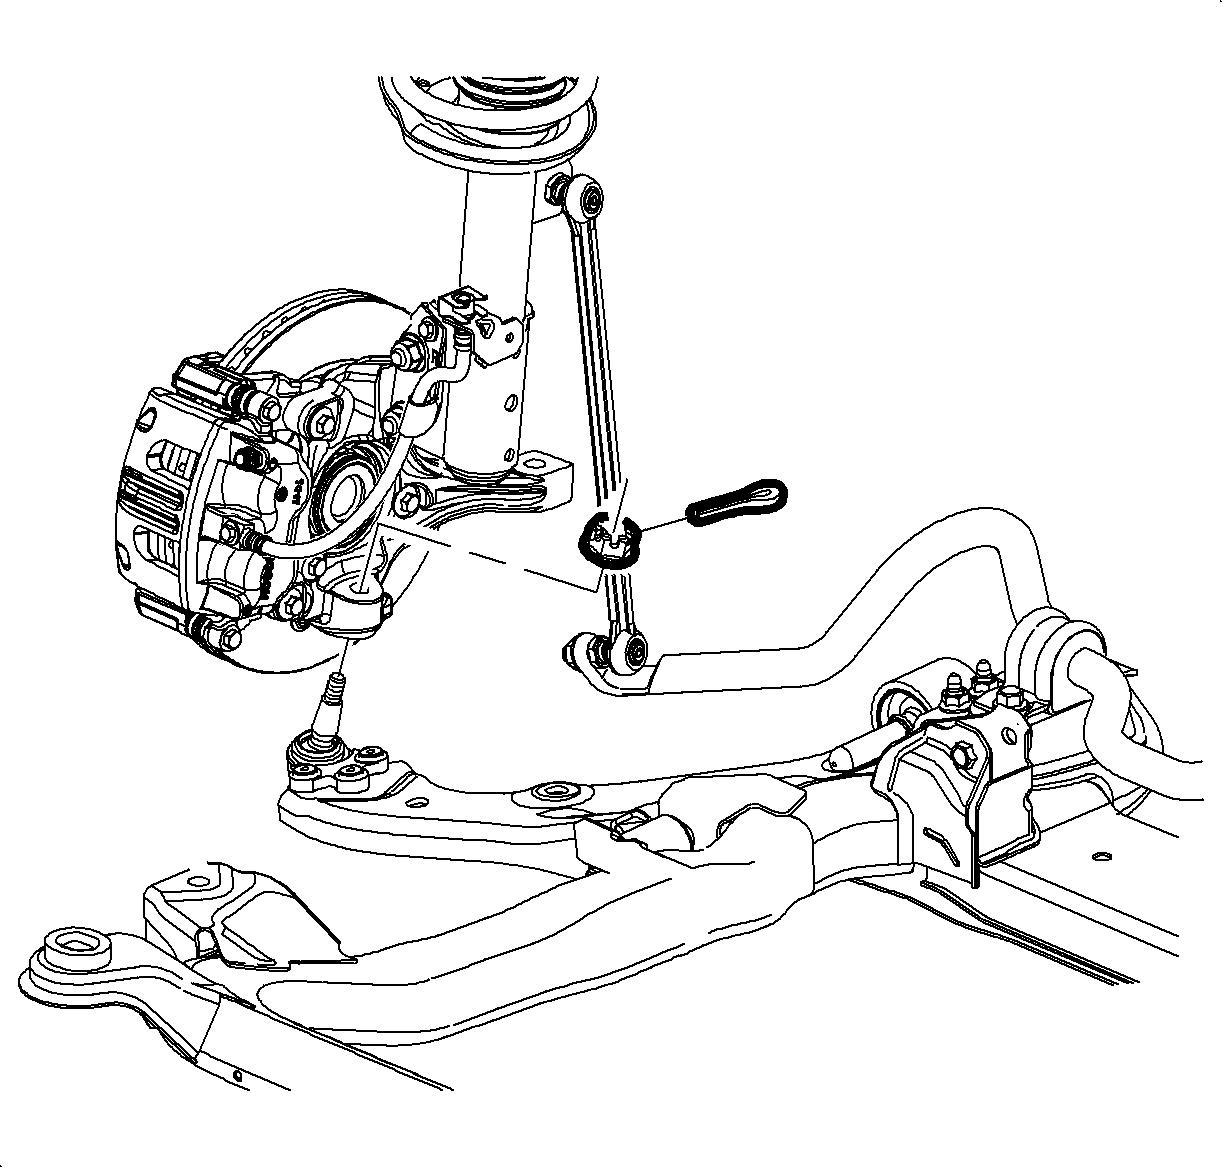
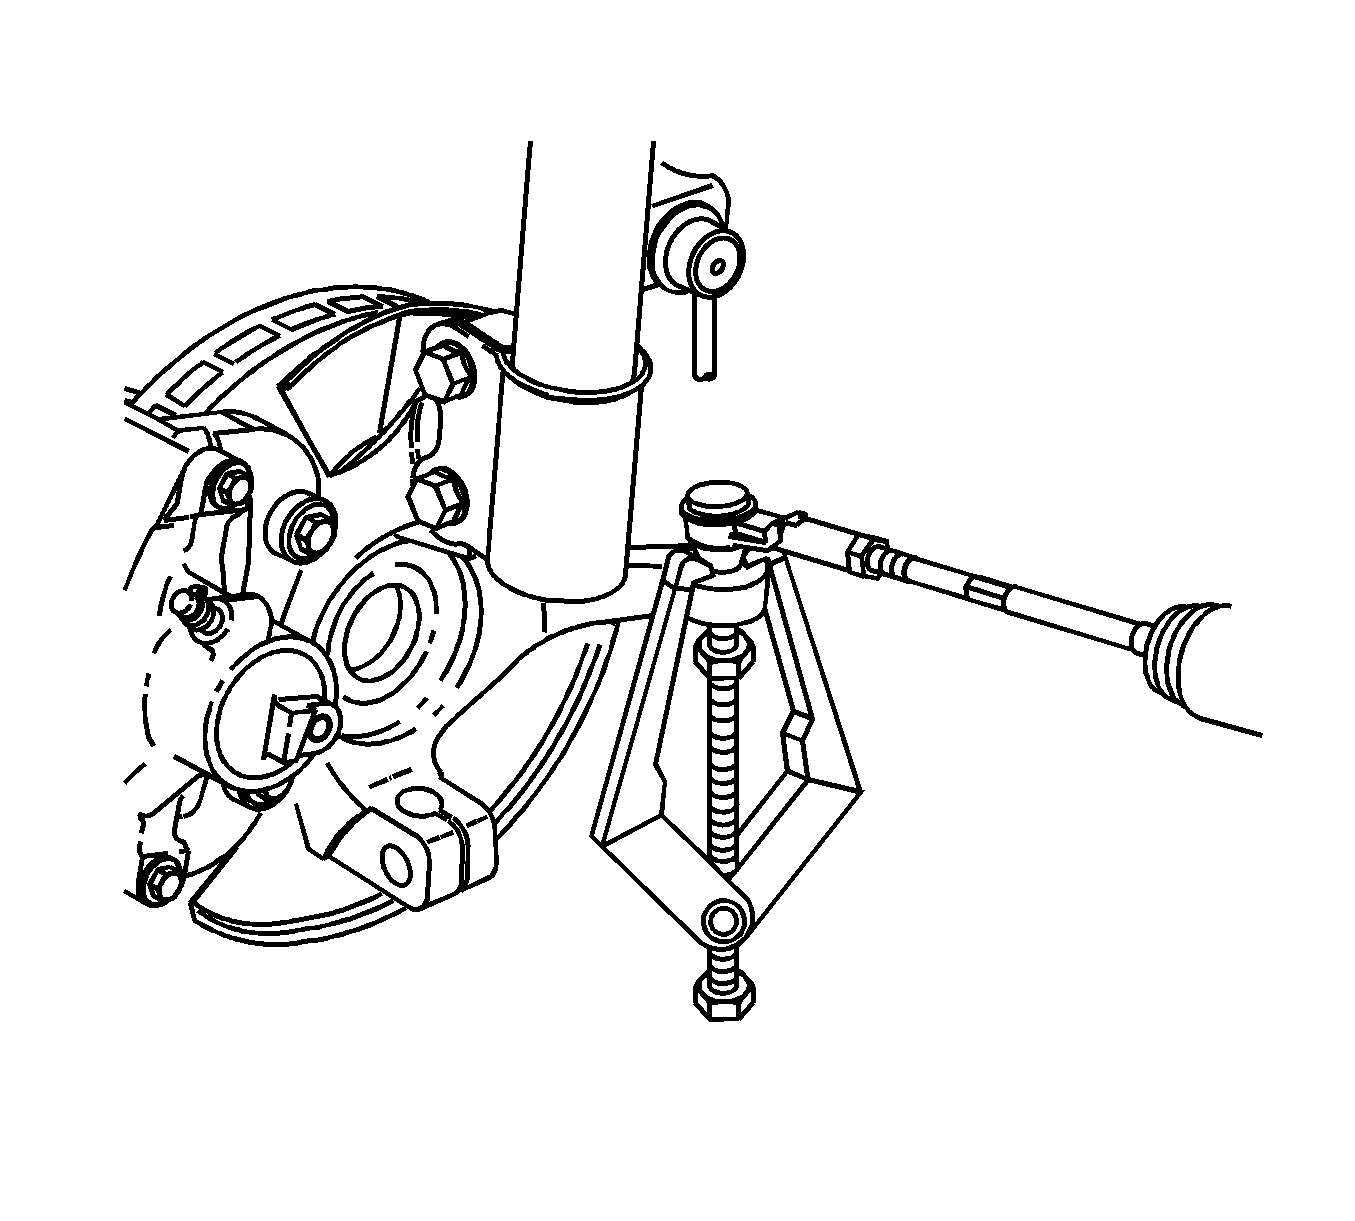
- Remove and discard the cotter pin from the lower ball joint stud.
- Remove the ball joint stud nut.

- Using the
J 43828
separate the lower ball joint stud from the steering knuckle.
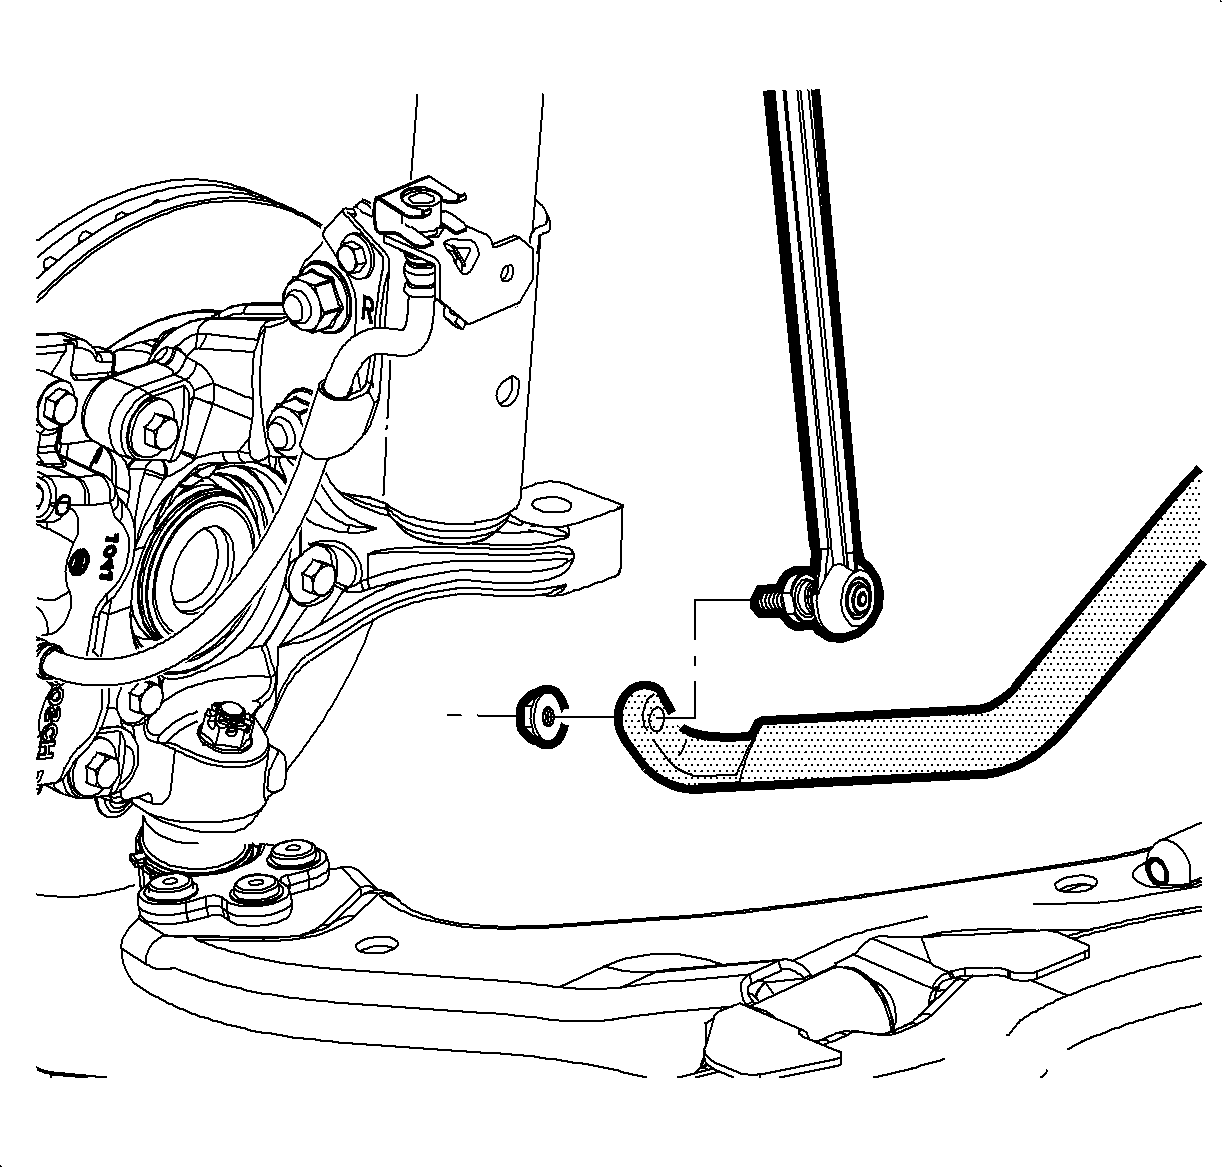
- Using a backup wrench on the stud, remove the nut securing the lower stabilizer bar link and disengage the link.
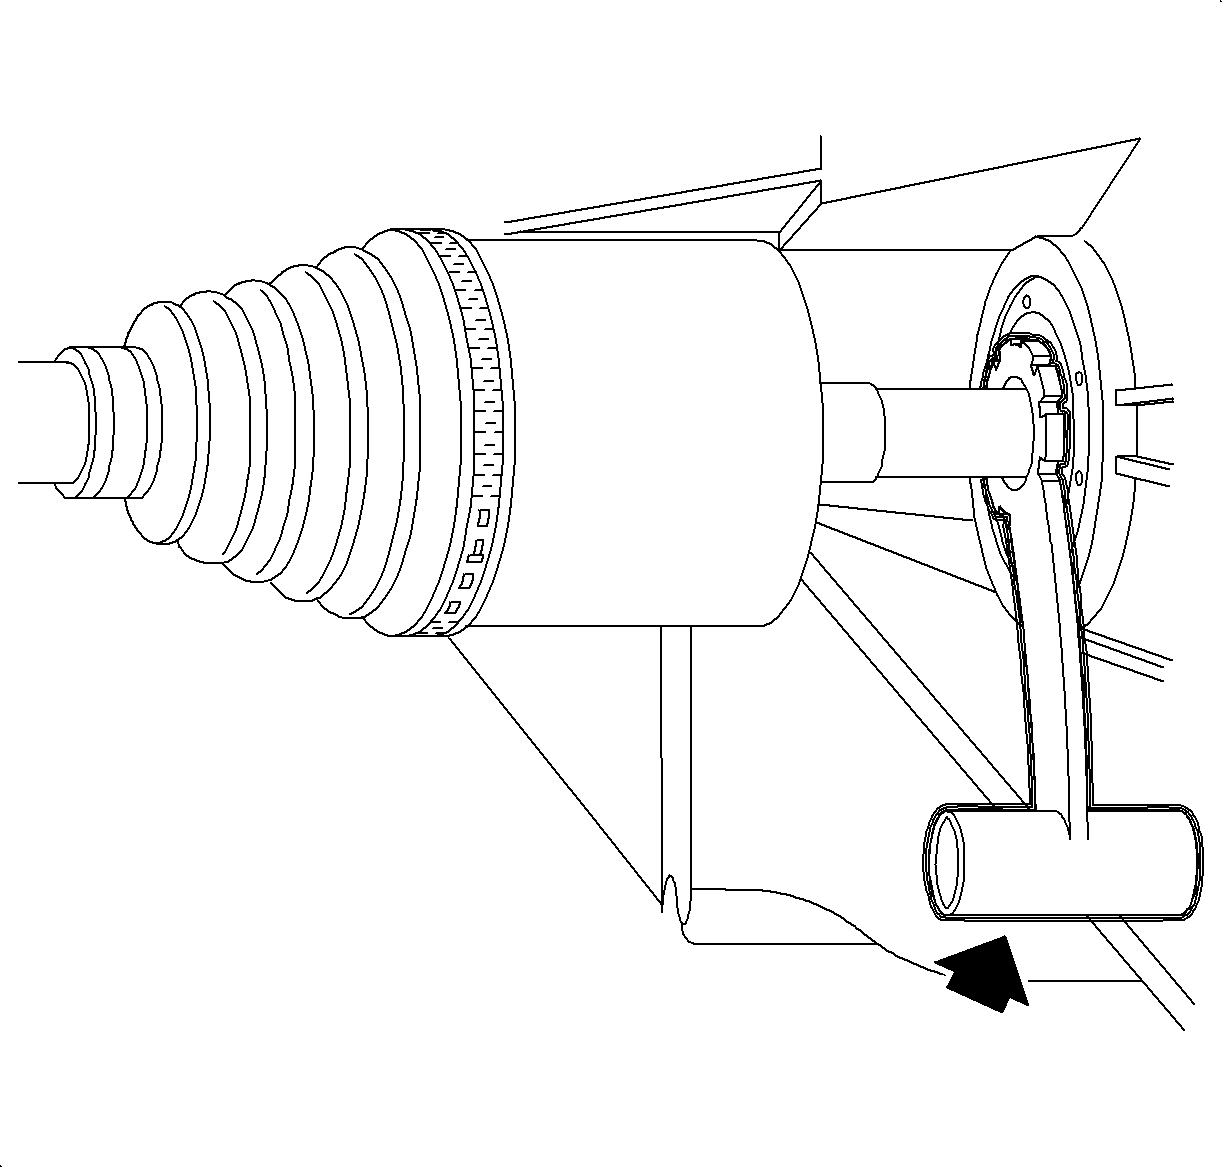
- Disengage the wheel drive shaft spindle from the wheel hub assembly. If necessary, place a wood block against the end of the wheel drive shaft spindle and tap with a hammer to aid removal.
Important: Use care not to damage the joint seal when removing the wheel drive shaft.
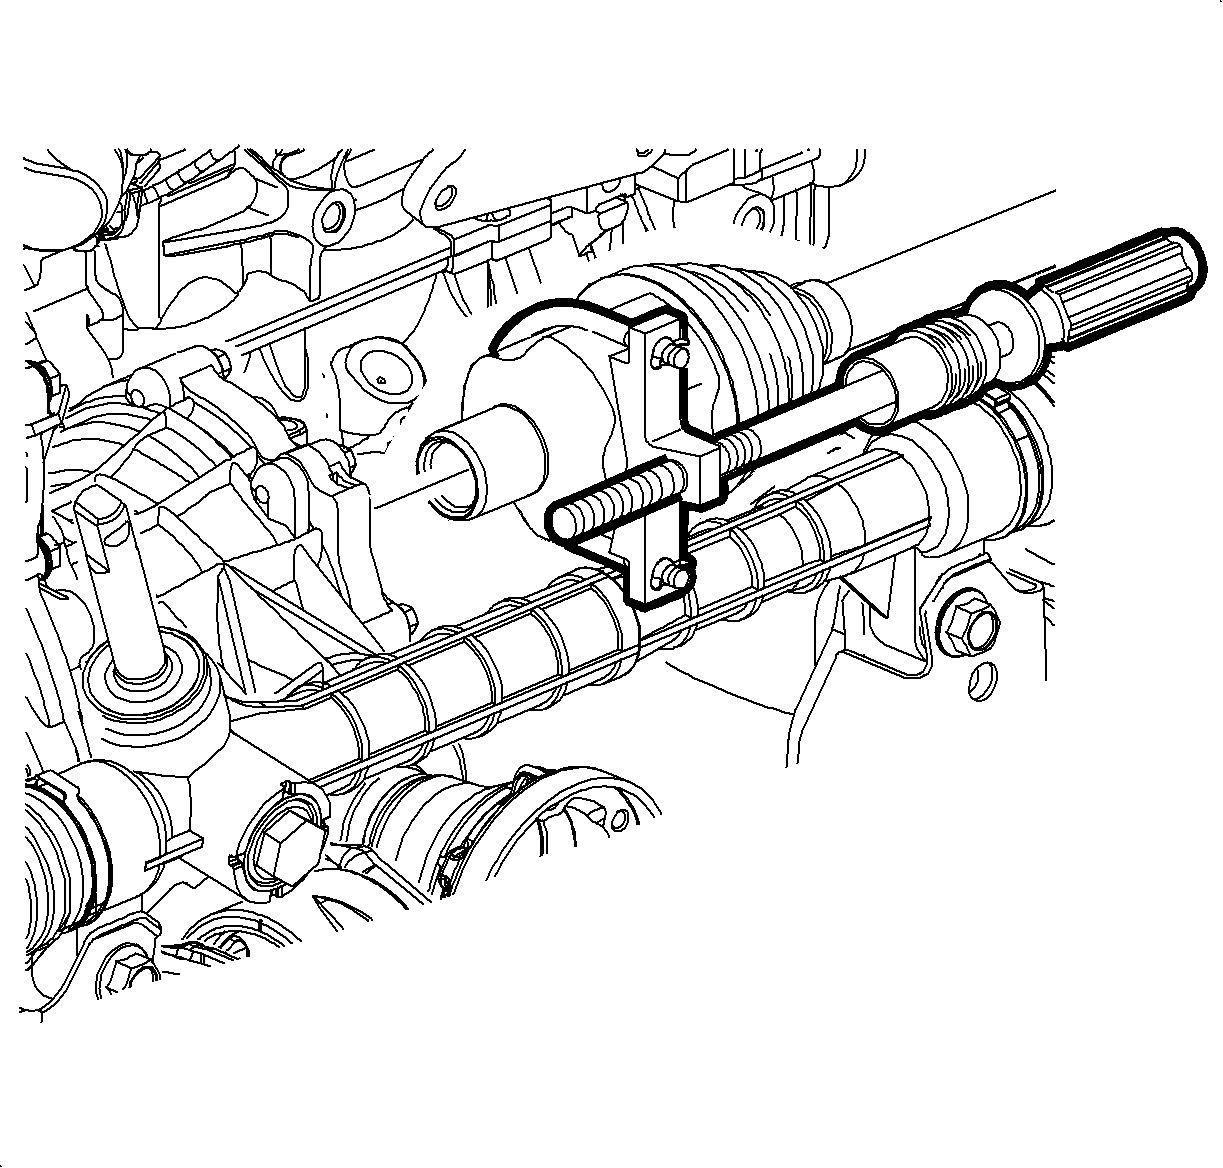
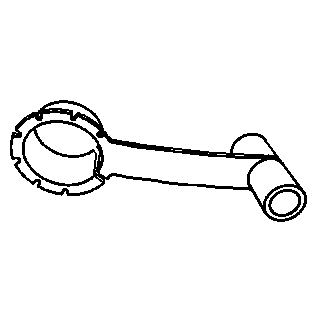
- Assemble the
J 45341
and the
J 2619-01
to the wheel drive shaft inner tripot
joint.
Important: On vehicles equipped with all-wheel drive (AWD), the stub shaft may disengage from the power takeoff unit (PTU). If necessary, cap the opening in the PTU to prevent fluid loss.
- Disengage the wheel drive shaft from the transmission or power takeoff unit (PTU), if equipped.
- Remove the wheel drive shaft from the vehicle.
Installation Procedure
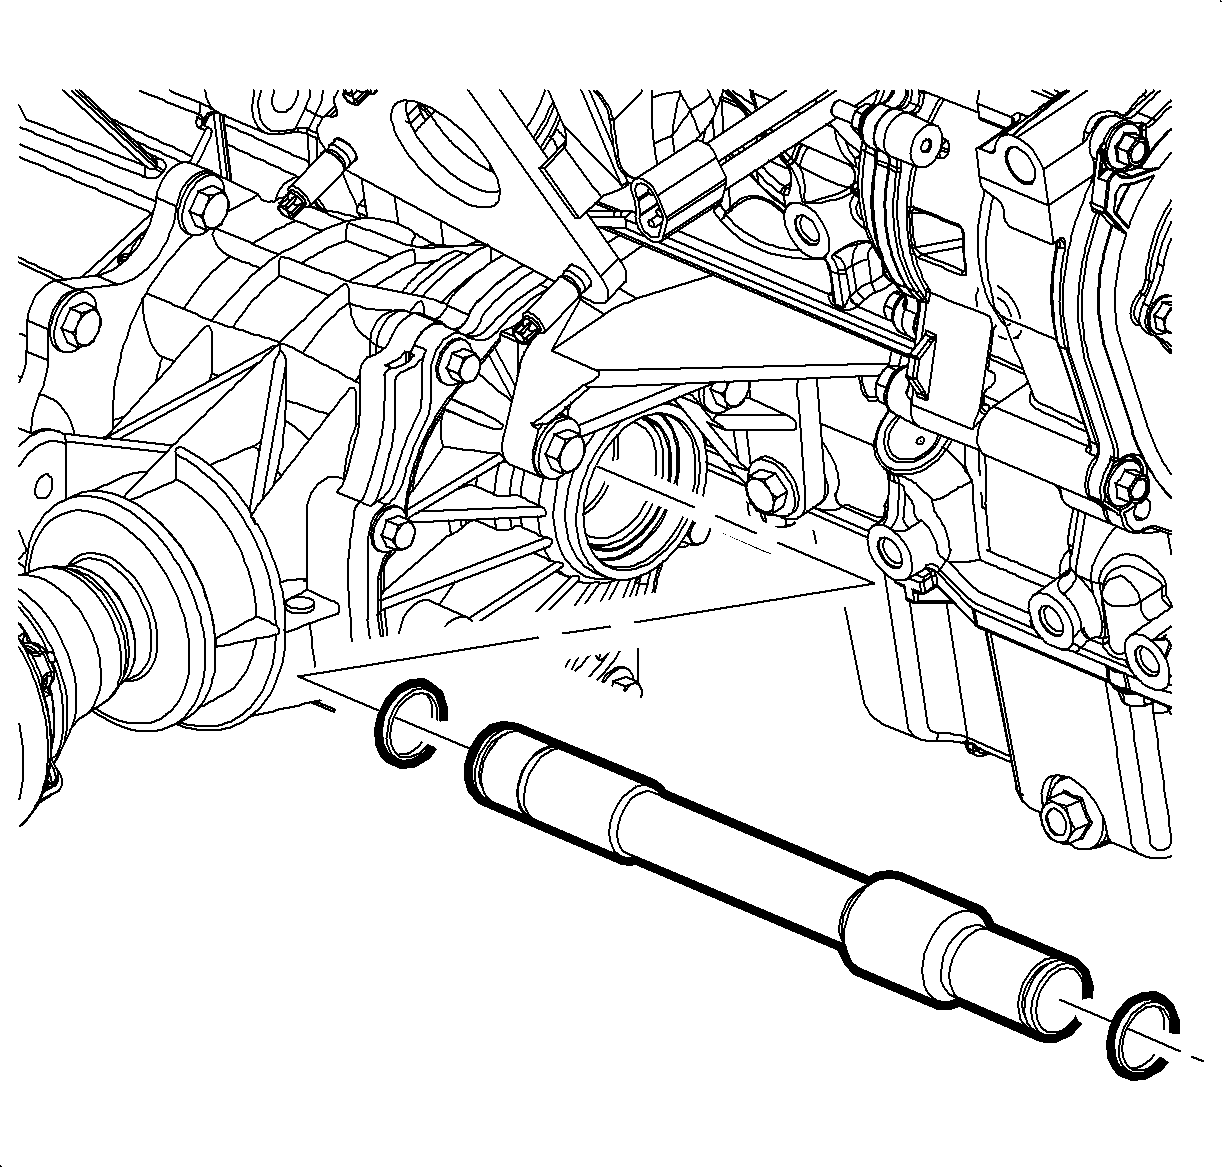
- Install a new wheel drive shaft retaining ring to the output shaft.
- Install the
J 44394
to the wheel drive shaft oil seal.
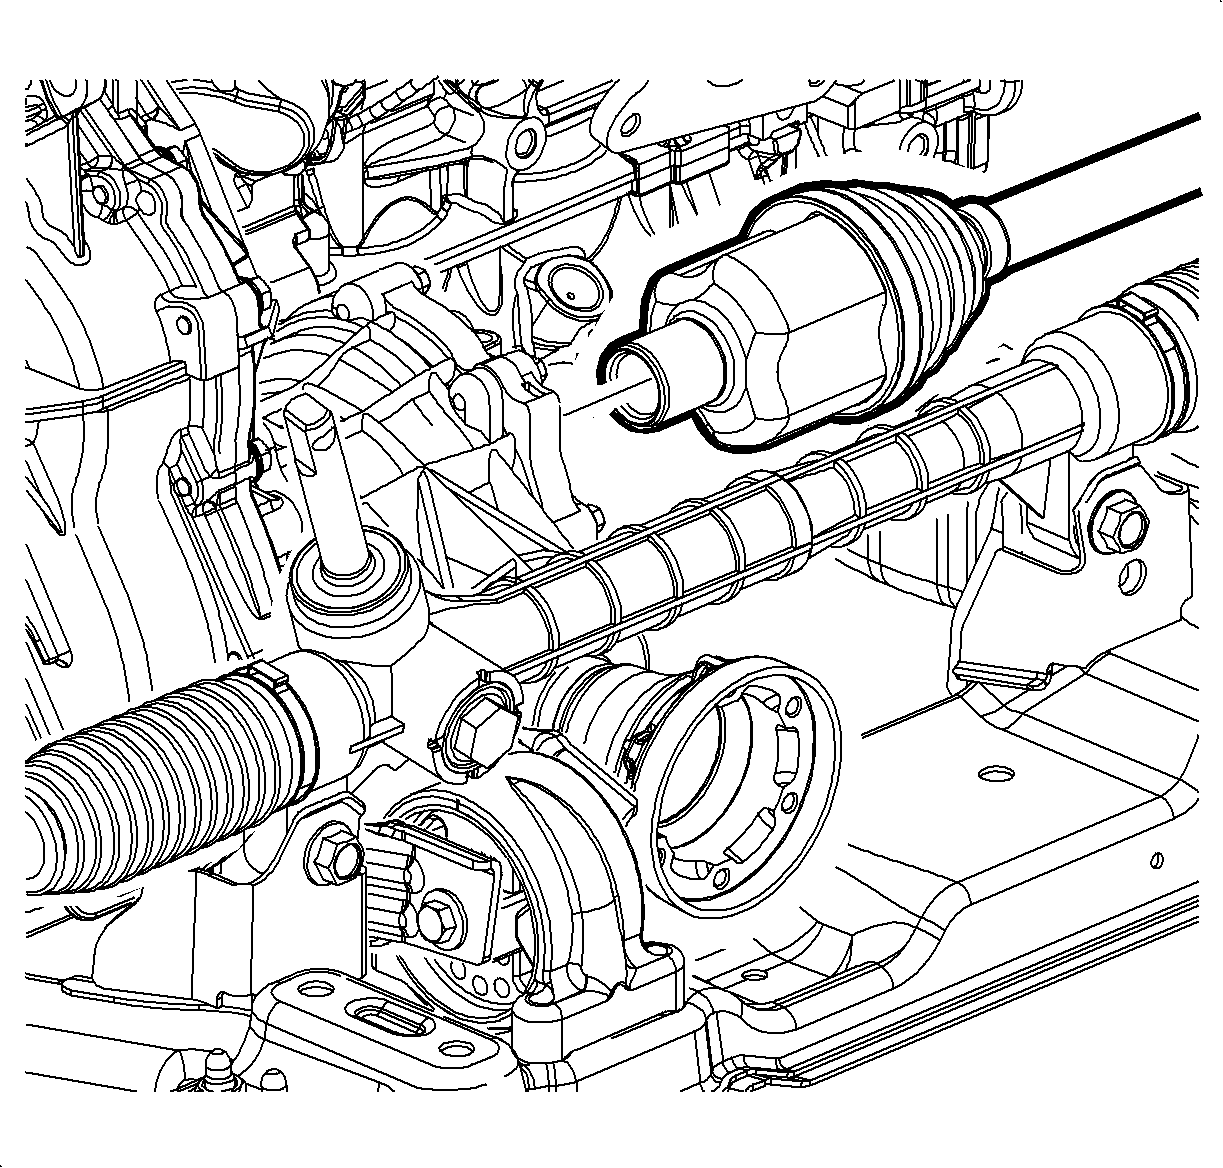
- Install the wheel drive shaft to the output shaft:
| • | Guide the wheel drive shaft tripot joint squarely onto the output shaft. |
| • | After the splined end of the wheel drive shaft passes the oil seal, remove the
J 44394
from the oil seal. |
| • | Firmly engage the wheel drive shaft to the output shaft. |
| • | Ensure that the tripot joint is fully seated on the output shaft by grasping the tripot joint and attempting to pull free of the output shaft. |
- Insert the constant velocity (CV) joint spindle to the wheel hub/bearing assembly of the steering knuckle.
- Hand install a new wheel drive shaft spindle nut.
- Install the lower ball joint stud to the steering knuckle.
Notice: Refer to Fastener Notice in the Preface section.
- Install the lower ball joint castle nut to the stud.
Tighten
| • | Tighten the nut to 10 N·m (89 lb in). |
| • | Tighten the nut an additional 150 degrees. |
- Install the cotter pin to the ball joint stud.
- If necessary, tighten the nut one additional flat at a time until the castle nut aligns with the hole in the ball joint stud.
- Secure the cotter pin to the ball joint stud by folding one tine over the end of the ball joint stud.
- Cut off any excess length of the cotter pin tines.
- Install the lower link to the stabilizer bar.
- Install a new nut to the stabilizer bar link stud.
Important: In order to prevent damaging the stabilizer bar link stud seal, do not allow the stud to rotate while tightening the nut.
- Use a back up wrench on the stud and tighten the nut.
Tighten
Tighten the nut to 65 N·m (48 lb ft).

- Install the tie rod end to the steering knuckle.
- Using the
J 44015
, pull the stud into steering knuckle.
Tighten
Tighten the
J 44015
to 40 N·m (30 lb ft).
- Remove the
J 44015
from the tie rod end stud.
- Install a new nut to the tie rod end stud.
Tighten
Tighten the nut to 50 N·m (37 lb ft).
- Tighten the wheel drive shaft spindle nut.
Tighten
Tighten the nut to 205 N·m (151 lb ft).
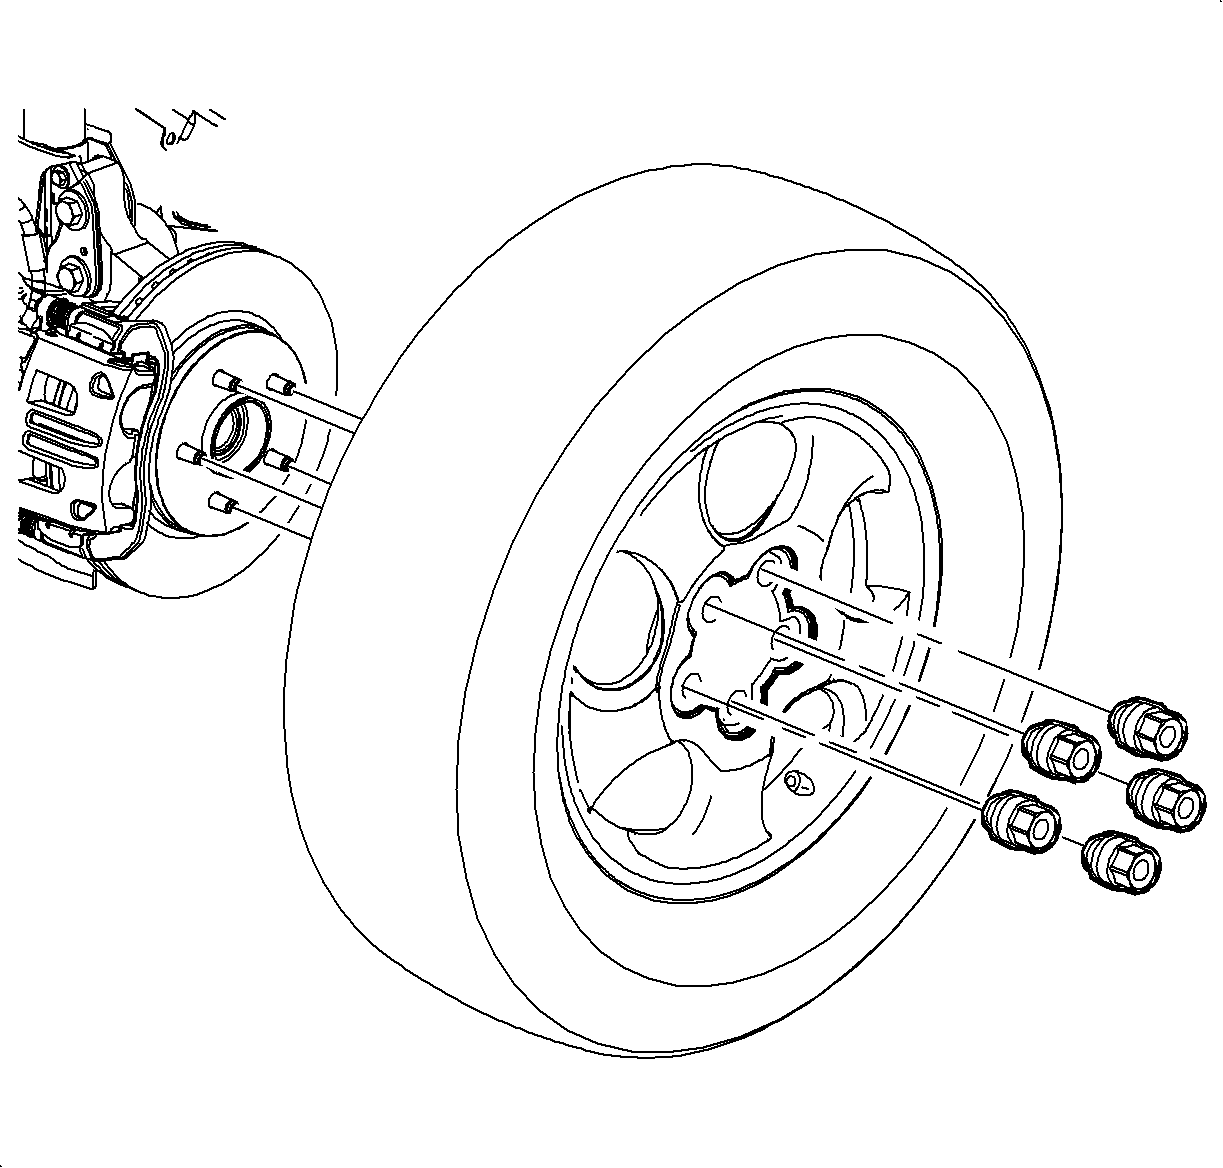
- Install the tire and wheel assembly. Refer to
Tire and Wheel Removal and Installation
.
- Lower the vehicle.
- Inspect the transmission fluid level. Refer to
Transmission Fluid Check
.
