For 1990-2009 cars only
Removal Procedure
- Remove the air cleaner assembly. Refer to Air Cleaner Assembly Replacement .
- Support the engine. Refer to Engine Support Fixture .
- Raise and support the vehicle. Refer to Lifting and Jacking the Vehicle .
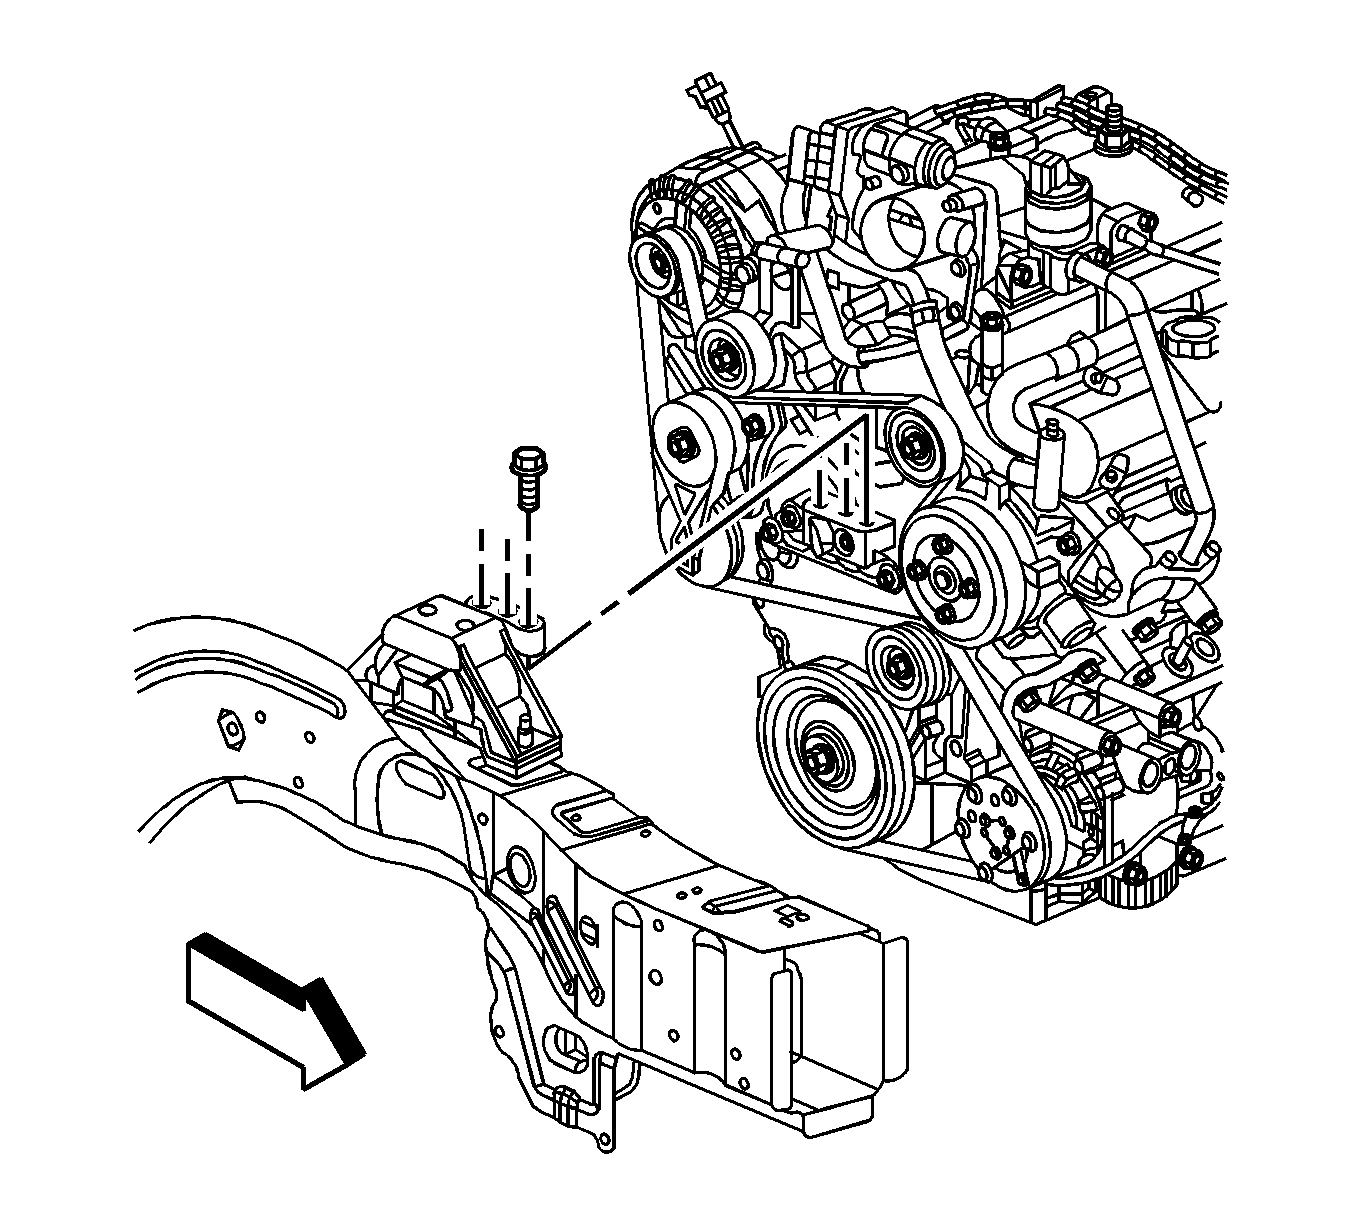
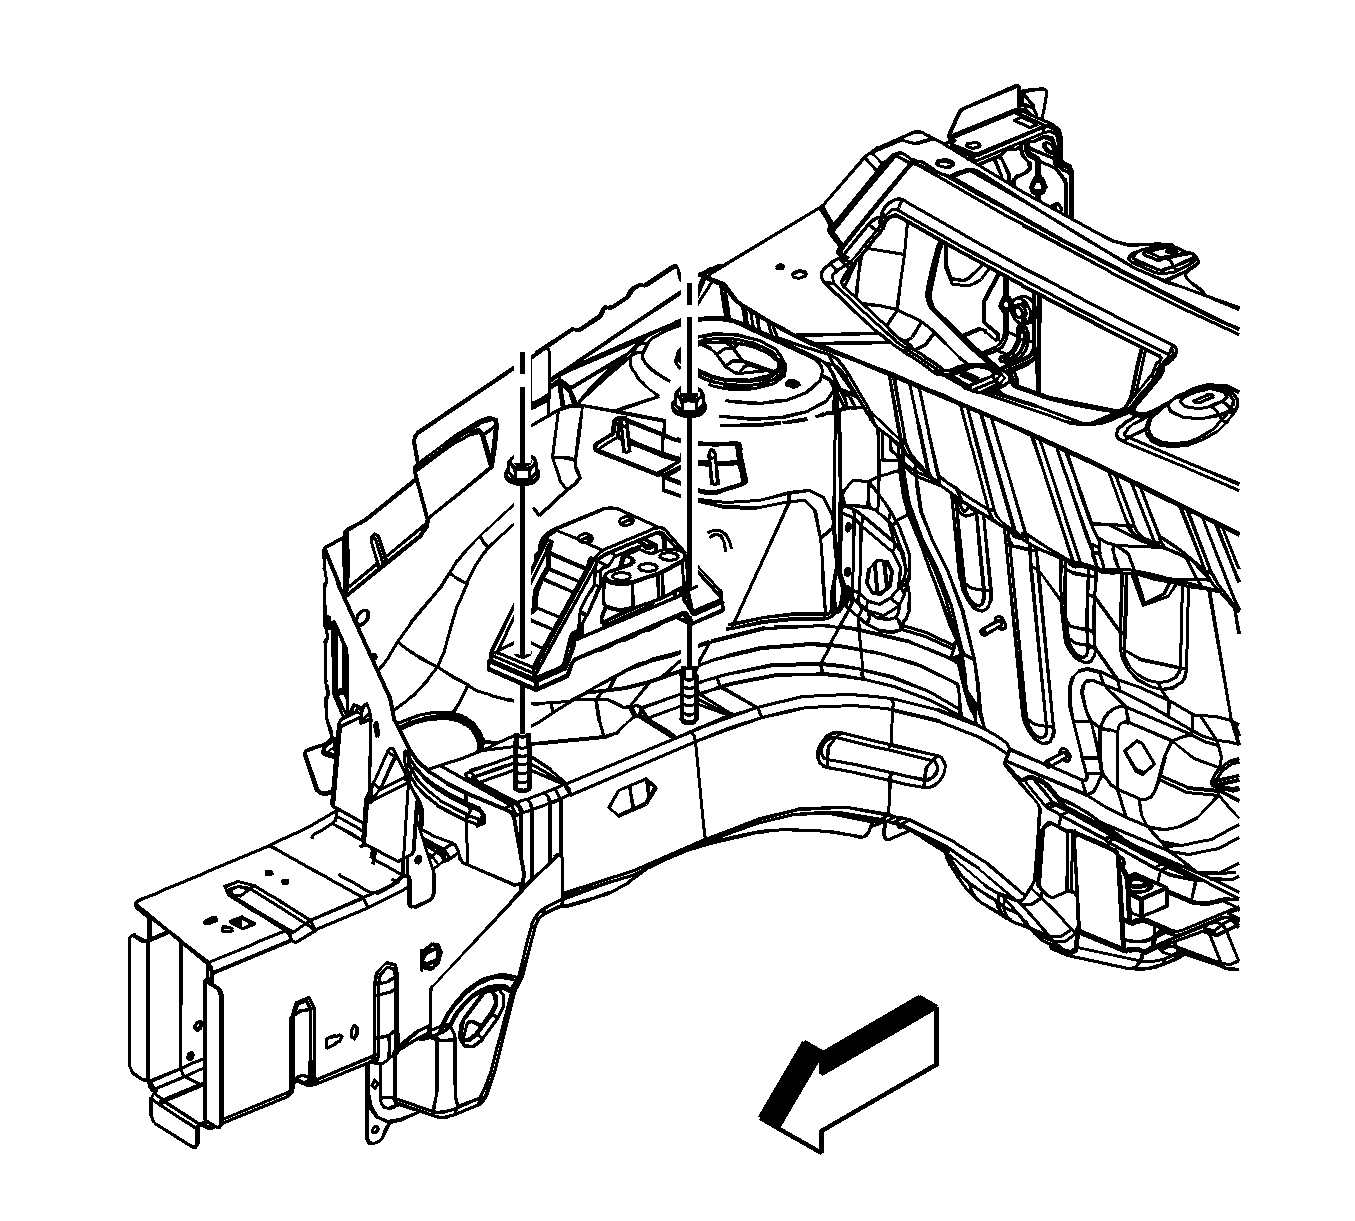
- Remove the engine mount to bracket bolts.
- Remove the engine mount to frame rail nuts.
- Remove the engine mount from the vehicle.
Installation Procedure
- Position the engine mount onto the frame rail studs.
- Install the engine mount to frame rail stud nuts.
- Install the engine mount to engine mount bracket bolts. Take care when aligning the engine mount to engine mount bracket bolt holes, while hand tightening all the bolts.
- Tighten the engine mount to engine mount bracket bolts.
- Lower the vehicle.
- Remove the engine support. Refer to Engine Support Fixture .
- Install the air cleaner assembly. Refer to Air Cleaner Assembly Replacement .
Notice: Refer to Fastener Notice in the Preface section.
Tighten
Tighten the nuts to 110 N·m (81 lb ft).
Tighten
Tighten the bolts to 50 N·m (81 lb ft).
