For 1990-2009 cars only
Exhaust Muffler Replacement Front 2.0L
Removal Procedure
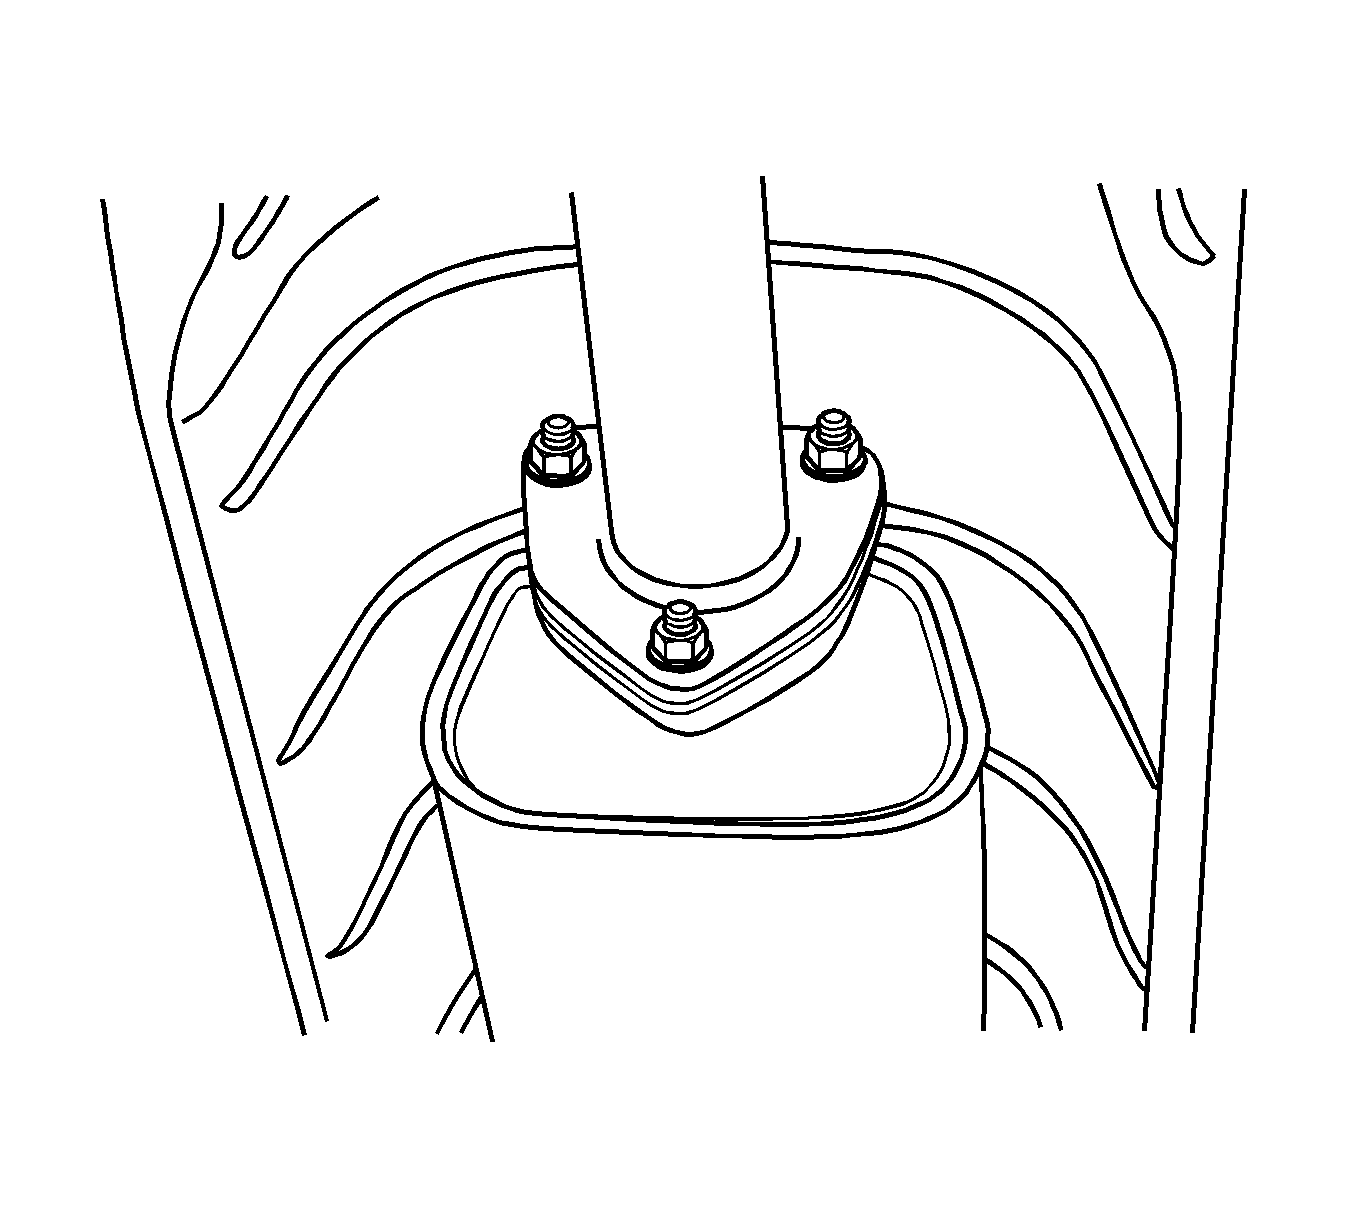
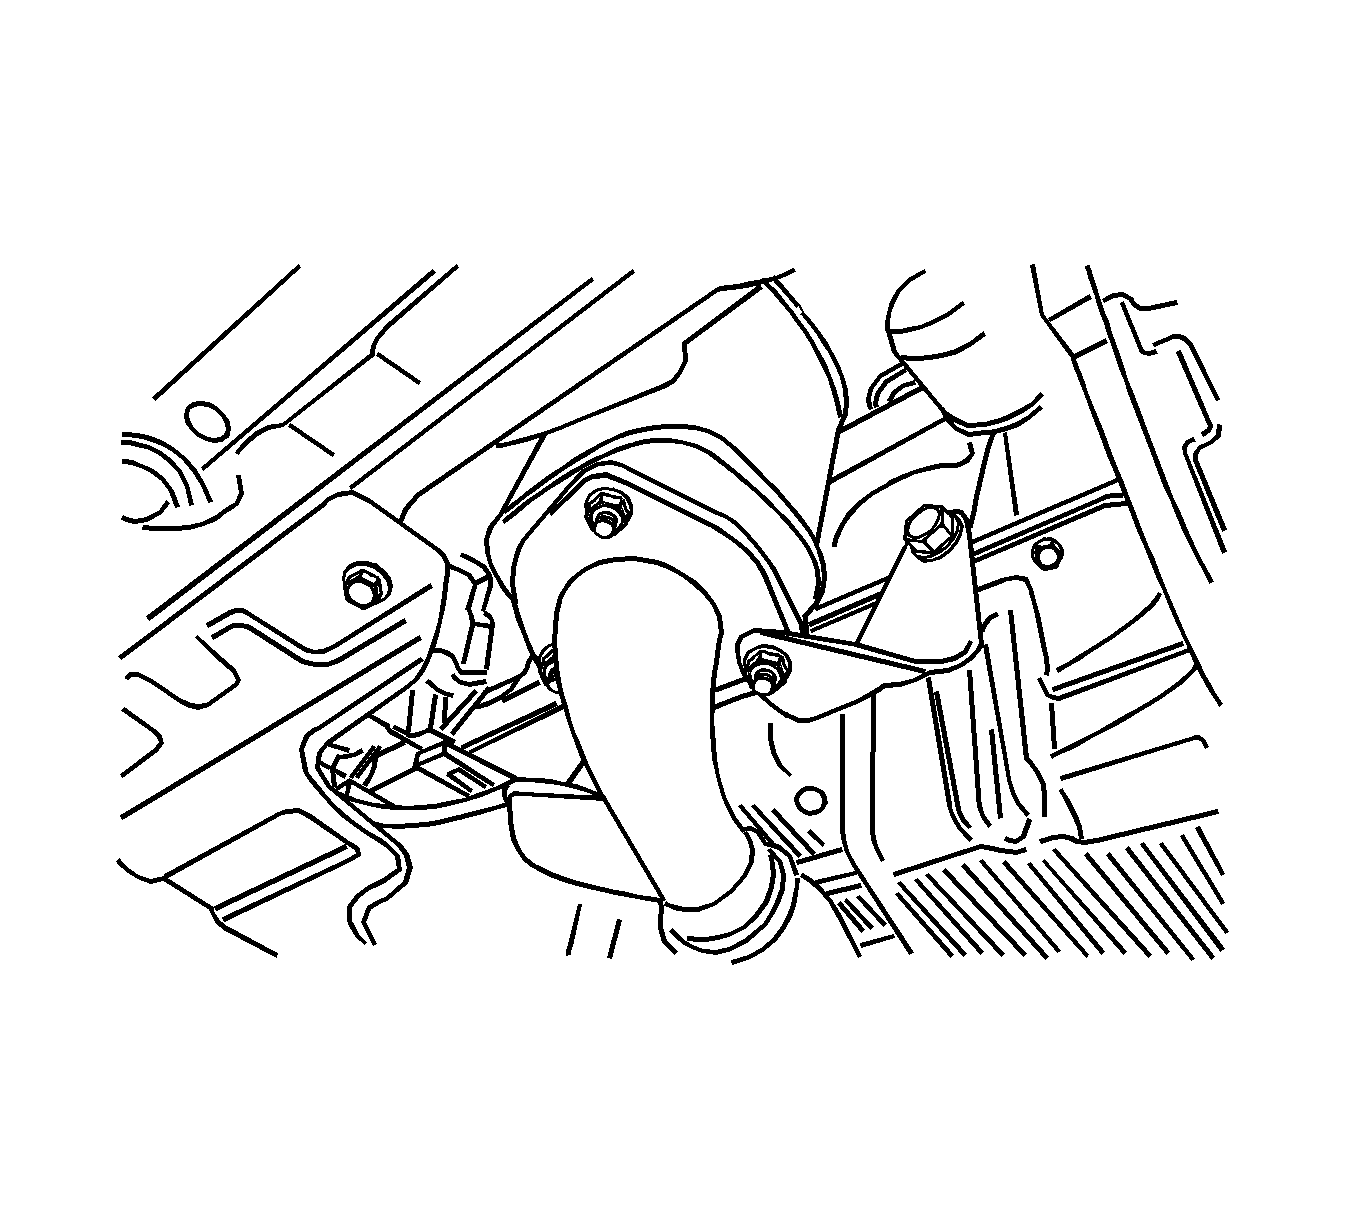
- Remove the nuts that secure the front muffler pipe to the 3rd muffler flange.
- Remove the gasket.
- Remove the nuts that secure the front muffler pipe flange to the rear muffler pipe flange.
- Remove the gasket from between the front muffler pipe flange and the rear muffler pipe flange.
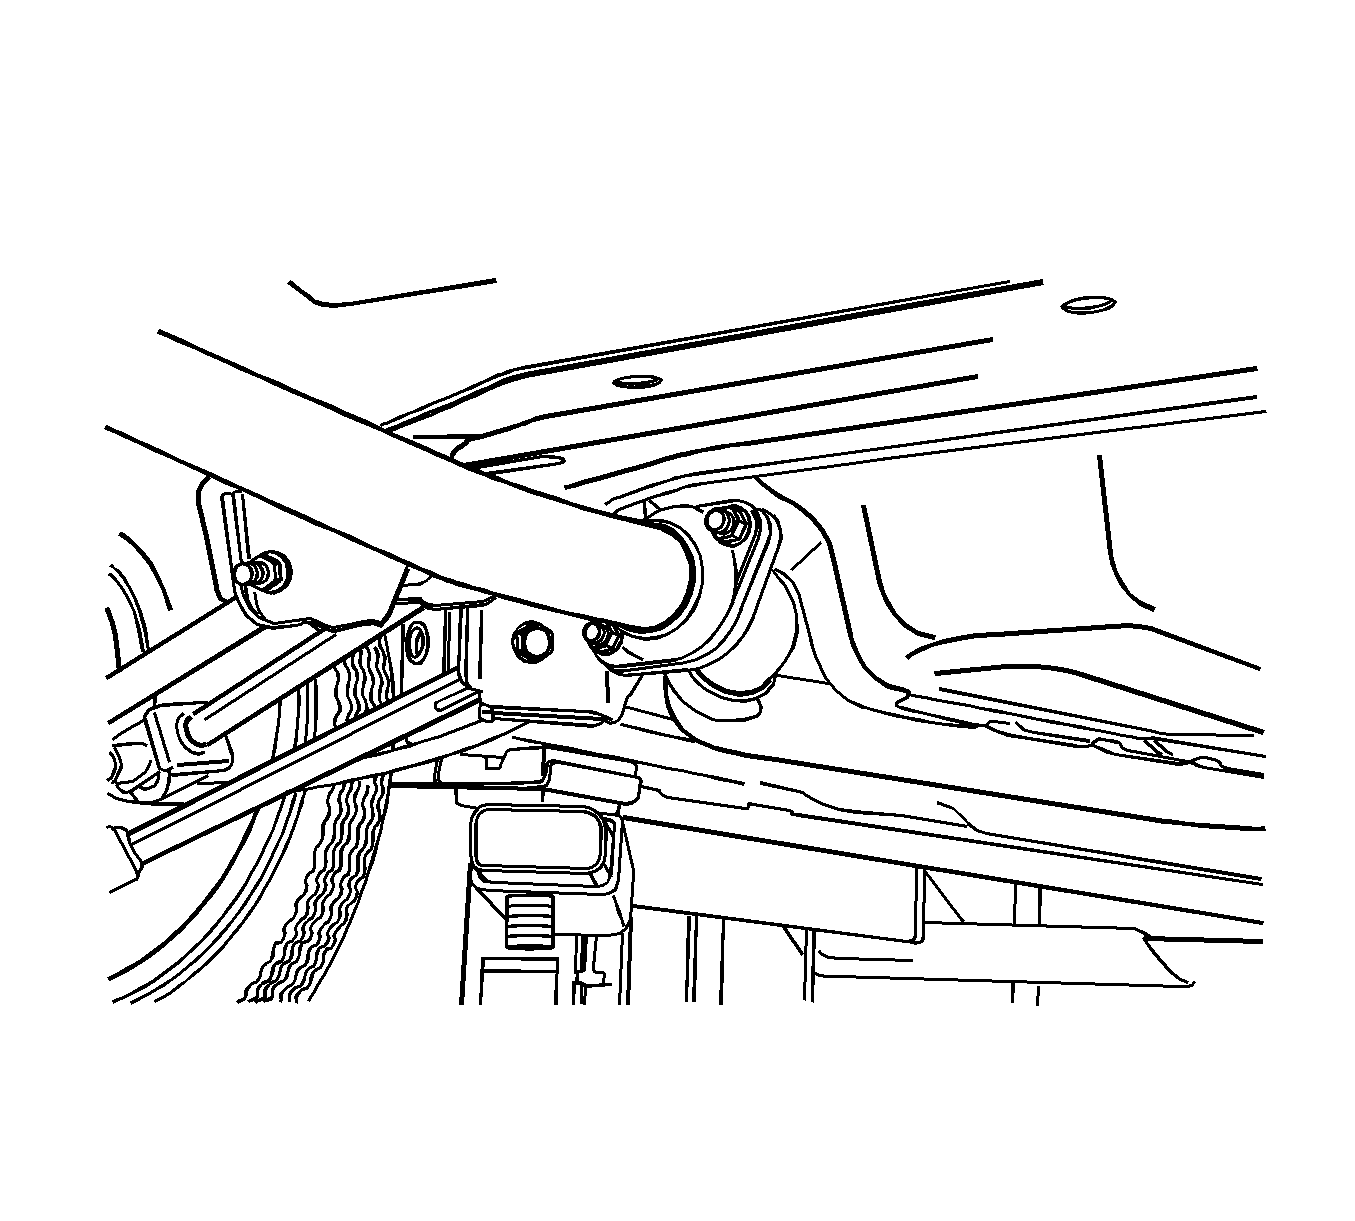
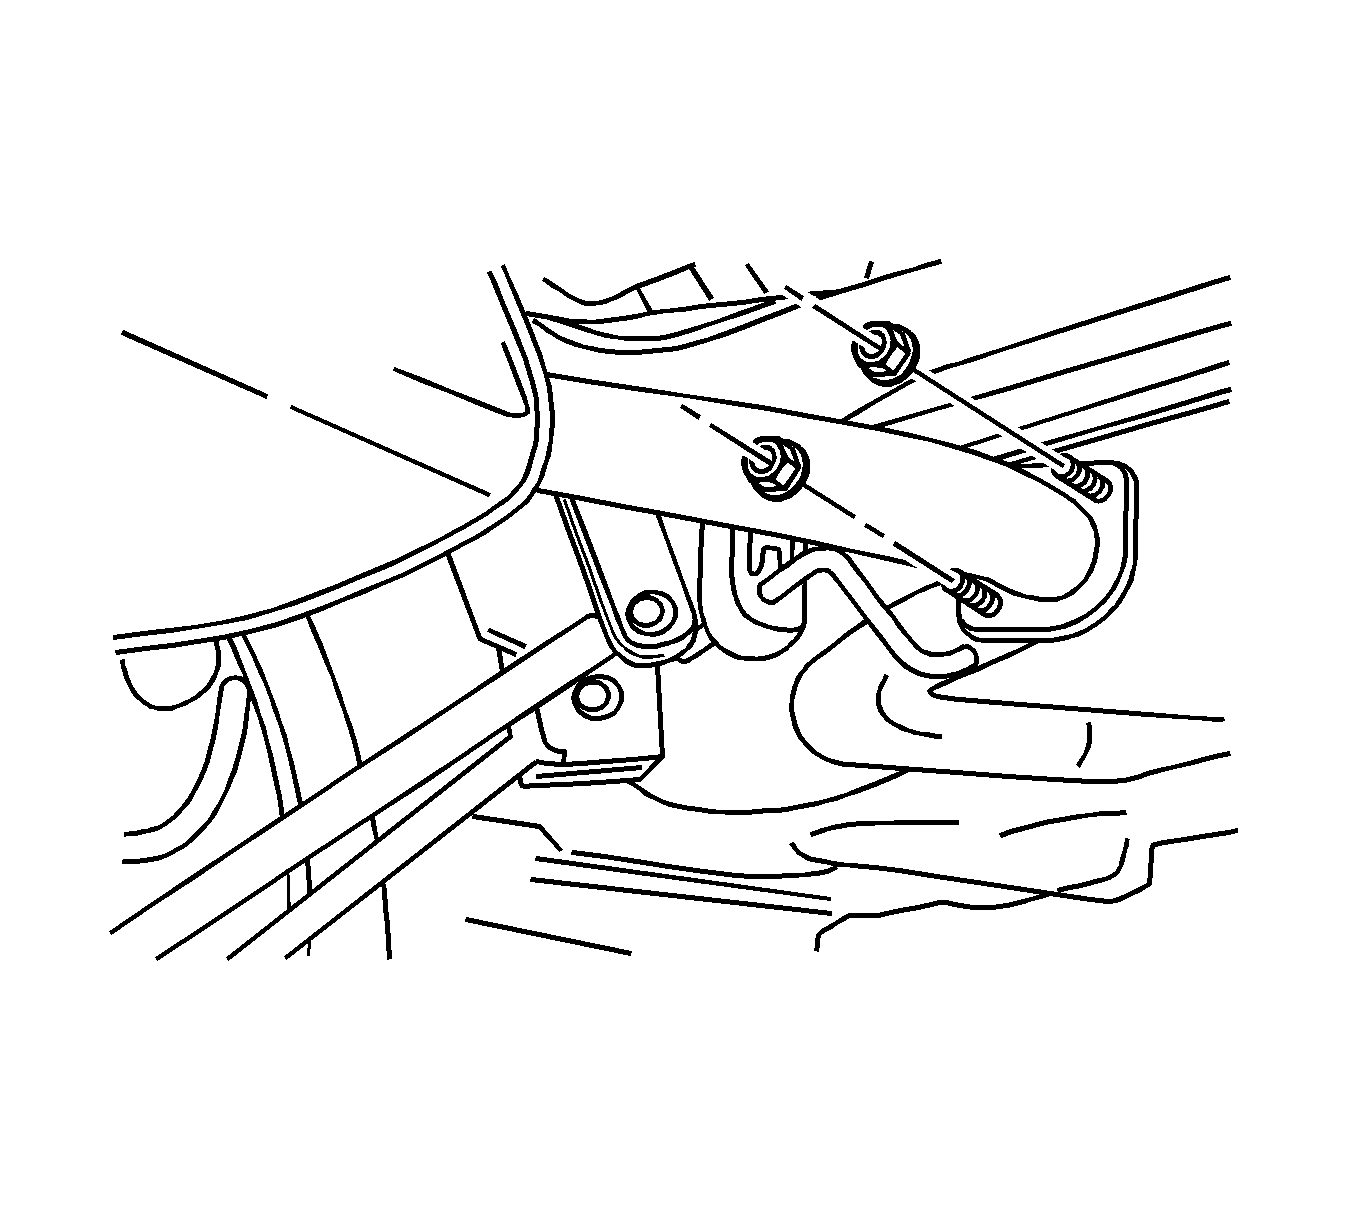
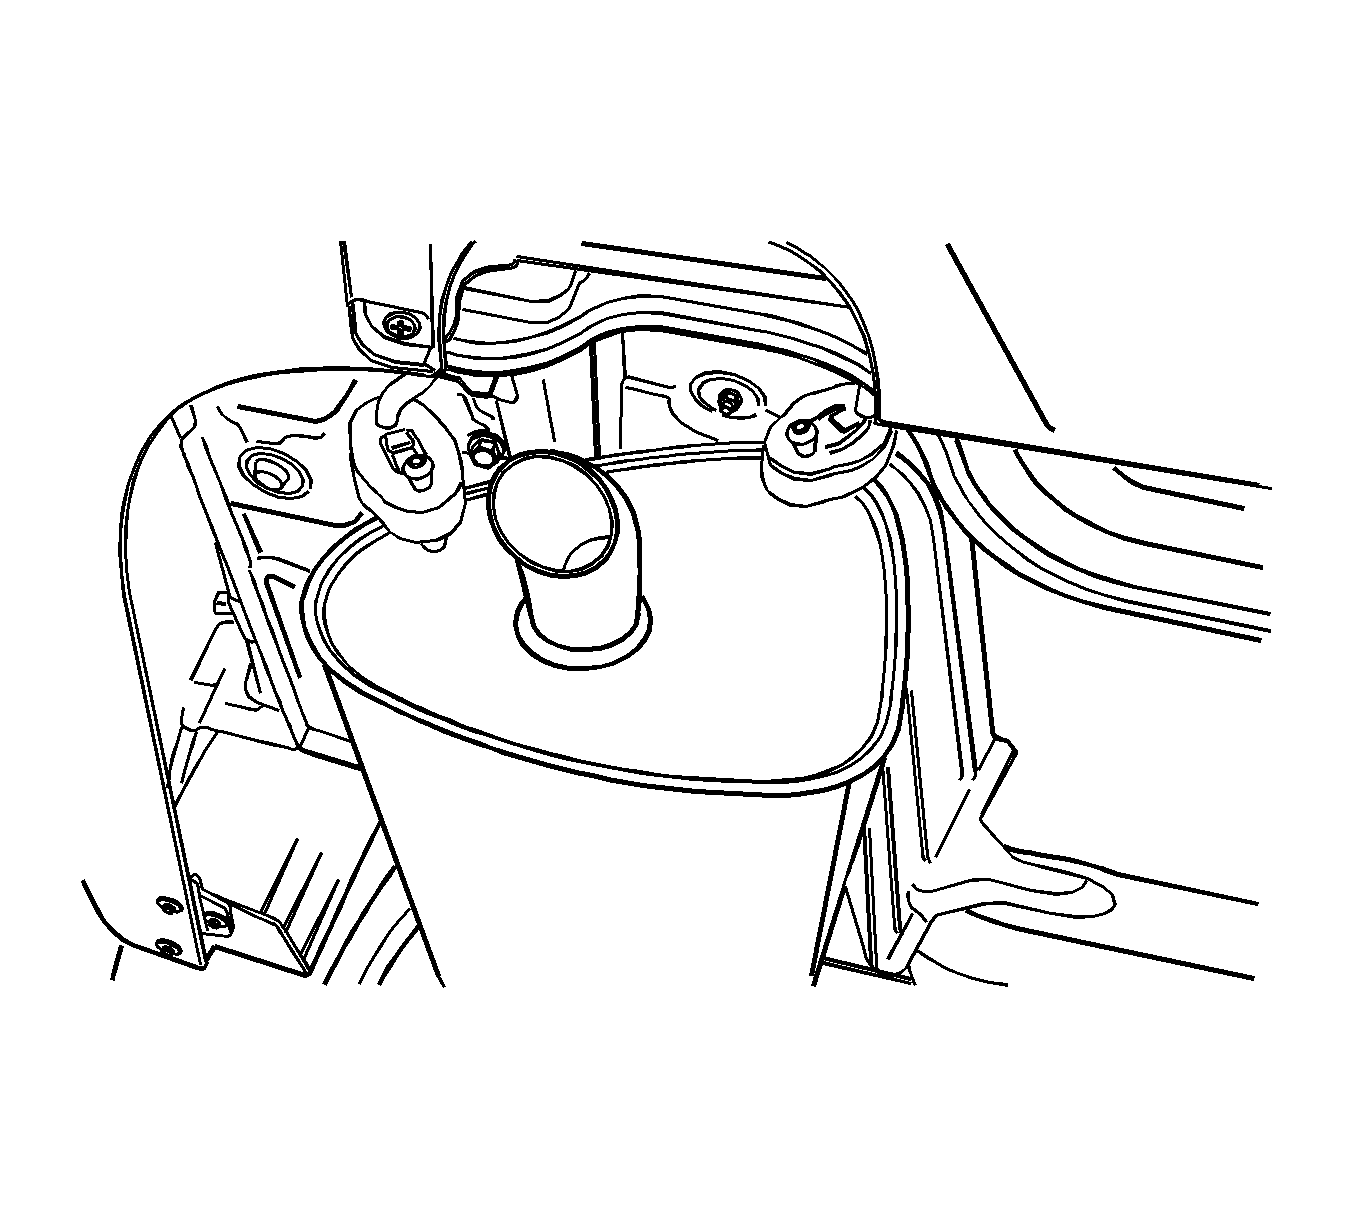
- Disconnect the front muffler pipe from the rubber hanger.
- Remove the front muffler pipe.
- Inspect the exhaust pipe and the front muffler pipe for holes, damage, open seams, or other deterioration which could permit exhaust fumes to seep into the passenger compartment or the trunk.
Caution: Refer to Exhaust Service Caution in the Preface section.
Installation Procedure
- Install the front muffler pipe to the rubber hanger.
- Install the gasket to the front muffler pipe.
- Install the front muffler pipe to the rear muffler pipe with the nuts.
- Install the front muffler pipe to the catalytic converter, or the 3rd muffler, flange.
- Install the nuts to secure the front muffler pipe to the catalytic converter, or the 3rd muffler.
Notice: Refer to Fastener Notice in the Preface section.
Tighten
Tighten the front muffler pipe-to-rear muffler pipe
nuts to 30 N·m (22 lb ft).
Tighten
Tighten the front muffler pipe-to-catalytic converter,
or 3rd muffler, nuts to 30 N·m (22 lb ft).
Exhaust Muffler Replacement Rear
Removal Procedure
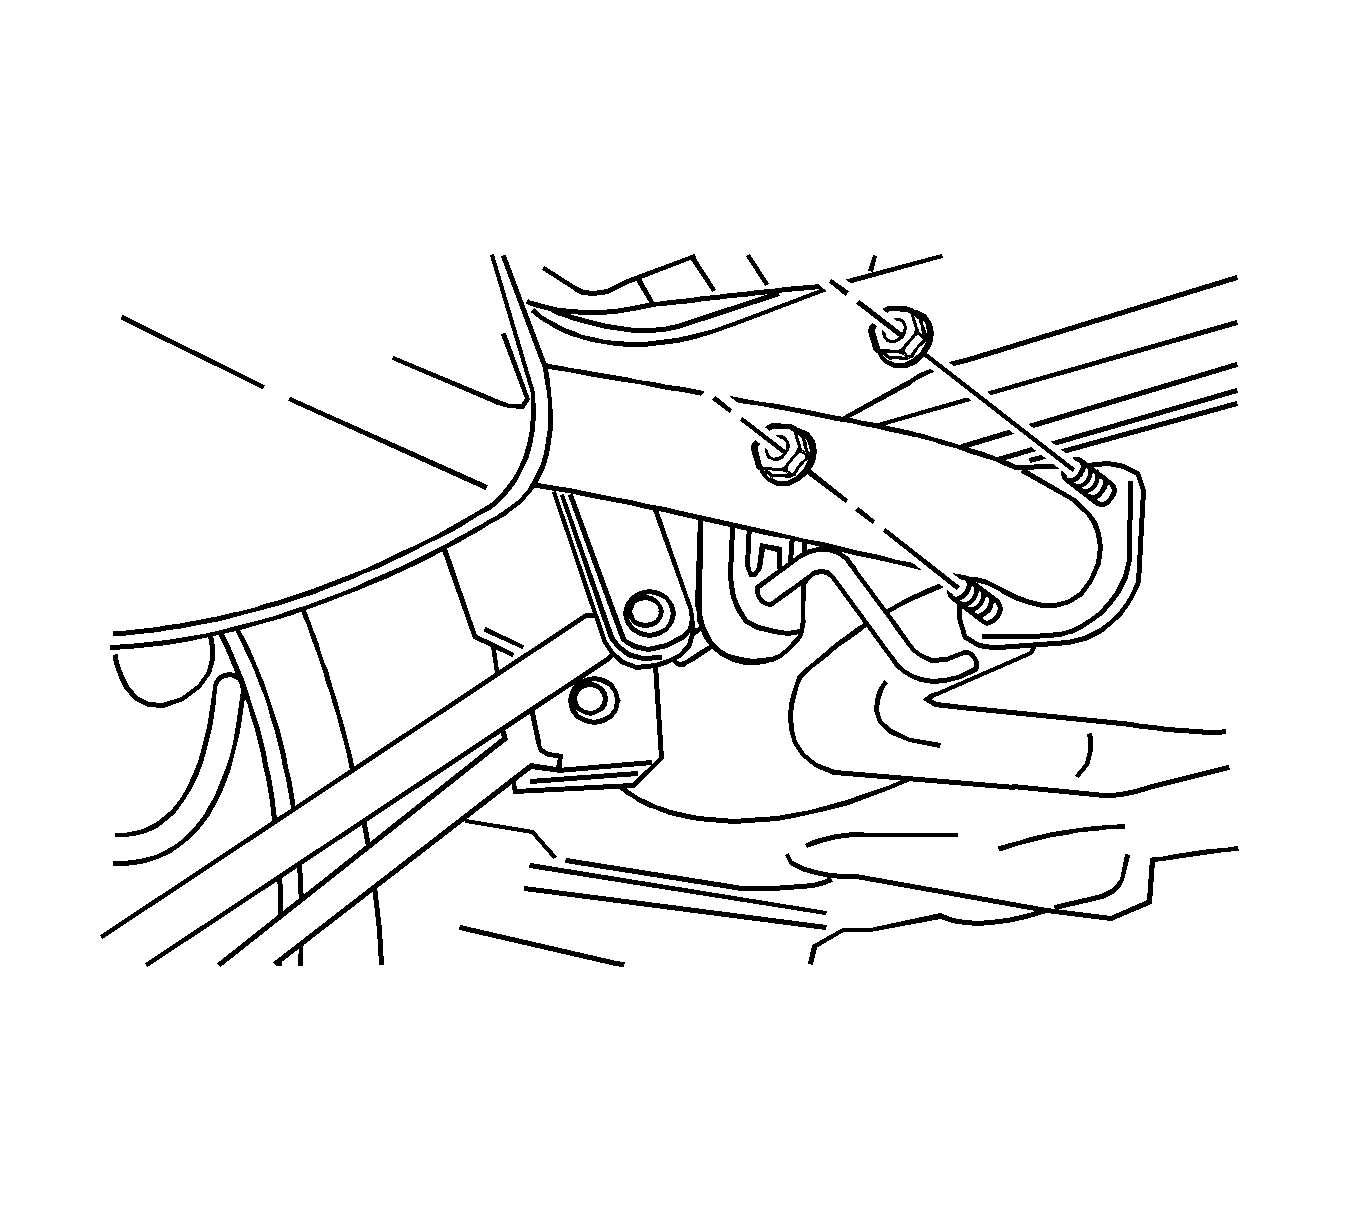
- Remove the nuts that attach the rear muffler pipe flange to the front muffler pipe flange.
- Remove the gasket from between the flanges.
- Detach the rear muffler from the rubber hangers on the tail pipe end of the rear muffler assembly.
- Remove the rear muffler assembly.
- Inspect the rear muffler and the pipes for holes, damage, open seams, and other deterioration which could permit exhaust fumes to seep into the passenger compartment or the trunk.
Caution: Refer to Exhaust Service Caution in the Preface section.
Installation Procedure
- Install the rear muffler assembly on the rubber hangers.
- Install the gasket between the rear muffler pipe flange and the front muffler pipe flange.
- Install the front muffler pipe to the rear muffler pipe with the nuts.
Notice: Refer to Fastener Notice in the Preface section.
Tighten
Tighten the nuts to 30 N·m (22 lb ft).
Exhaust Muffler Replacement Front 2.5L
Removal Procedure
- Remove the nuts that secure the front muffler pipe to the exhaust front pipe flange.
- Remove the gasket from the front pipe flange.
- Remove the nuts and the gasket from the rear muffler pipe flange.
- Disconnect the front muffler from the rubber hanger.
- Remove the front muffler.
- Inspect the exhaust pipe and the front muffler for holes, damage, open seams, or other deterioration which could permit exhaust fumes to seep into the passenger compartment or the trunk.
Caution: Refer to Exhaust Service Caution in the Preface section.
Installation Procedure
- Connect the front muffler to the rubber hanger.
- Attach the front muffler and the gasket to the rear muffler using the nuts.
- Install the gasket into the front pipe flange.
- Secure the front muffler assembly to the exhaust front pipe with the nuts.
Notice: Refer to Fastener Notice in the Preface section.
Tighten
Tighten the nuts to 40 N·m (30 lb ft).
Tighten
Tighten the nuts to 30 N·m (22 lb ft).
