For 1990-2009 cars only
Tools Required
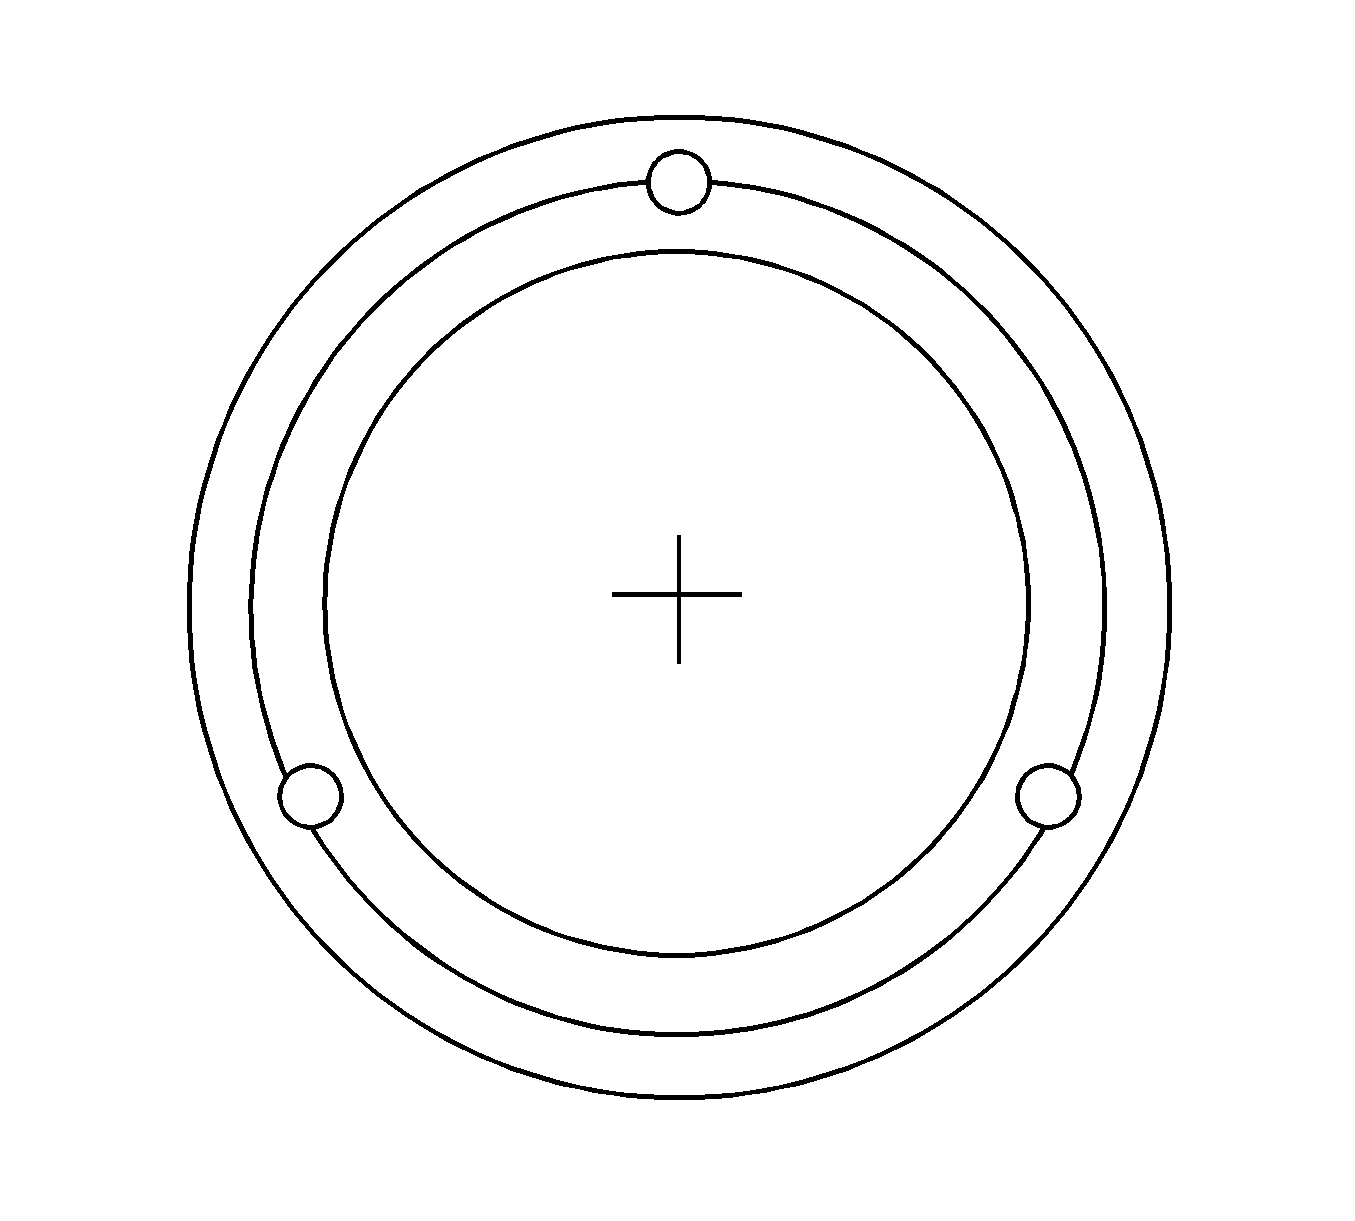
| • | J 33023-A Puller Pilot |
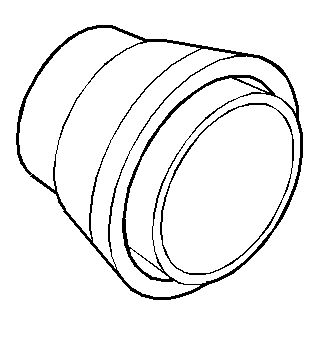
| • | J 33024 Clutch Coil Installer Adapter |
| • | J 33025 Clutch Coil Puller Legs |
| • | J 34992 Compressor Holding Fixture |
| • | J 8433-1 Puller Bar |
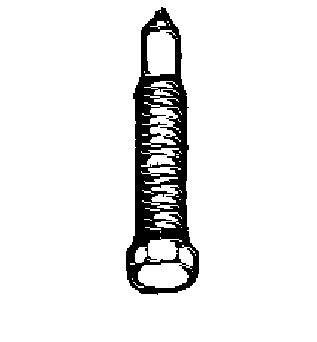
| • | J 8433-3 Forcing Screw |
Removal Procedure
- Disconnect the negative battery cable.
- Recover the refrigerant. Refer to Refrigerant Recovery and Recharging .
- Remove the compressor. Refer to Air Conditioning Compressor Replacement .
- Remove the clutch plate and hub assembly. Refer to Compressor Clutch Plate/Hub Assembly Replacement .
- Remove the clutch rotor and bearing. Refer to Clutch Rotor and/or Bearing Replacement .
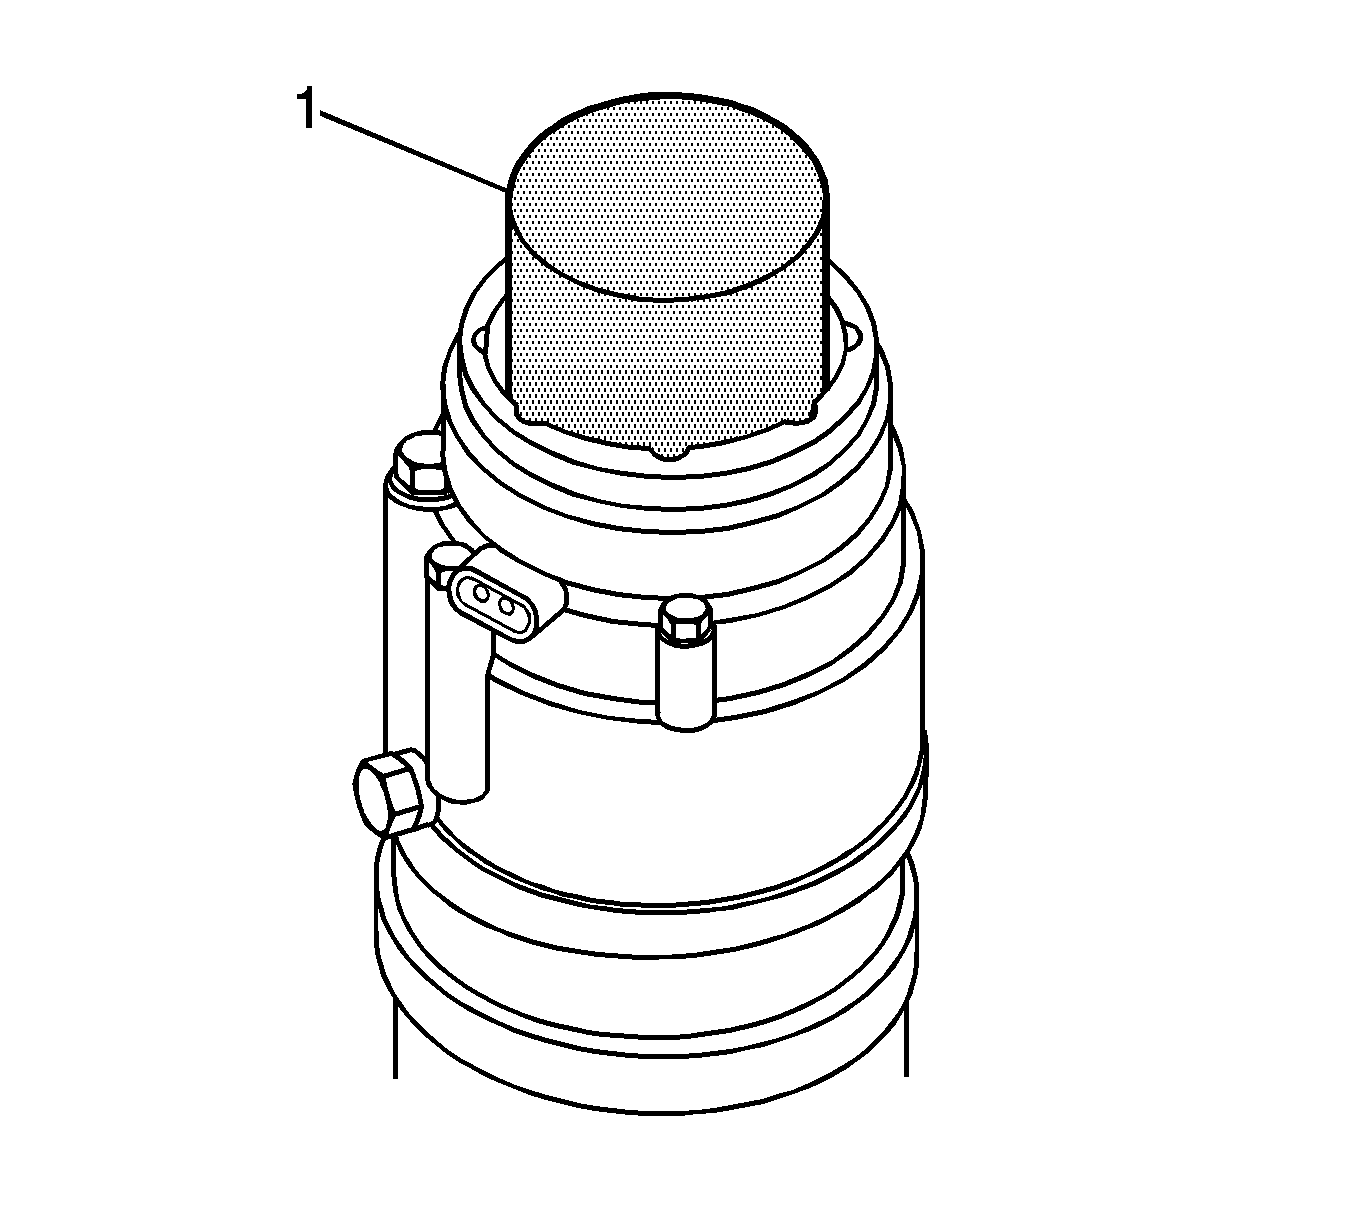
- Mark the clutch coil terminal location on the compressor housing.
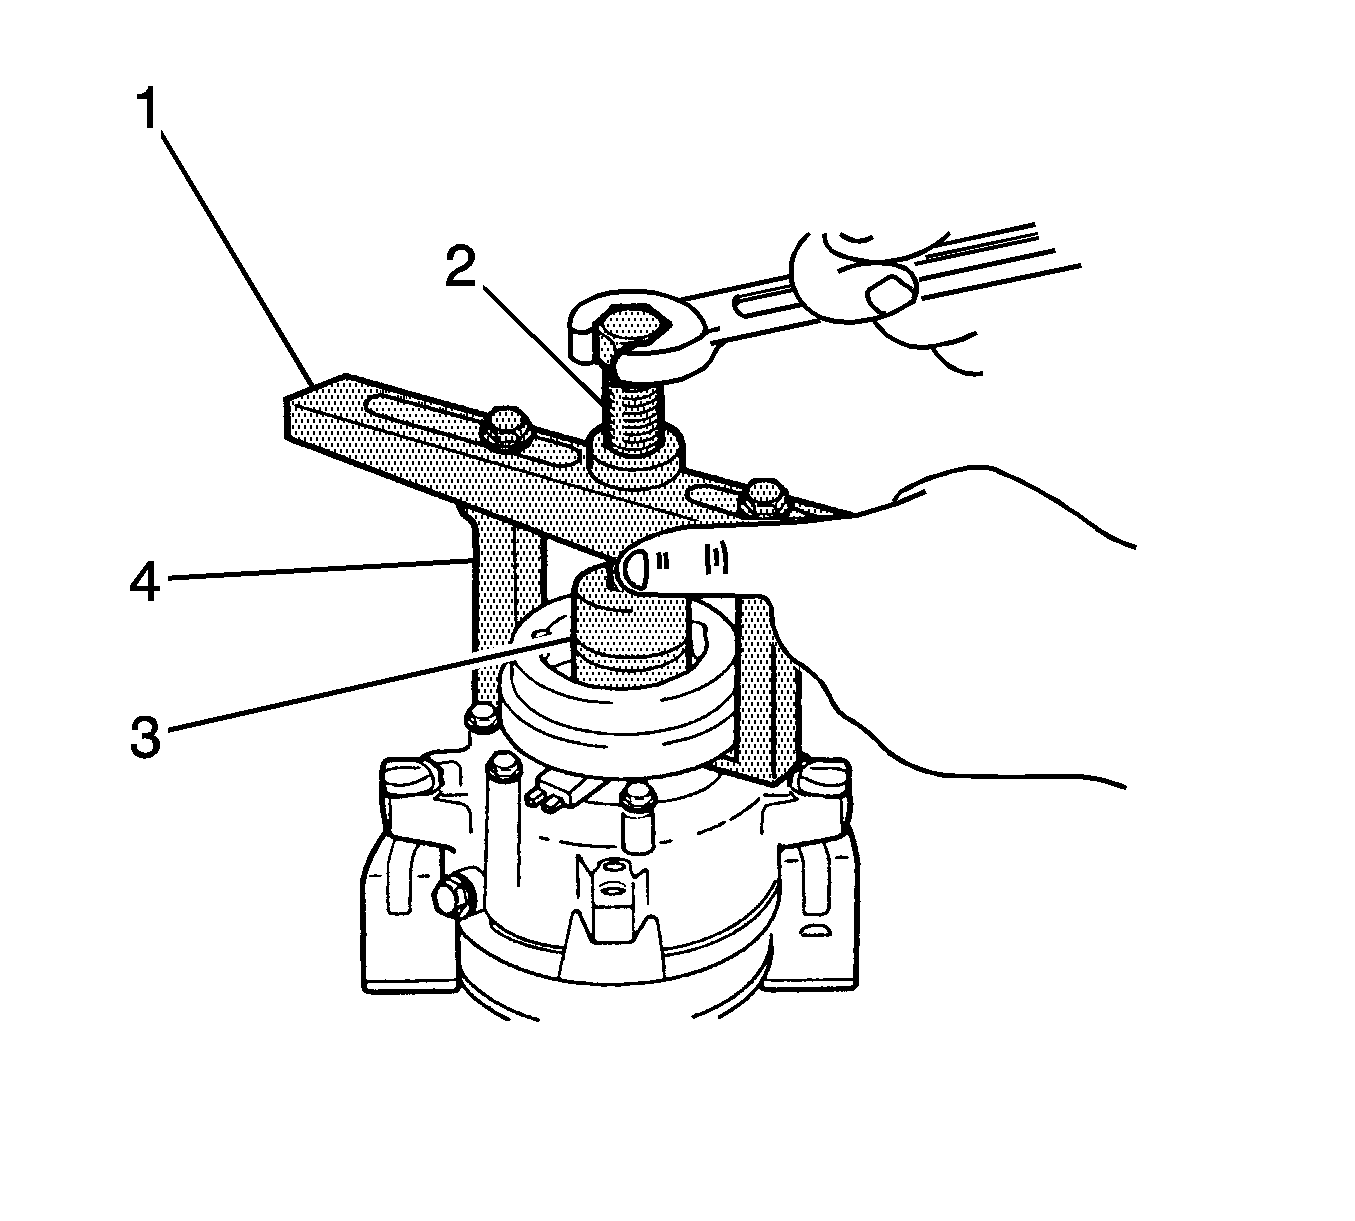
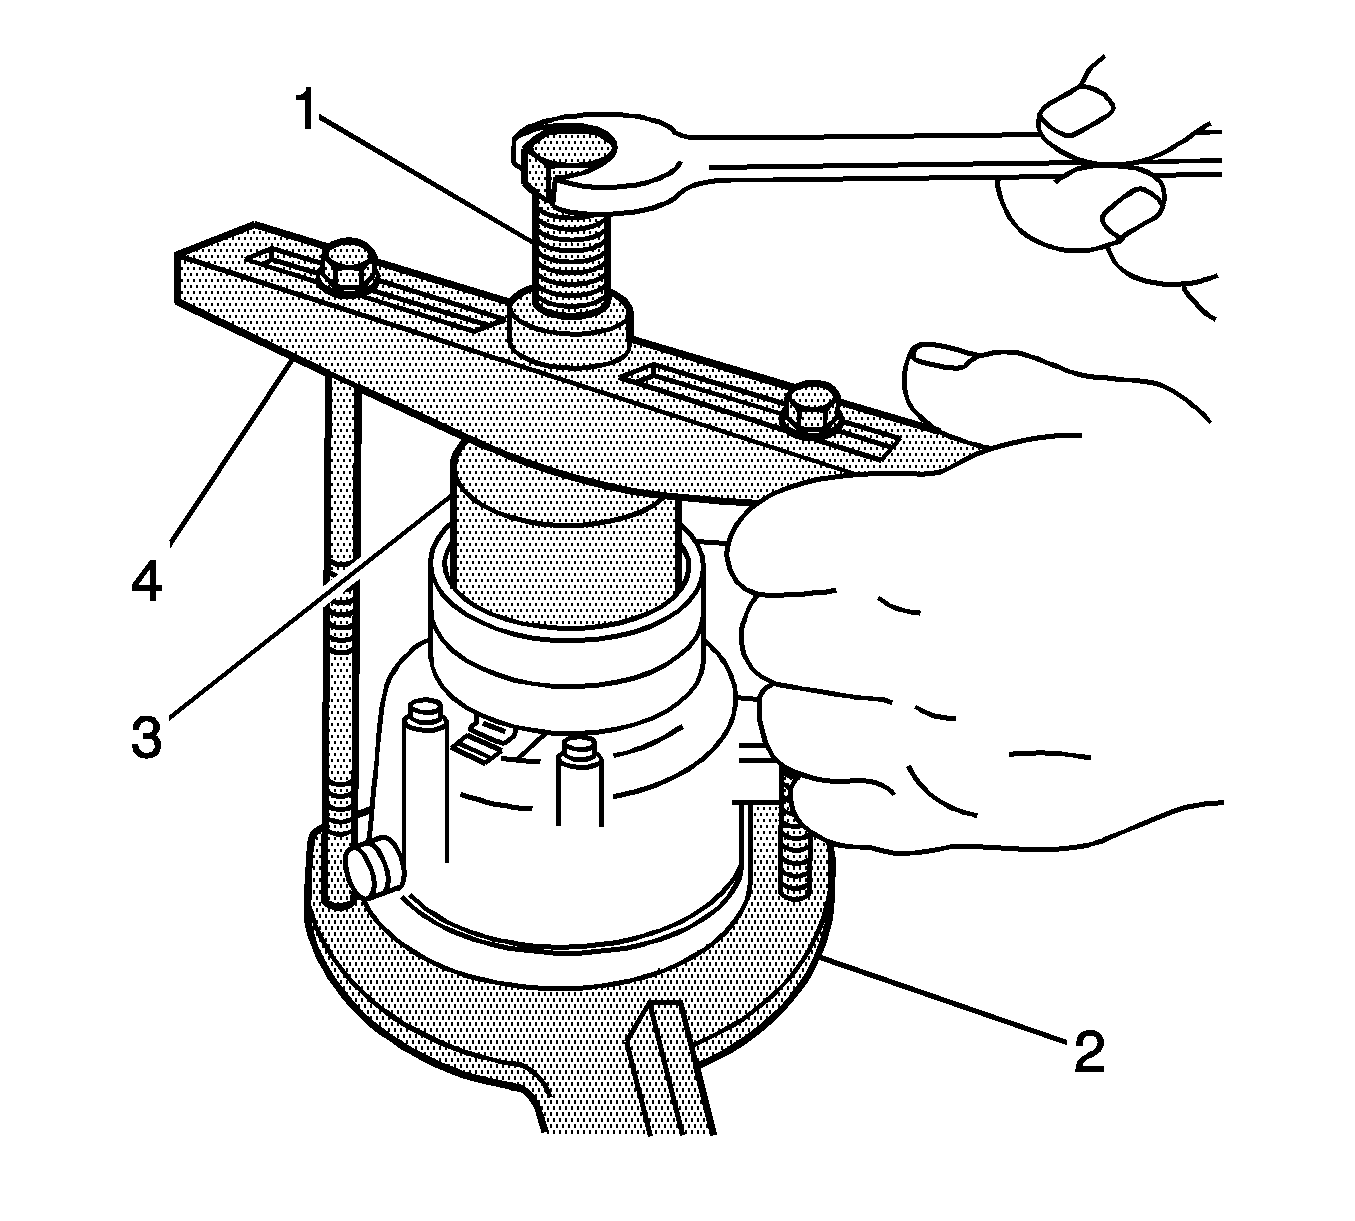
- Install the J 33023-A (3) on the compressor housing. Also install the J 8433-1 (1) with the J 33025 (4).
- Tighten the J 8433-3 (1) against the J 33023-A (3) to remove the clutch coil.
Caution: Refer to Battery Disconnect Caution in the Preface section.
Installation Procedure
- Place the J 33024 (1) over the internal opening of the clutch coil housing and align the J 33024 (1) with the compressor housing.
- Center the J 8433-1 (4) in the countersunk center hole of the J 33024 (3). Install the through-bolts of the J 34992 (2) and the washers in the crossbar slots. Thread them into the holding fixture to the full thickness of the holding fixture.
- Turn the J 8433-3 (1), or use a suitable vise, to force the clutch coil onto the compressor housing.
- When the clutch coil is fully seated on the compressor housing, use a 3 mm (1/8 in) diameter drift punch and stake the housing at 3 places, 120 degrees apart, to ensure that the clutch coil will remain in position. The stake point size should be only 1/2 the area of the punch tip and approximately 0.28-0.35 mm (0.010-0.015 in) deep.
- Install the clutch rotor and bearing assembly. Refer to Clutch Rotor and/or Bearing Replacement .
- Install the clutch plate and hub assembly. Refer to Compressor Clutch Plate/Hub Assembly Replacement .
- Install the compressor. Refer to Air Conditioning Compressor Replacement .
- Connect the negative battery cable.
- Evacuate and recharge the A/C system. Refer to Refrigerant Recovery and Recharging .
Important: Be sure the clutch coil and the installer stay in-line during installation.