For 1990-2009 cars only
Removal Procedure
- Disconnect the negative battery cable.
- Remove the air filter housing assembly and bolts.
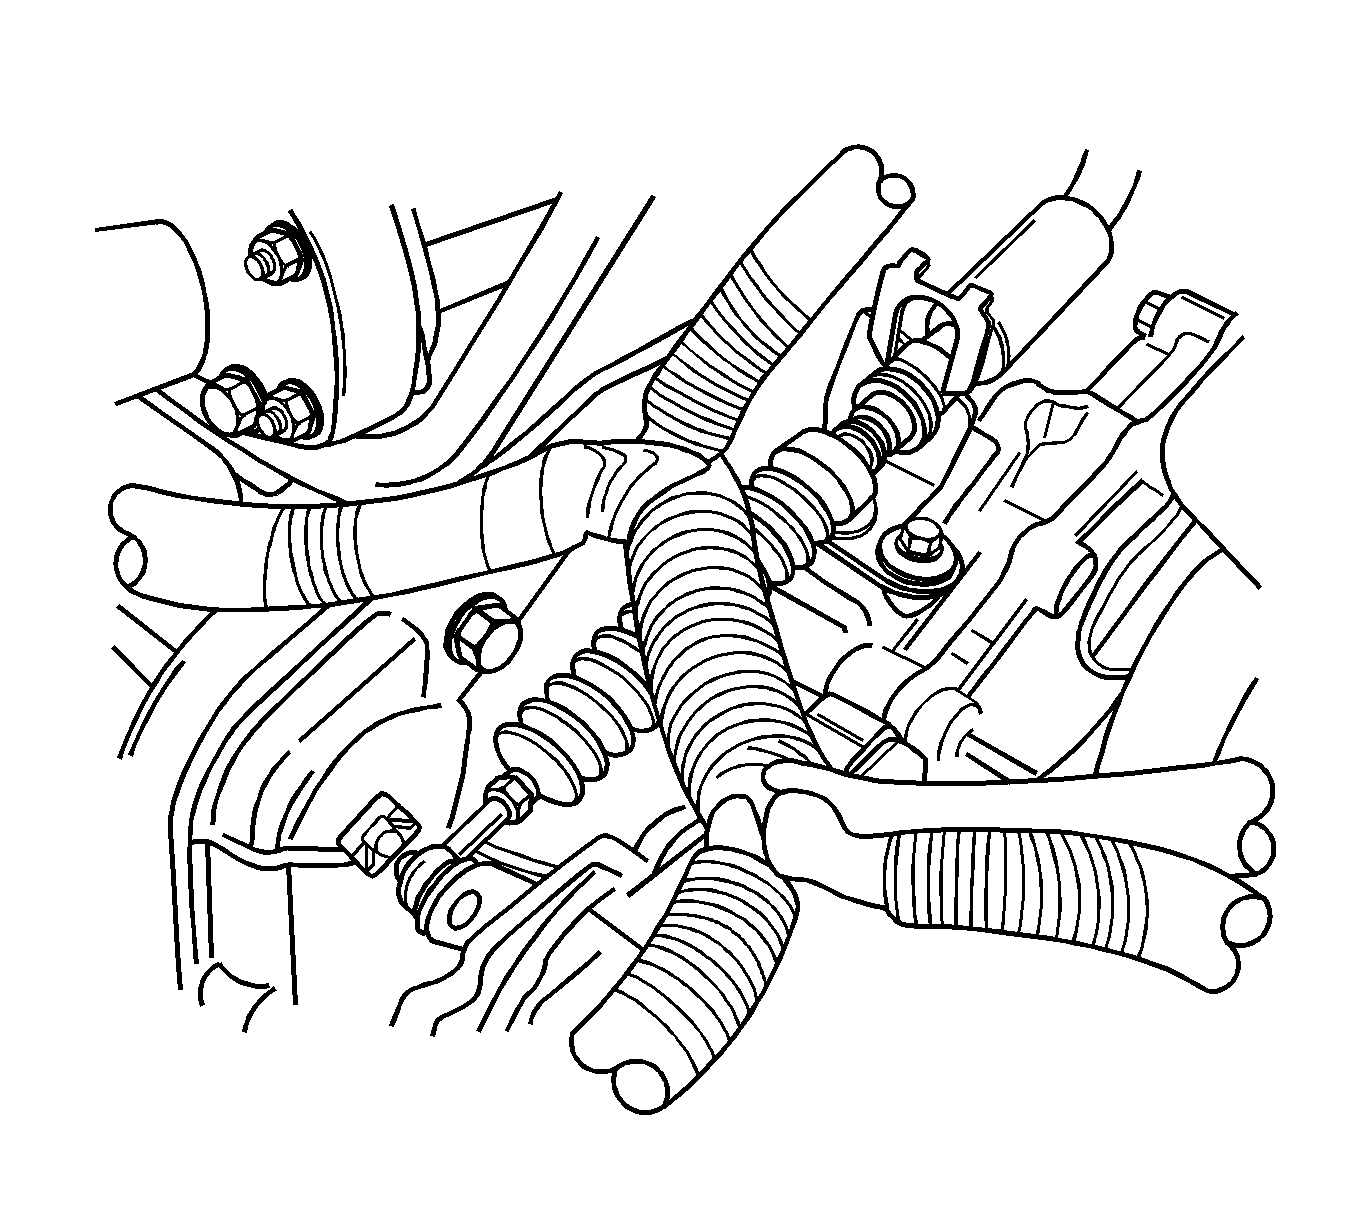
- Remove the clip from the selector lever connection on the transaxle case.
- Disconnect the shift control cable from the selector lever connection.
- Remove the clip from the shift control cable at the transaxle mount connection.
- Remove the floor console. Refer to Front Floor Console Replacement .
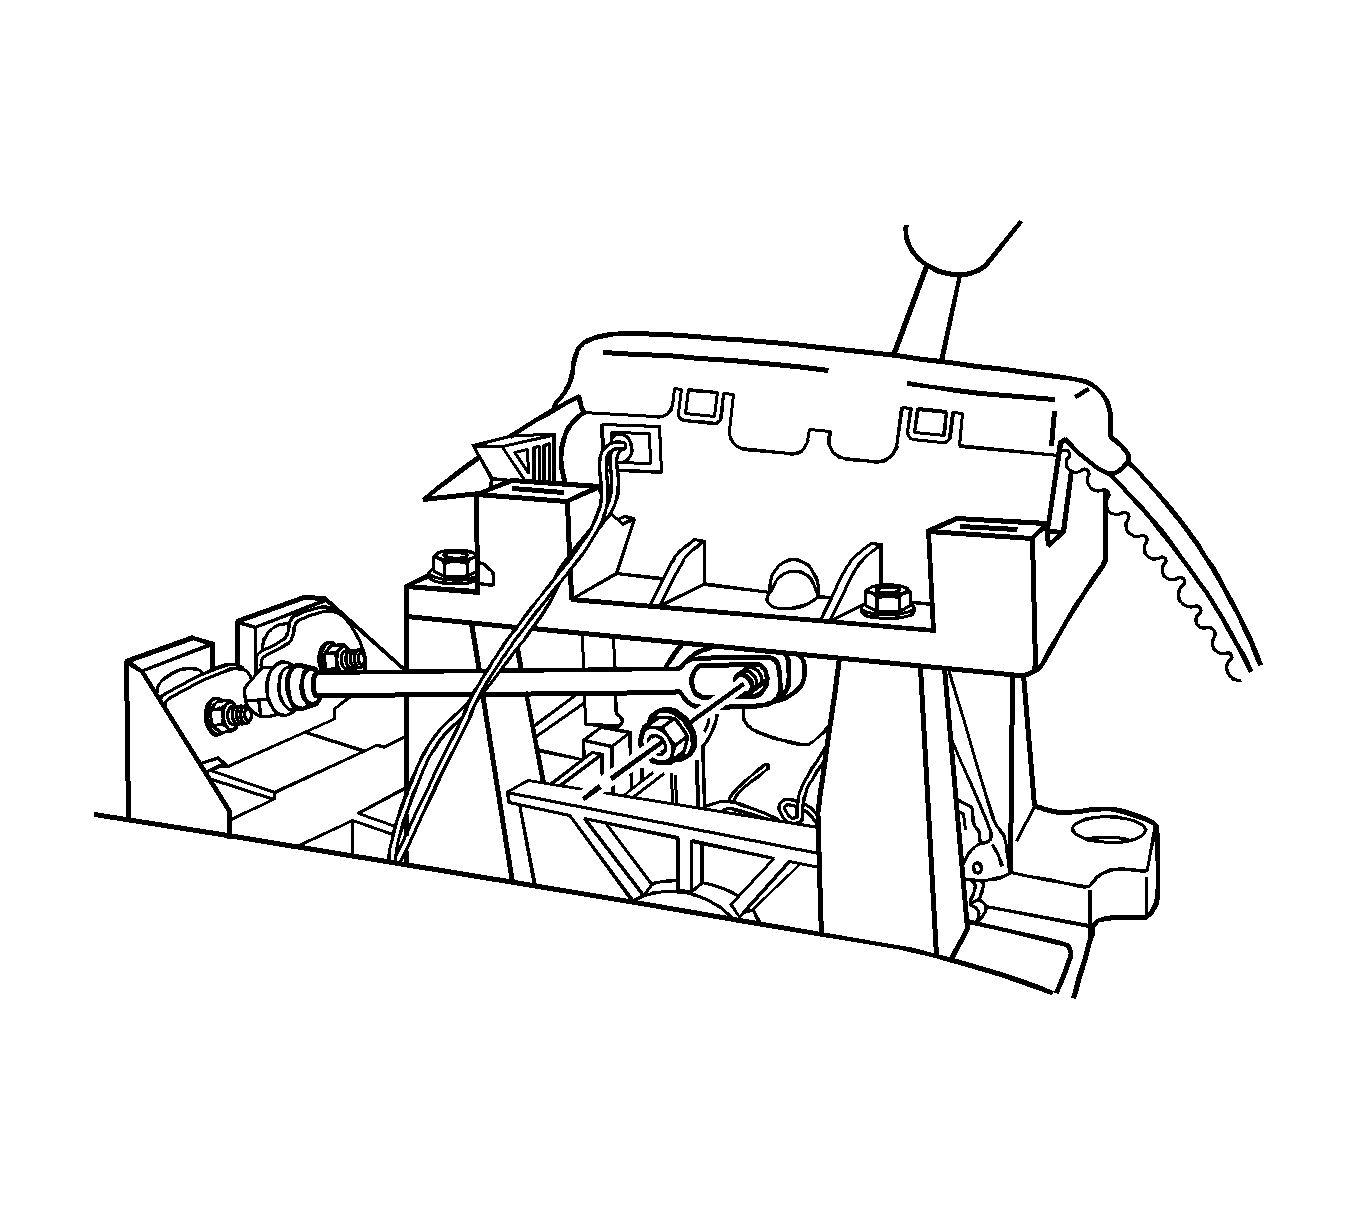
- Loosen the shift control cable adjuster pinch nut.
- Loosen the nut from the cable bracket.
- Remove the shift control cable from the shift control assembly.
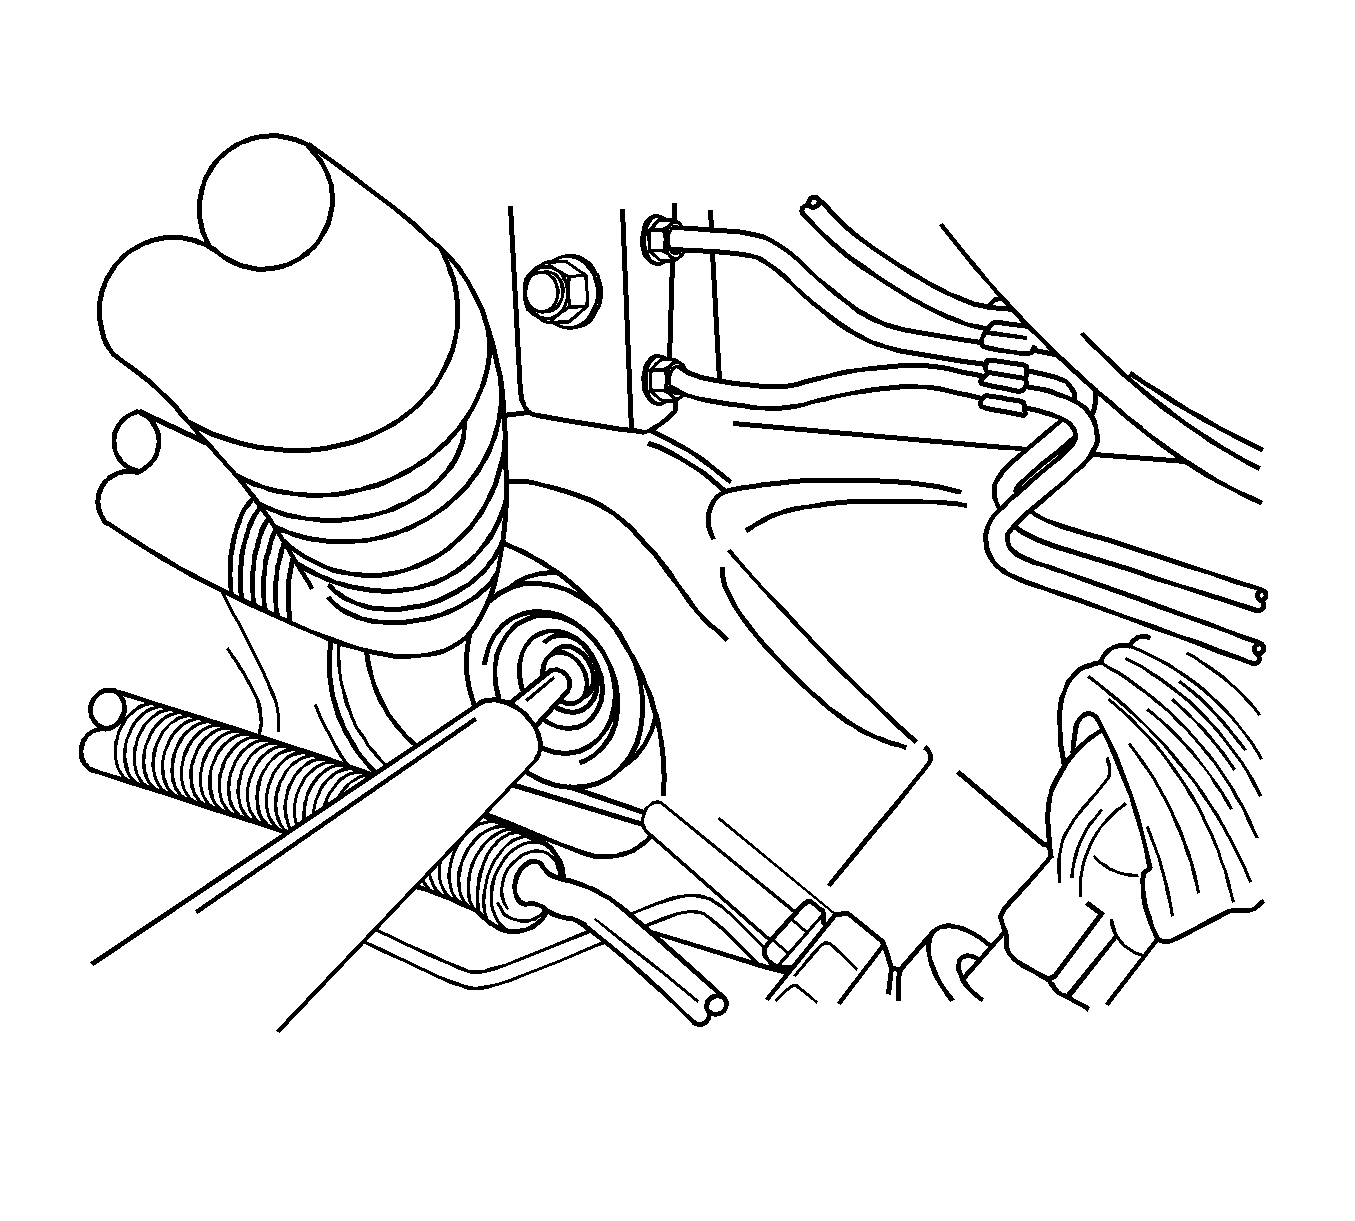
- Remove the shift control cable from the transaxle mount.
- Pull the shift control cable, including the rubber grommet, through the fire wall of the vehicle.
Caution: Refer to Battery Disconnect Caution in the Preface section.


Installation Procedure
- Install the shift control cable into the fire wall of the vehicle.
- Install the shift control cable onto the transaxle mount.
- Install the shift control cable onto the shift control assembly.
- Tighten the nut on the cable bracket.
- Install the shift control cable adjuster pinch nut.
- Install the clip to the shift control cable at the transaxle mount connection.
- Install the clip to the select lever connection on the transaxle case.
- Adjust the shift control cable. Refer to Range Selector Lever Cable Adjustment .
- Install the air filter housing assembly and the bolts.
- Connect the negative battery cable.


Notice: Refer to Fastener Notice in the Preface section.
Tighten
Tighten the nut to 8 N·m (71 lb in).

Tighten
Tighten the bolts to 10 N·m (89 lb in).
