For 1990-2009 cars only
Tools Required
J 39400-A Halogen Leak Detector
Removal Procedure
- Recover the refrigerant from the A/C system. Refer to Refrigerant Recovery and Recharging .
- Remove the upper radiator support. Refer to Radiator Support Replacement .
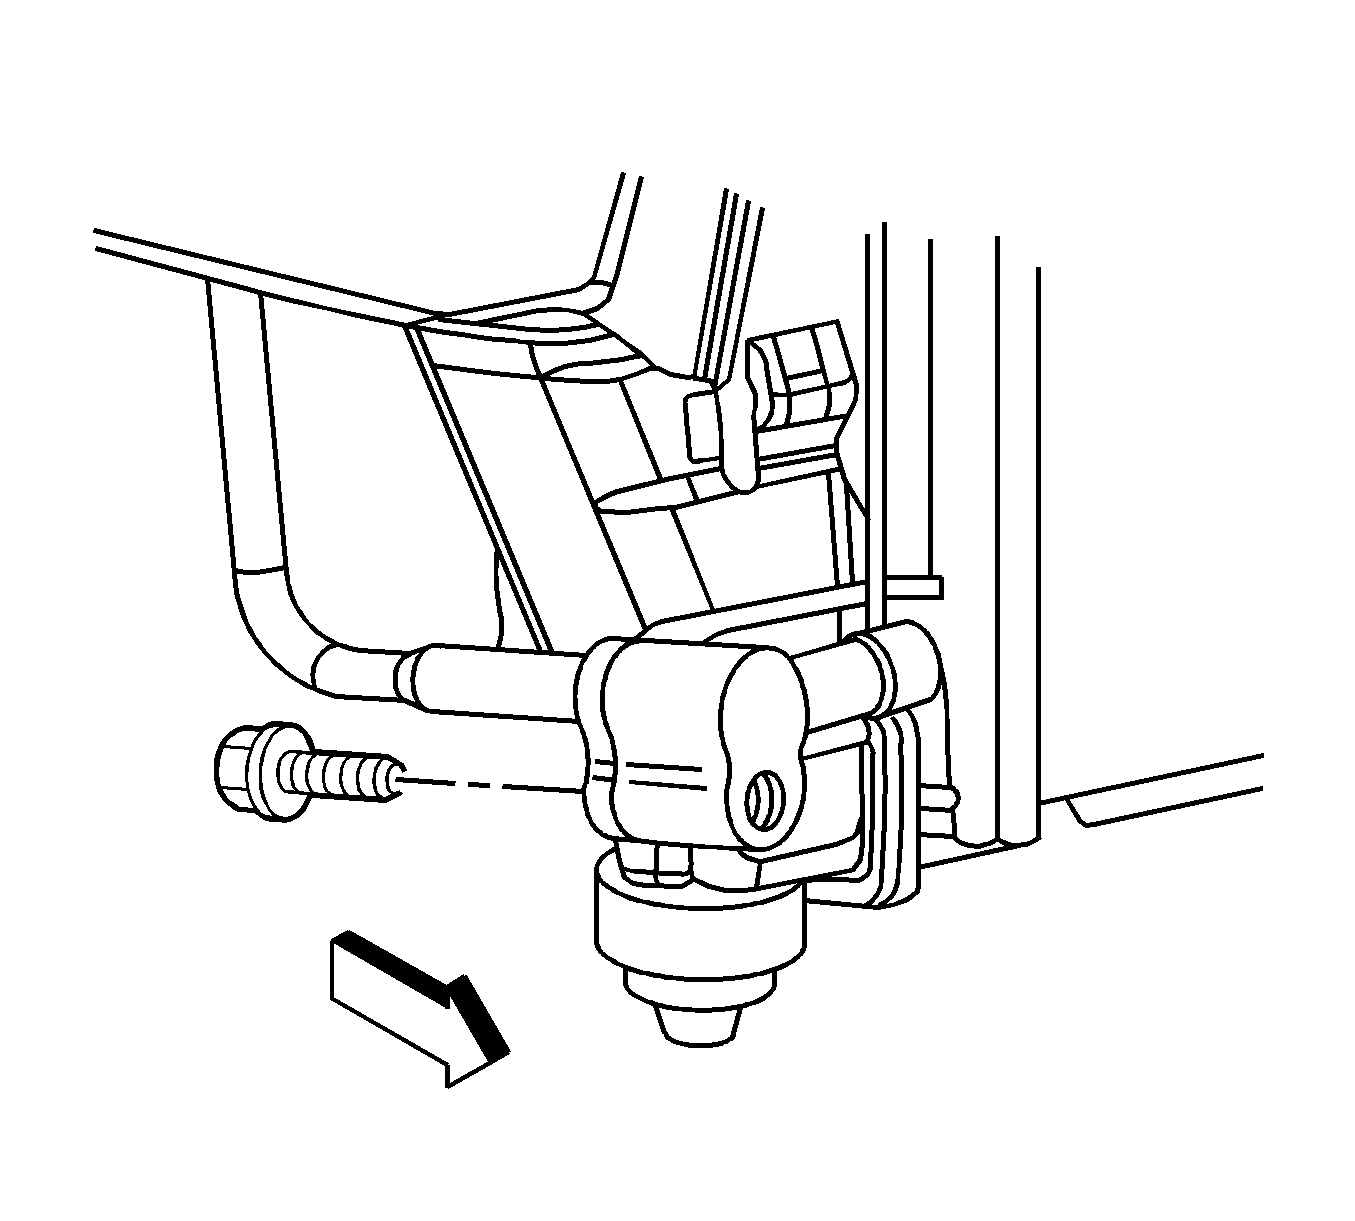
- Remove the A/C compressor hose assembly to A/C condenser fitting bolt.
- Disconnect the A/C compressor hose assembly from the A/C condenser fitting.
- Remove and discard the seal washer.
- Cap or tape the A/C compressor hose assembly.
- Raise and support the vehicle. Refer to Lifting and Jacking the Vehicle .
- Remove the front evaporator inlet line bolt from the A/C condenser.
- Disconnect the front evaporator inlet line from the A/C condenser.
- Remove and discard the seal washer.
- Cap or tape the front evaporator inlet line.
- Lower the vehicle.
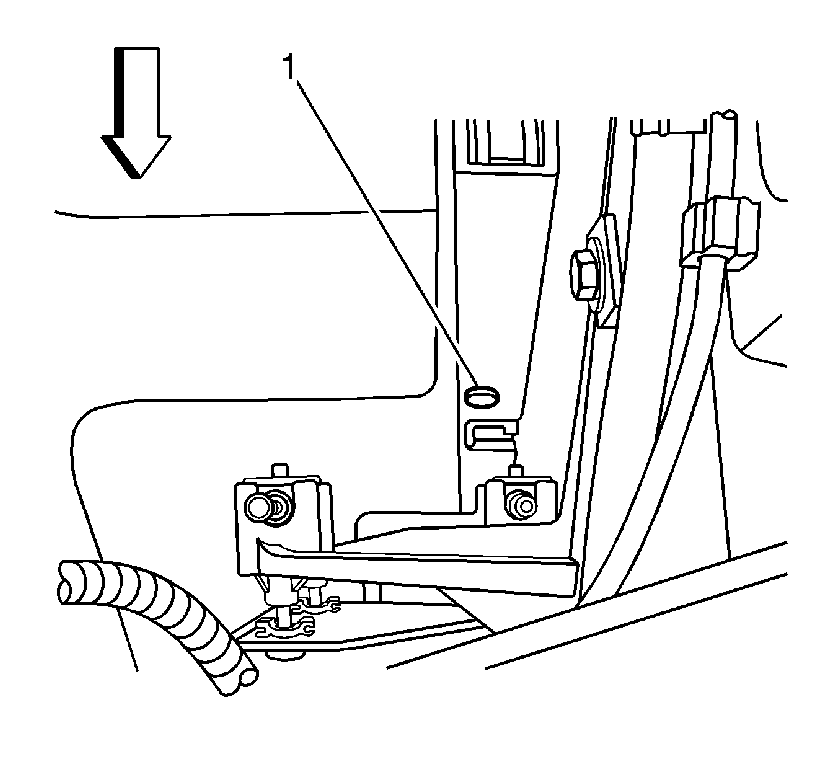
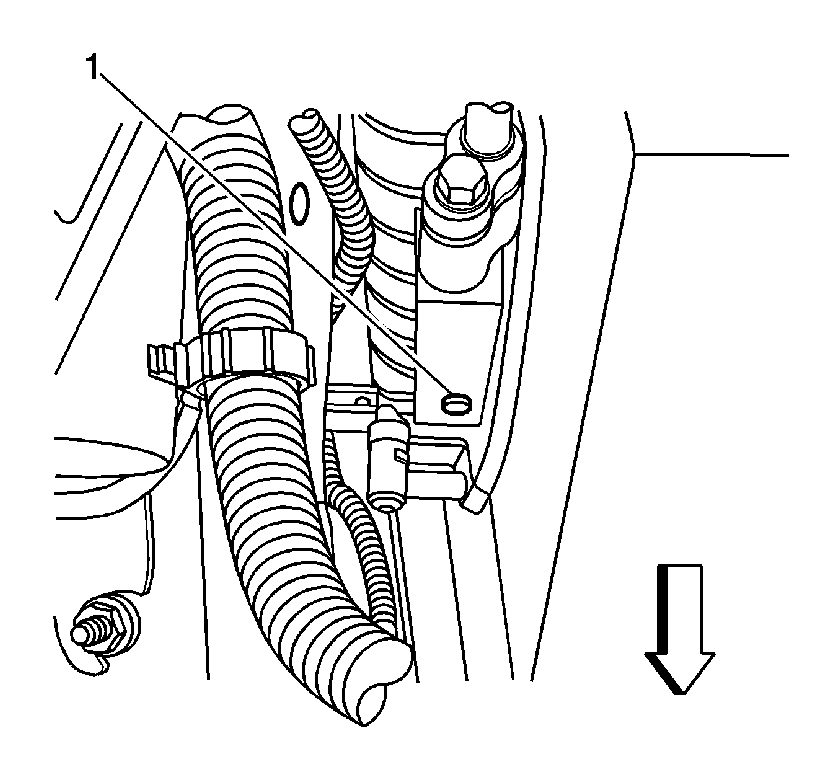
- Remove the LH radiator air baffle upper retainer pin (1).
- Remove the RH radiator air baffle upper retainer pin (1).
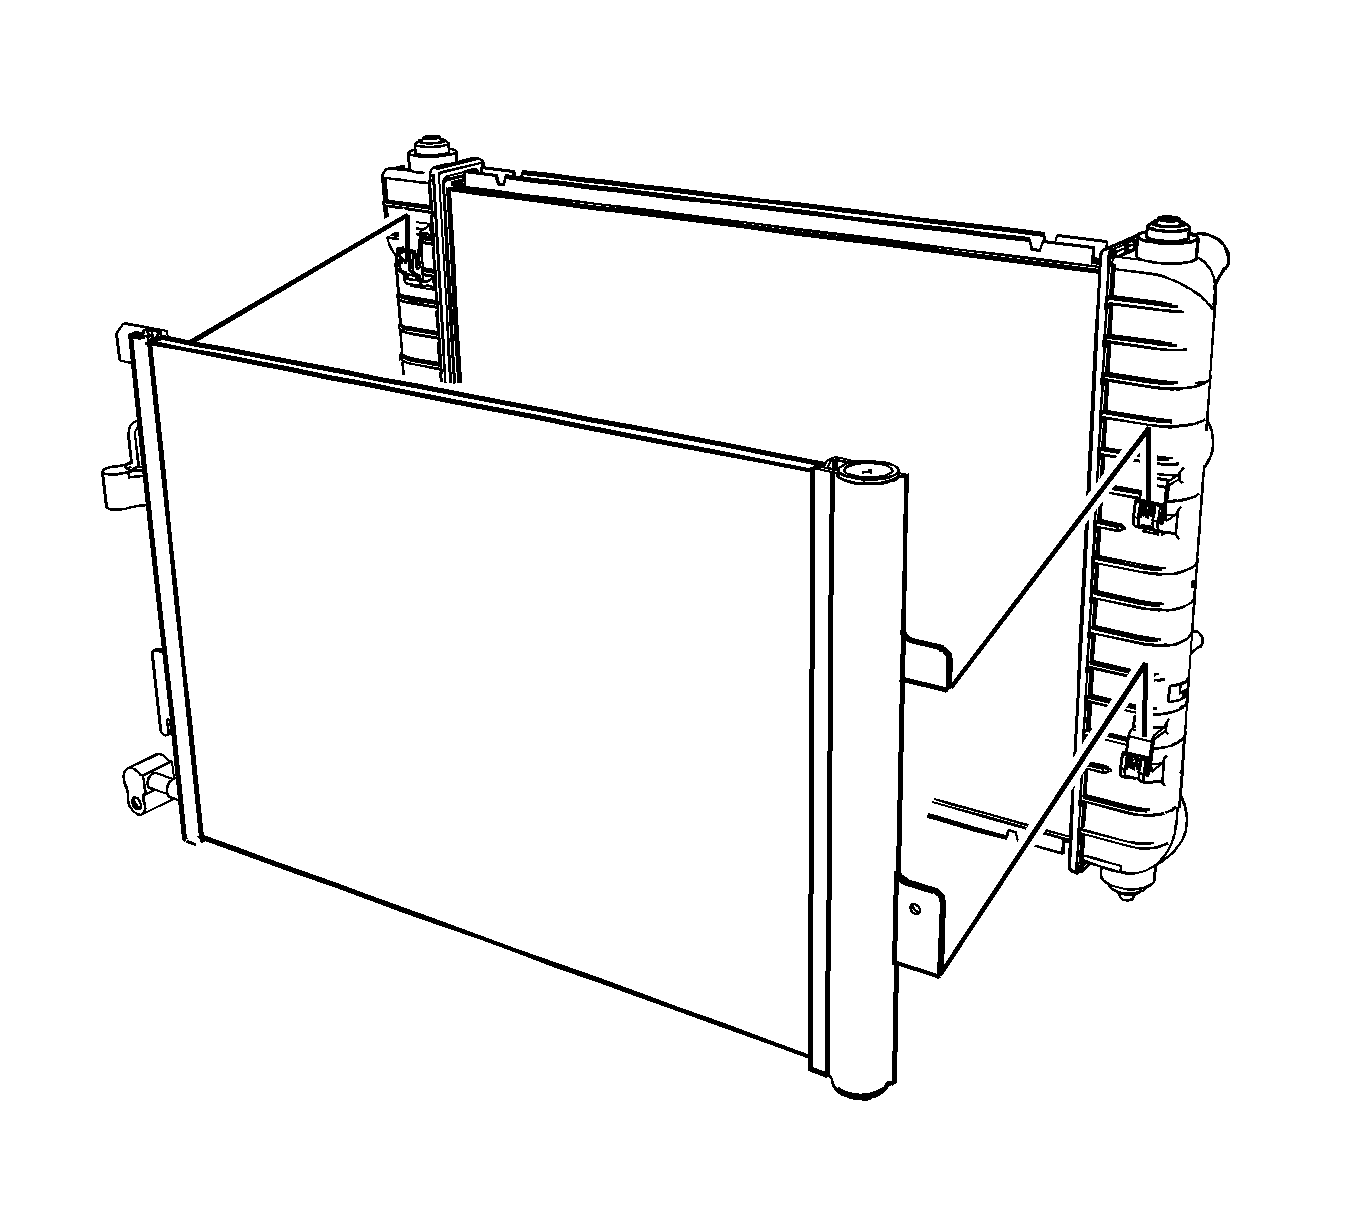
- Raise the A/C condenser along the radiator to release the A/C condenser tabs from the radiator slots.
- Remove the A/C condenser from the vehicle.
Important: The condenser and receiver dehydrator are integrated and cannot be serviced separately.

Important: Cap or tape the open A/C components immediately to prevent system contamination.
Important: Gently tilt the air baffle forward for additional clearance when removing A/C condenser.
Installation Procedure
- If replacing the condenser, add the specified amount of PAG oil directly to the condenser. Refer to Refrigerant System Capacities .
- Position the A/C condenser into the vehicle.
- Lower the A/C condenser to secure the A/C condenser tabs into the radiator slots.
- Remove the RH radiator air baffle upper retainer pin (1).
- Remove the LH radiator air baffle upper retainer pin (1).
- Raise and support the vehicle.
- Remove the cap or tape from the front evaporator inlet line.
- Install a new seal washer onto the front evaporator inlet line. Refer to Sealing Washer Replacement .
- Connect the front evaporator inlet line to the A/C condenser.
- Install the front evaporator inlet line bolt.
- Lower the vehicle.
- Remove the cap or tape from the A/C compressor hose assembly.
- Install a new seal washer to the A/C compressor hose assembly. Refer to Sealing Washer Replacement .
- Connect the A/C compressor hose assembly to the A/C condenser.
- Install the A/C compressor hose assembly to A/C condenser bolt (1).
- Install the upper radiator support. Refer to Radiator Support Replacement .
- Evacuate and recharge the A/C system. Refer to Refrigerant Recovery and Recharging .
- Leak test the fittings of the component using J 39400-A .
Notice: Refer to Fastener Notice in the Preface section.
Tighten
Tighten the bolt to 16 N·m (12 lb ft).
Tighten
Tighten the bolt to 16 N·m (12 lb ft).
