For 1990-2009 cars only
Removal Procedure
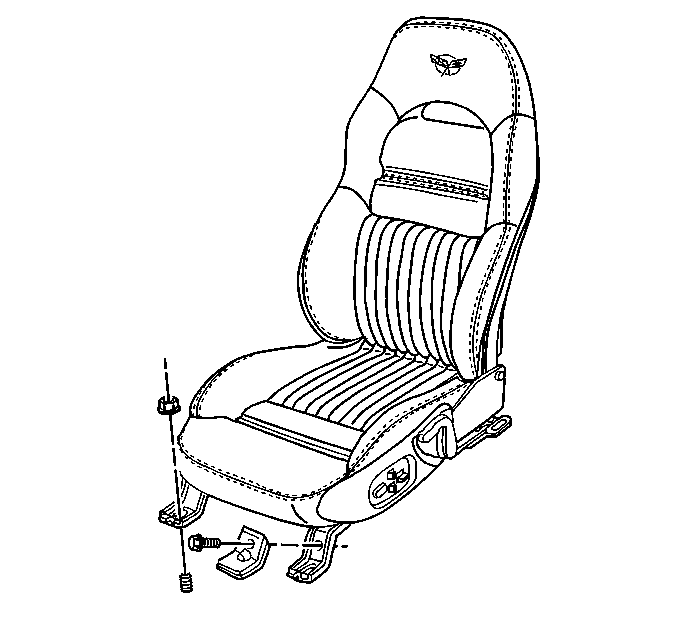
- Remove the seat. Refer to Seat Replacement (Power) or Seat Replacement (Manual) .
- Remove the seat belt buckle from the seat frame.
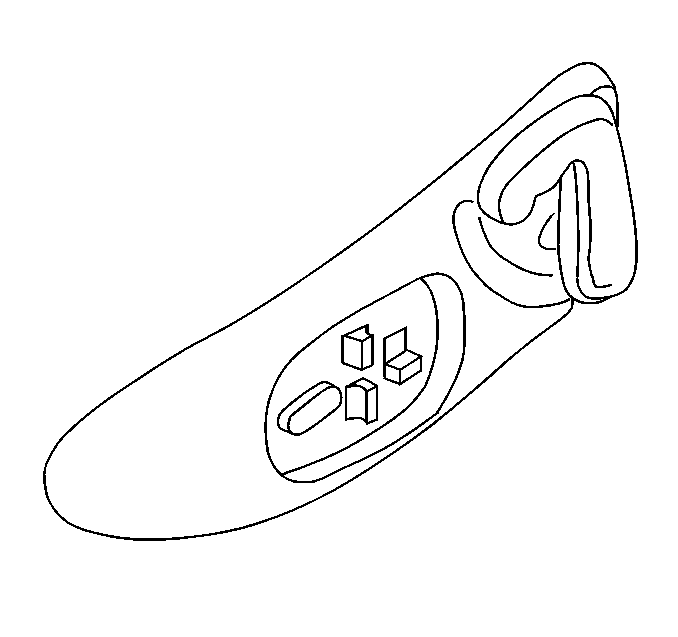
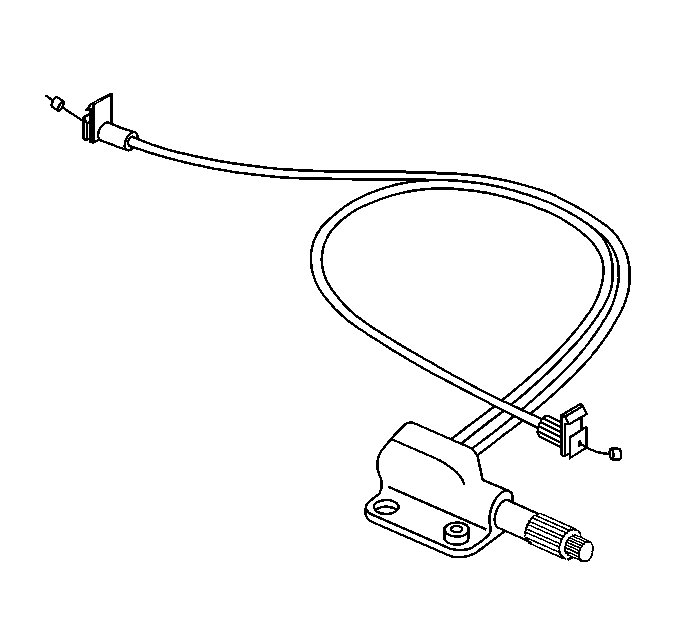
- Remove the recliner handle.
- Remove the side trim panel (power seat). Refer to Front Seat Trim Panel Replacement .
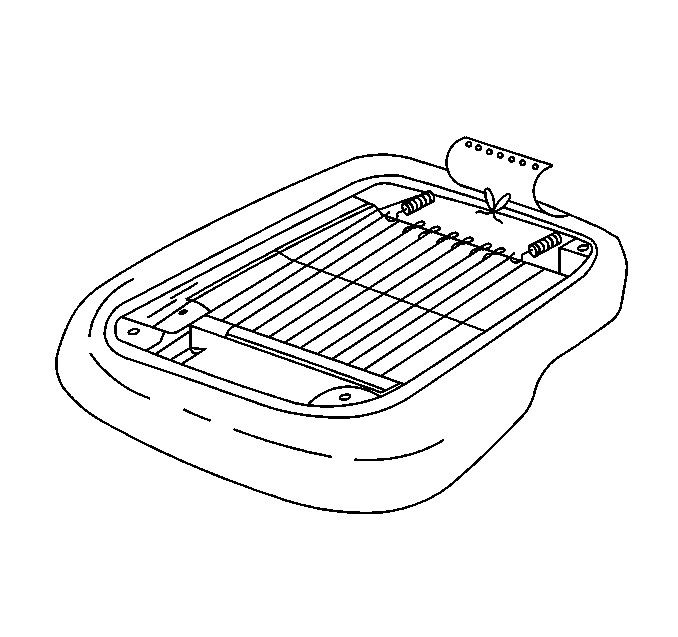
- Remove the hog-rings from the rear flap.
- Raise the flap.
- Unfasten the draw string.
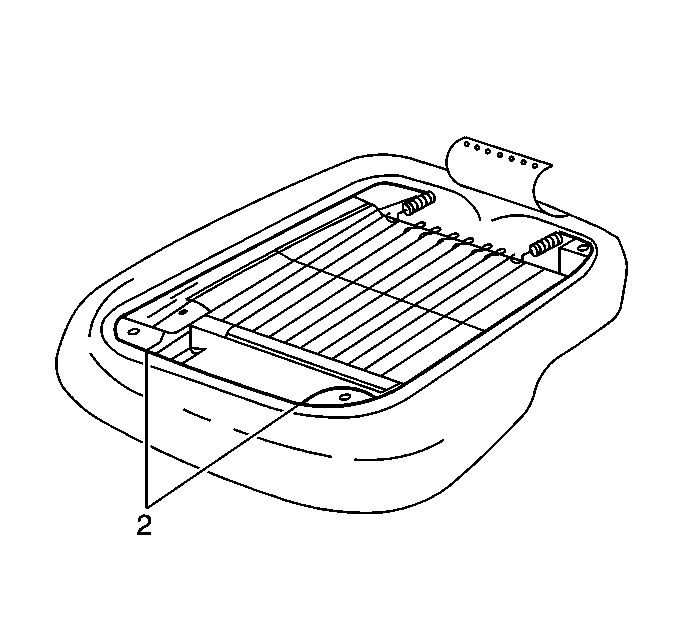
- Remove the hog-rings attaching the rear corners of the seat cushion trim cover.
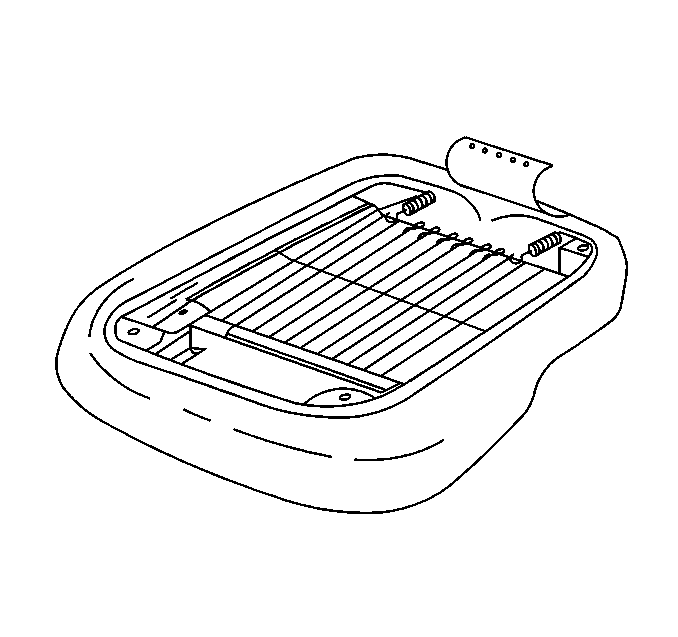
- Remove the cover and foam pad.
- Remove the cover from the foam pad.
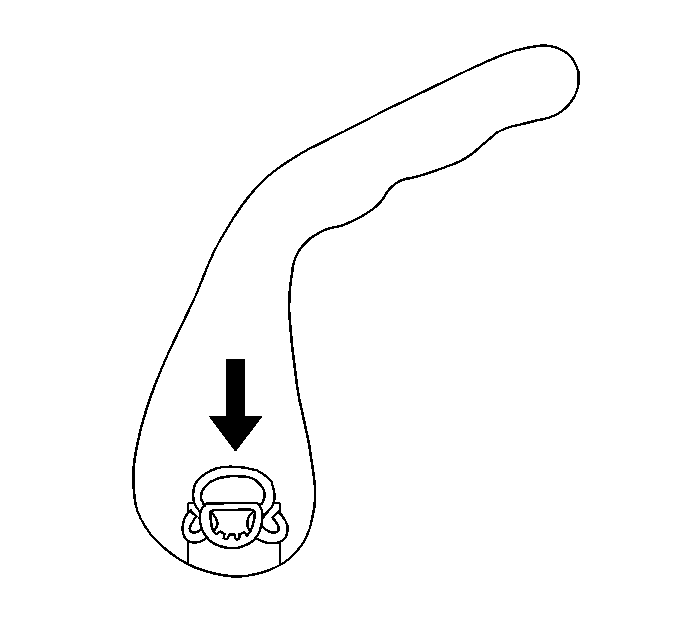
| 3.1. | With a suitable blunt ended tool inserted between the cushion and the handle push the handle retaining spring clip down. |
| 3.2. | Pull the handle from the shaft. |

Installation Procedure
- Insure that the recliner mechanism cable retention clips are securely snapped into the actuators.
- If the draw string was Not cut in the removal of the seat cushion cover skip to step 3. If the draw string was cut to assist in removing a non movable seat perform steps 2.1 through 2.5.
- Position the trim cover over the seat cushion foam.
- Install the cover and foam to the seat frame.
- Tighten the draw string at the rear of the seat and securely tie.
- Install the hog-rings attaching the rear side corners of the seat cushion trim cover.
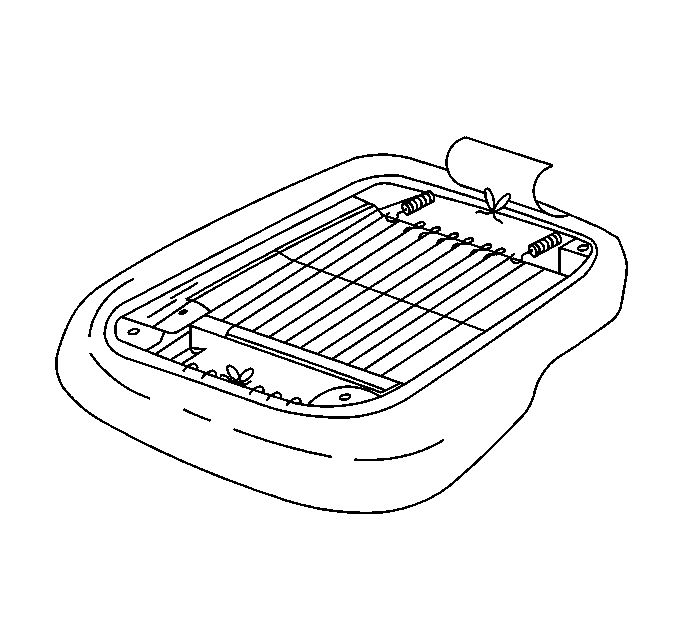
- If step 2 was preformed wrap the front seat material around the draw string and hog-ring the material to the string. Make sure no sharp points of the hog-rings are pointed down.
- Install the hog-rings attaching the rear center flap.
- Install the side trim panel (power seat). Refer to Front Seat Trim Panel Replacement .
- Install the recliner handle.
- Install the seat belt buckle to the seat frame.
- Install the seat. Refer to Seat Replacement (Power) or Seat Replacement (Manual) .
| 2.1. | Remove the hog-rings attaching the seat cushion cover rear flap. |
| 2.2. | Untie the draw string. |
| 2.3. | Make a very small cut 100 mm (2 in) each side of the center of the cushion cover just in front of where the draw string receded to (2) when the draw string was cut. |
| 2.4. | Pull the draw string out of the cover far enough to tie the ends together. |
| 2.5. | Securely tie the draw string ends together. |
| • | Tie with a square knot. |
| • | The ends of the draw string should extend a minimum of one inch beyond the knot. |
| 10.1. | Position the handle retaining spring clip into the lock position. |
| 10.2. | Snap the handle onto the reclining mechanism shaft. |
Tighten
Tighten the seat belt buckle side mounting nut to 50 N·m
(37 lb ft).
