For 1990-2009 cars only
Removal Procedure
- Open the hood.
- Remove the air cleaner outlet duct. Refer to Air Cleaner Outlet Duct Replacement.
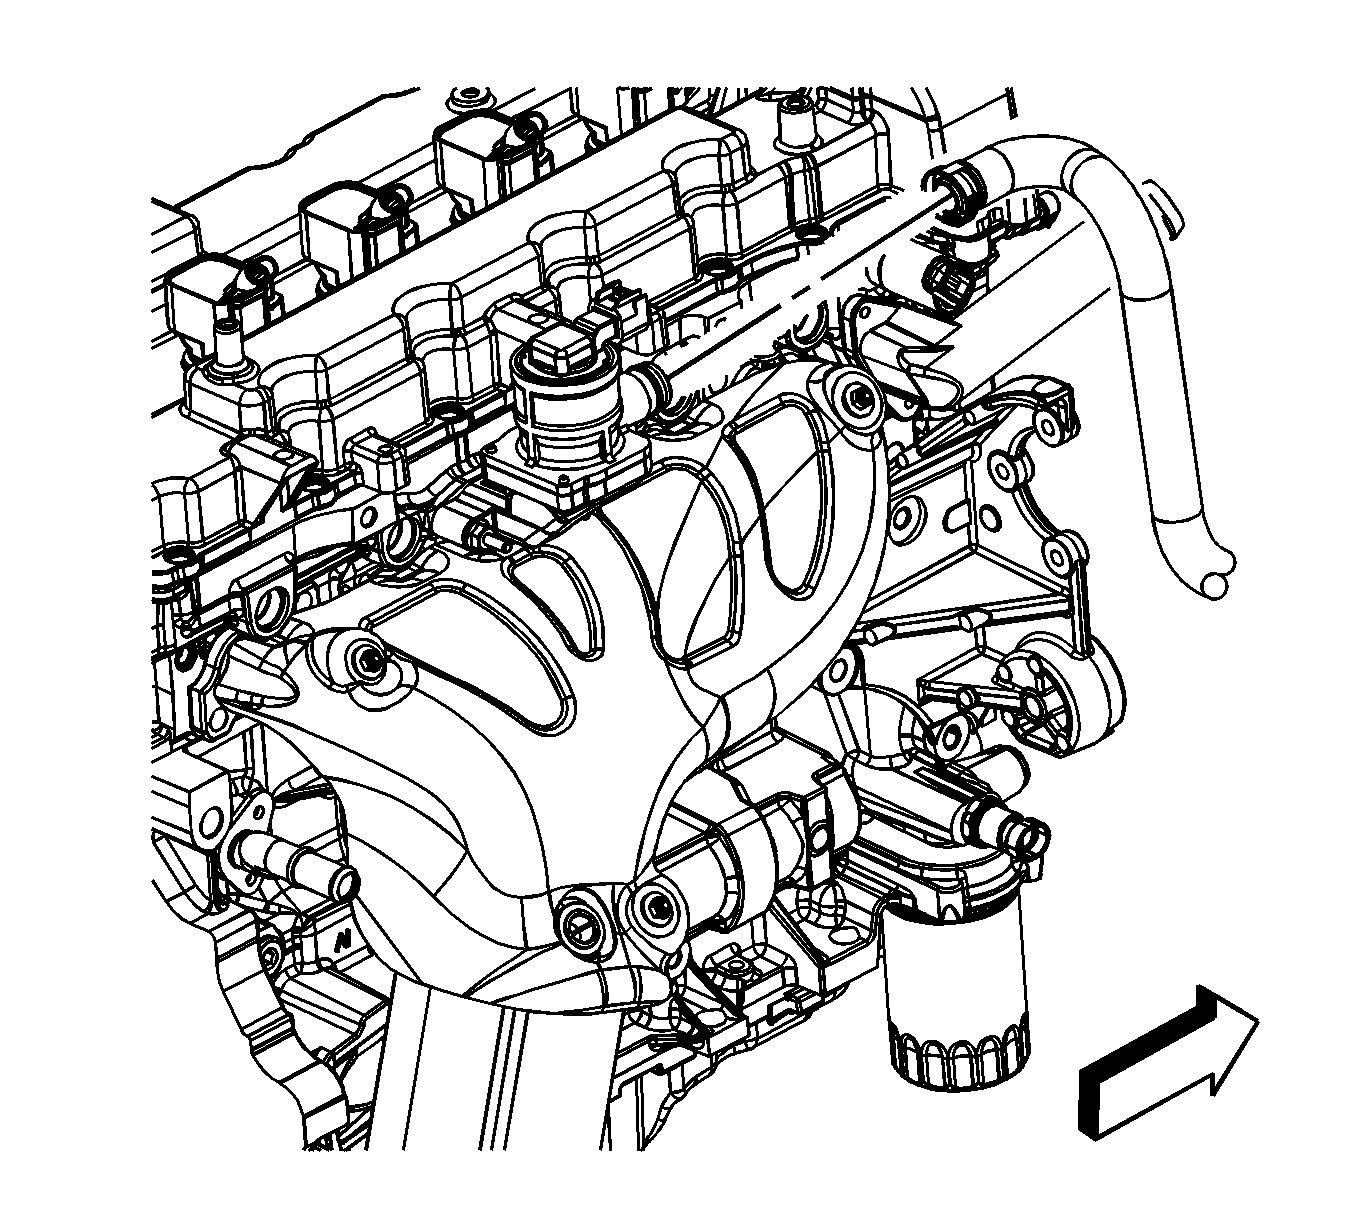
- Disconnect the secondary air injection (AIR) pump outlet hose quick connect fitting from the AIR check valve. Refer to Plastic Collar Quick Connect Fitting Service.
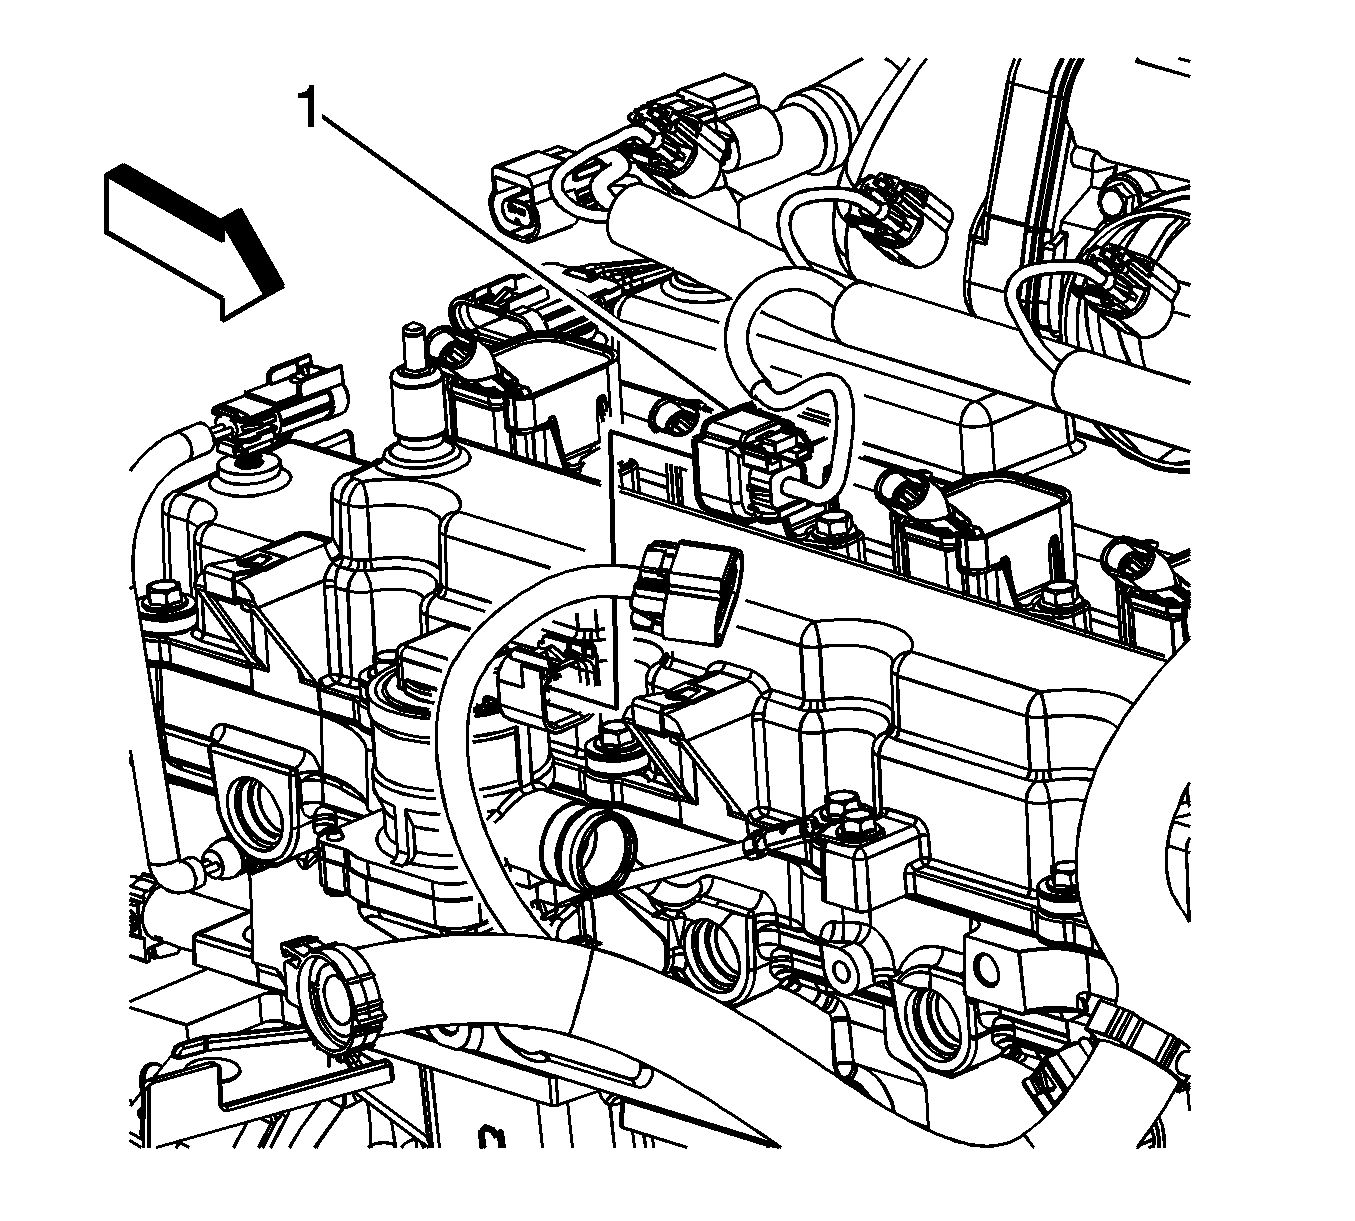
- Disconnect the engine wiring harness electrical connector (1) from the AIR check valve.
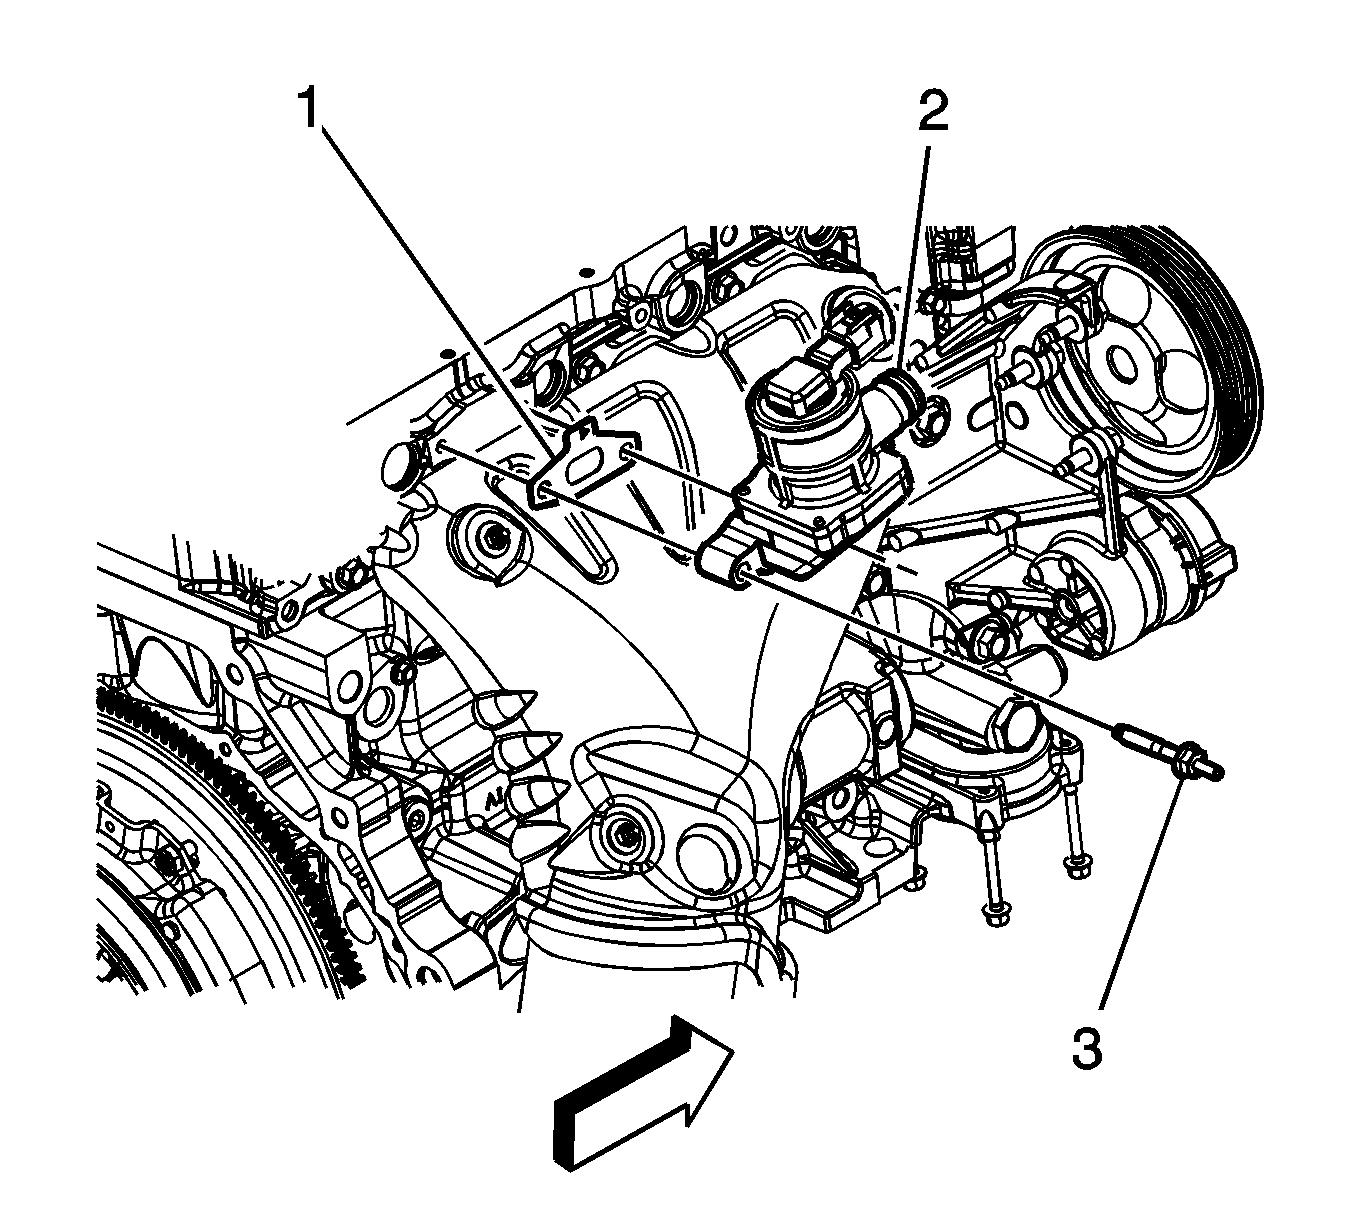
- Remove the AIR check valve studs (3).
- Remove the AIR check valve (2) and gasket (1). Discard the gasket.
Installation Procedure
- Place a NEW AIR check valve gasket (1) between the engine and the valve.
- Position the AIR check valve (2) to the engine.
- Install the AIR check valve studs (3).
- Connect the engine wiring harness electrical connector (1) to the AIR check valve.
- Connect the AIR pump outlet hose quick connect fitting to the AIR check valve. Refer to Plastic Collar Quick Connect Fitting Service.
- Install the air cleaner outlet duct. Refer to Air Cleaner Outlet Duct Replacement.
- Close the hood.
Caution: Refer to Fastener Caution in the Preface section.
Tighten
Tighten to studs to 25 N·m (18 lb ft).
