For 1990-2009 cars only
Special Tools
| • | J 8614-01 Flange and Pulley Holding Tool |
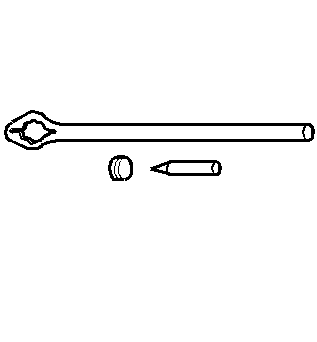
| • | J 22536 Pinion Driver |
| • | J 38694 Extension Housing Oil Pump/Seal Installer |
Removal Procedure
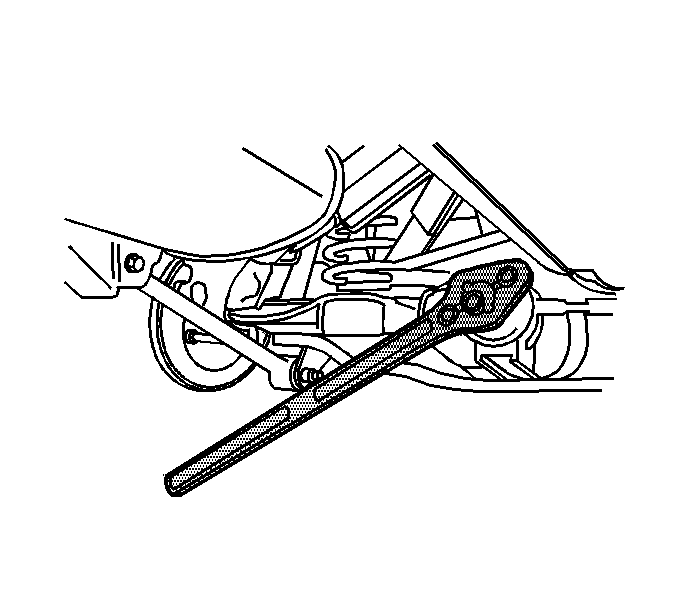
- Raise the vehicle. Refer to Lifting and Jacking the Vehicle .
- Remove the axle shafts. Refer to Rear Axle Shaft Replacement .
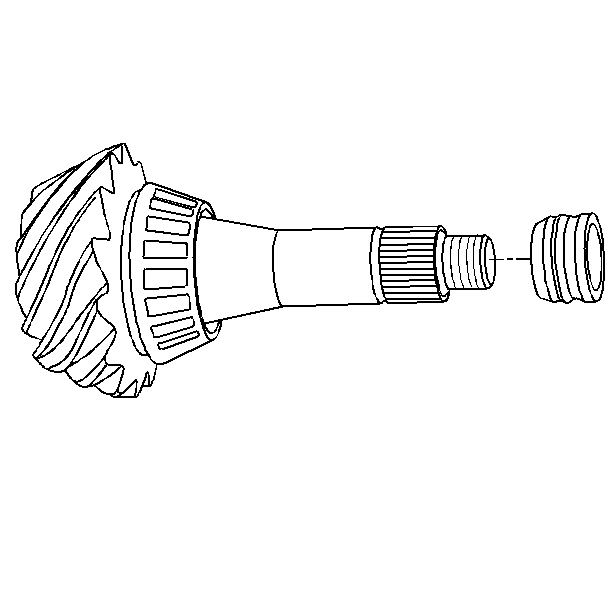
- Remove the differential assembly. Refer to Differential Replacement .
- Remove the drive pinion yoke and the oil seal. Refer to Drive Pinion Flange/Yoke and/or Oil Seal Replacement .
- Install the J 22536 as shown.
- Drive the pinion out using the J 22536 and a hammer.
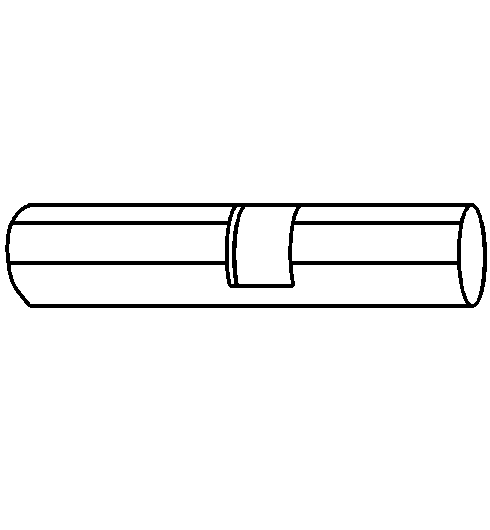
- Remove the collapsible spacer from the pinion. Discard the spacer.
- Remove the pinion bearings and the cups. Refer to Drive Pinion Bearings Replacement .
- Remove the left-hand threaded ring gear bolts. Discard the bolts.
- Remove the ring gear from the differential. Drive the gear off with a brass drift if necessary.
Ensure that the J 22536 is firmly seated on the pinion.
Strike the J 22536 slowly. Do not let the pinion fall out of the rear axle housing.
Installation Procedure
- Install the ring gear to the differential case.
- Install the new ring gear bolts.
- Tighten the new ring gear bolts alternately and in stages, gradually pulling the ring gear onto the differential case.
- Install the drive pinion bearing cups. Refer to Drive Pinion Bearings Replacement .
- Determine the selective shim thickness for the pinion gear. Refer to Pinion Depth Adjustment .
- Install the selective shim onto the pinion.
- Install the inner pinion bearing onto the pinion. Refer to Drive Pinion Bearings Replacement .
- Install a new collapsible spacer.
- Lubricate the pinion bearings with axle lubricant. Refer to Fluid and Lubricant Recommendations .
- Install the pinion to the axle housing.
- Install the outer pinion bearing.
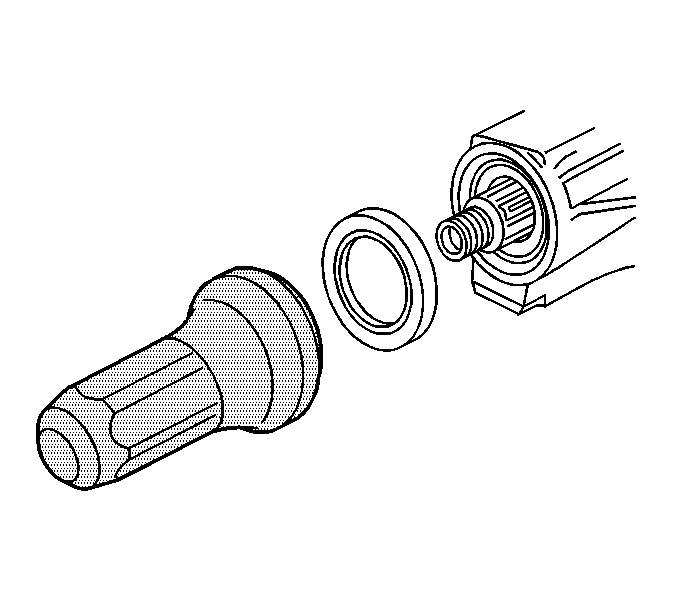
- Install a new pinion oil seal using the J 38694 .
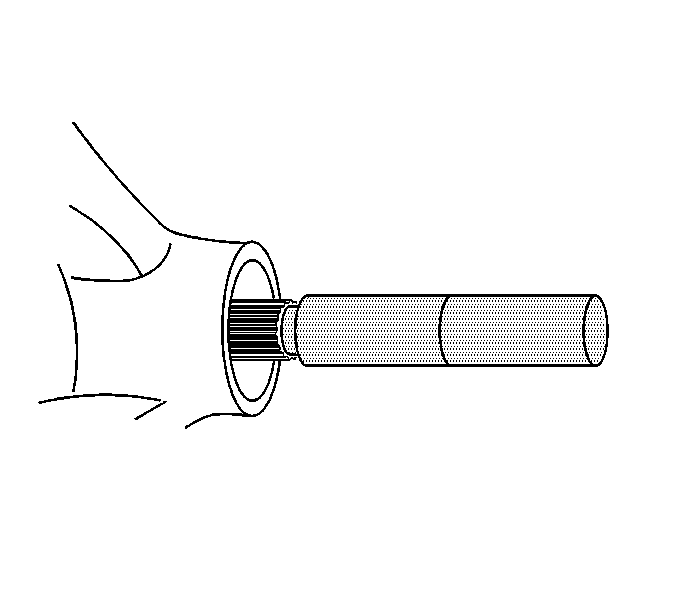
- Apply sealant, GM P/N 12346004 (Canadian P/N 10953480) or equivalent, to the splines of the pinion yoke.
- Install the pinion yoke.
- Seat the pinion yoke onto the pinion shaft by tapping it with a soft-faced hammer until a few pinion shaft threads show through the yoke.
- Install the washer and a new pinion nut.
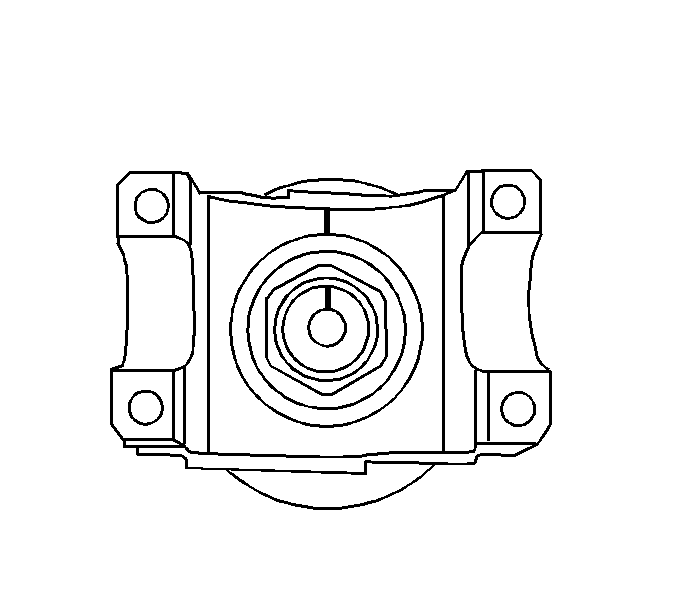
- Install the J 8614-01 onto the pinion yoke as shown.
- Install the pinion yoke. Refer to Drive Pinion Flange/Yoke and/or Oil Seal Replacement .
- Install the differential. Refer to Differential Replacement .
- Perform a gear tooth contact pattern check on the pinion and the ring gear. Refer to Gear Tooth Contact Pattern Inspection .
- Install the axle shafts. Refer to Rear Axle Shaft Replacement .
- Fill the axle with axle lubricant. Use the proper fluid. Refer to Rear Axle Lubricant Replacement .
- Lower the vehicle.

Important: The mating surface of the ring gear and the differential case must be clean and free of burrs before installing the ring gear.
Hand start each bolt to ensure that the ring gear is properly installed to the differential case.
Notice: Refer to Fastener Notice in the Preface section.
Tighten
Tighten the ring gear bolts in sequence to 120 N·m (89 lb ft).
Align the marks made during removal.
Important: If the rotating torque is exceeded, the pinion will have to be removed and a new collapsible spacer installed.
