For 1990-2009 cars only
Removal Procedure
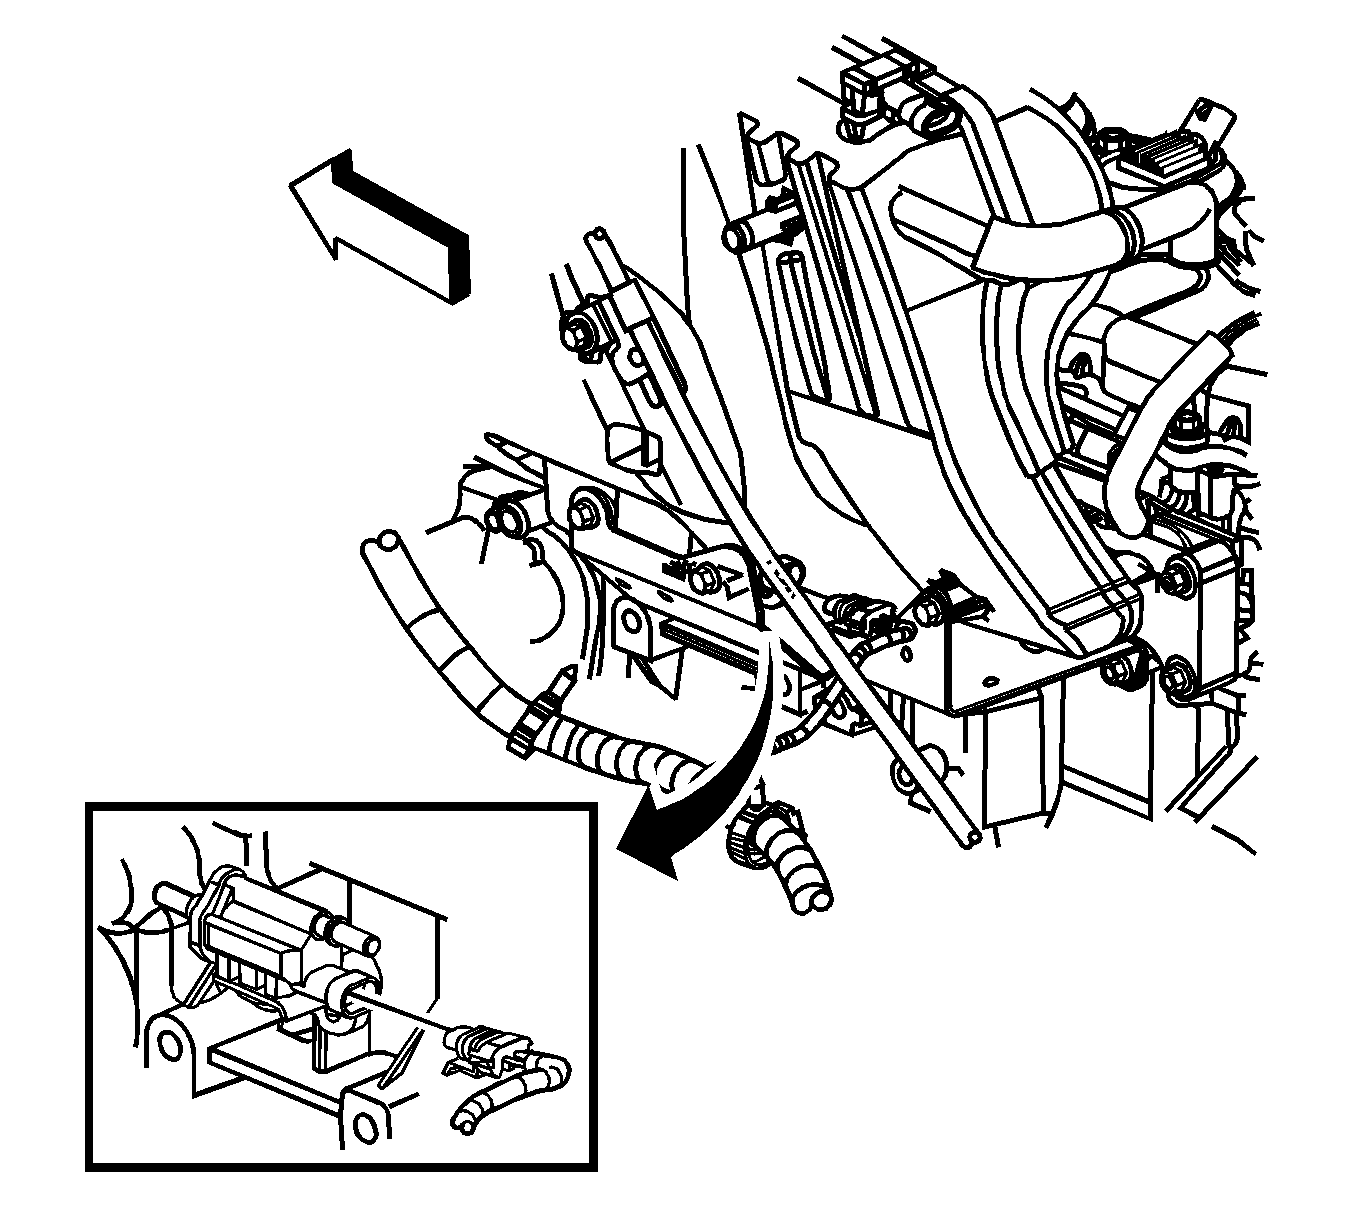
- Raise and support the vehicle only high enough to access the evaporative emission (EVAP) canister purge solenoid valve through the wheelhouse. Refer to Lifting and Jacking the Vehicle.
- Remove the left wheelhouse liner. Refer to Front Wheelhouse Liner Replacement.
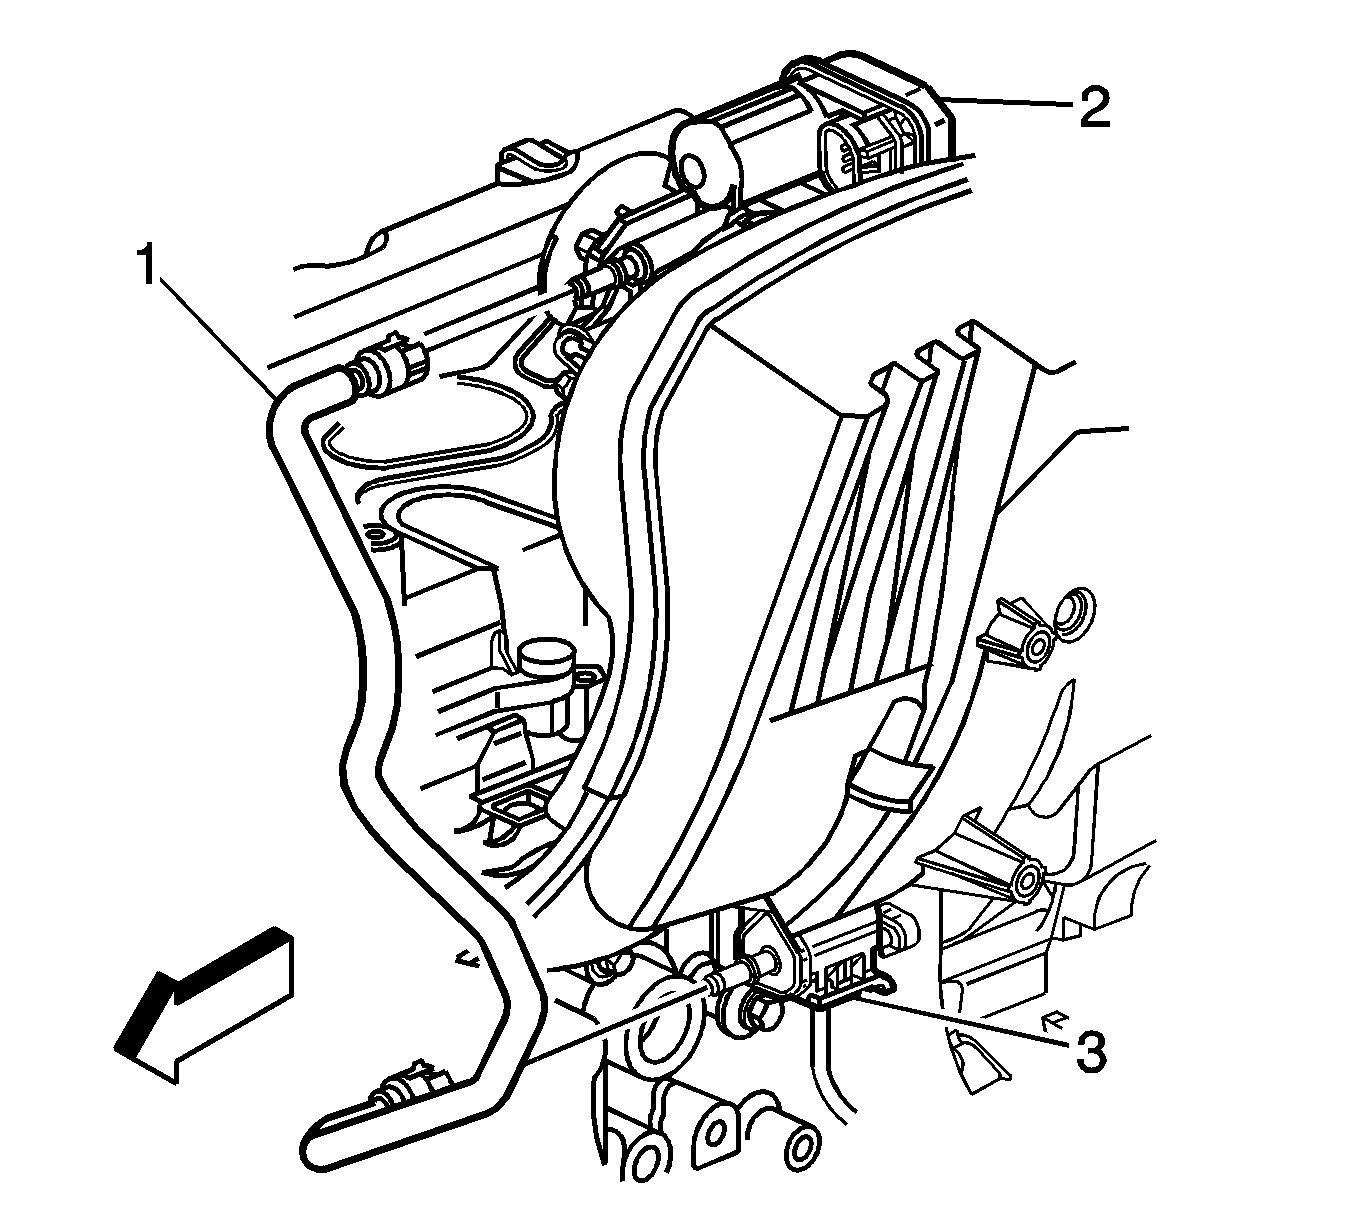
- Refer to Plastic Collar Quick Connect Fitting Service in order to disconnect the following from the EVAP canister purge solenoid valve (3):
- Disconnect the electrical connector from the EVAP canister purge solenoid valve.
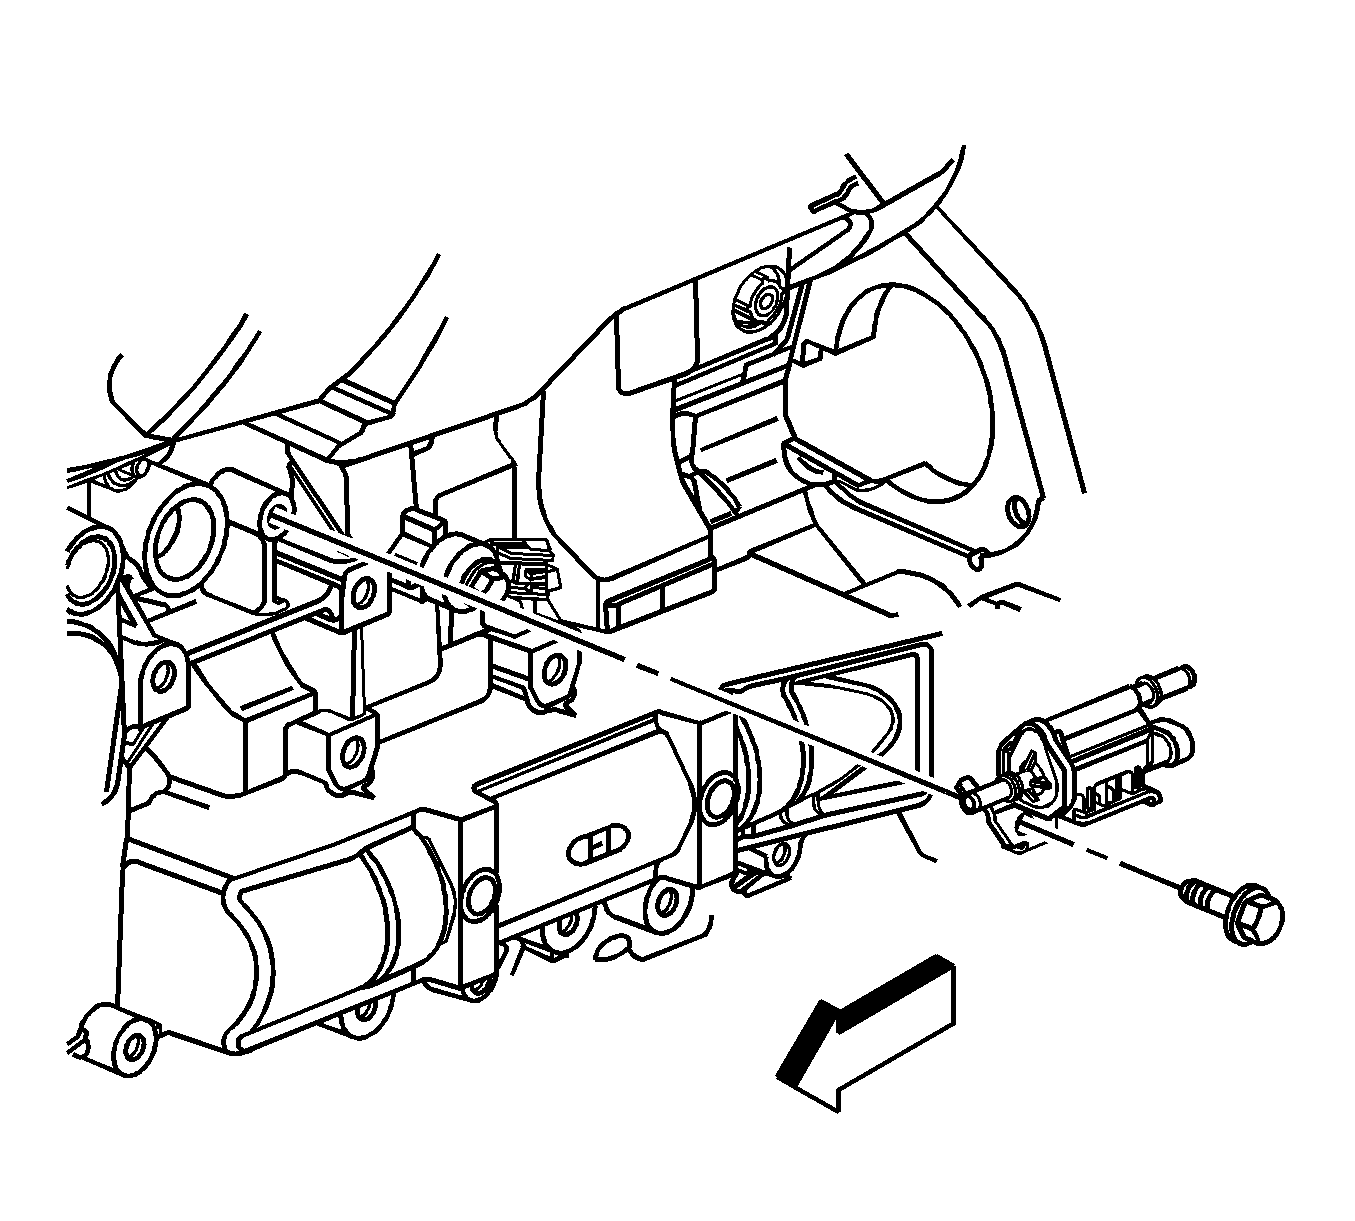
- Remove the bolt securing EVAP canister purge solenoid valve to the engine.
- Remove the EVAP canister purge solenoid valve from the engine.

| • | The EVAP purge hose/pipe |
| • | The EVAP purge hose (1) |


Installation Procedure
- Position the EVAP canister purge solenoid valve to the engine.
- Install the bolt securing EVAP canister purge solenoid valve to the engine.
- Connect the electrical connector to the EVAP canister purge solenoid valve.
- Refer to Plastic Collar Quick Connect Fitting Service in order to connect the following to the EVAP canister purge solenoid valve (3):
- Install the left wheelhouse liner. Refer to Front Wheelhouse Liner Replacement.
- Lower the vehicle.

Caution: Refer to Fastener Caution in the Preface section.
Tighten
Tighten the evaporative emission (EVAP) canister purge solenoid valve bolt to 10 N·m (89 lb in).


| • | The EVAP purge hose/pipe |
| • | The EVAP purge hose (1) |
