Tools Required
| • | J 8062 Valve Spring Compressor |
| • | J 42037 Valve Spring Compressor Adapter |
| • | J 38820 Valve Stem Seal Remover/Installer |
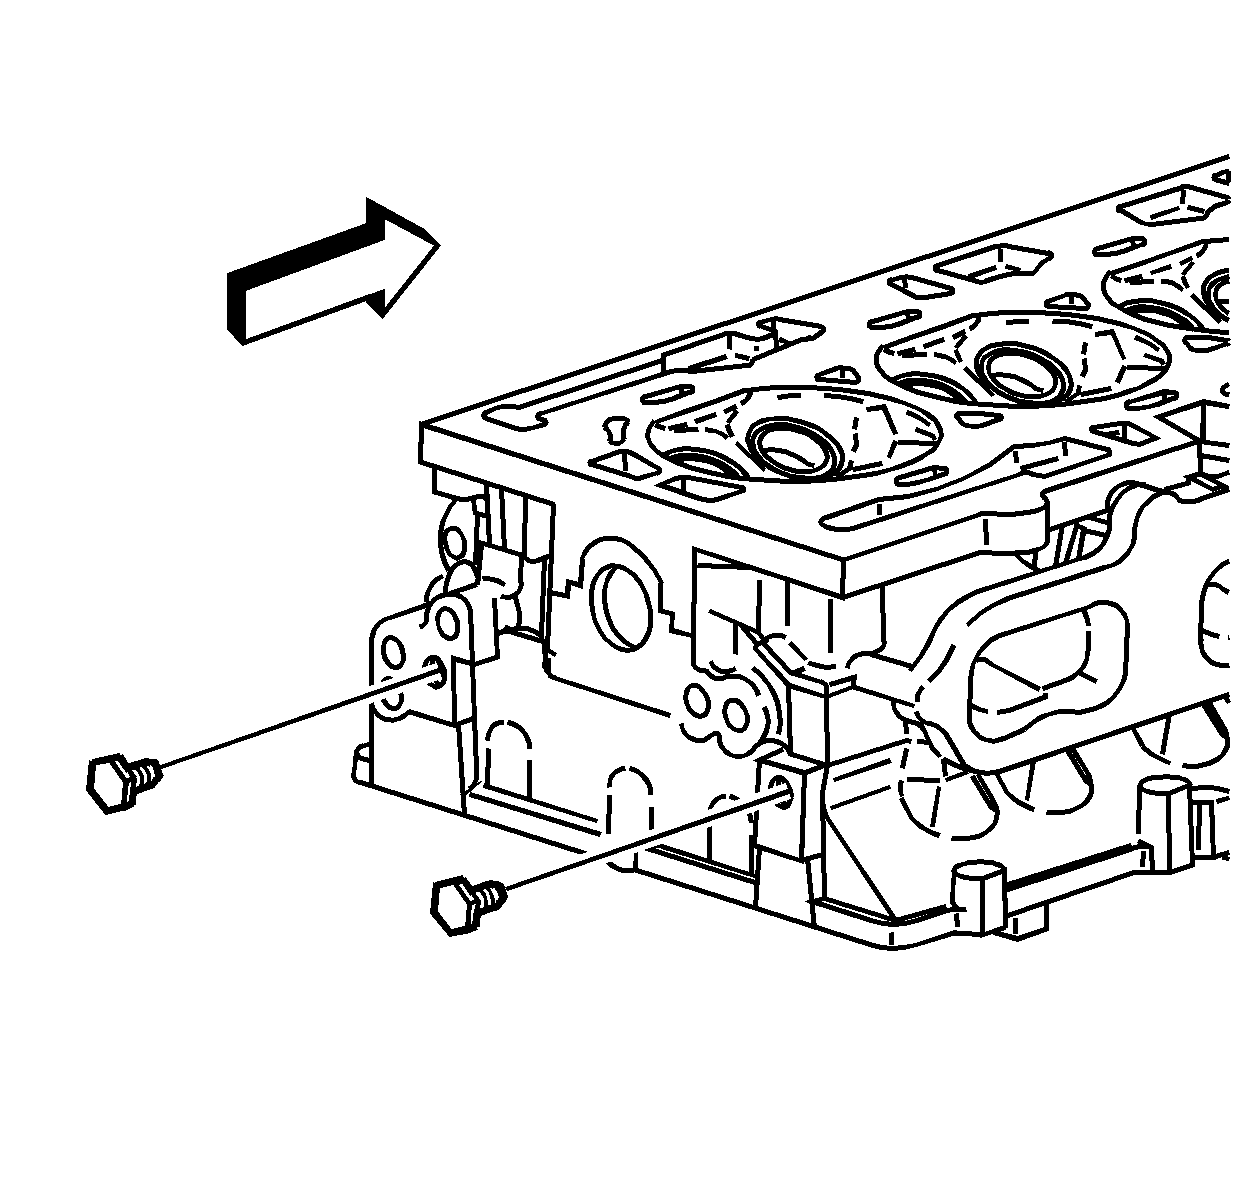
- Apply sealant GM P/N 12346004 (Canadian P/N 10953480) or equivalent to the threads.
- Install the (end) oil gallery plugs.
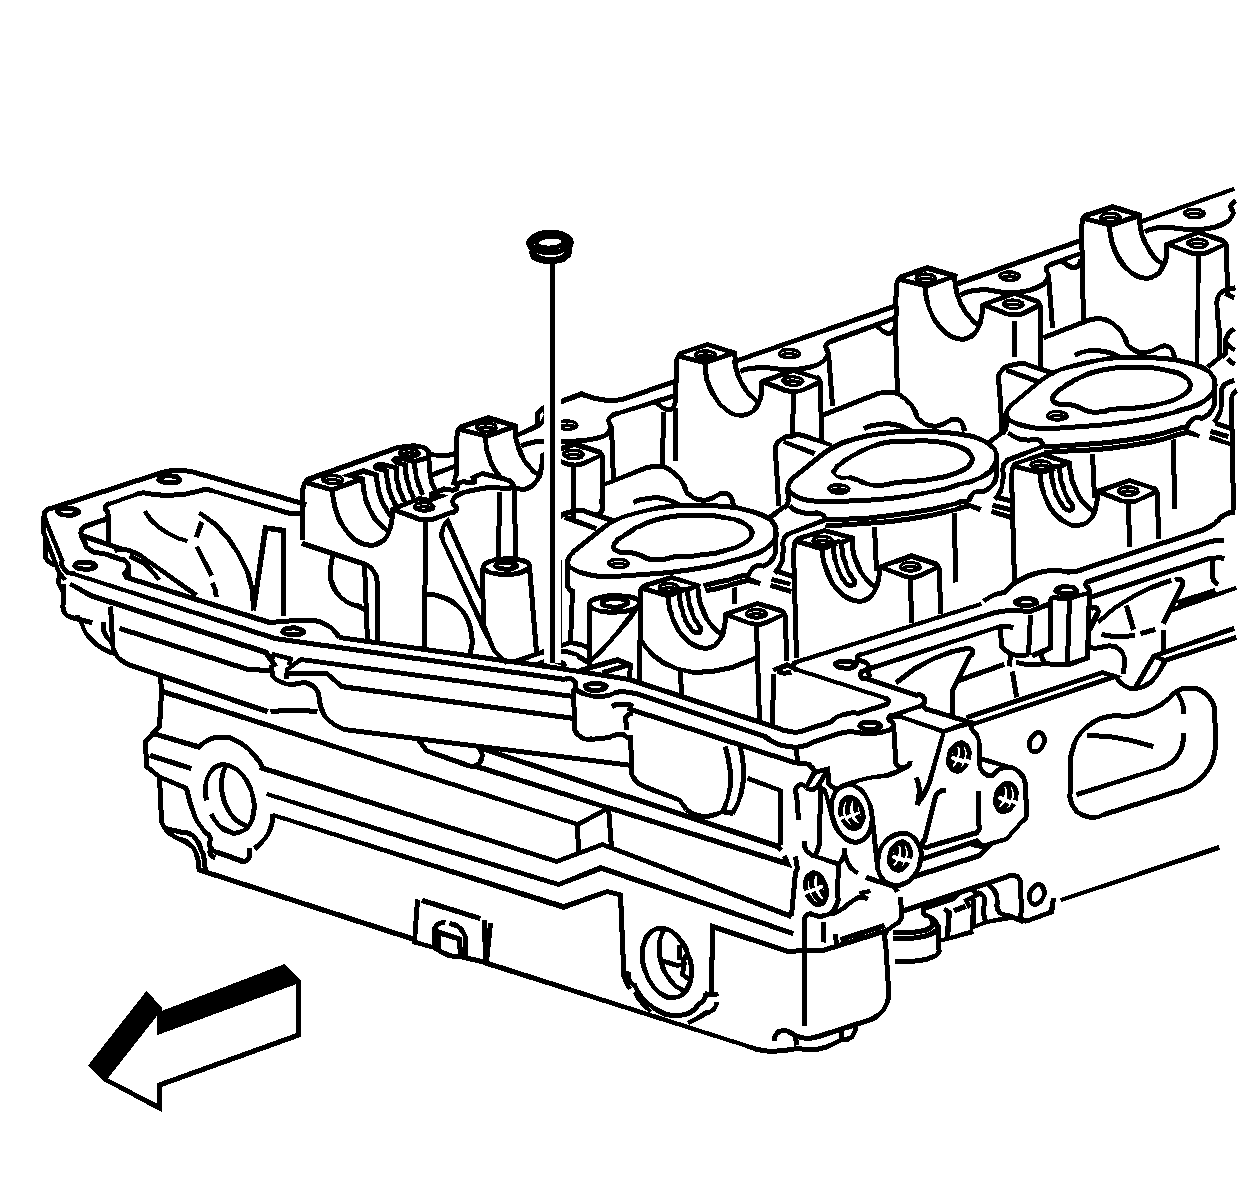
- Apply sealant GM P/N 12346004 (Canadian P/N 10953480) or equivalent to the plugs.
- Install the (inner) oil gallery plugs.
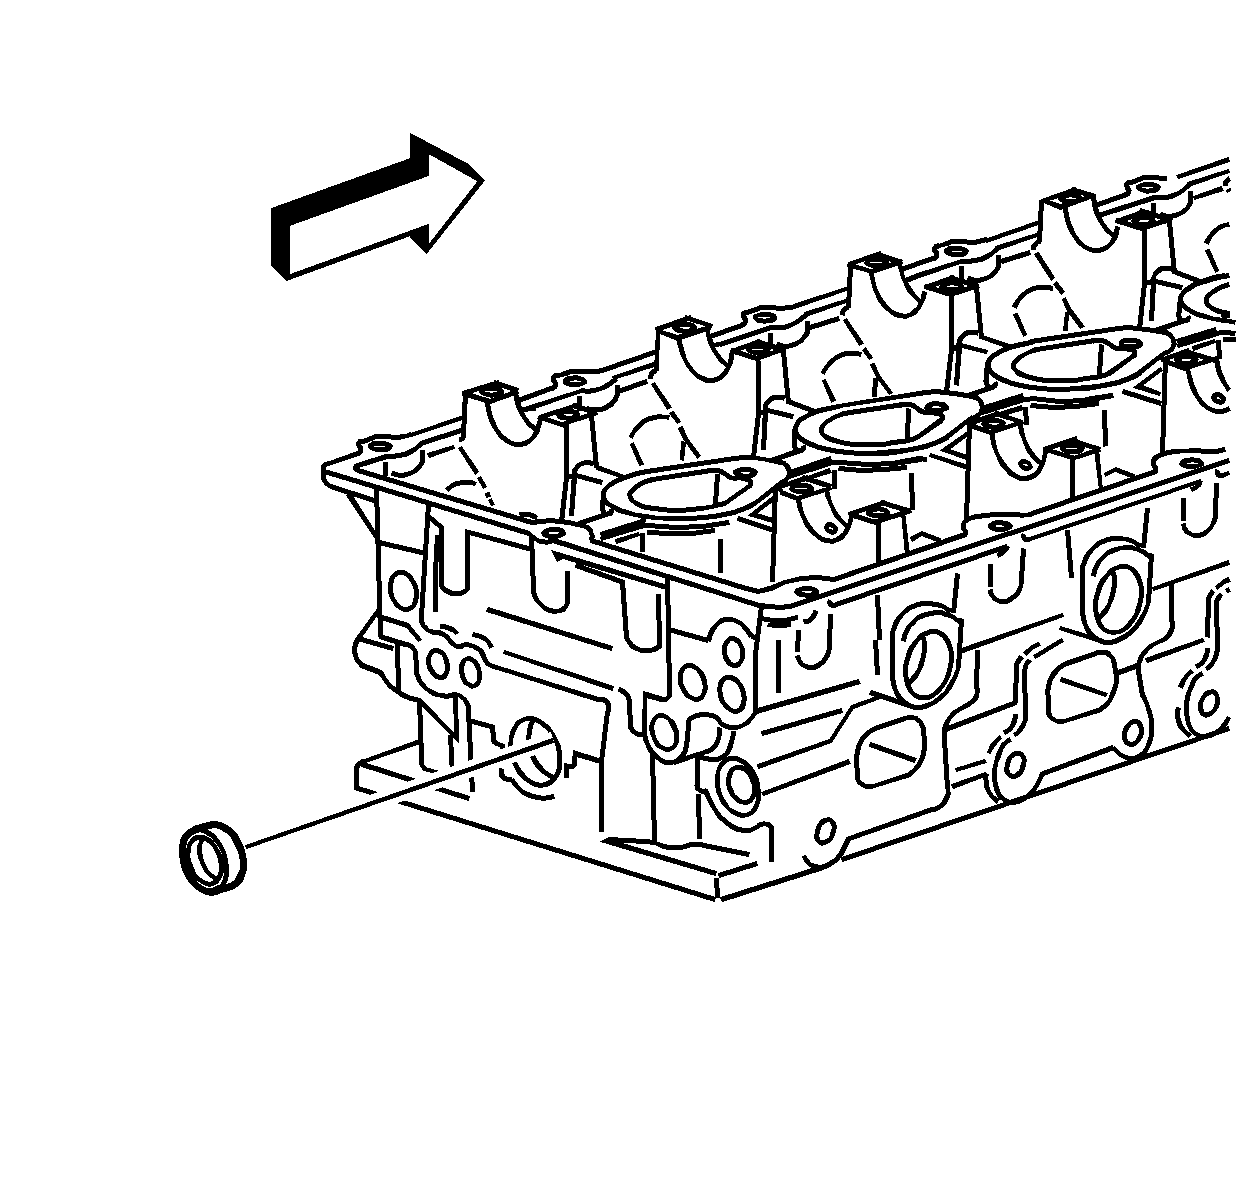
- Apply sealant GM P/N 12346004 (Canadian P/N 10953480) or equivalent to the plug.
- Install the water jacket plug.
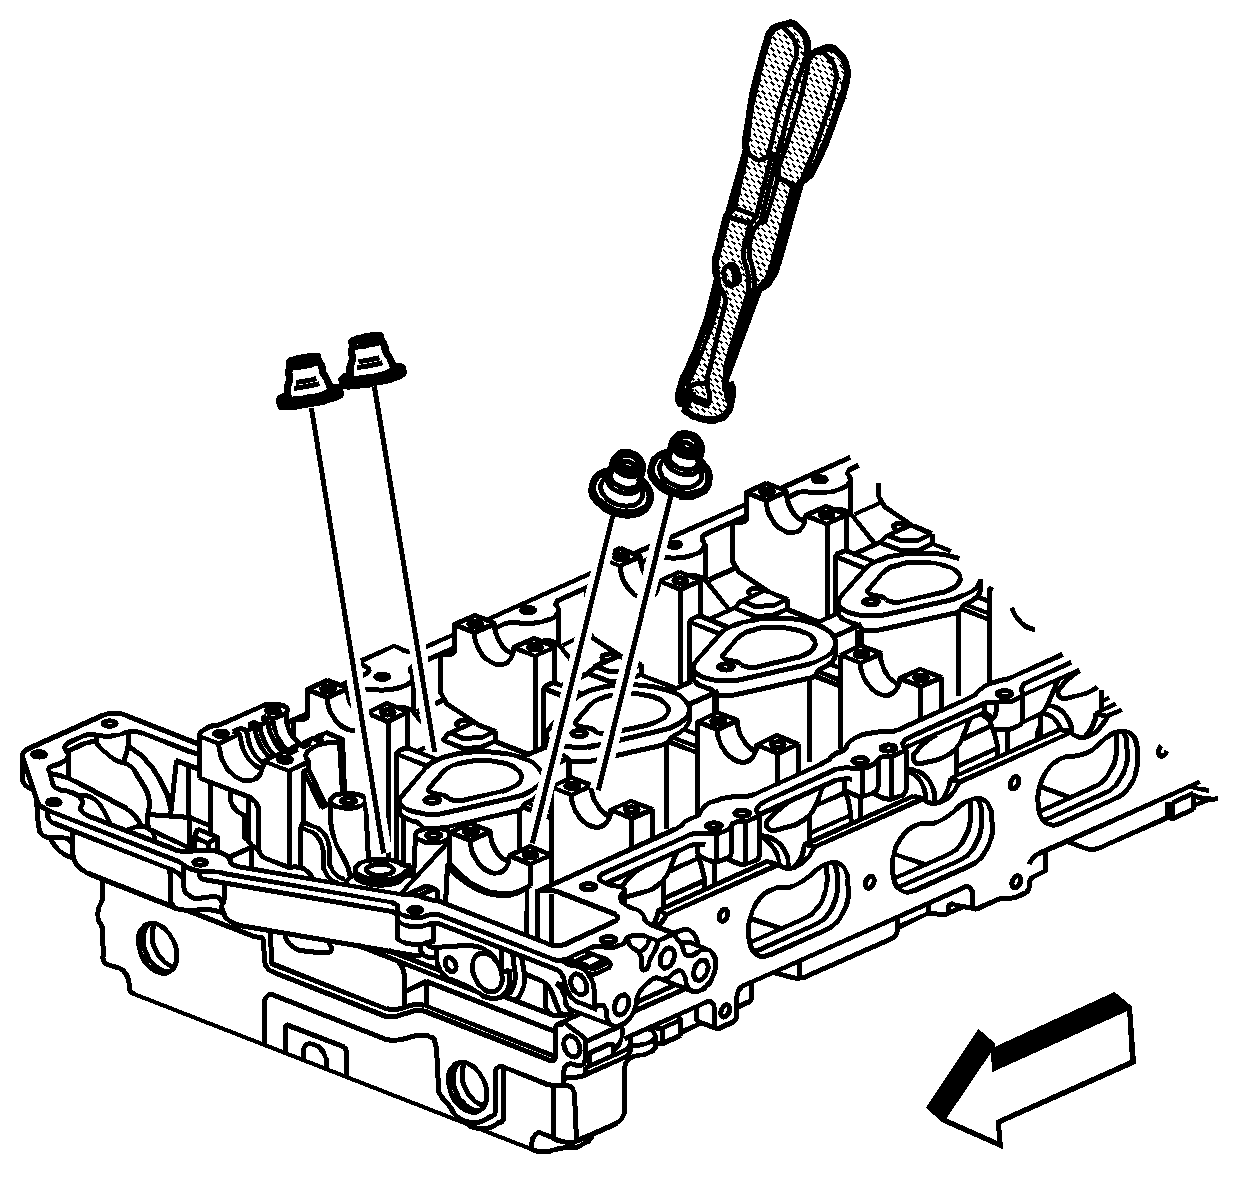
- Use J 38820 to install the valve seals. There is only one size valve seal.
- Install the valves. 0.075 mm (0.003 in) oversized valves are available if the valve guides needed to be reamed. Use the same (original size) valve seal.
- Install the valve spring and the valve spring retainer.
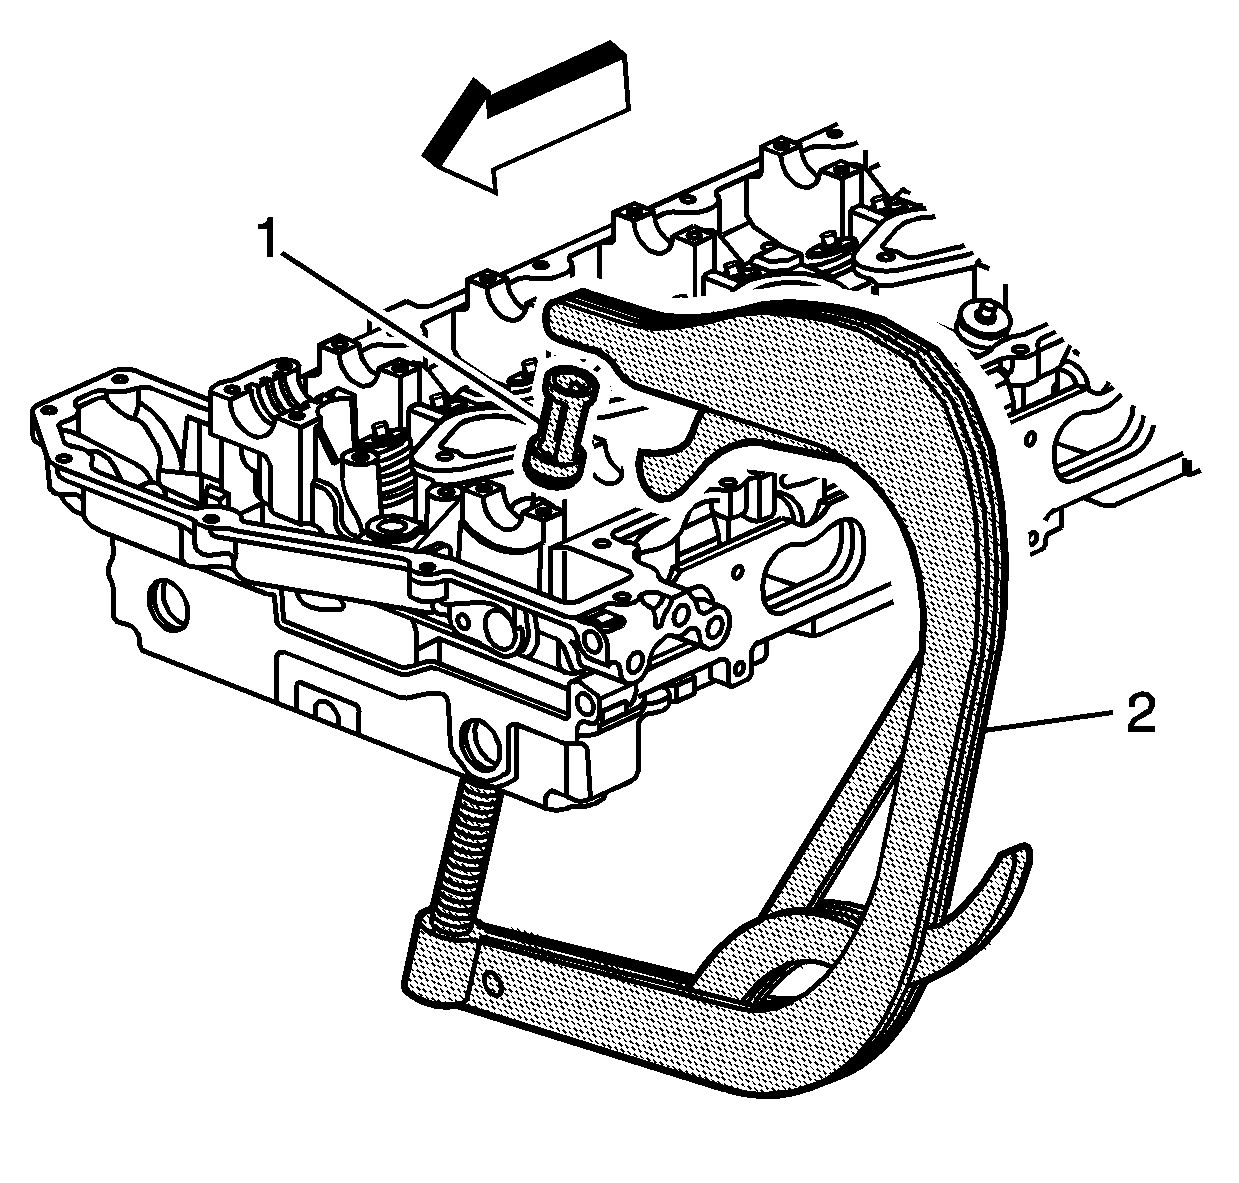
- Use J 8062 (2) and J 42037 (1) to compress the valve spring.
- Install the valve keys.
- Remove J 8062 and J 42037 .
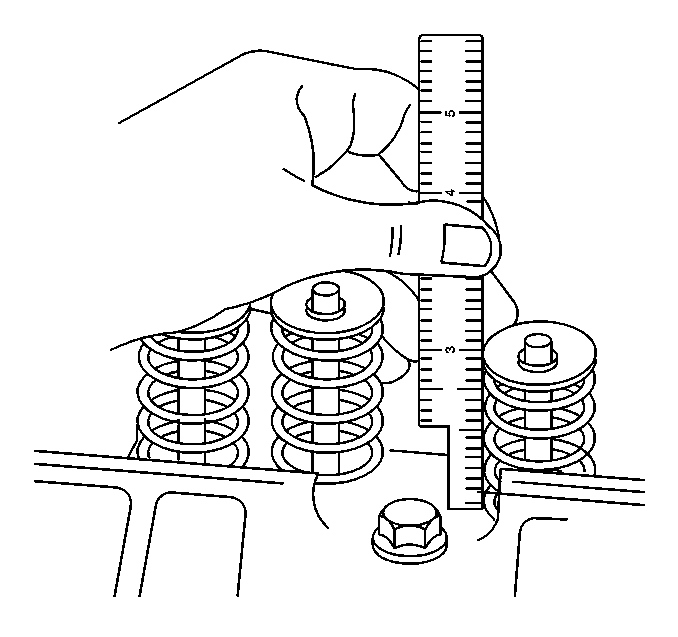
- Measure the valve installed height using a ruler. Measure from the base of the valve spring to the top of the valve. Refer to Engine Mechanical Specifications .
- Install the remaining valves, springs, and other components.
- Install the spark plugs.
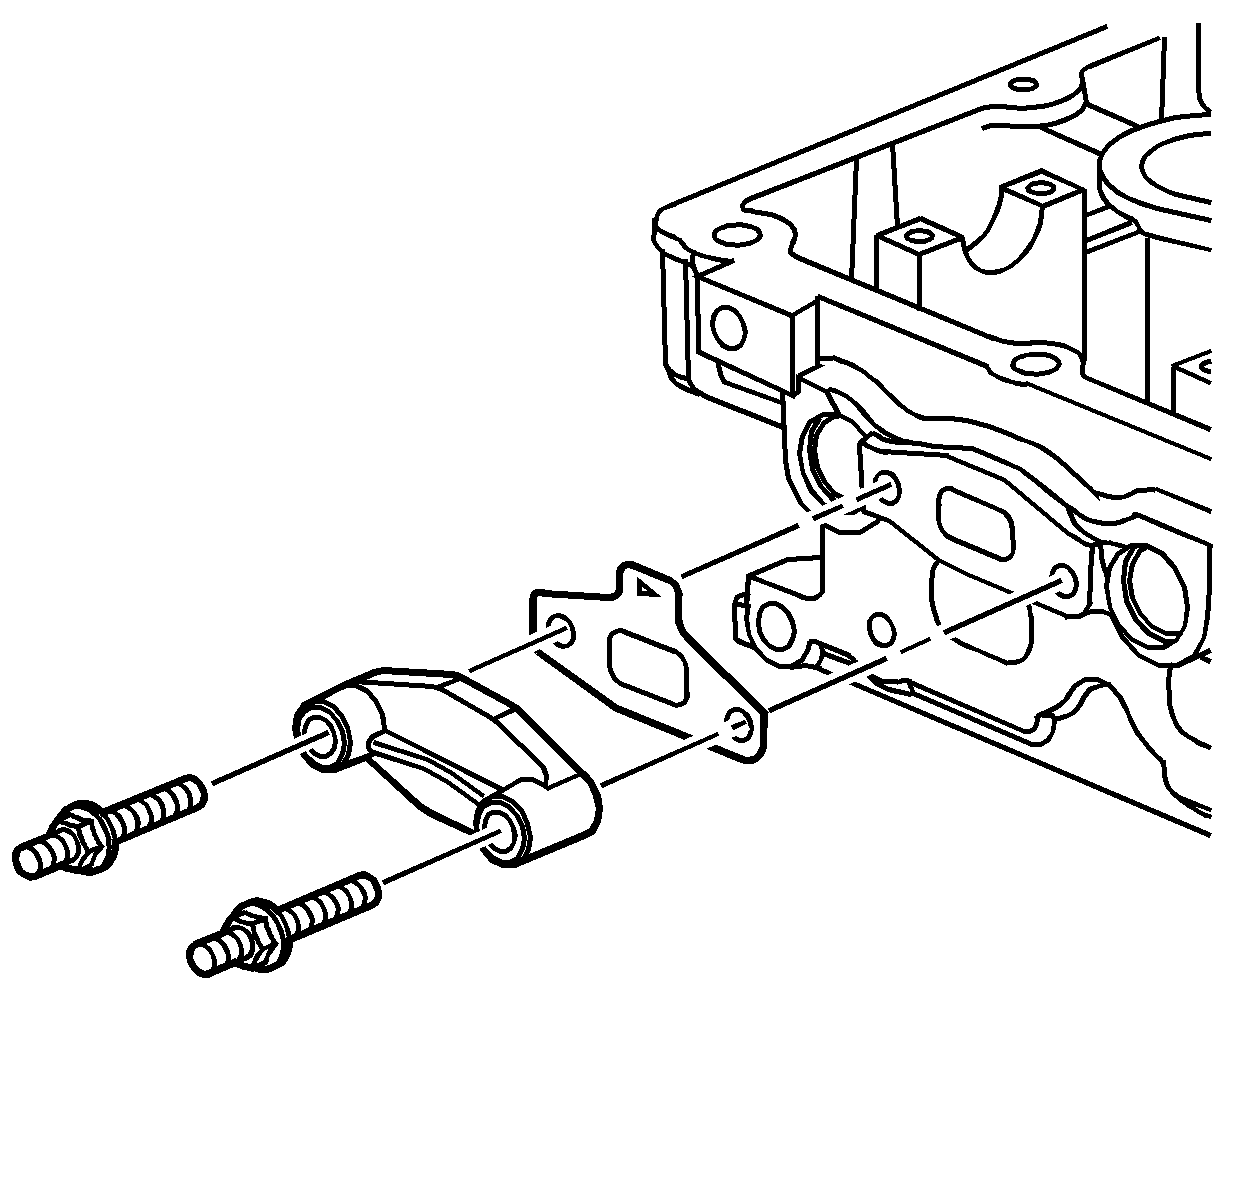
- Install the A.I.R. injection pipe gasket.
- Install the A.I.R. injection pipe cover.
- Install the A.I.R. injection pipe studs.
Notice: Use the correct fastener in the correct location. Replacement fasteners must be the correct part number for that application. Fasteners requiring replacement or fasteners requiring the use of thread locking compound or sealant are identified in the service procedure. Do not use paints, lubricants, or corrosion inhibitors on fasteners or fastener joint surfaces unless specified. These coatings affect fastener torque and joint clamping force and may damage the fastener. Use the correct tightening sequence and specifications when installing fasteners in order to avoid damage to parts and systems.
Tighten
Tighten the oil gallery plugs to 38 N·m
(28 lb ft).
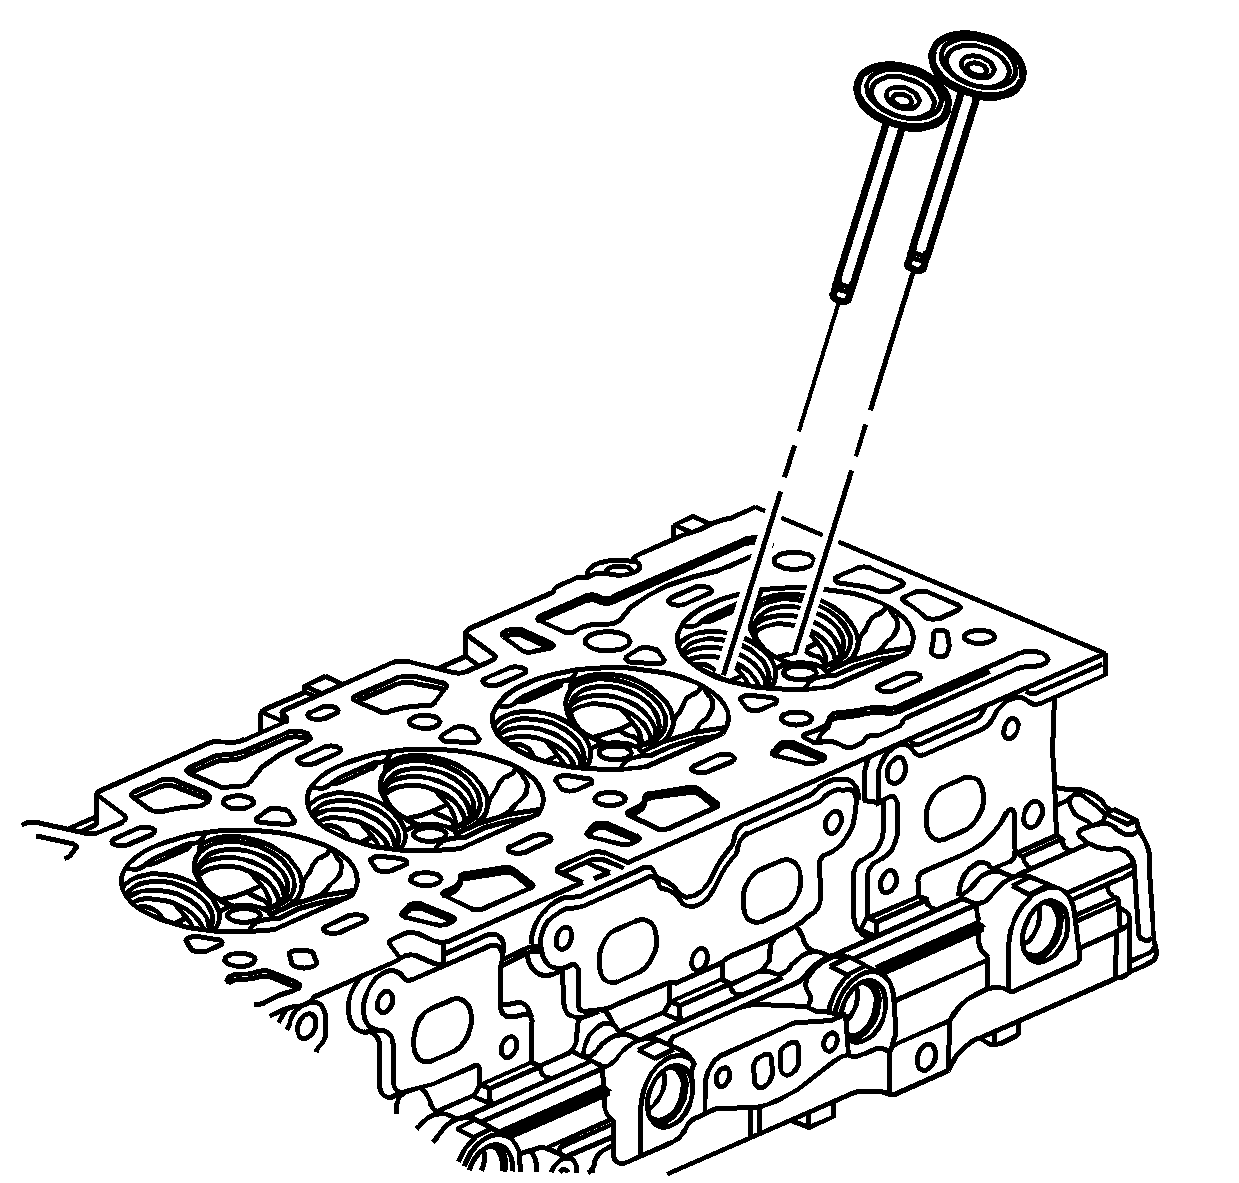
Important: Lubricate the valve stems with clean engine oil before installing.
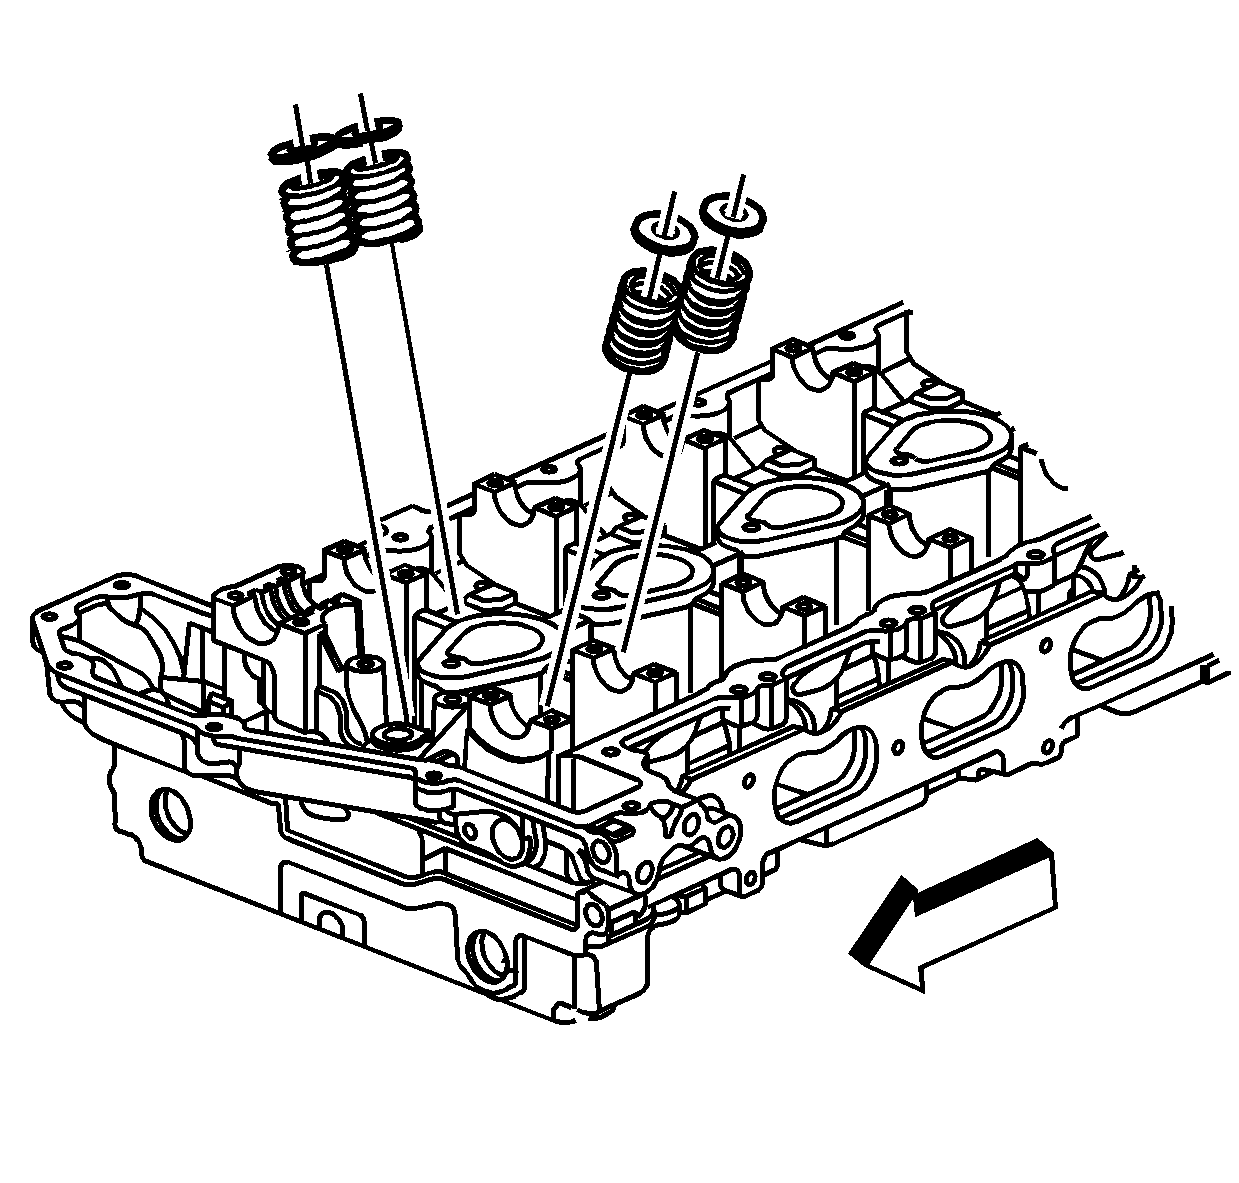
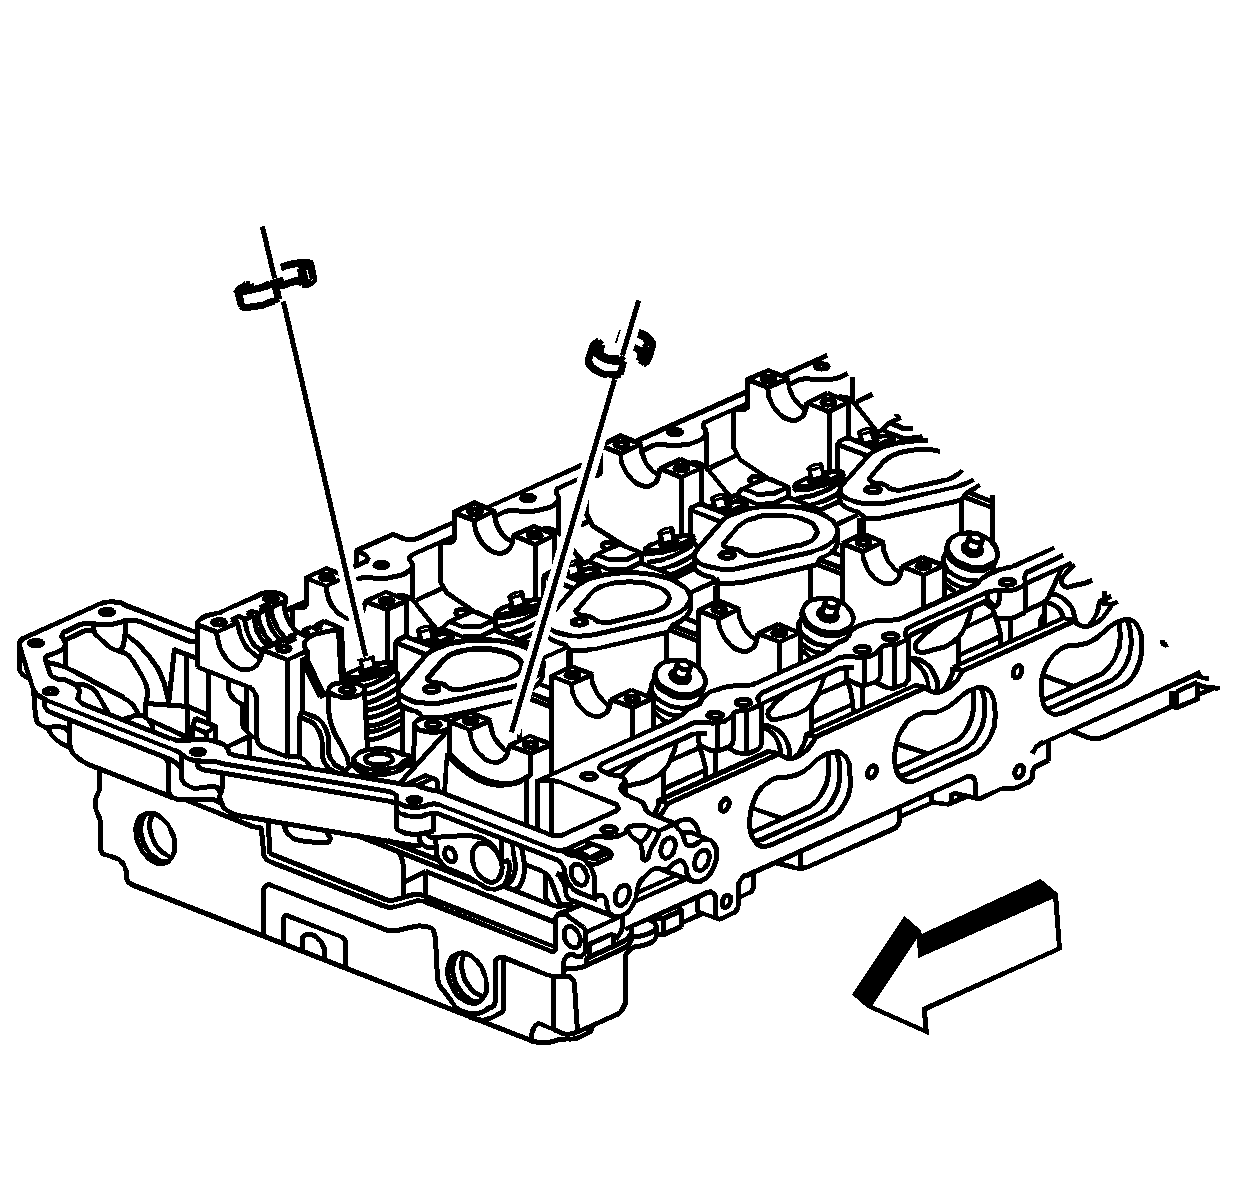
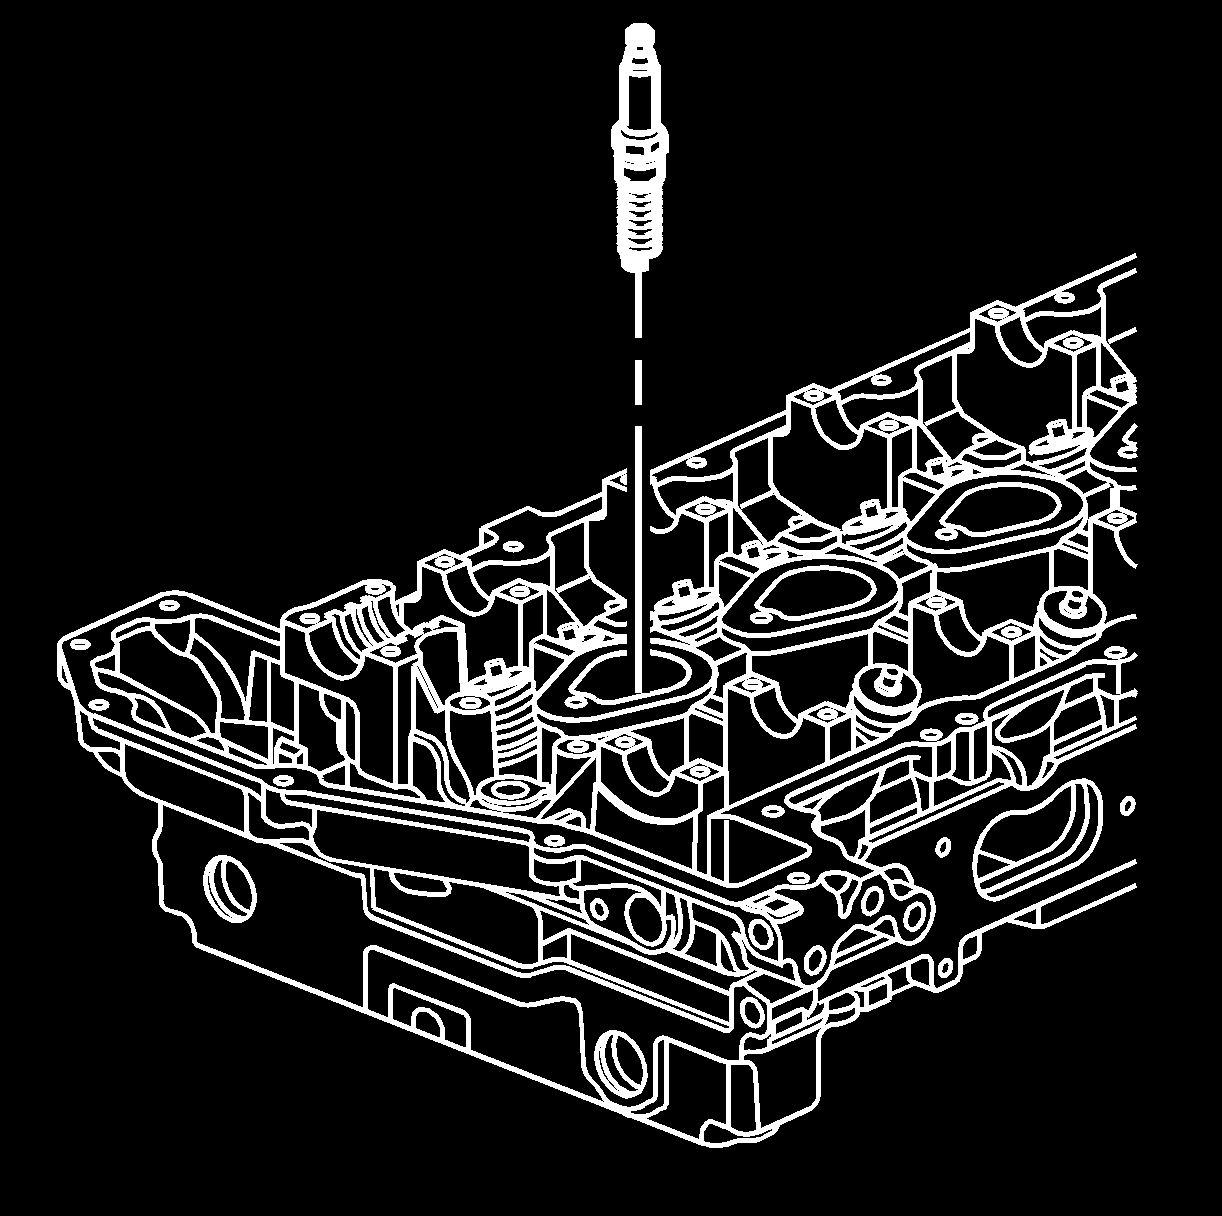
Important: Do not try to centralize the electrode on the spark plug. The electrode is offset by design.
Tighten
Tighten the spark plugs to 18 N·m (13 lb ft).
Tighten
Tighten the studs to 25 N·m (18 lb ft).
