For 1990-2009 cars only
Removal Procedure
- Raise and support the vehicle. Refer to Lifting and Jacking the Vehicle .
- Place a drain pan under the oil drain plug.
- Remove the oil pan drain plug.
- Lower the vehicle.
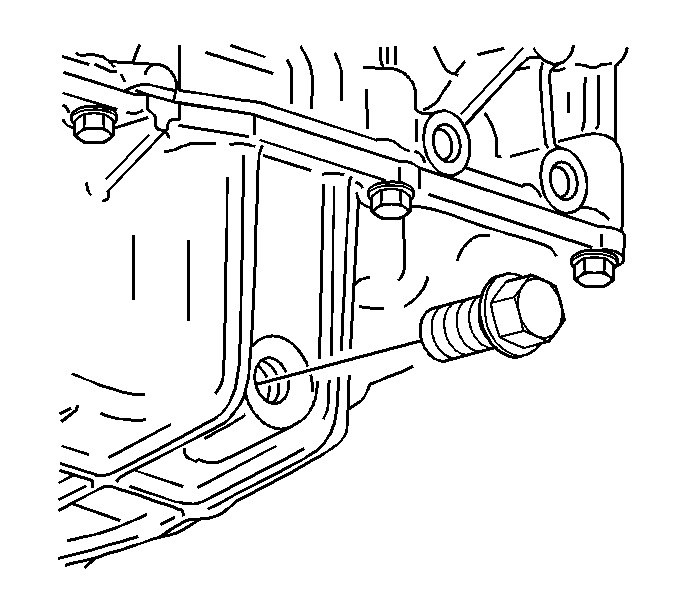
- Without supercharger - use a 32 mm socket with a long extension (1/2 to 3/8 reducer helps if available) and ratchet on the hex on the top of the oil filter cap.
- With Supercharger - the oil filter is accessible by reaching under the supercharger. Use a 32 mm socket with the needed flex handle or box wrench.
- Loosen the oil filter housing.
- Remove the tools.
- Remove the oil filter and housing.
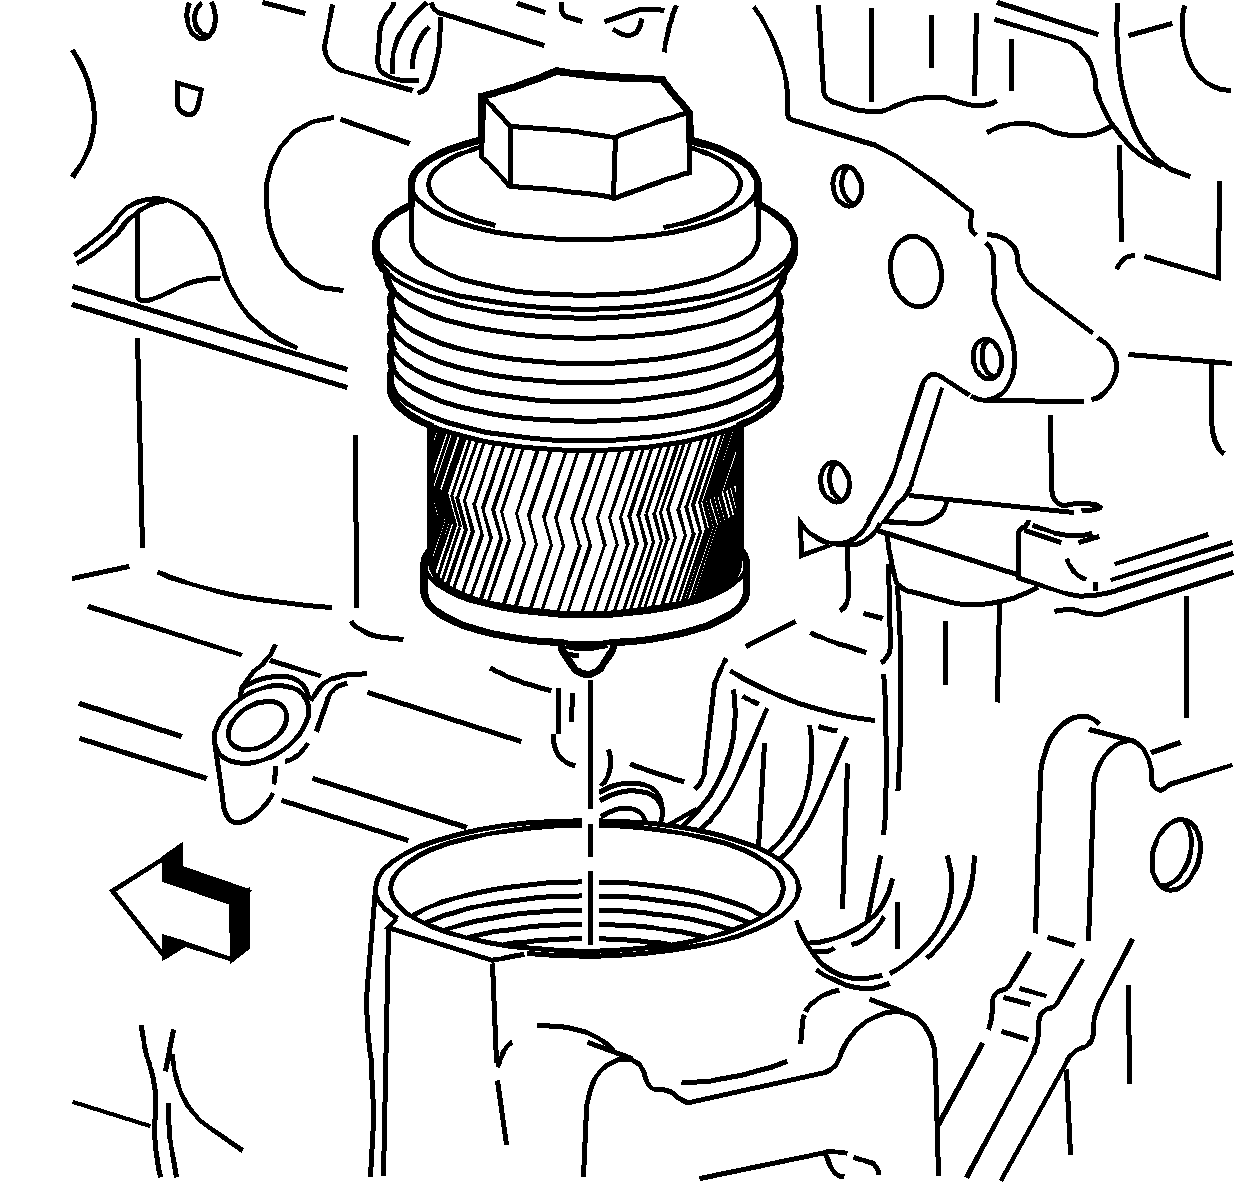
- Remove the filter from the cap.
Important: DO NOT use an open end wrench on the hex on top of the oil filter cap.
Installation Procedure
- Install the filter to the housing.
- Install the oil filter cap with filter.
- Install the oil filter to the housing.
- Use a 32 mm socket with a long extension (1/2 to 3/8 reducer helps if available) and ratchet on the hex on the top of the oil filter cap.
- Raise the vehicle.
- Install the oil pan drain plug.
- Lower the vehicle.
- Fill the engine with oil. Refer to Fluid and Lubricant Recommendations .
Notice: Refer to Fastener Notice in the Preface section.
Notice: Over torquing the oil filter cap may cause damage to the oil filter cap resulting in an oil leak.
Important: DO NOT use an open end wrench on the hex on top of the oil filter cap.
Tighten
Tighten the oil filter cap until fully seated, DO NOT exceed 25 N·m (18 lb ft).
Tighten
Tighten the oil pan drain plug to 25 N·m (18 lb ft).
