
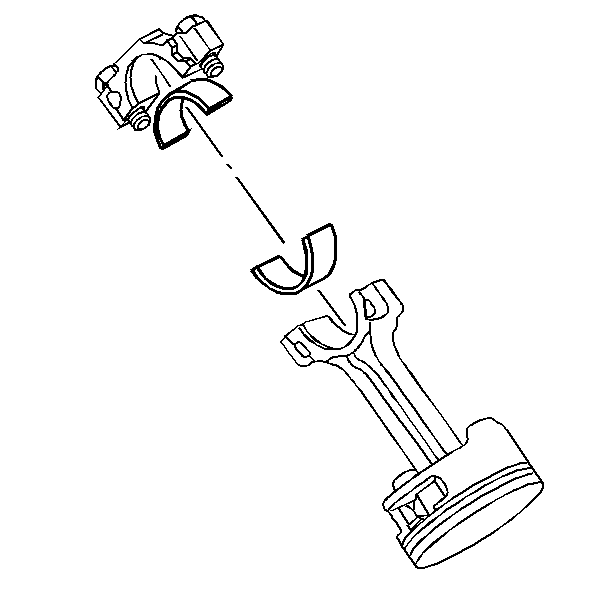
Important: The connecting rods and the bearing caps are NOT interchangeable.
- Use the
J 24270
in order to remove the cylinder bore ring ridge, if required.
| 1.1. | Turn the crankshaft until the piston is at the bottom of the stroke. |
| 1.2. | Place a cloth on top of the piston. |
| 1.3. | Use the
J 24270
, or equivalent, in order to remove a cylinder ring ridge. |
| 1.4. | Turn the crankshaft so the piston is at the top of the stroke. |
| 1.6. | Remove the cutting debris from the cylinder and piston. |
Important:
| • | Using a paint stick or etching tool, place matchmarks or numbers on the connecting rods and the connecting rod caps. The connecting rods and caps MUST be assembled to their original position and direction. |
| • | A stamping mark on the side of the connecting rod, at the crank journal, may affect component geometry. |
| • | Mark the top of the piston to the specific cylinder bore. |
- Remove the connecting rod bolts.
Important: Mark, sort, or organize the connecting rod bearings so they may be installed to their original position and location.
- Remove the connecting rod cap. Refer to
Separating Parts
.
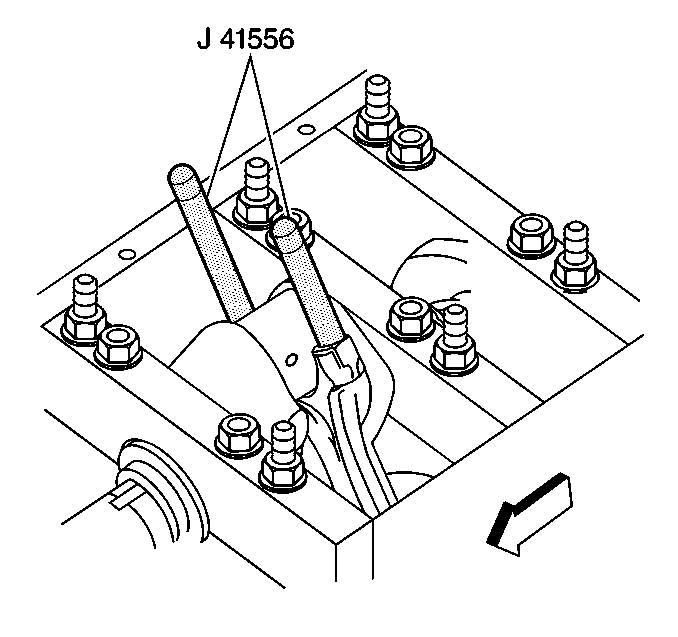
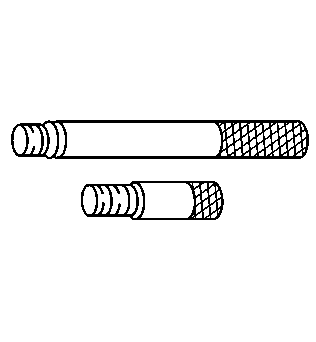
- Install the
J 41556
to the connecting rod.
- Using a hammer, tap lightly on the end of the
J 41556
in
order to remove the piston and connecting rod assembly from the cylinder bore.
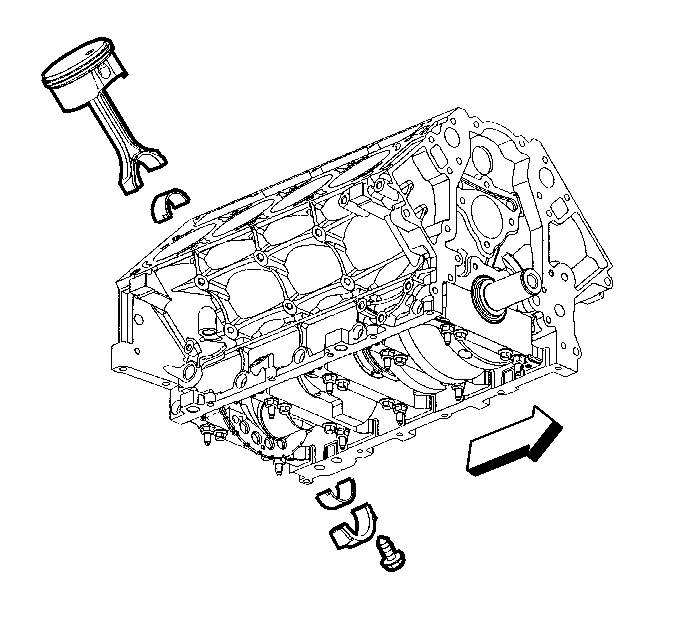
- Upon removal of the piston and connecting rod assembly, assemble the connecting rod cap and bolts onto the matching connecting rod.
