Info - Proper Service of Quick Connect EVAP System Connectors

| Subject: | Proper Service Of Quick Connect EVAP System Connectors |
| Models: | 1985-2001 Passenger Cars and Trucks |
The EVAP system must be serviced properly. Improper service of the EVAP system can cause EVAP system leaks and set an engine DTC.
Important: DO NOT cut or kink EVAP hoses/pipes to service the EVAP system. A damaged, cut or kinked EVAP system hose/pipe must be replaced and NOT REPAIRED.
To properly service the EVAP system, it is important to correctly identify the style of quick connect EVAP fitting used in the EVAP system. Correctly identifying the style of fitting will aid in the proper disconnection/connection of the fitting and the ability to reuse the fitting.
Improper disconnection and/or connection of EVAP fittings can cause the following conditions and set engine DTCs:
| • | Leaks in the EVAP system |
| • | Damage to the EVAP fitting(s) |
| • | Damage to and/or adversely effect the function of the EVAP components such as: |
| - | Purge solenoid |
| - | Canister |
| - | Vapor lines |
STYLE A
- To properly disconnect this style of fitting, slide the tab in and pull the fittings apart.
- To reconnect this style of fitting, install the fittings back together and gently pull back on the fittings to verify proper connection of the fittings.
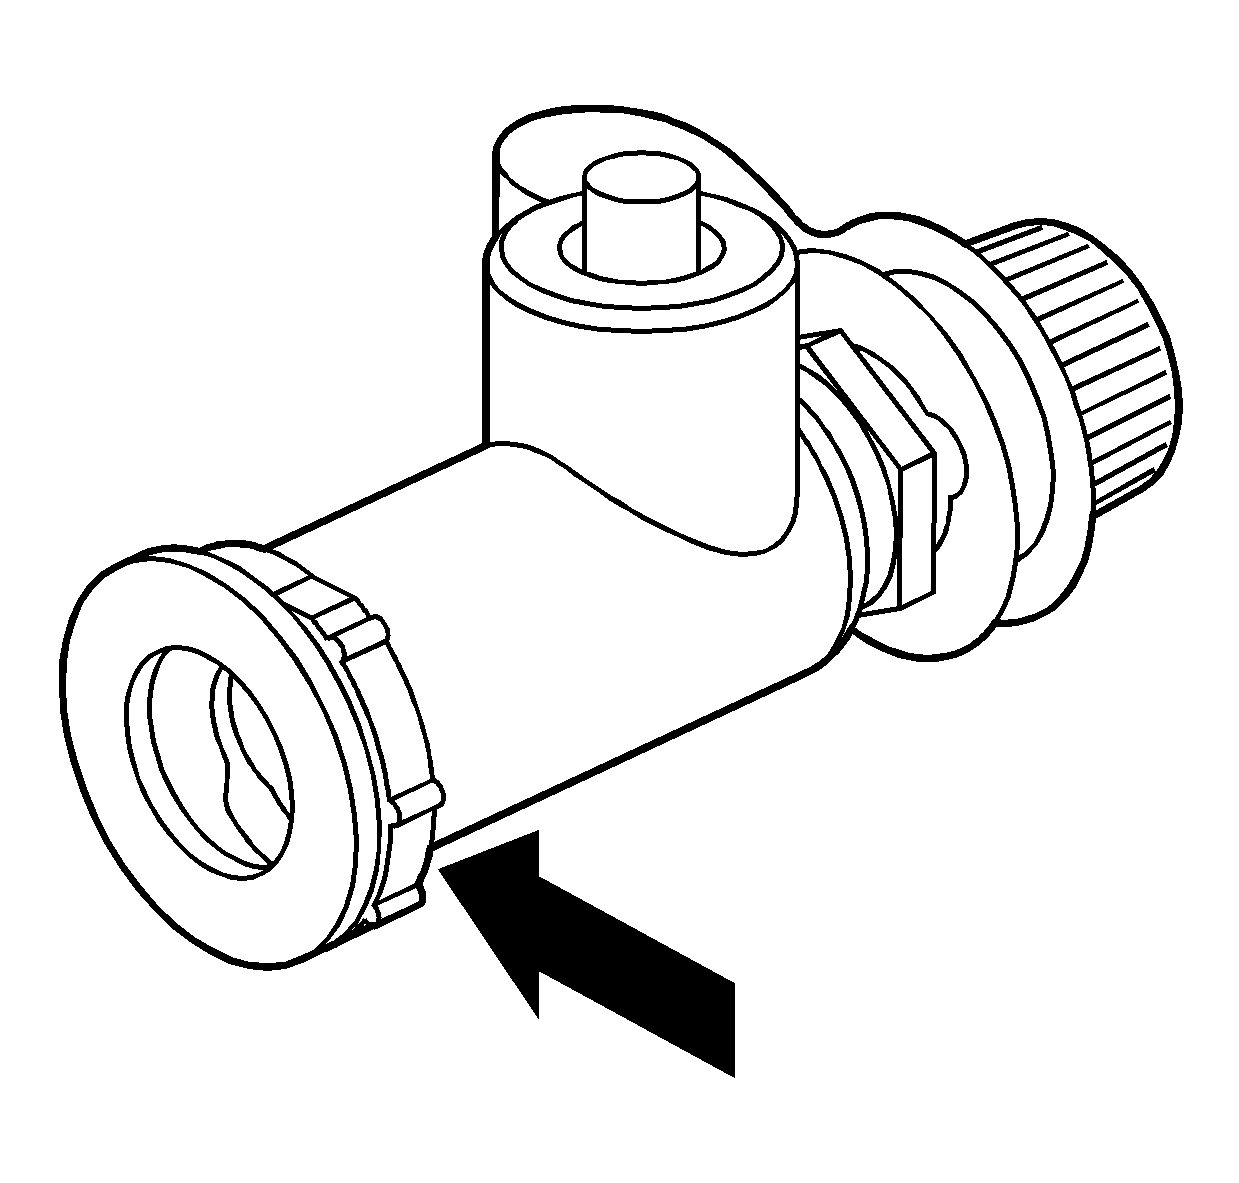
STYLE B
- To properly disconnect this style of fitting, push in both sides of the retaining feature and pull the fittings apart.
- To reconnect this style of fitting, install the fittings back together and gently pull back on the fittings to verify proper connection of the fittings.
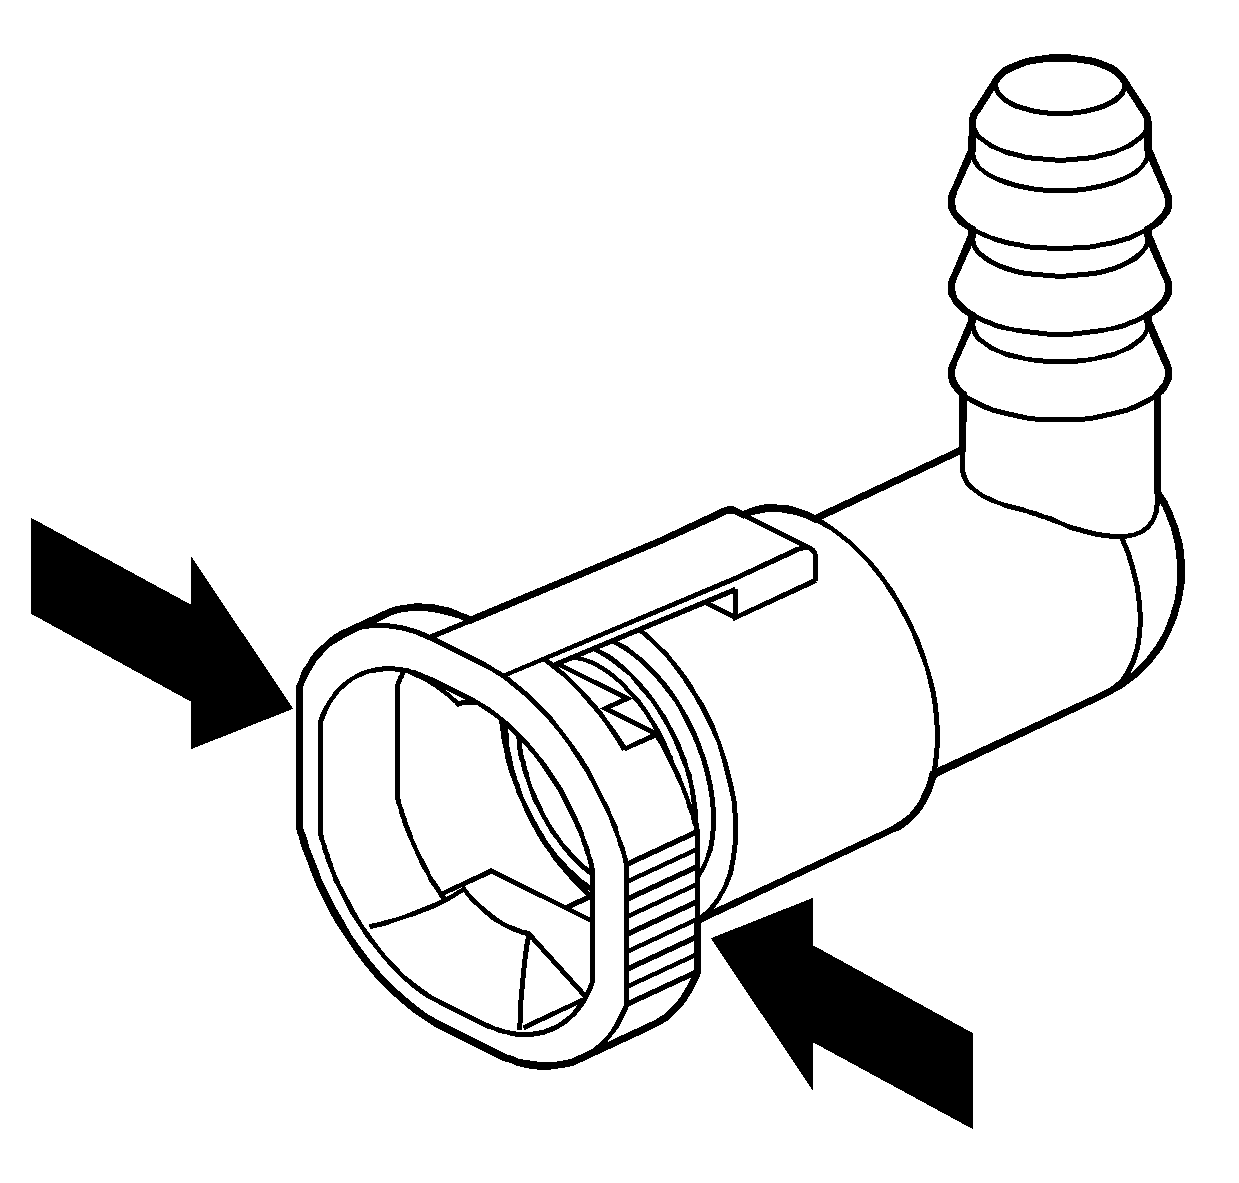
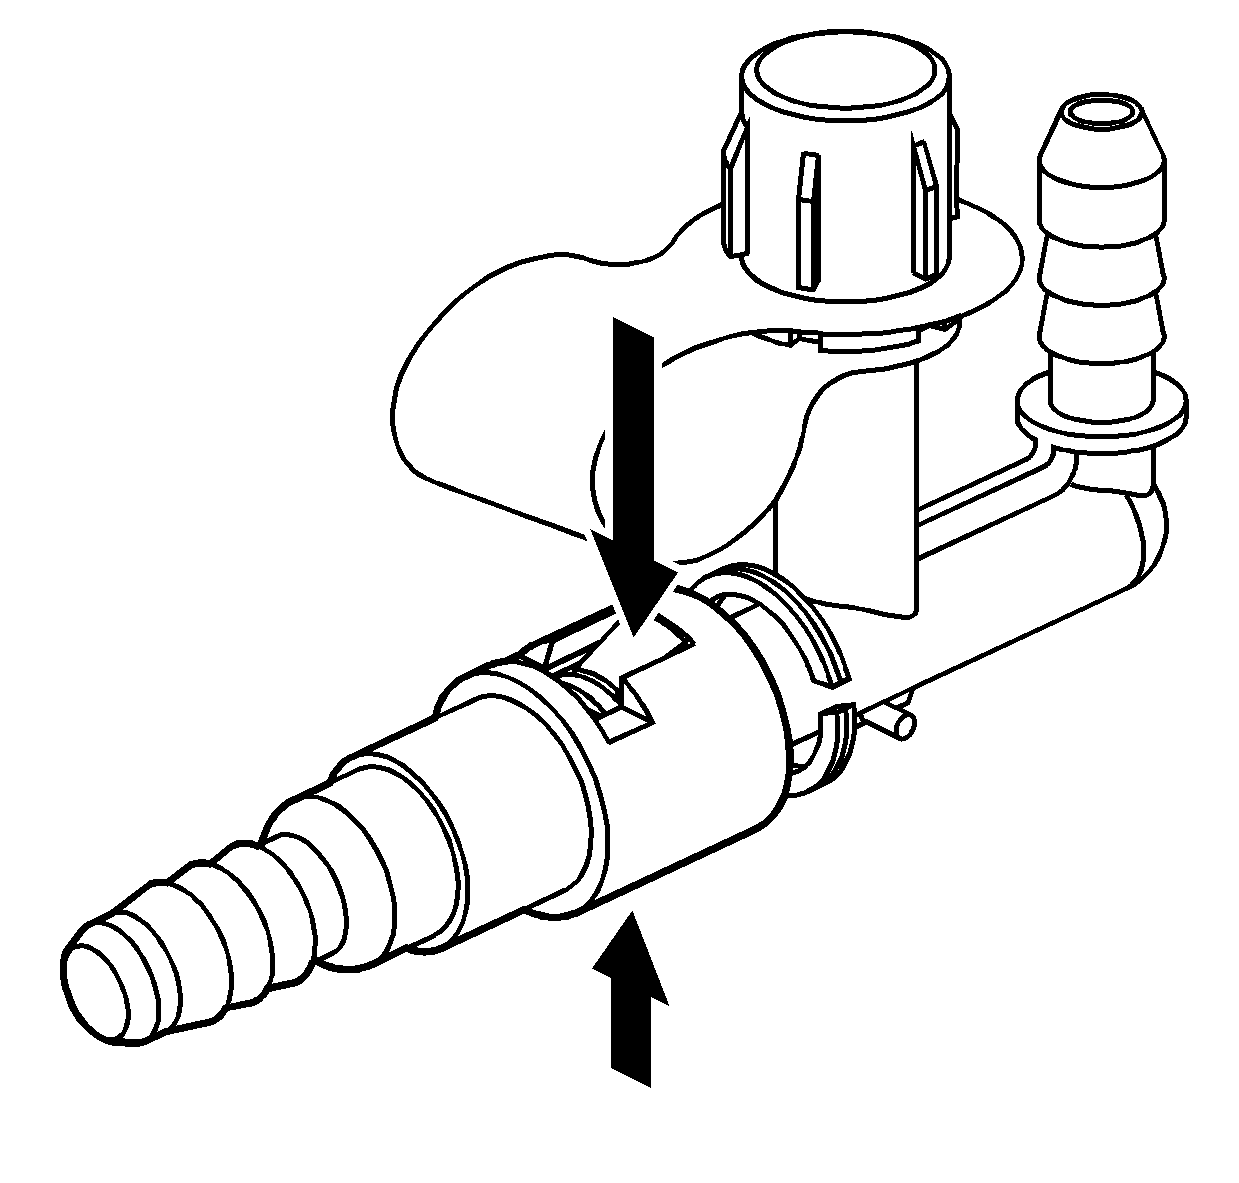
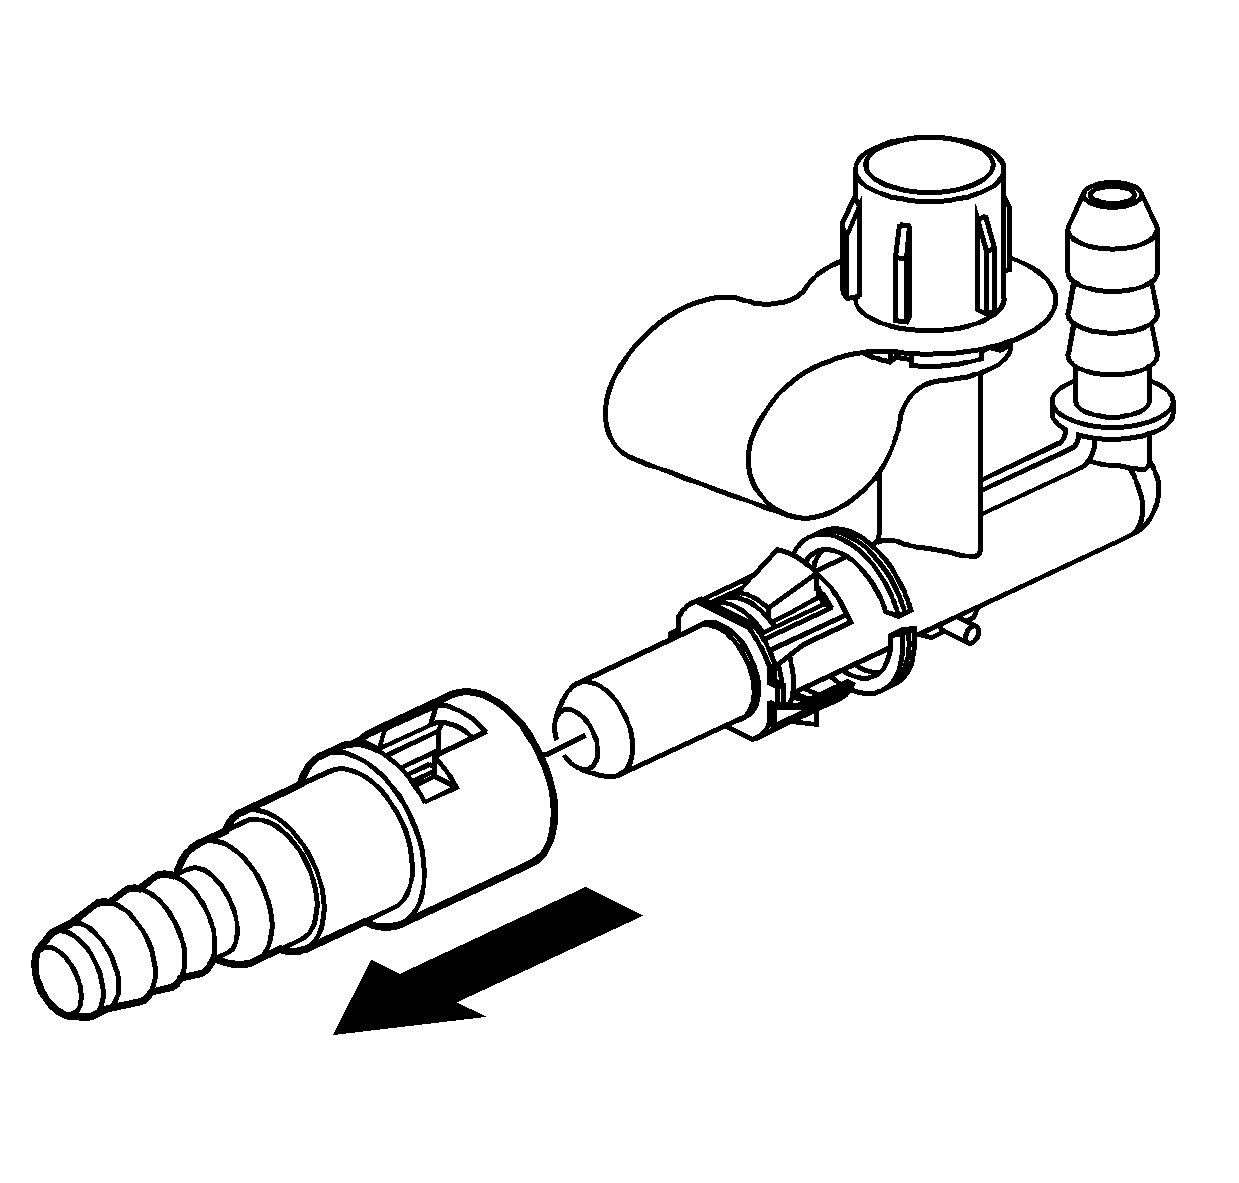
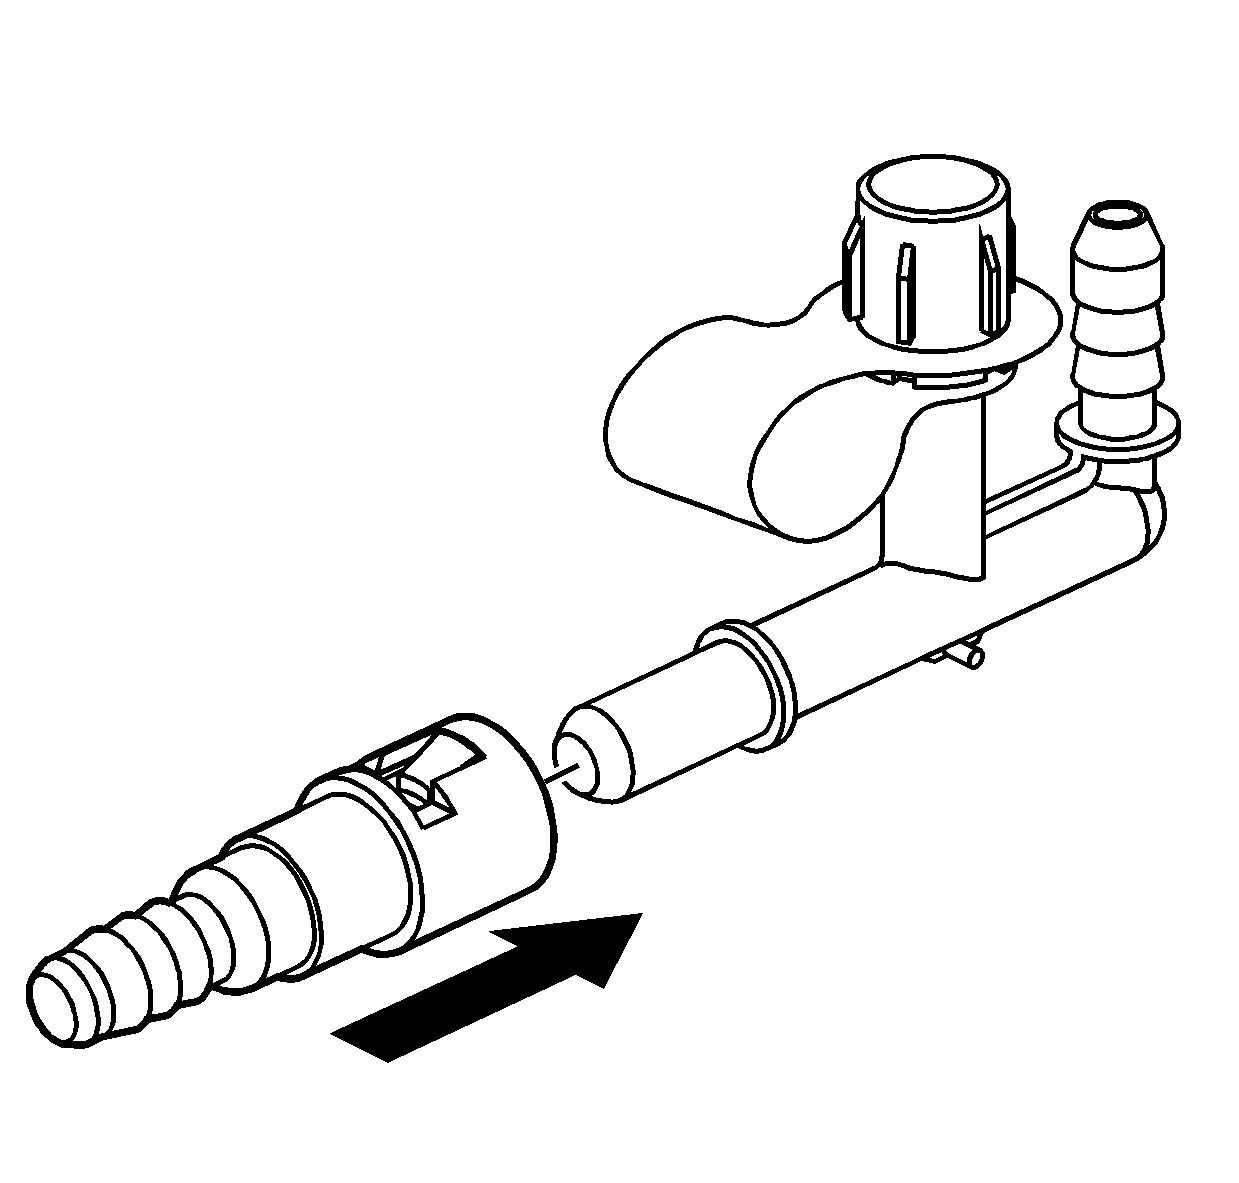
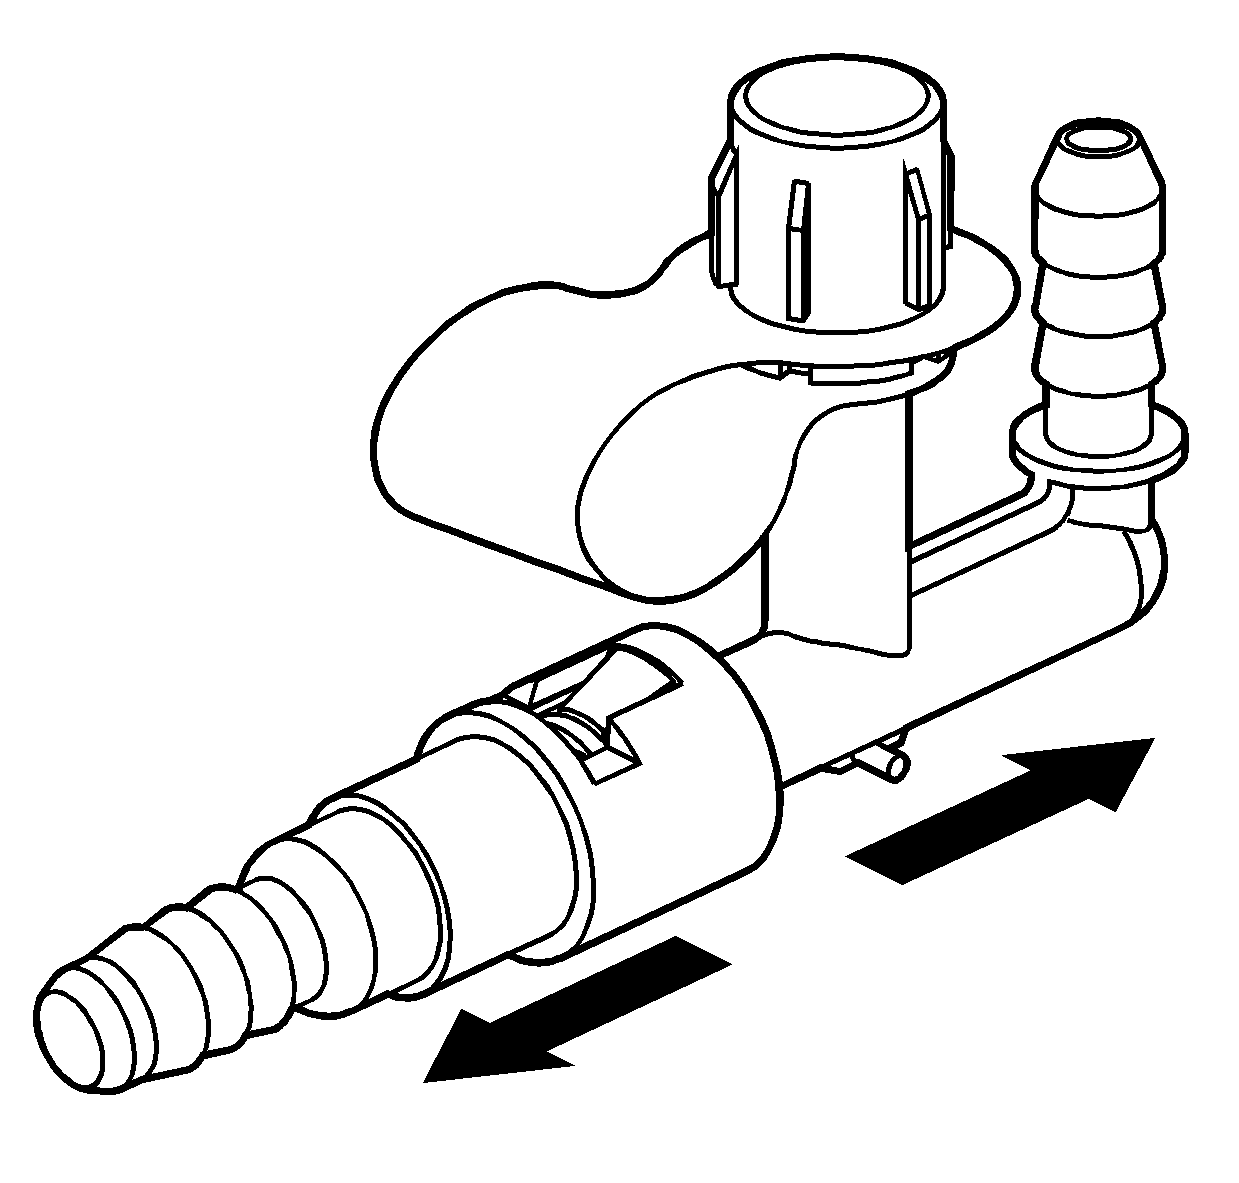
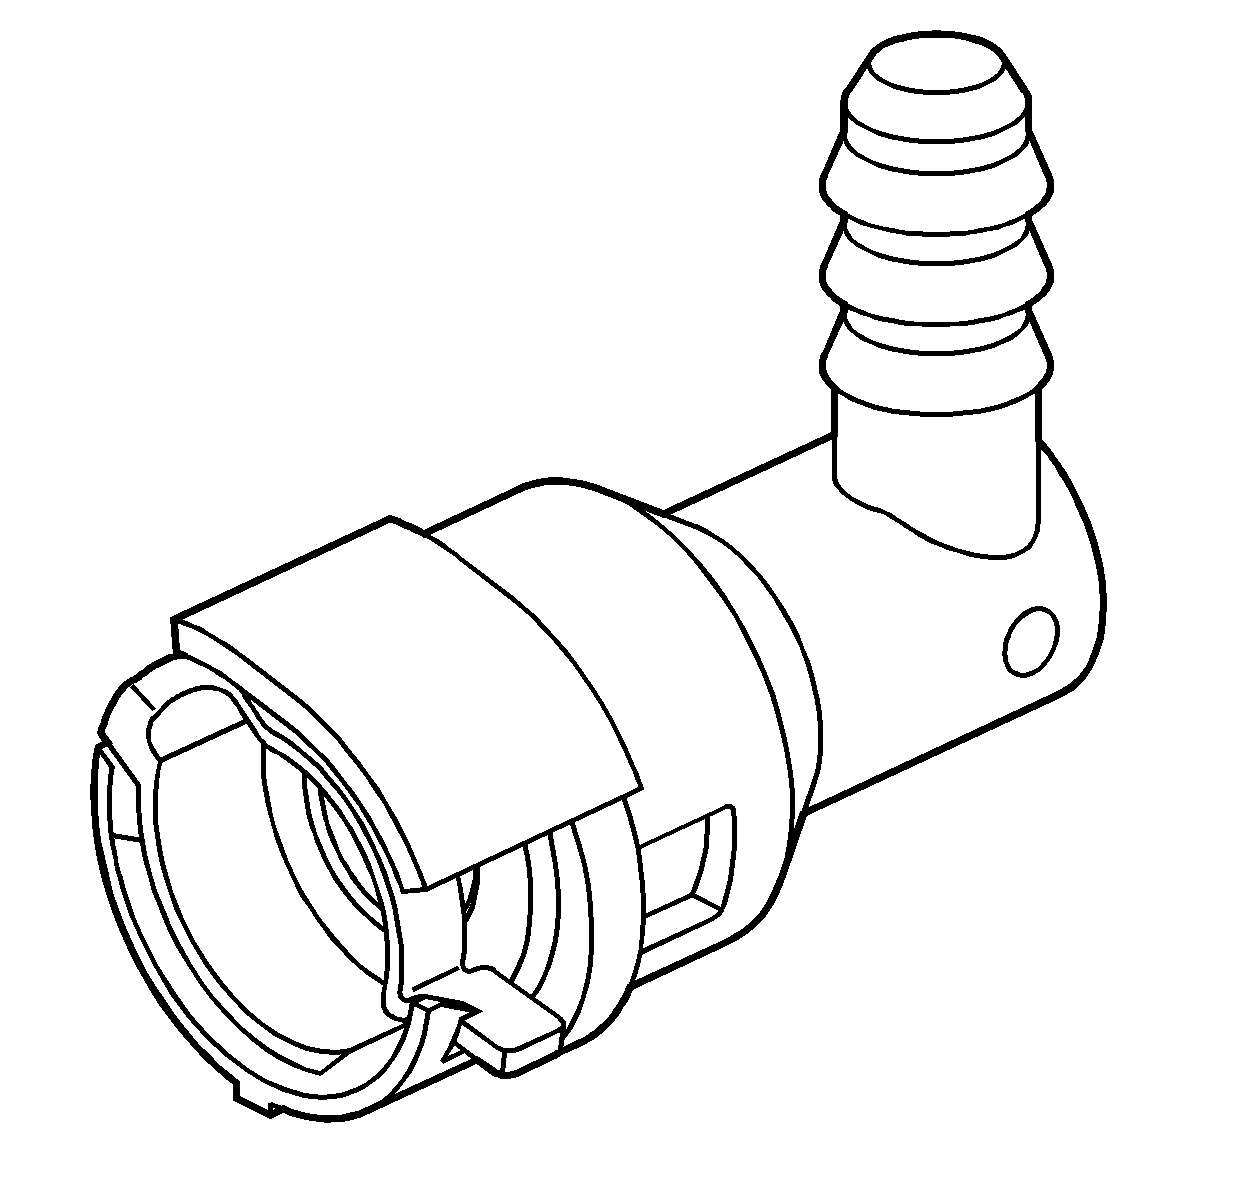
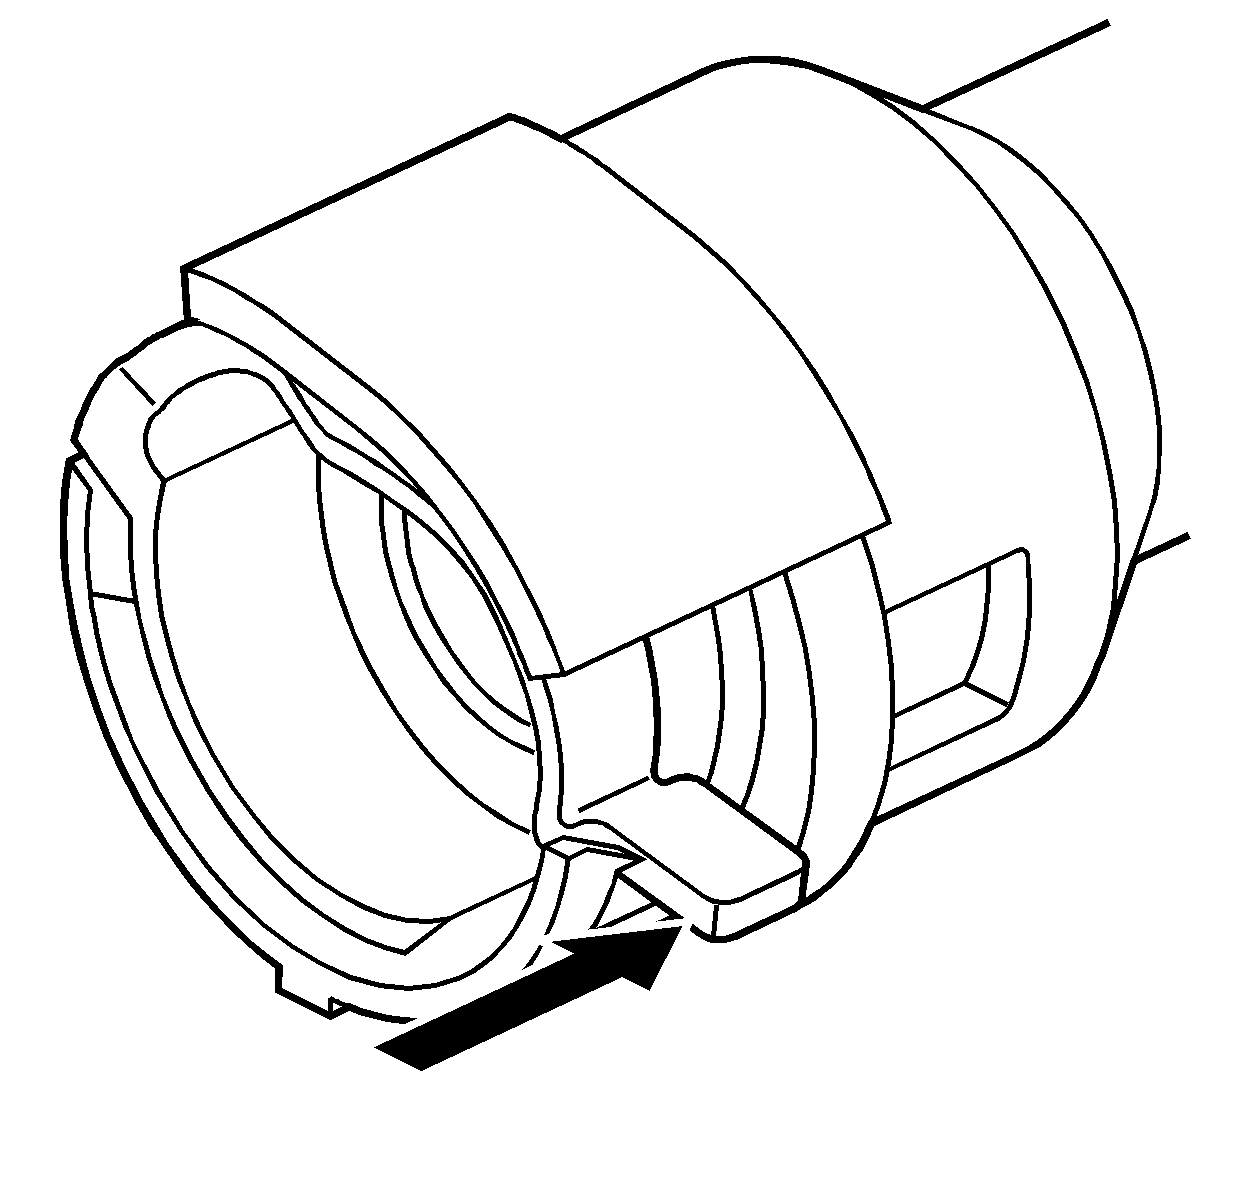
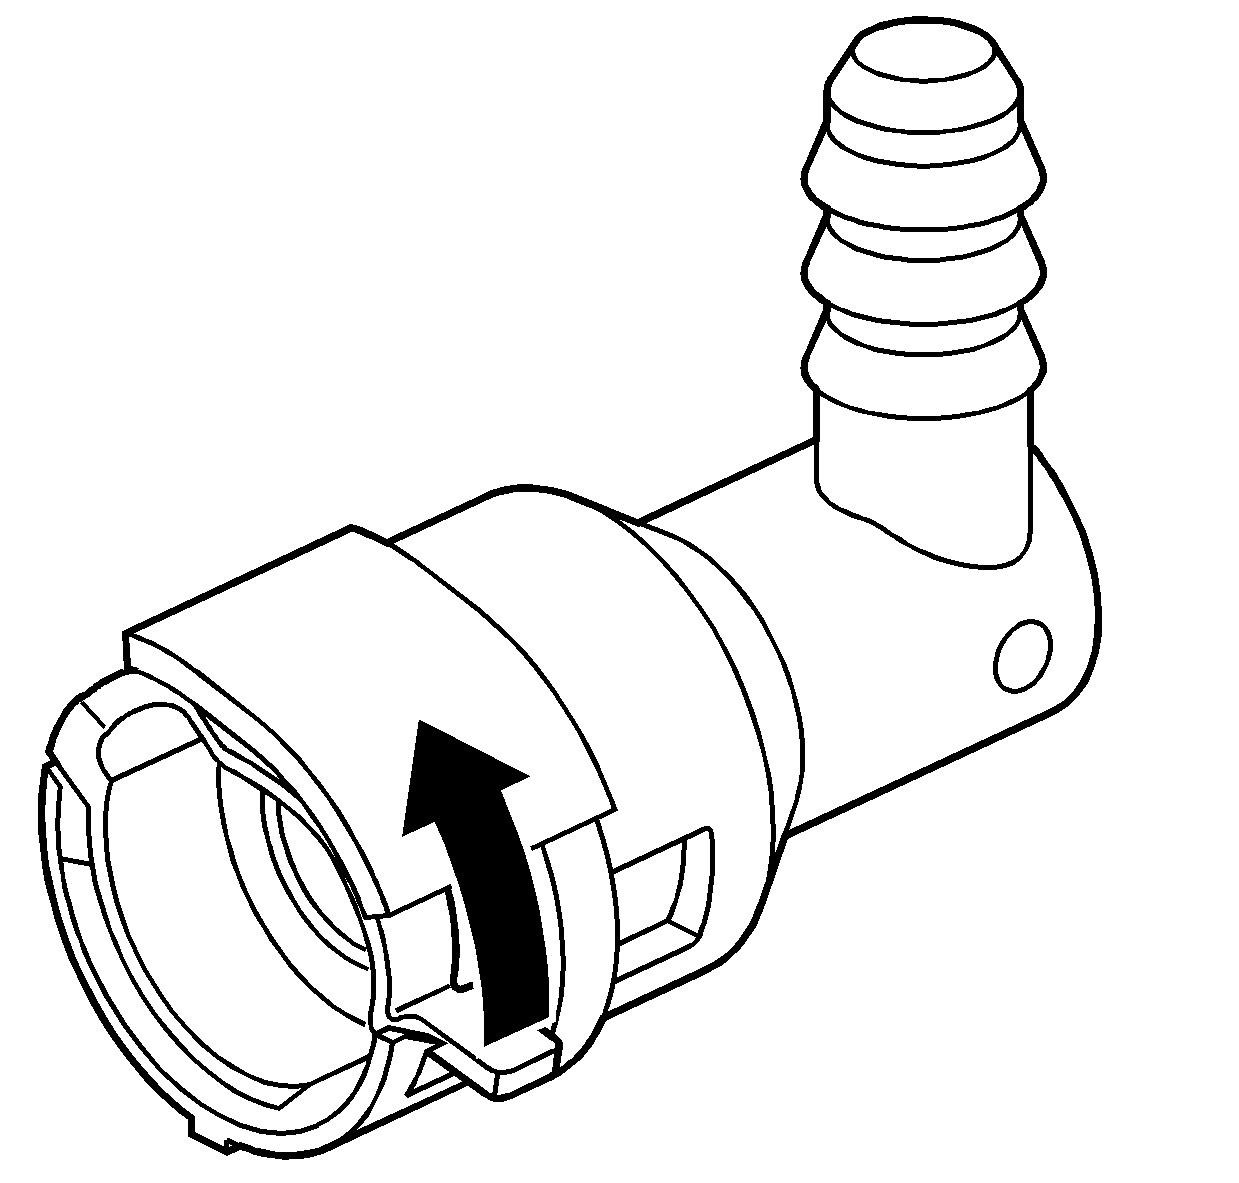
STYLE C
To properly disconnect this style of fitting, use the following procedure:
- Move the tab of the retainer away from the male fitting in order to clear the retaining nub.
- Move the tab of the retainer in the direction shown and pull the fittings apart.
- To reconnect this style of fitting, install the fittings back together and gently pull back on the fittings to verify proper connection of the fittings.
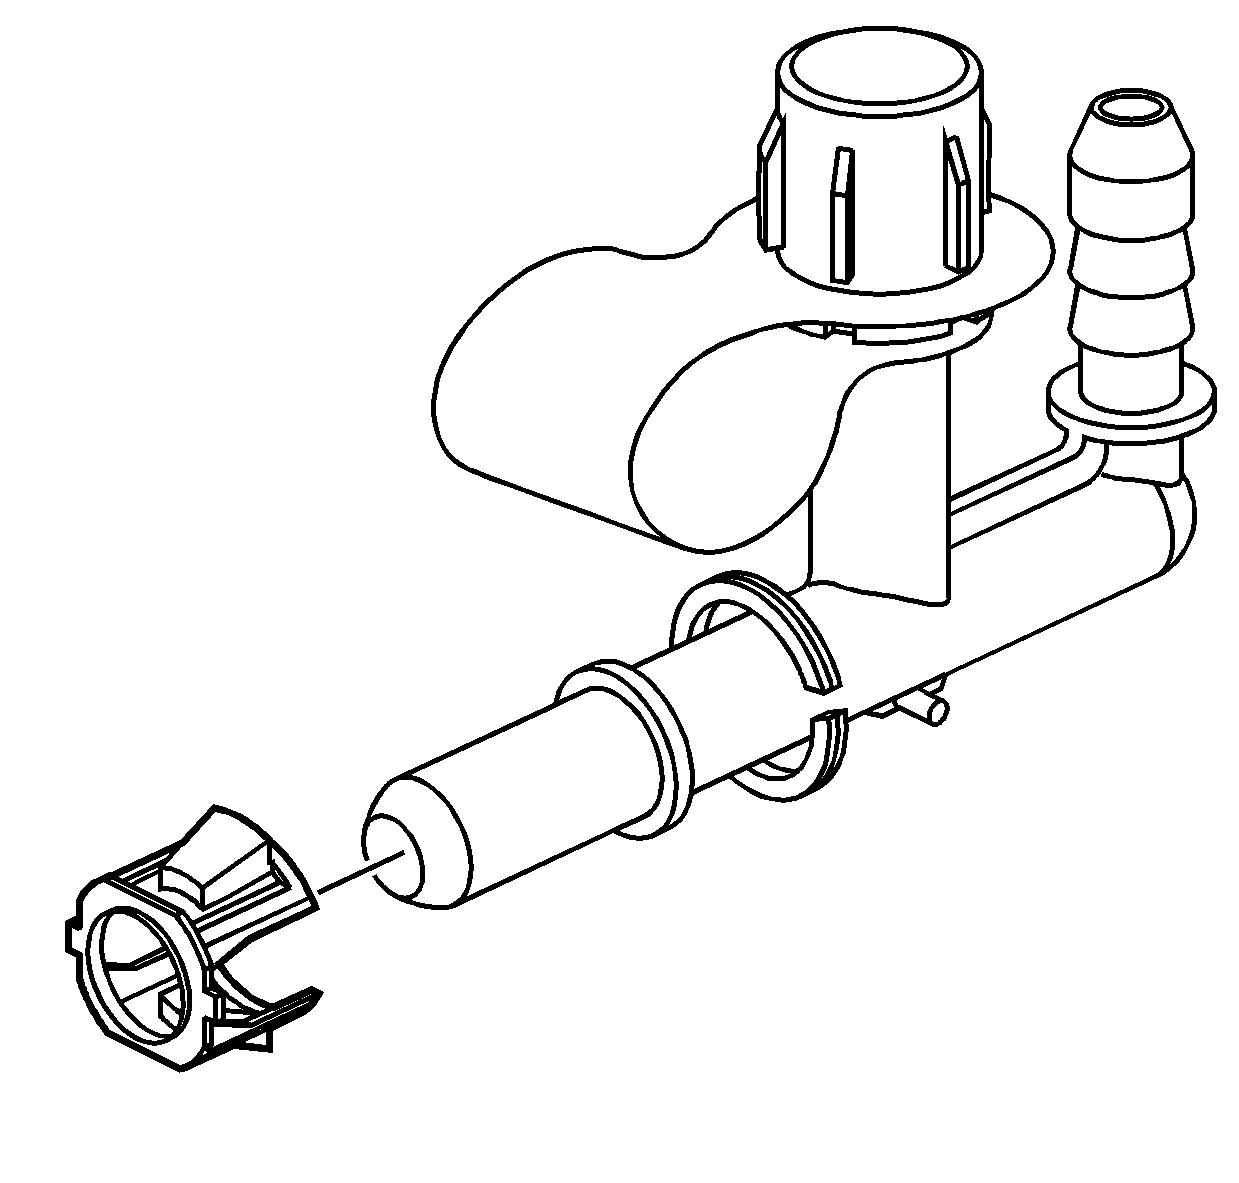
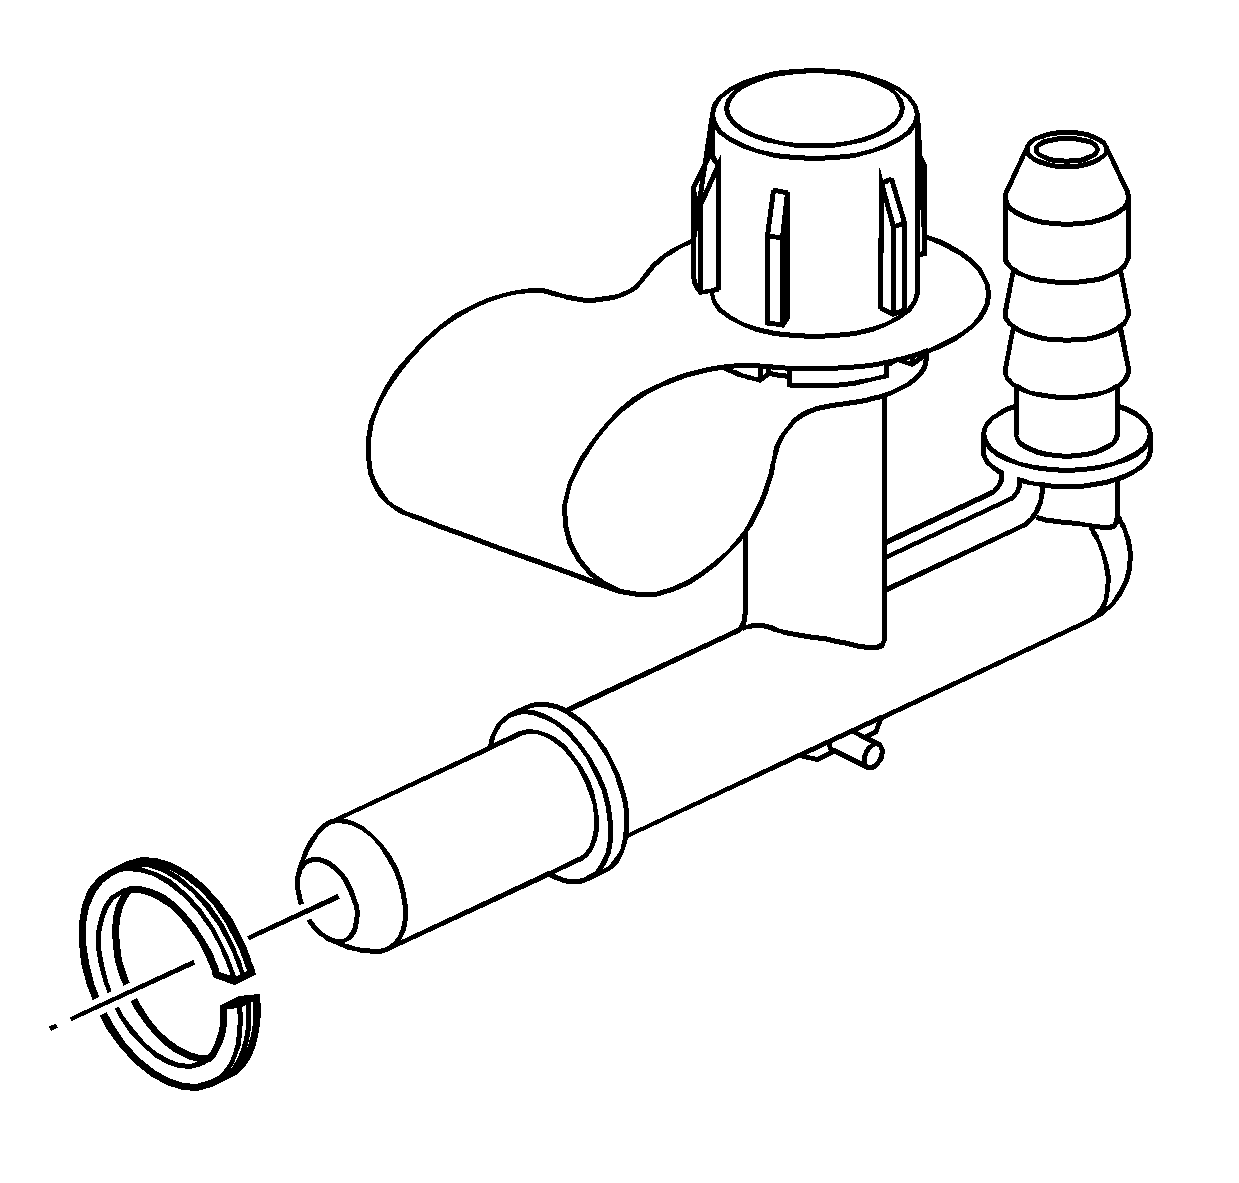
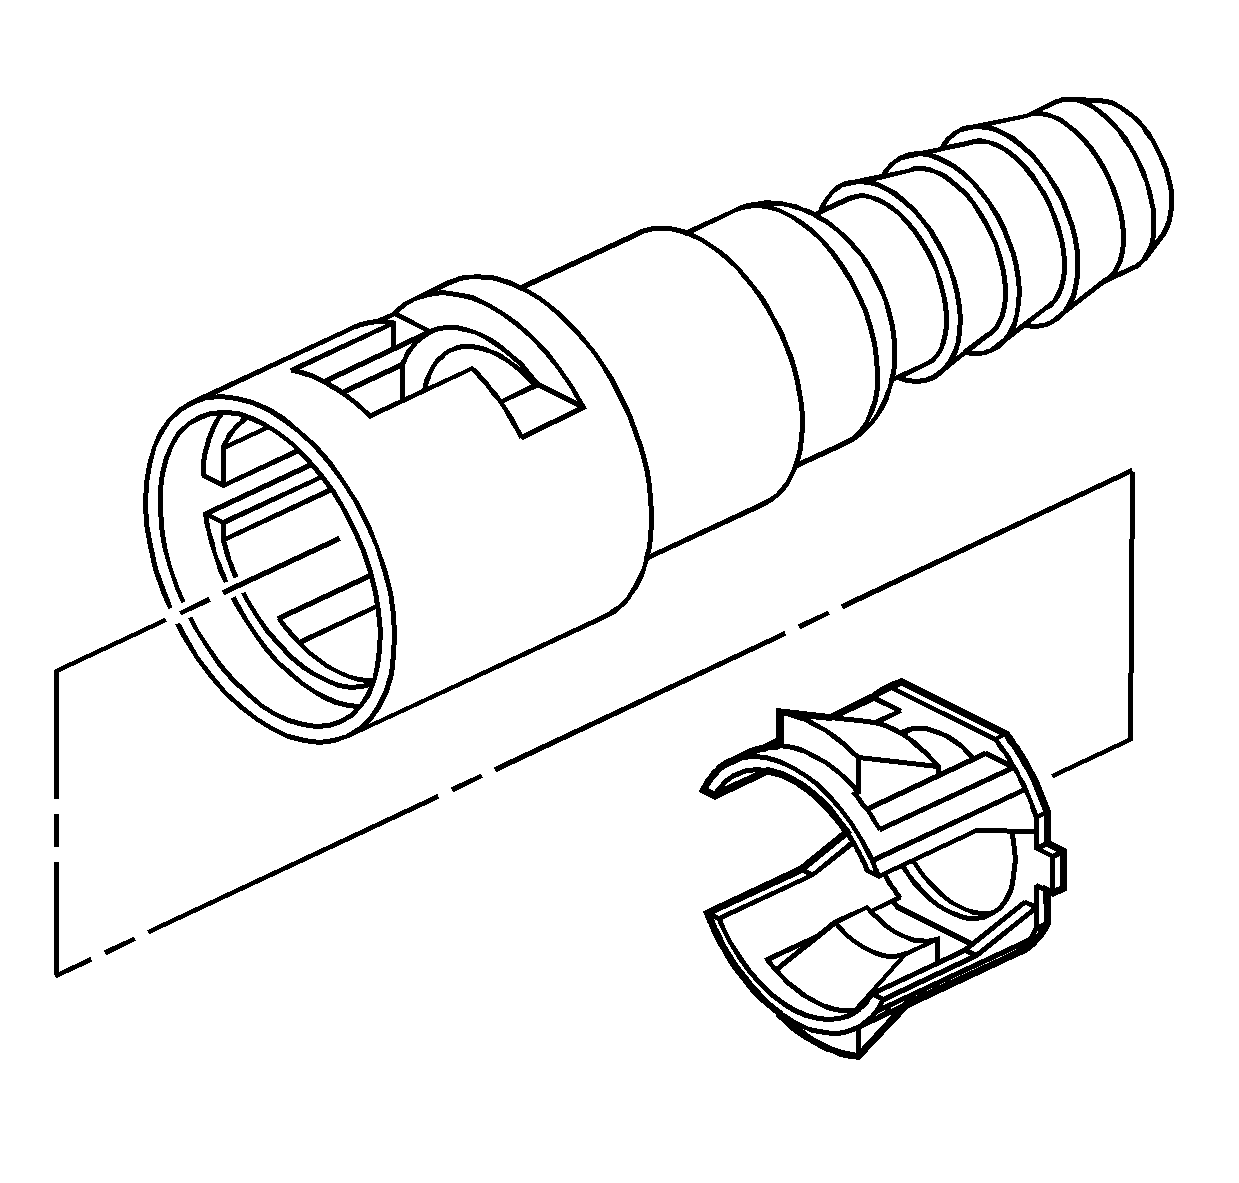
STYLE D

To properly service this style of fitting use the following procedure:
- Push in both tabs of the retainer.
- Pull the female fitting away from the male fitting.
- Remove and discard the retainer fitting from the male fitting.
- Remove and discard the indicator ring (factory use only) from the male fitting.
- Install a NEW retainer fitting into the female fitting.
- Connect the fittings together until a snap is heard and/or felt signifying the retainer tabs have engaged the raised feature of the male fitting.
- Gently pull back on the fittings to verify proper connection of the fittings.