Notice: Use a tire changing machine in order to dismount tires. Do not use hand tools or tire irons alone in order to remove the tire from the wheel. Damage to the tire beads or the wheel rim could result.
Notice: Do not scratch or damage the clear coating on aluminum wheels with the tire changing equipment. Scratching the clear coating could cause the aluminum wheel to corrode and the clear coating to peel from the wheel.
- Deflate the tire completely.
- Use the tire changer in order to remove the tire from the wheel.
- Use a wire brush or coarse steel wool in order to remove any rubber, light rust or corrosion from the wheel bead seats.
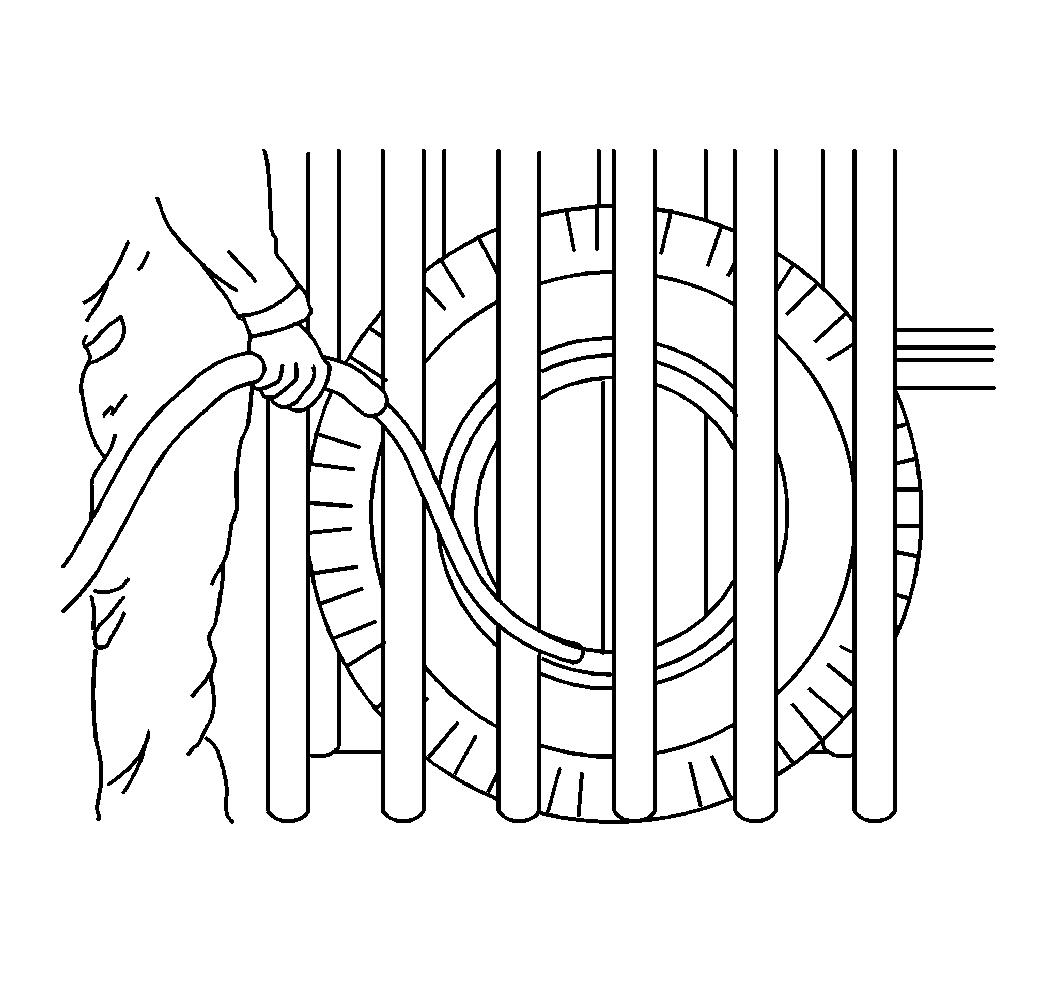
- Apply GM P/N 12345884 (Canadian P/N 5728223) or equivalent to the tire bead and the wheel rim.
- Use the tire changer in order to install the tire to the wheel.
- Inflate the tire to the proper air pressure.
- Ensure that the locating rings are visible on both sides of the tire in order to verify that the tire bead is fully seated on the wheel.
Notice: Damage to either the tire bead or the wheel mounting holes can result from the use of improper wheel attachment or tire mounting procedures. It takes up to 70 seconds for all of the air to completely exhaust from a large tire. Failure to follow the proper procedures could cause the tire changer to put enough force on the tire to bend the wheel at the mounting surface. Such damage may result in vibration and/or shimmy, and under severe usage lead to wheel cracking.
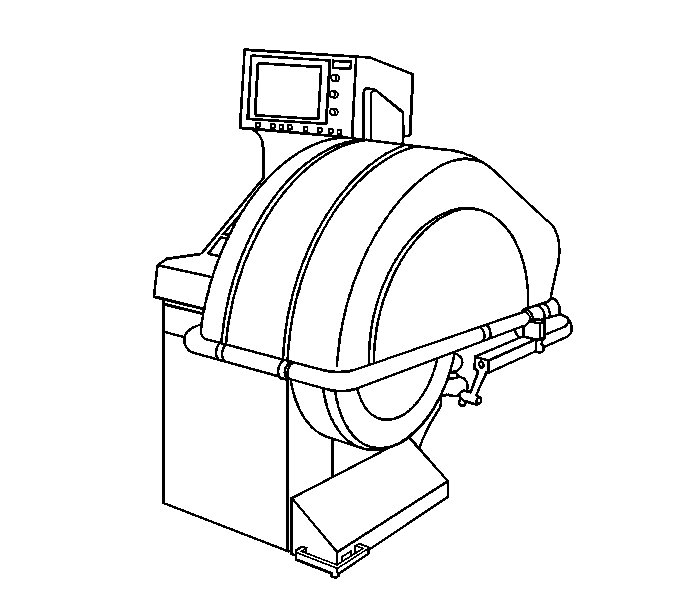
Important: Rim-clamp, sometimes called-European-type tire changers are recommended.
Notice: When mounting the tires, use an approved tire mounting lubricant. DO NOT use silicon or corrosive base compounds to lubricate the tire bead and the wheel rim. A silicon base compound can cause the tire to slip on the rim. A corrosive type compound can cause tire or rim deterioration.
Caution: To avoid serious personal injury, do not stand over tire when inflating. The bead may break when the bead snaps over the safety hump. Do not exceed 275 kPa (40 psi) pressure when inflating any tire if beads are not seated. If 275 kPa (40 psi) pressure will not seat the beads, deflate, relubricate the beads and reinflate. Overinflation may cause the bead to break and cause serious personal injury.
Tire Dismounting and Mounting Beadlock
Tools Required
D528235-H1 Run Flat Lubricant
Dismounting Procedure
Outer Half
- Remove the air valve core to fully deflate the tire. Ensure that valve air passage is not blocked.
- Remove all balance weights from the wheel flange.
- Place the tire on a flat surface with the nuts facing up.
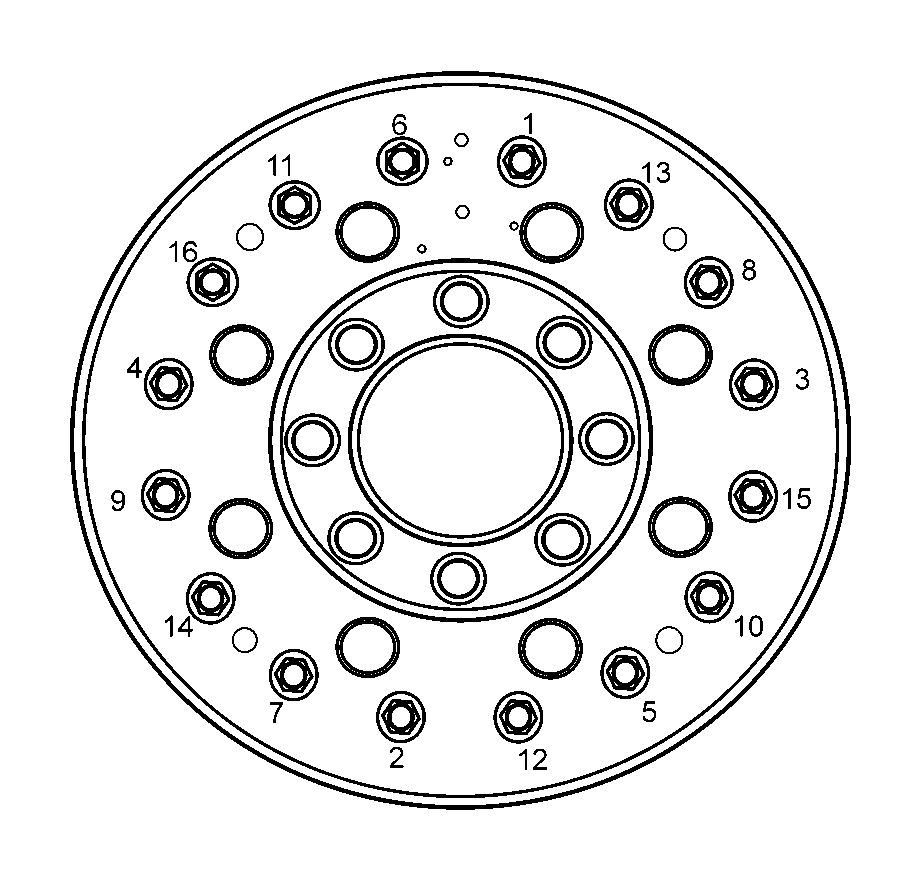
- Loosen all the nuts in a star pattern until all the nuts have been removed.
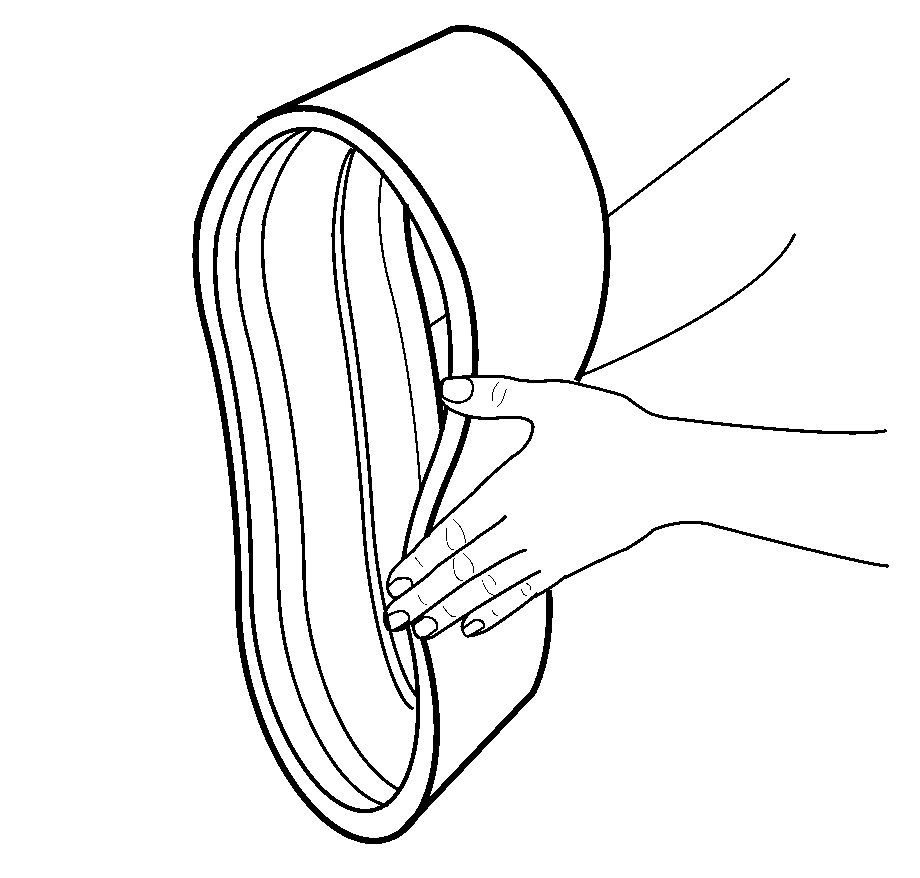
- Apply tire soap to the edge of the outer rim flange.
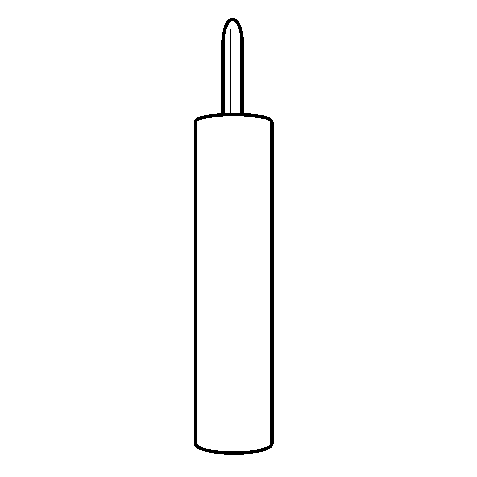
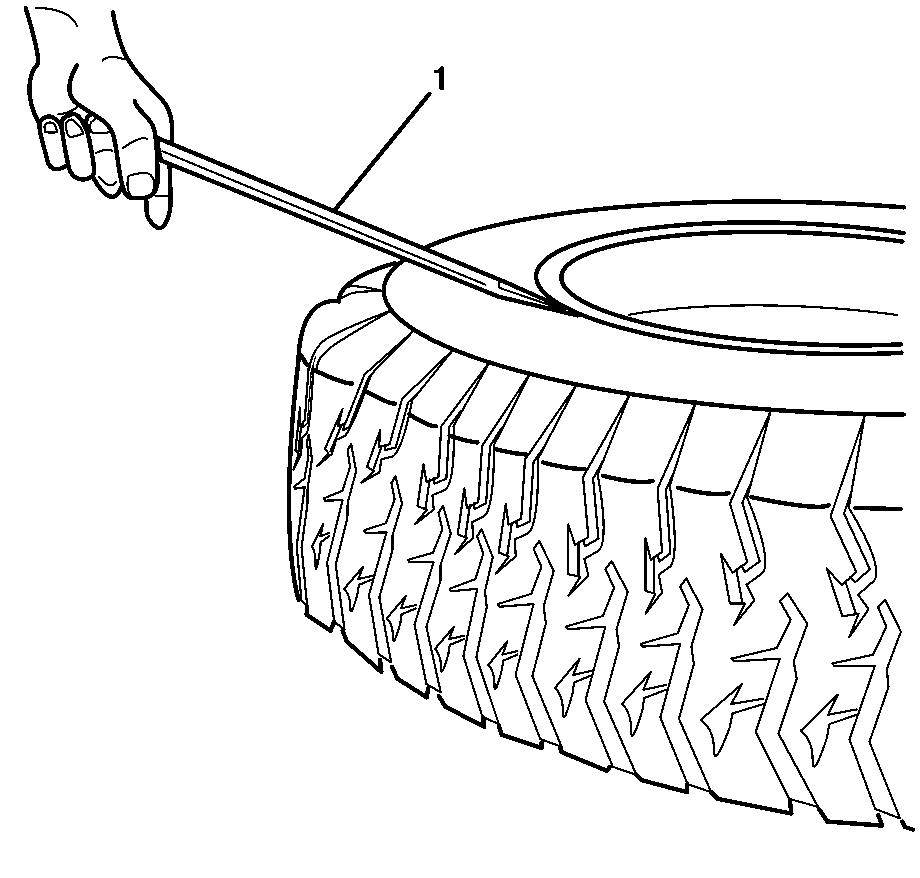
- Install a 7/16 in tire spoon (1) between the flange and the tire and pull down until the spoon is horizontal with the working surface.
- Install the pry bar between the flange and the tire then push up. The blade of the pry bar will push the tire down and off of the 5° beadseat.
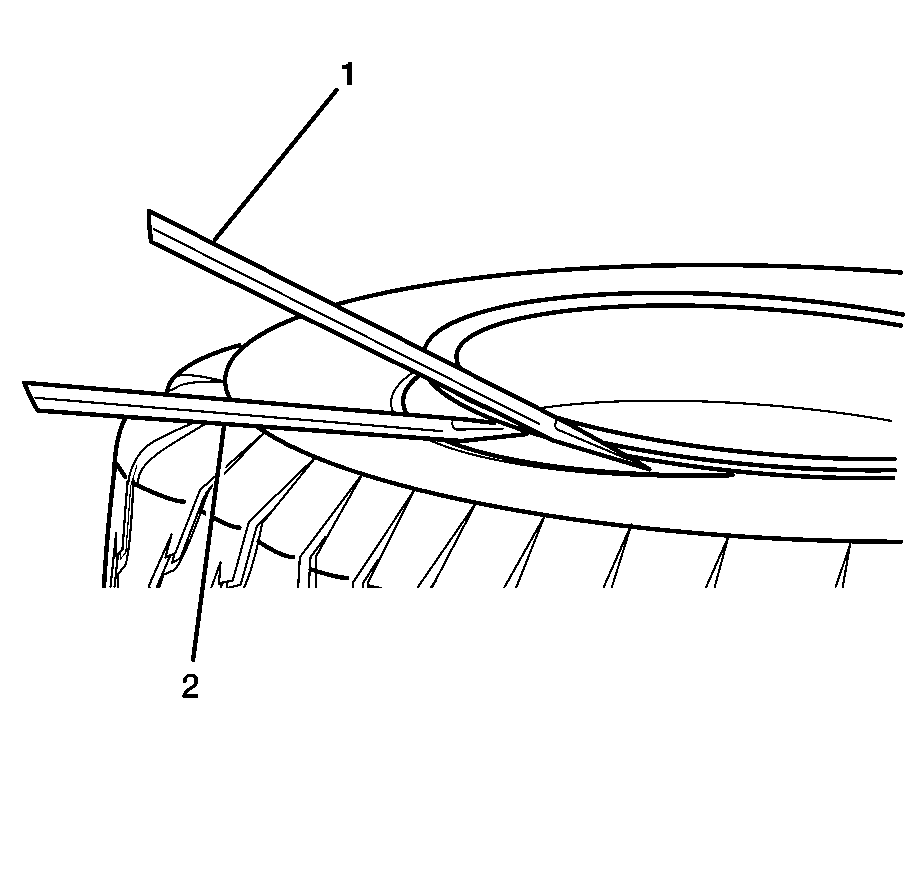
- Using the tire spoon (2) and pry bar (1) at intervals of 45°, work around the wheel and tire.
- Remove the outer wheel from the tire and remove the O-ring and discard.
- Flip the tire assembly over and apply tire soap to the inner flange.
- Using the pry bar and tire spoon, gently pry the inner flange from the tire bead in 3 locations.
- Using the tire spoon (1) between the flange and tire, push the tire spoon down until it is horizontal to the working surface to lift the wheel flange up.
- Using the pry bar between the flange and tire push the tire bead down. The pry bar will push the tire down and off of the 5° bead seat.
- Using the prybar (1) and tire spoon (2) work your way around the tire at intervals of 45°.
- Remove the inner wheel half from the tire.
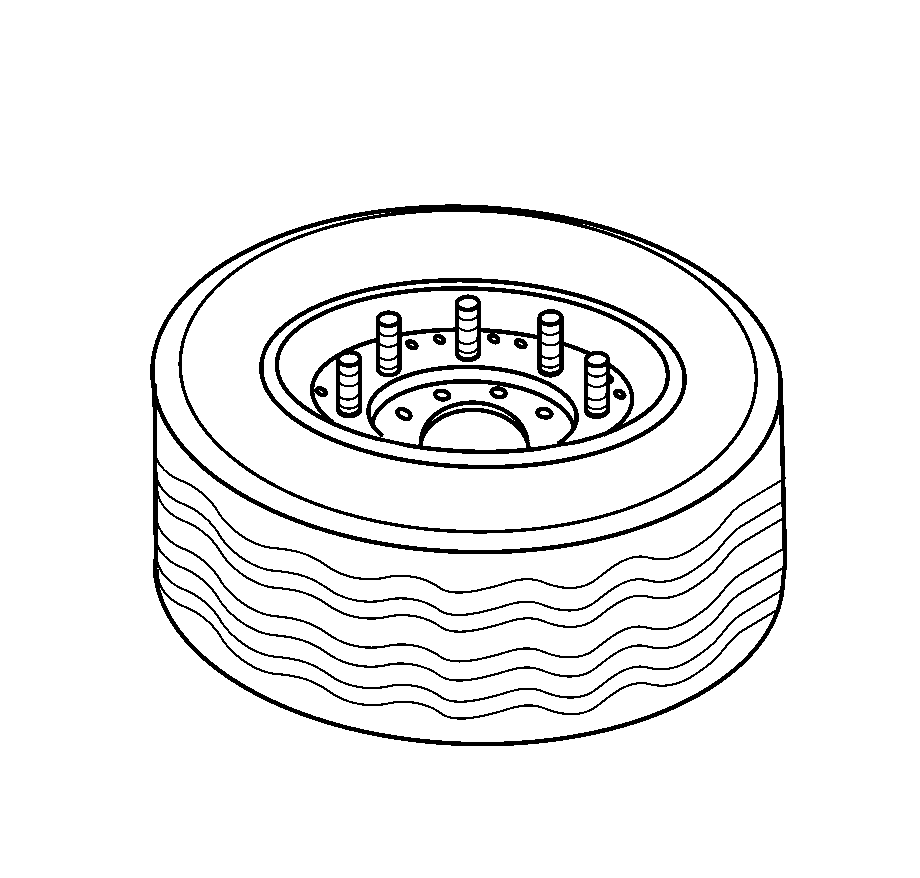
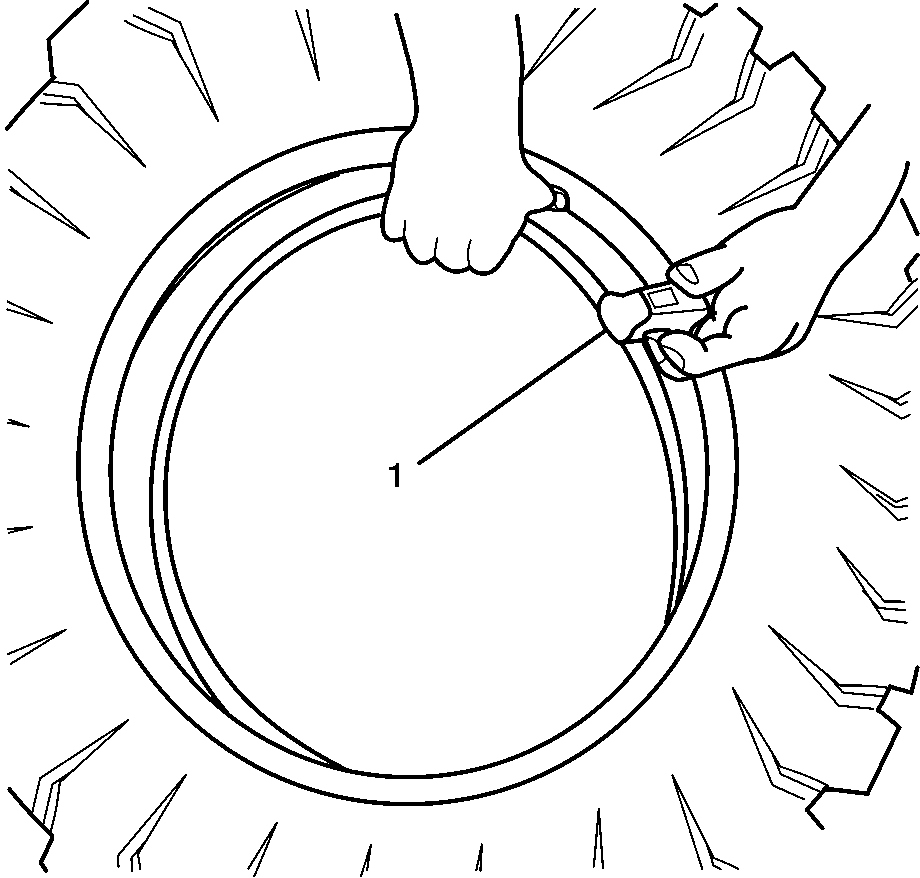
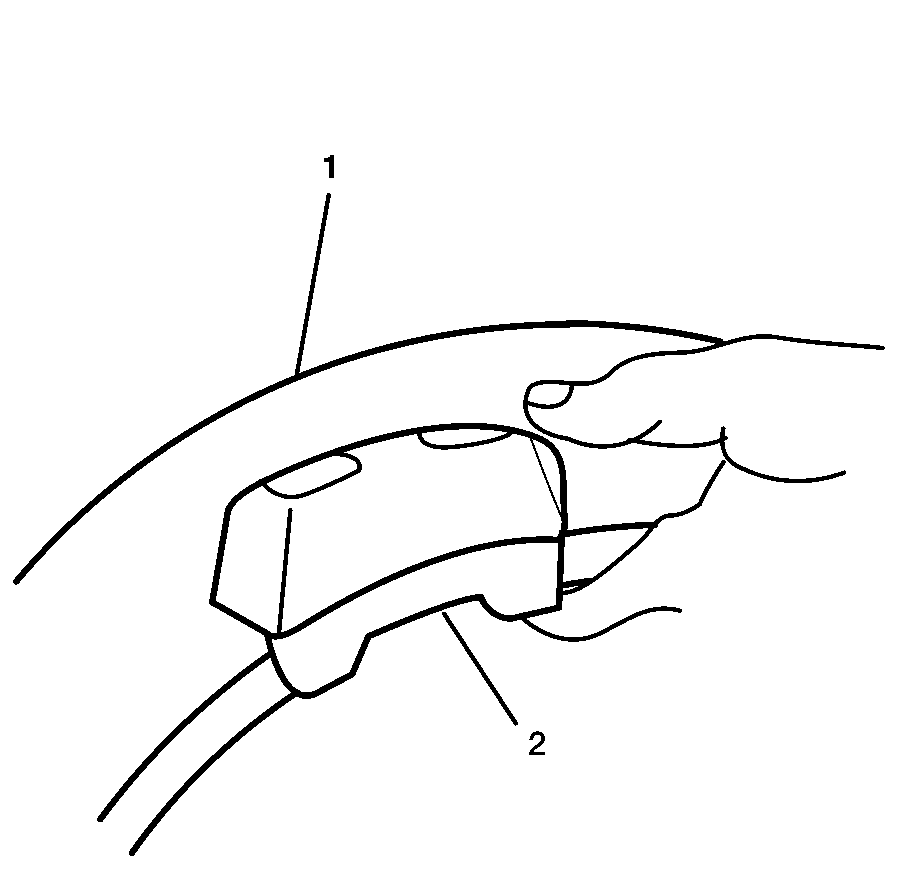
- Locate the air pressure sensor (1) and compress the beadlock insert down enough to expose the sensor.
- Remove the sensor from the beadlock insert.
- Stand the tire on end allowing one side of the beadlock to fall off-center into the tire chamber.
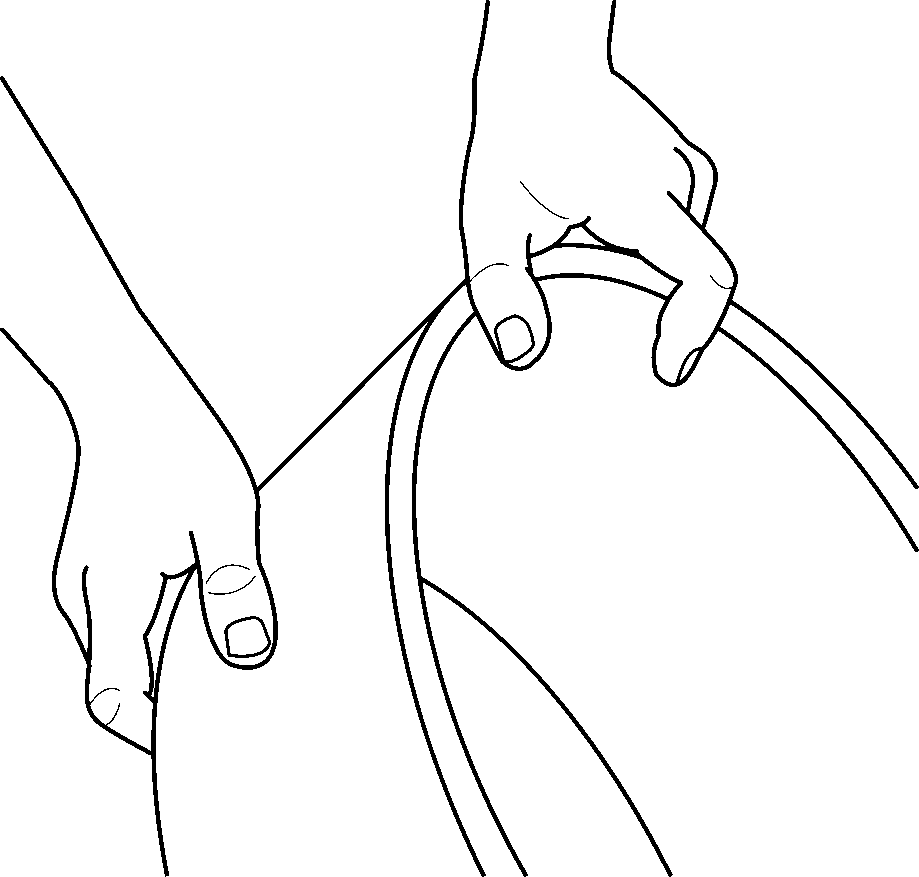
- Place the tire back on the ground and compress the beadlock in an oval shape and twist and pull out of the tire cavity.
Important: Gently pry the outer flange away from the tire bead in 3 locations around the rim.
Important: Ensure that the wheel half is placed with the O-ring side facing up to avoid scratching the surface.
Important: Ensure that the wheel half is placed with the O-ring side facing up to avoid scratching the surface.
Cleaning and Inspection Procedure
- Clean the following areas:
- Inspect the following areas:
| • | Degrease the rim bead seats with denatured alcohol and dry with a clean towel. Allow to dry. |
| • | Clean the tire beads with a clean towel, to remove any dirt or foreign materials. |
| • | Clean the beadlock edges with a clean towel and remove any foreign materials. |
| • | Wipe the O-ring groove with a clean towel and remove any foreign material from the groove. |
| • | Clean the mating surfaces on the outer and inner wheel halfs. |
| • | Outer wheel half for wear, damage or warpage. |
| • | Inner wheel half for wear, damage or warpage. |
| • | Beadlock for wear or damage. |
| • | Replace any worn or damaged parts. |
Mounting Procedure
- Place the tire on a horizontal surface. Compress the beadlock from its round shape into an oval.
- Holding the beadlock with both hands, rotate it and place it into the tire cavity.
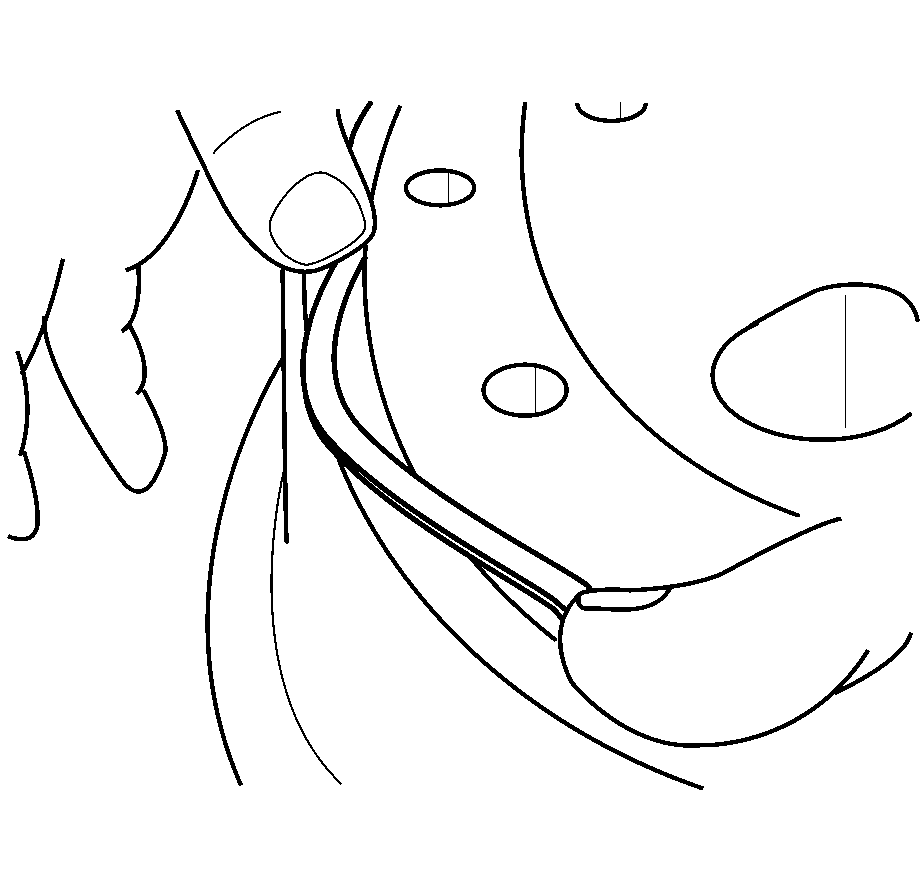
- Install the tire pressure sensor assemble (1) within the beadlock groove (2).
- Position the beadlock, centering it between the tire beads.
- Lubricate the inner edge of the beadlock wheel and tire beads with tire soap to aid installation of the wheel.
- Center the wheel air fitting with one of the grooves in the beadlock and press inner wheel into tire.
- Install the air valve into the rim pulling into position.
- On the outer wheel apply a small amount of run flat lubricant D528235-H1 to the O-ring groove and install the O-ring. Remove excess of lubricant.
- Install the outer wheel into the tire. Ensure that the air fitting is in line with one of the grooves.
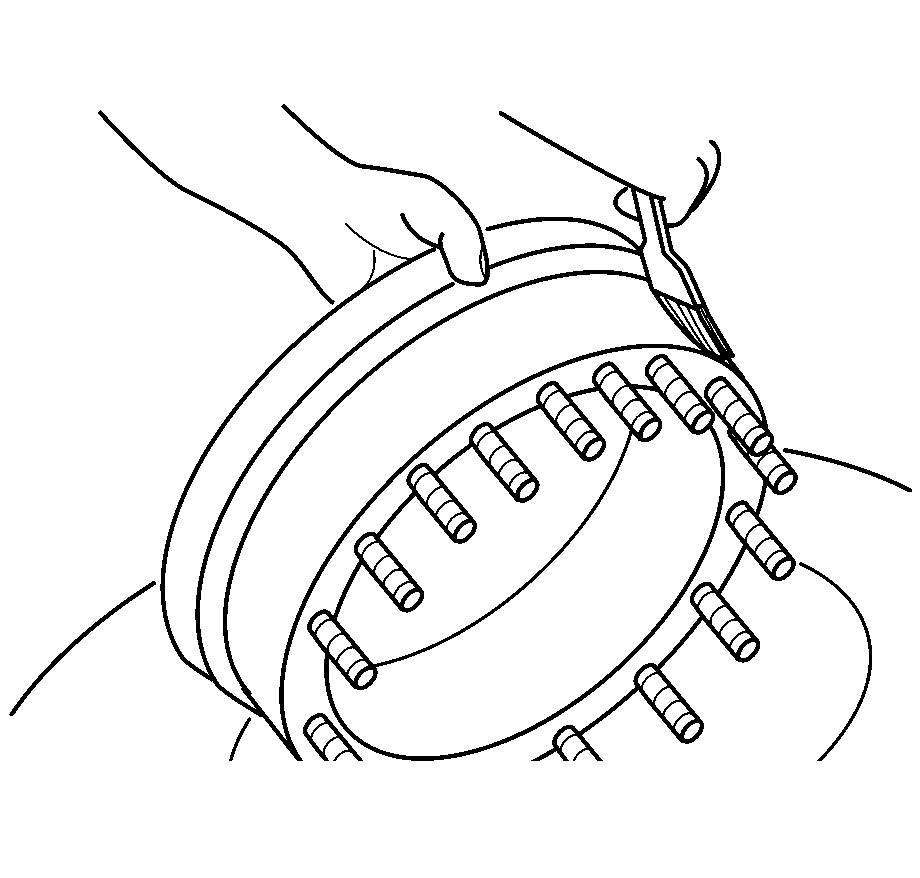
- With the inner wheel studs facing up, install the wheel nuts by hand to a minimum of 4 threads.
- Using the torque pattern, tighten the nuts.
- Place the tire in an approved inflation safety cage and inflate to 30 psi (206 kPa).
- Check the tire bead seating for space between the wheel flange and the tire. While the wheel is lying flat, inspect the entire circumference of the wheel flange. If this condition exists disassemble and restart by inspecting the O-ring.
- Inflate the tire to air pressure and inspect for leaks, by placing the wheel in a water tank or letting it sit for 48 hours. If the pressure loss is less than 1 psi (7 kPa) the tire is acceptable for use.
- Dynamically balance the tire using a maximum balance weight of 170 g (6 oz) per side. Refer to Tire and Wheel Assembly Balancing - Off Vehicle in Vibration Diagnosis and Correction 2005 C/K Truck Service Manual.
Important: The sensor must be opposite one of the two beadlock grooves (2).

Important: Ensure that both inner wheel sealing surfaces are completely free of any debris.
Notice: Refer to Fastener Notice in the Preface section.
Important: The specified torque pattern must be followed to prevent damage or improper sealing.
Important: Retorque wheel nuts in a star pattern at 80-161 KH (50-100 MI) and 8047 KH (5,000 MI) thereafter retorque to 102-108 N·m (75-80 lb ft).
Tighten
| • | Tighten the wheel nuts (first pass) to 81 N·m (60 lb ft). |
| • | Tighten the wheel nuts (second pass) to 102-108 N·m (75-80 lb ft). |
Caution: Allowing pressure to continue to build up within a tire in an attempt to seat the bead is a dangerous practice that can result in a broken tire bead and possible serious injury to the technician.