For 1990-2009 cars only
Front Blackout Marker Lamp Replacement LSSV
Removal Procedure
- Ensure all lamp switches are in the OFF position.
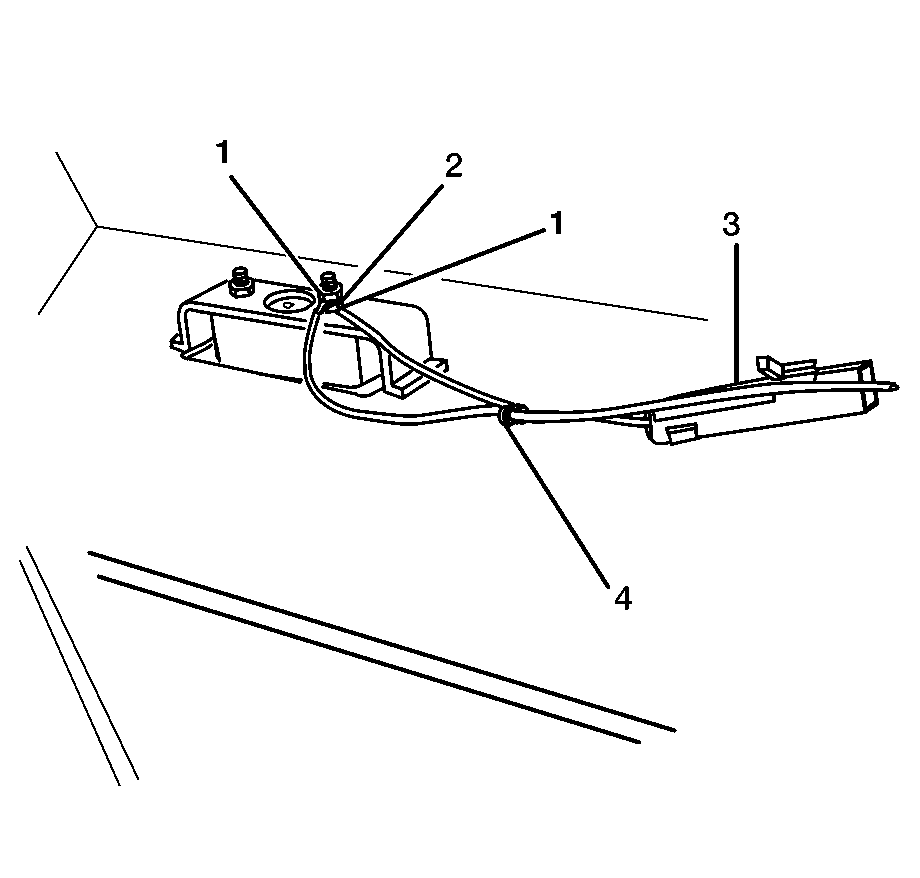
- Remove the wiring harness strap (4) from the marker lamp harness.
- Remove the harness connector (3) by releasing the connector tab.
- Remove the nuts (1) and the ground connector (2) from the marker lamp.
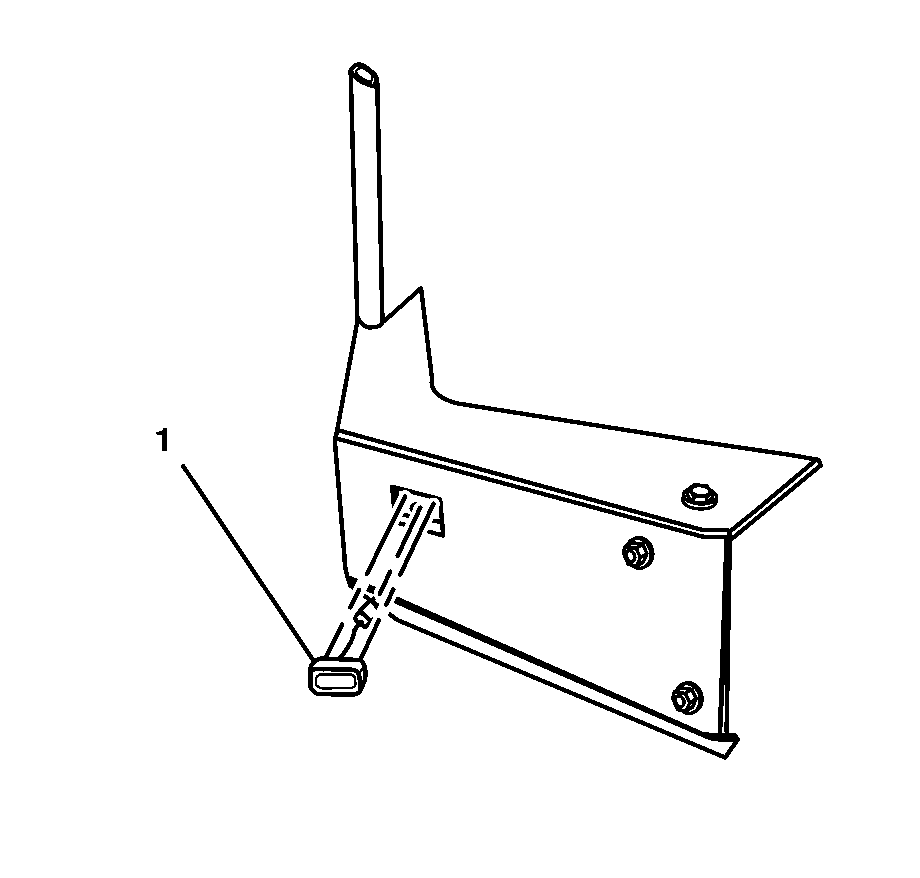
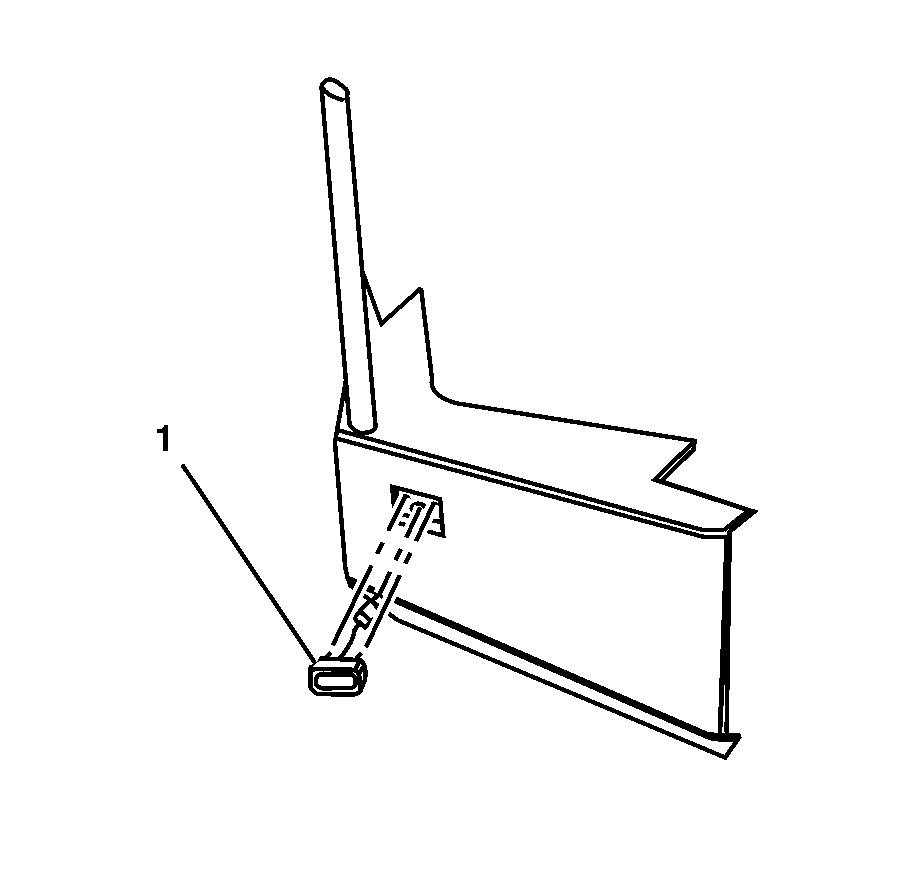
- Remove the blackout (B/O) marker lamp assembly (1) from the bumper.


Installation Procedure
- Install the marker lamp (1) into the front bumper opening.
- Install the nuts (1) and the ground connector (2) onto the maker lamp studs.
- Install the harness connector (3) to the marker lamp connector.
- Secure the harness in the original mounting location using the wiring harness strap (4).

Notice: Refer to Fastener Notice in the Preface section.

Tighten
Tighten the marker lamp nuts to 2 N·m (18 lb in).
Front Blackout Marker Lamp Replacement Ambulance/Maintenance Body
Removal Procedure
- Ensure all lights are in the OFF position.
- Remove the wiring harness strap (4) from the marker lamp harness.
- Remove the harness connector (3) by releasing the connector tab.
- Remove the nuts (1) and the ground connector (2) from the marker lamp.
- Remove the blackout (B/O) marker lamp assembly (1) from the bumper.


Installation Procedure
- Install the marker lamp (1) into the front bumper opening.
- Install the nuts (1) and the ground connector (2) onto the maker lamp studs.
- Install the harness connector (3) to the marker lamp connector.
- Secure the harness in the original mounting location using the wiring harness strap (4).

Notice: Refer to Fastener Notice in the Preface section.

Tighten
Tighten marker lamp nuts to 2 N·m (18 lb in).
