Removal Procedure
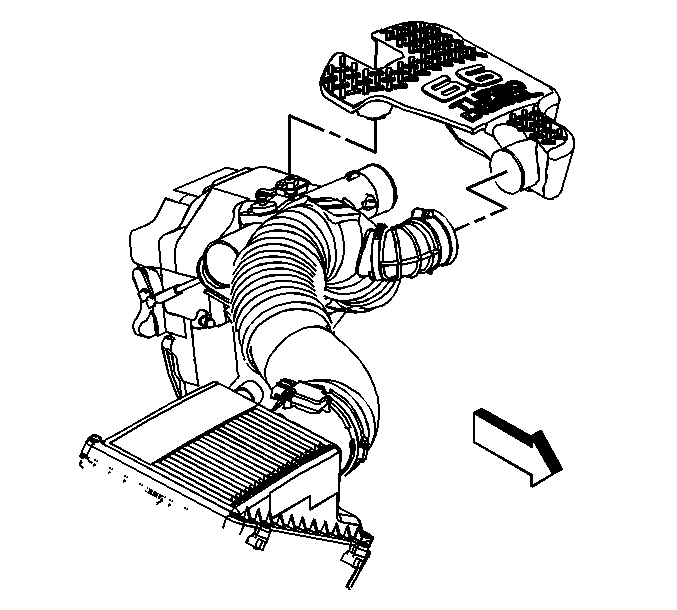
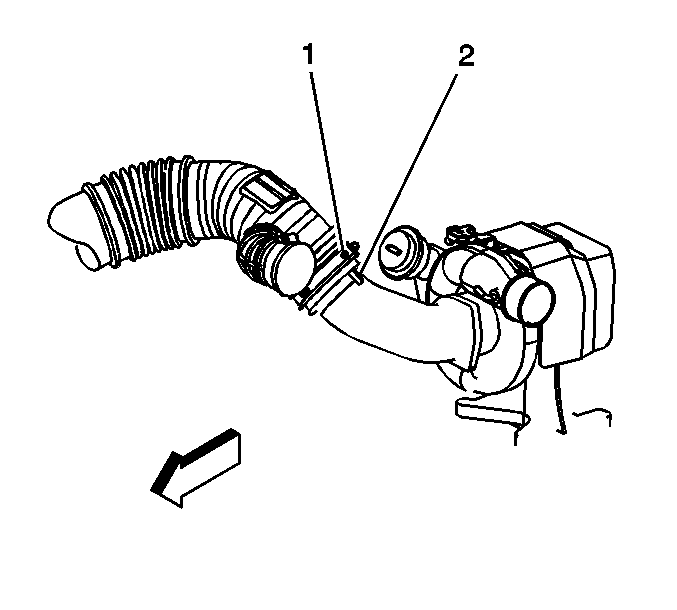
- Loosen the outlet duct clamp at the upper intake manifold cover.
- Remove the upper intake manifold cover from the outlet duct.
- Remove the upper intake manifold cover.
- If removing the right side hose, loosen the outlet duct clamps at the turbocharger and the mass air flow/intake air temperature (MAF/IAT) sensor.
- Remove the outlet duct.
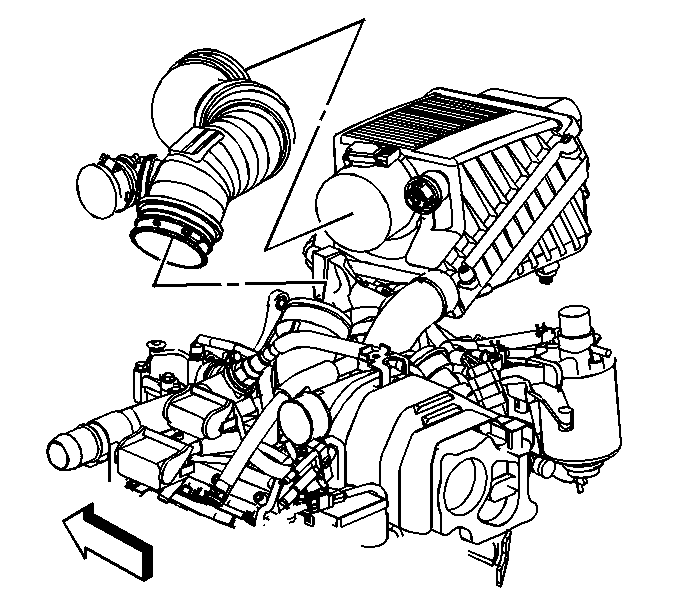
- If removing the right side hose, loosen the charged air cooler outlet duct to intake hose clamp (1).
- Remove the charged air cooler outlet duct from the intake.
- If removing the left side hose, loosen the charged air cooler inlet duct to turbocharger clamp (1).
- Remove the charged air cooler inlet duct from the turbocharger.
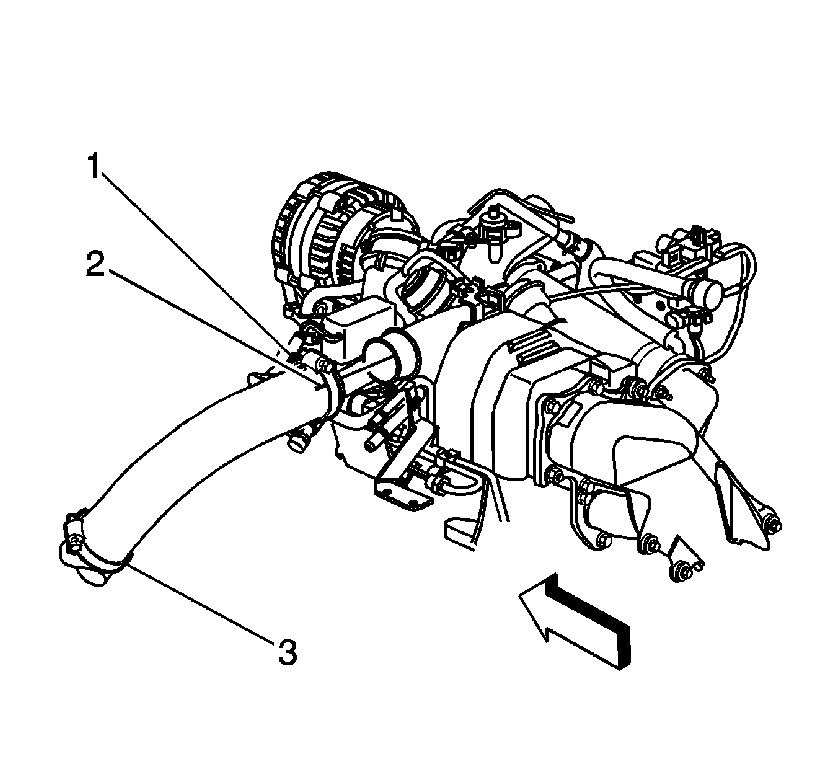
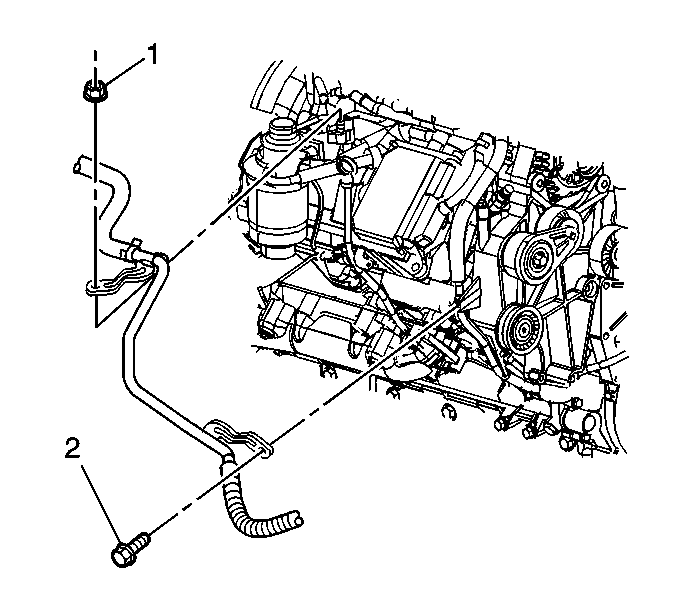
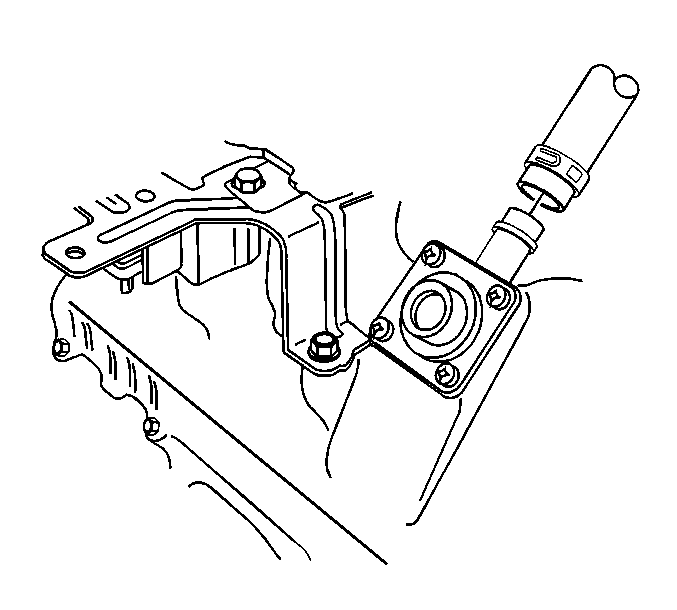
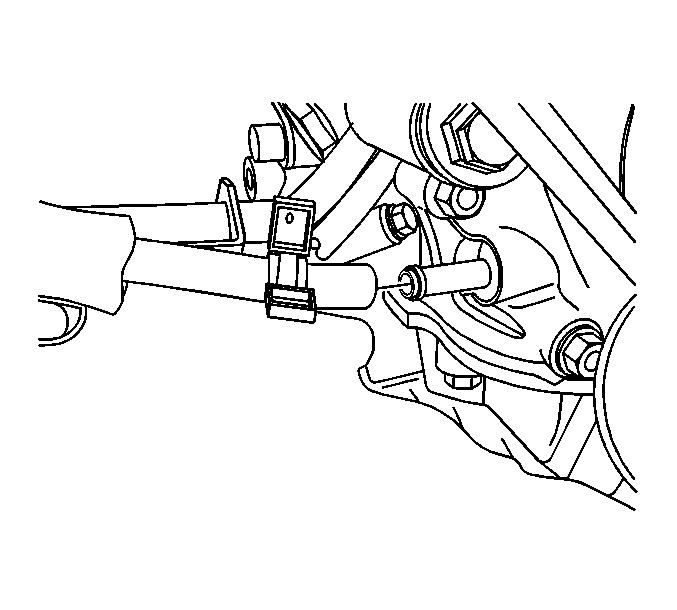
- In order to access the right side hose, remove the heater outlet hose nut (1) and bolt (2).
- Position the heater outlet hose out of the way.
- Disconnect both of the positive crankcase ventilation (PCV) hoses from the rocker covers.
- Disconnect the PCV oil separator drain hose from the engine block.
- Disconnect the hose from the oil separator.
- Remove the oil separator and hoses.
- Inspect the all of the PCV hoses for damage.
- Inspect the oil separator for cracks or damage.
- Replace any parts found with damage.
Important: After removing the turbocharger air ducts, cover the turbocharger openings with tape to prevent entry of objects.
Important: Do not use a screwdriver or other tool to pry the hose loose. The hose can be torn or damaged. Loosen the hose by twisting.
Important: Do not use a screwdriver or other tool to pry the hose loose. The hose can be torn or damaged. Loosen the hose by twisting.
Installation Procedure
- Connect the oil separator oil drain hose to the engine block.
- Connect the hose to the oil separator.
- Connect both of the PCV hoses to the rocker covers.
- Position the heater outlet hose.
- Install the heater outlet hose nut (1) and bolt (2).
- Remove the tape from the turbocharger openings.
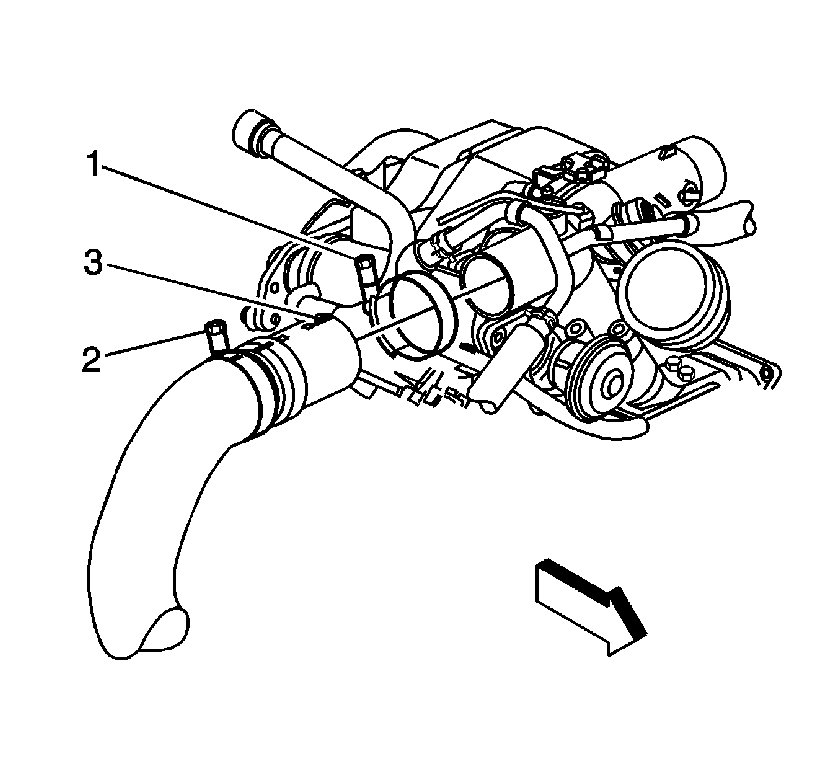
- Install the charged air cooler inlet duct to the turbocharger.
- Align the mark on the duct (2) with the mark on the turbocharger.
- Position the clamp (1) as shown for proper clearance.
- Install the charged air cooler outlet duct to the intake.
- Position the clamp (1) as shown for proper clearance.
- Install the outlet duct to the turbocharger.
- Align the outlet duct alignment indicator (1) to the turbocharger alignment indicator (2).
- Install the outlet duct to the MAT/IAT sensor.
- Tighten the outlet duct clamps at the turbocharger and the MAF/IAT sensor.
- Install the upper intake manifold cover.
- Install the upper intake manifold cover to the outlet duct.
- Tighten the outlet duct clamp at the upper intake manifold cover.
Notice: Refer to Fastener Notice in the Preface section.
Tighten
| • | Tighten the nut to 9 N·m (80 lb in). |
| • | Tighten the bolt to 25 N·m (18 lb ft). |
Tighten
Tighten the clamp to 6 N·m (53 lb in).
Align the mark on the duct (3) with the mark on the intake.
Tighten
Tighten the clamp to 6 N·m (53 lb in).
Important: The outlet duct must be fully seated against the MAT/IAT sensor with the edge of the seal in the vertical position.
Tighten
Tighten the clamps to 6 N·m (53 lb in).
Tighten
Tighten the clamp to 6 N·m (53 lb in).
