Tools Required
- Clean the following areas:
| | Notice: Do not use a caustic solution to clean the aluminum engine block.
|
| | Important: When cleaning the engine block in a thermal type oven, do not exceed 232°C (450°F).
|
| • | The engine block in the solvent, to remove all sludge, dirt, or debris |
Caution: Wear safety glasses in order to avoid eye damage.
| • | Dry the block with compressed air. |
| • | The engine block cylinder head bolt holes for threadlocking material |
| • | Thread repair driver tool J 42385-107 may be used to clean the threads of old threadlocking material. |
- Inspect the following areas:
| • | The cylinder walls for excessive scratches, gouging, or ring ridge |
| • | The cylinder bores for excessive ring ridge at the top of the cylinder |
| • | The coolant jacket for cracks |
| • | The valve lifter bores for excessive scoring or wear |
| • | The crankshaft bearing webs for cracks |
| • | The gasket sealing surfaces for excessive scratches or gouging |
| • | The oil galleries for restrictions |
| • | All threaded bolt holes for damage |
- Measure the cylinder bores for excessive ring ridge at the top of the cylinder.
Measuring the Cylinder for Oversize

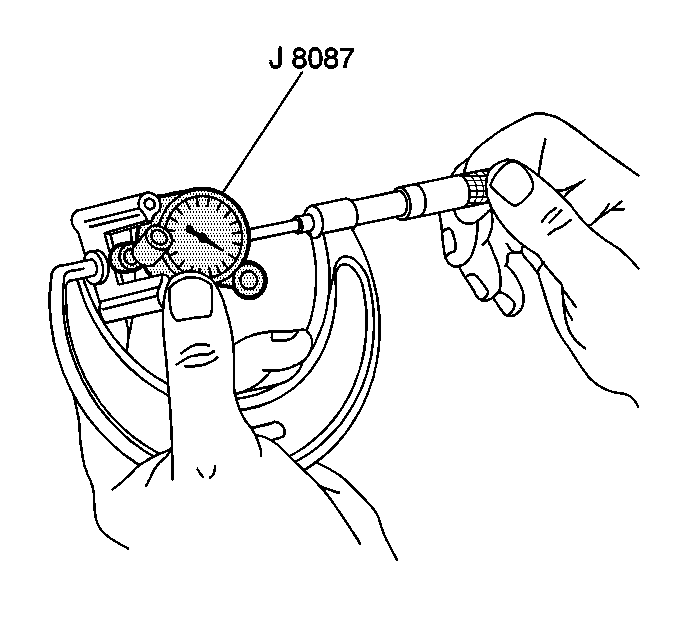
- Adjust the micrometer to a dimension slightly smaller than the bore size.
| • | Adjust the micrometer to 96.0 mm (3.78 in) for 4.8/5.3L engines. |
| • | Adjust the micrometer to 101.62 mm (4.0 in) for 6.0L engines. |

- Insert the
J 8087
into the micrometer and zero the
J 8087
dial.
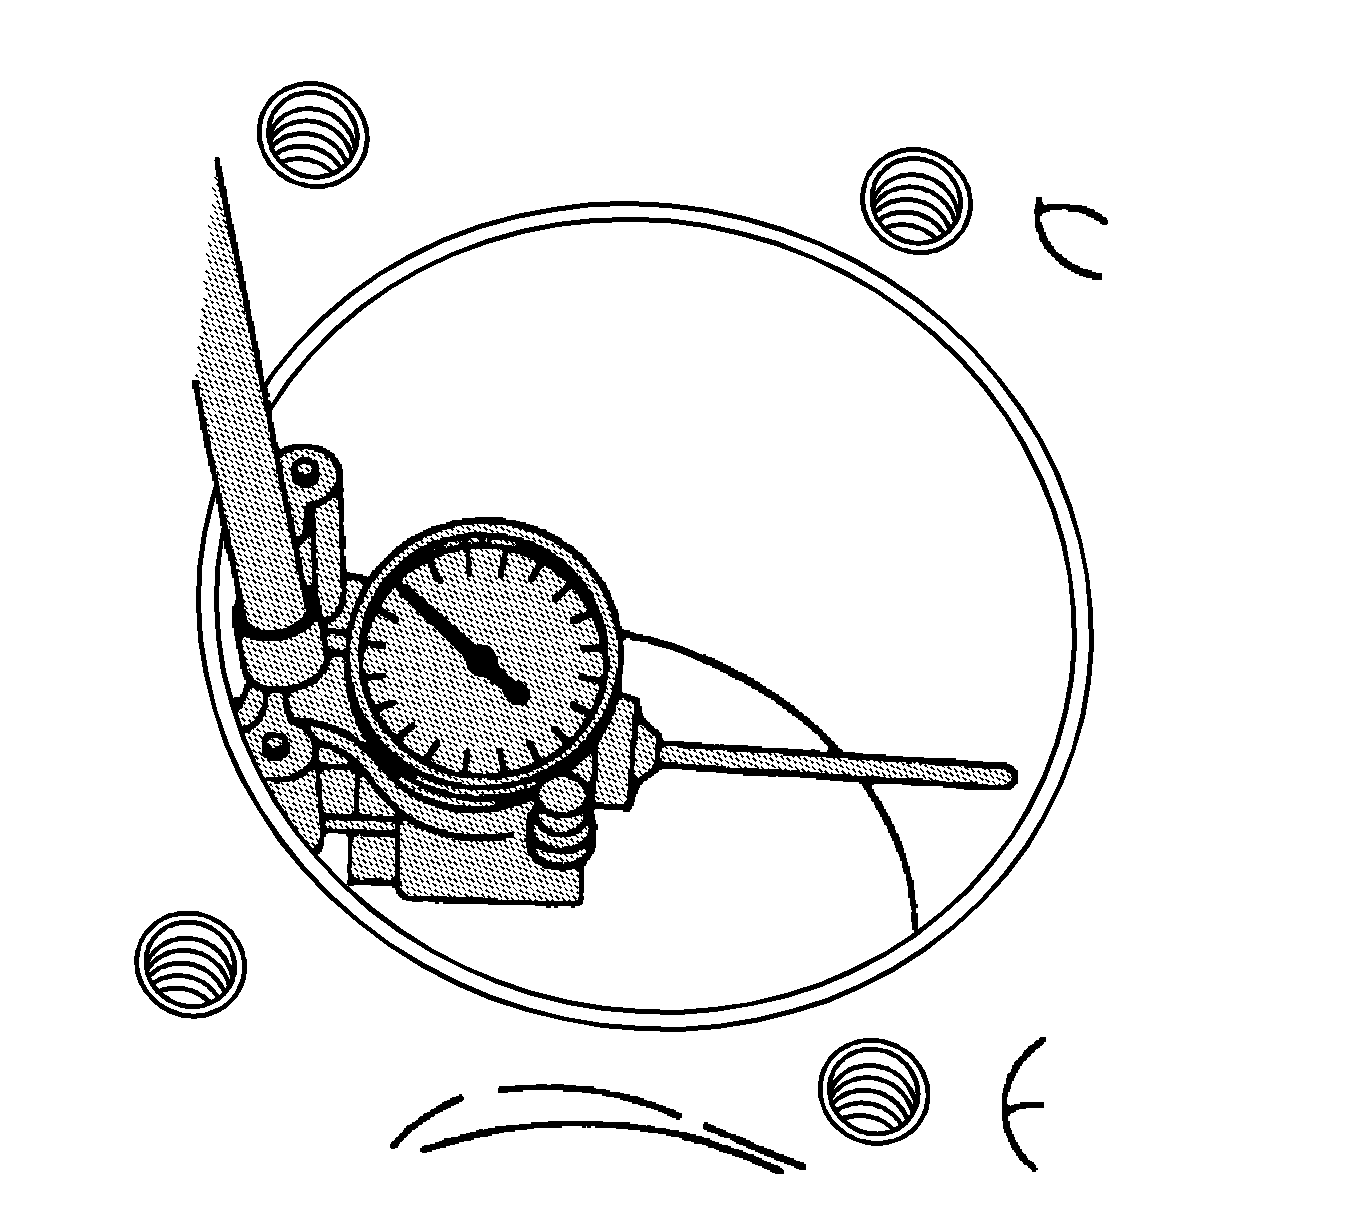
- Using a
J 8087
, measure the cylinder bore for oversize.
- Slide the
J 8087
up and down throughout the length of the cylinder bore. Measure the bore both parallel and perpendicular to the centerline of the crankshaft at the top, center, and bottom of the
bore.
| • | A 4.8/5.3L cylinder bore that measures 96.000-96.018 mm (3.779-3.78 in) may be honed and serviced with a standard size piston. |
| • | A 6.0L cylinder bore that measures 101.618-101.636 mm (4.0007-4.0014 in) may be honed and serviced with a standard size piston. |
| • | A cylinder bore that exceeds the maximum diameter must be serviced with an oversized piston. |


