Tools Required
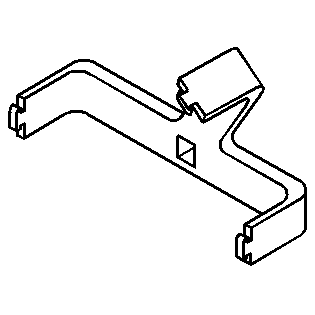
J 45747 Fuel Tank Sender Wrench.
Removal Procedure - Up to 29 May 2007
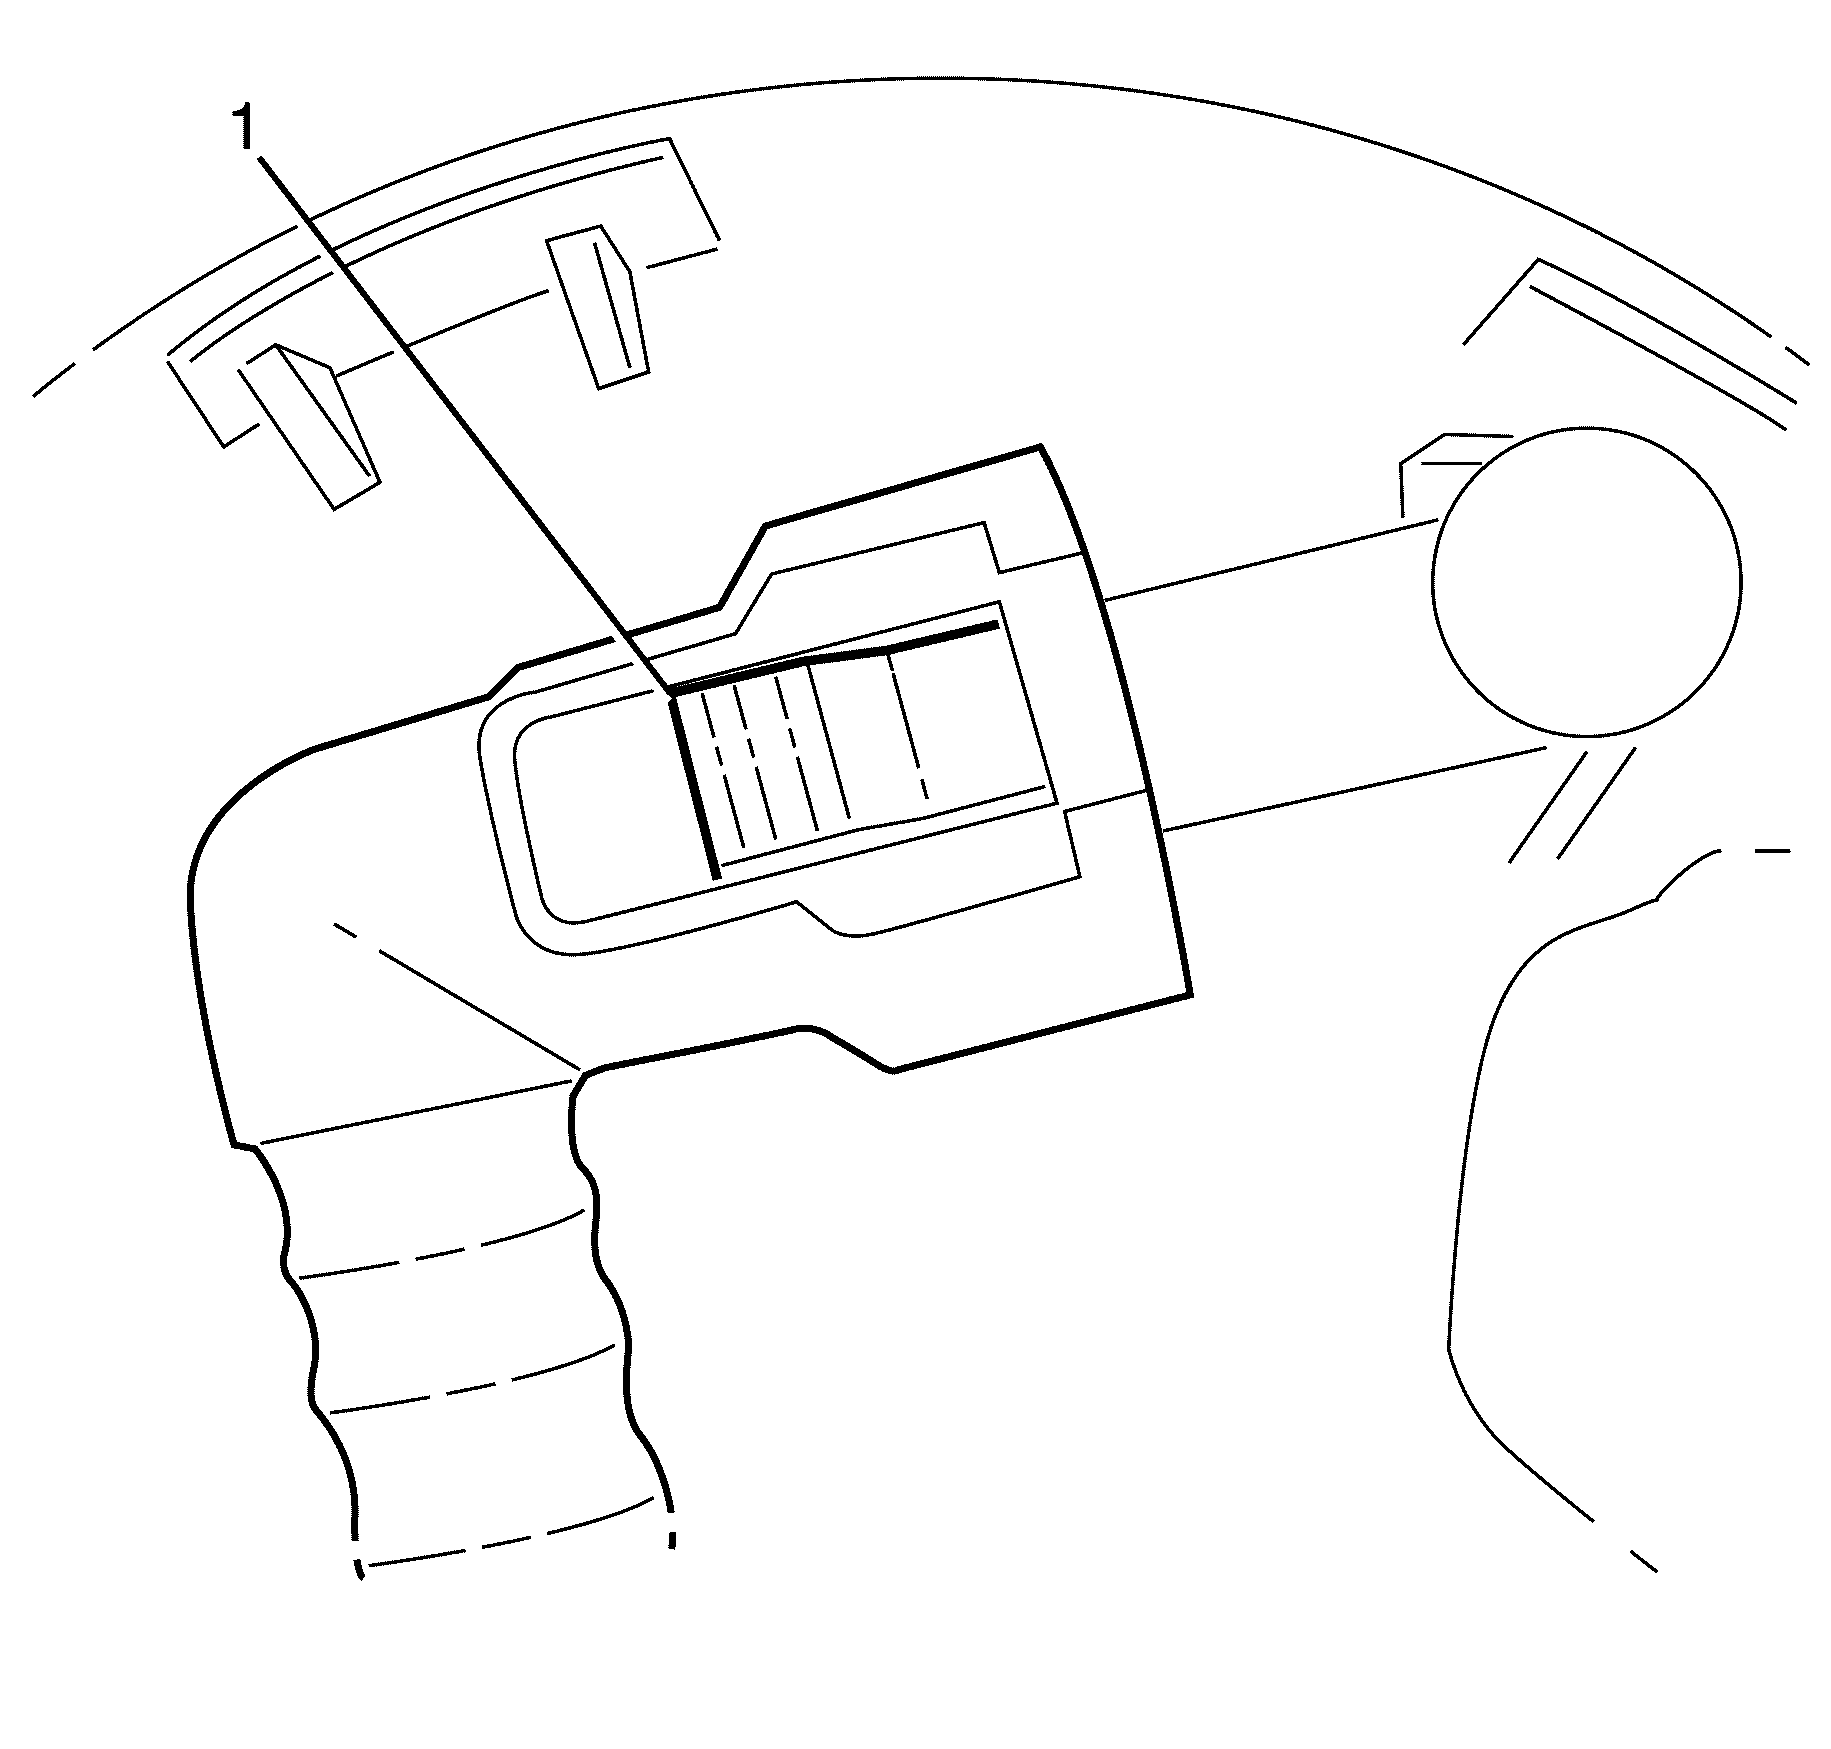
- Remove rear seat cushion. Refer to Rear Seat Cushion Replacement .
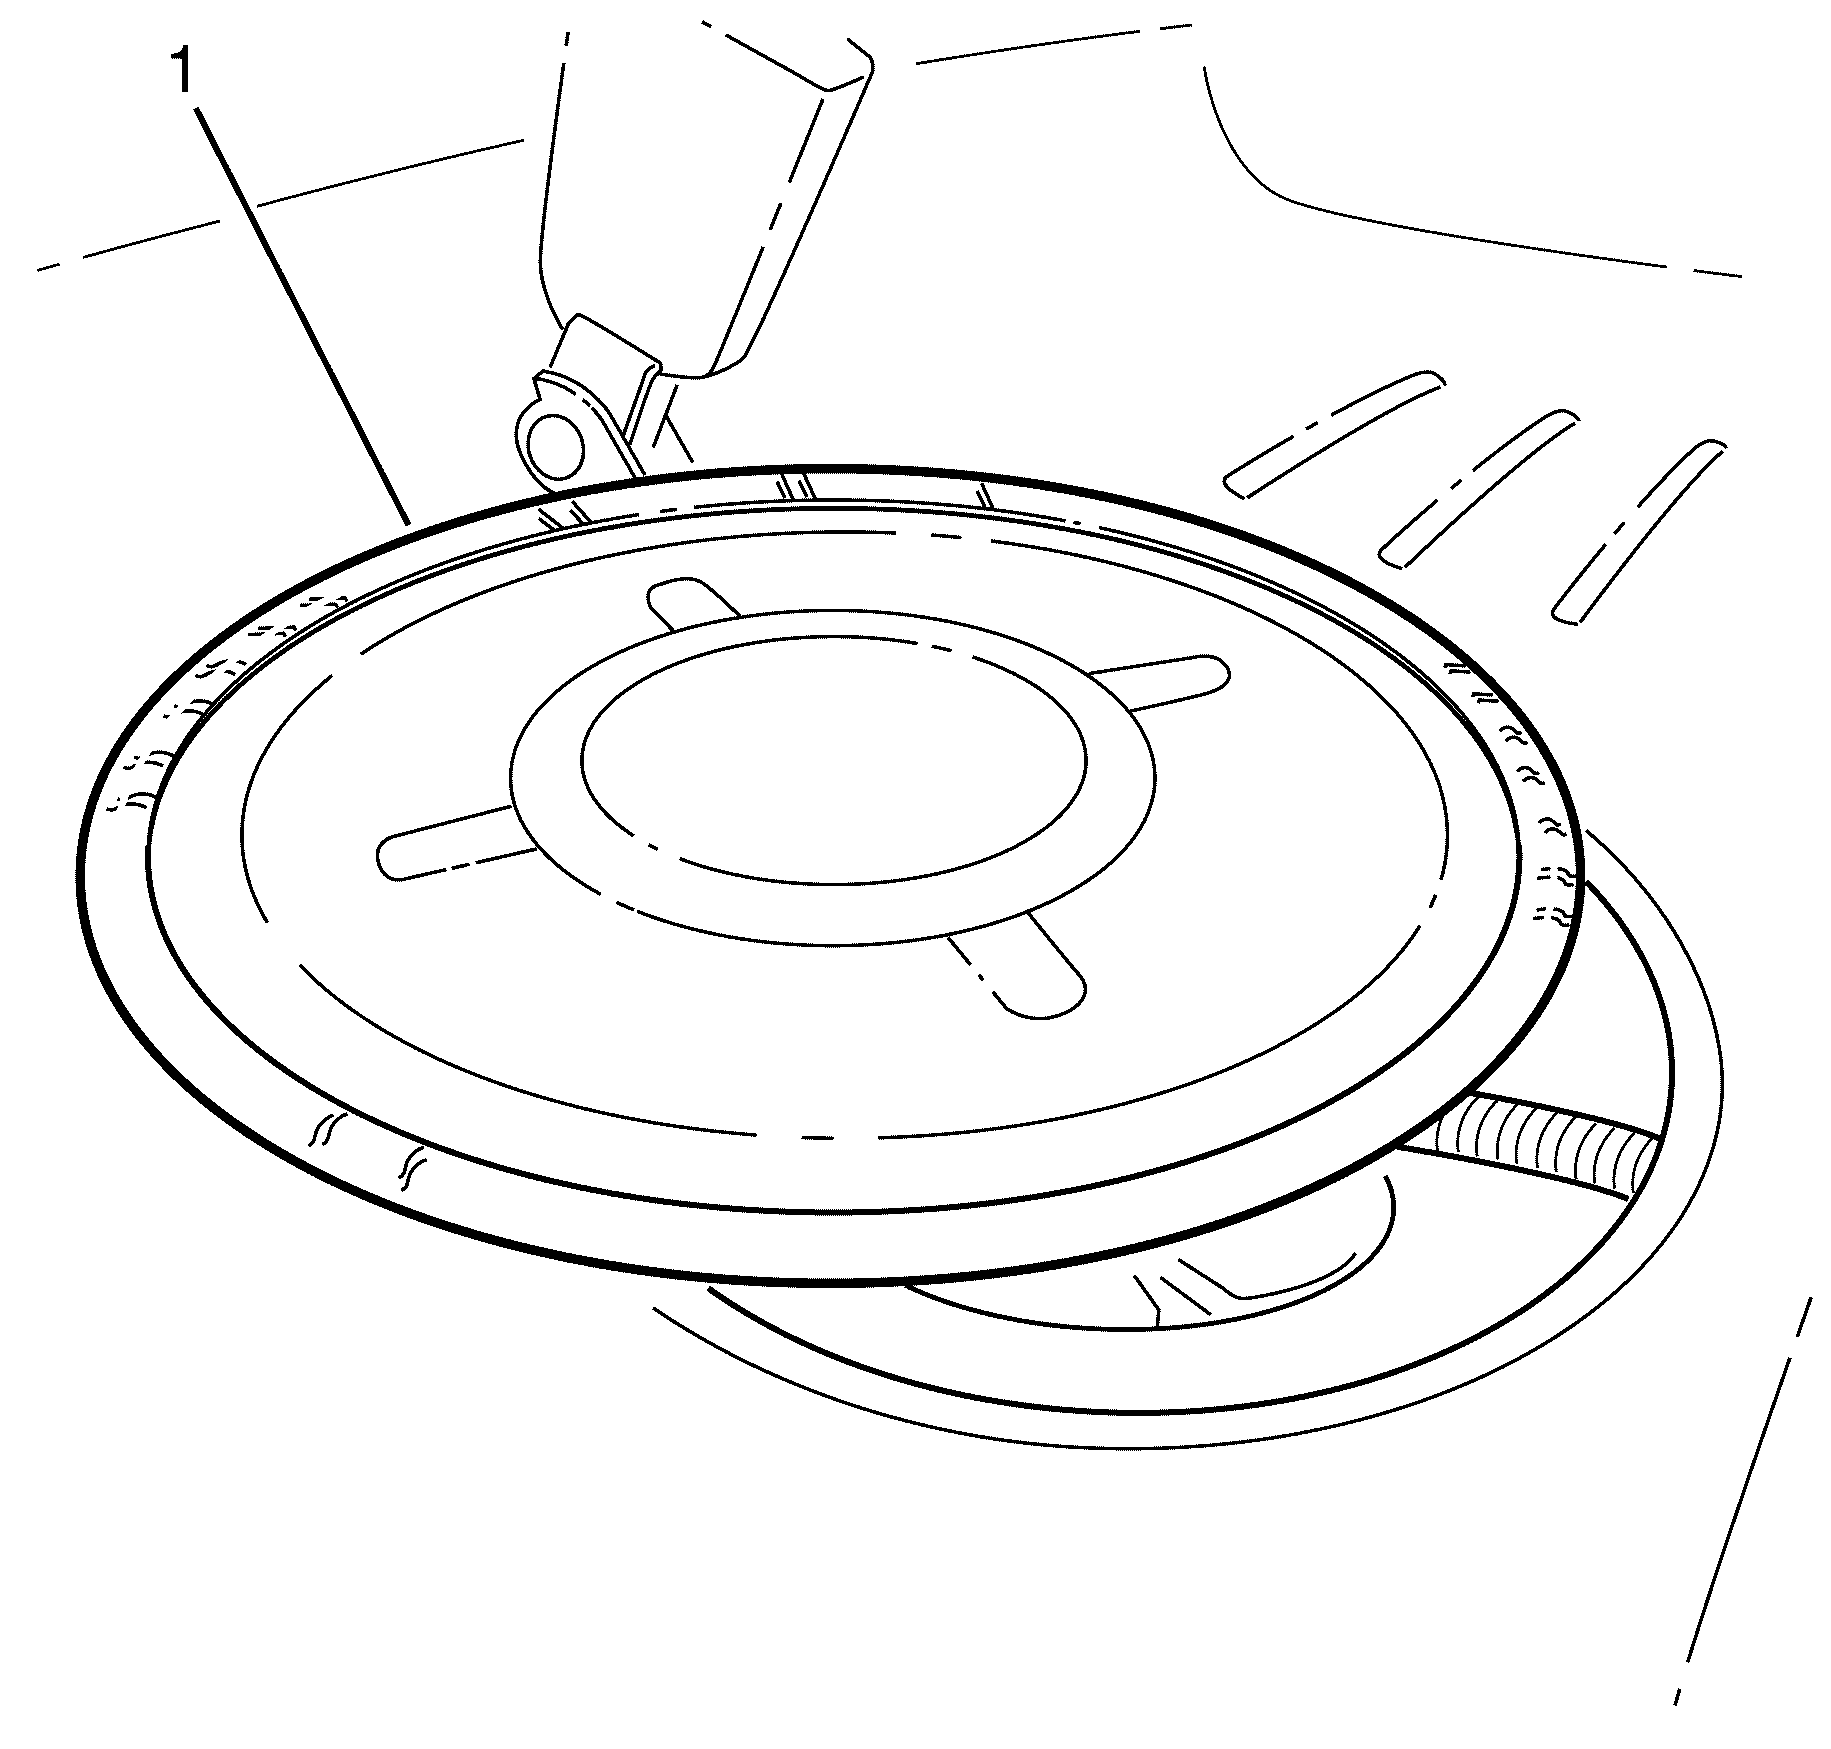
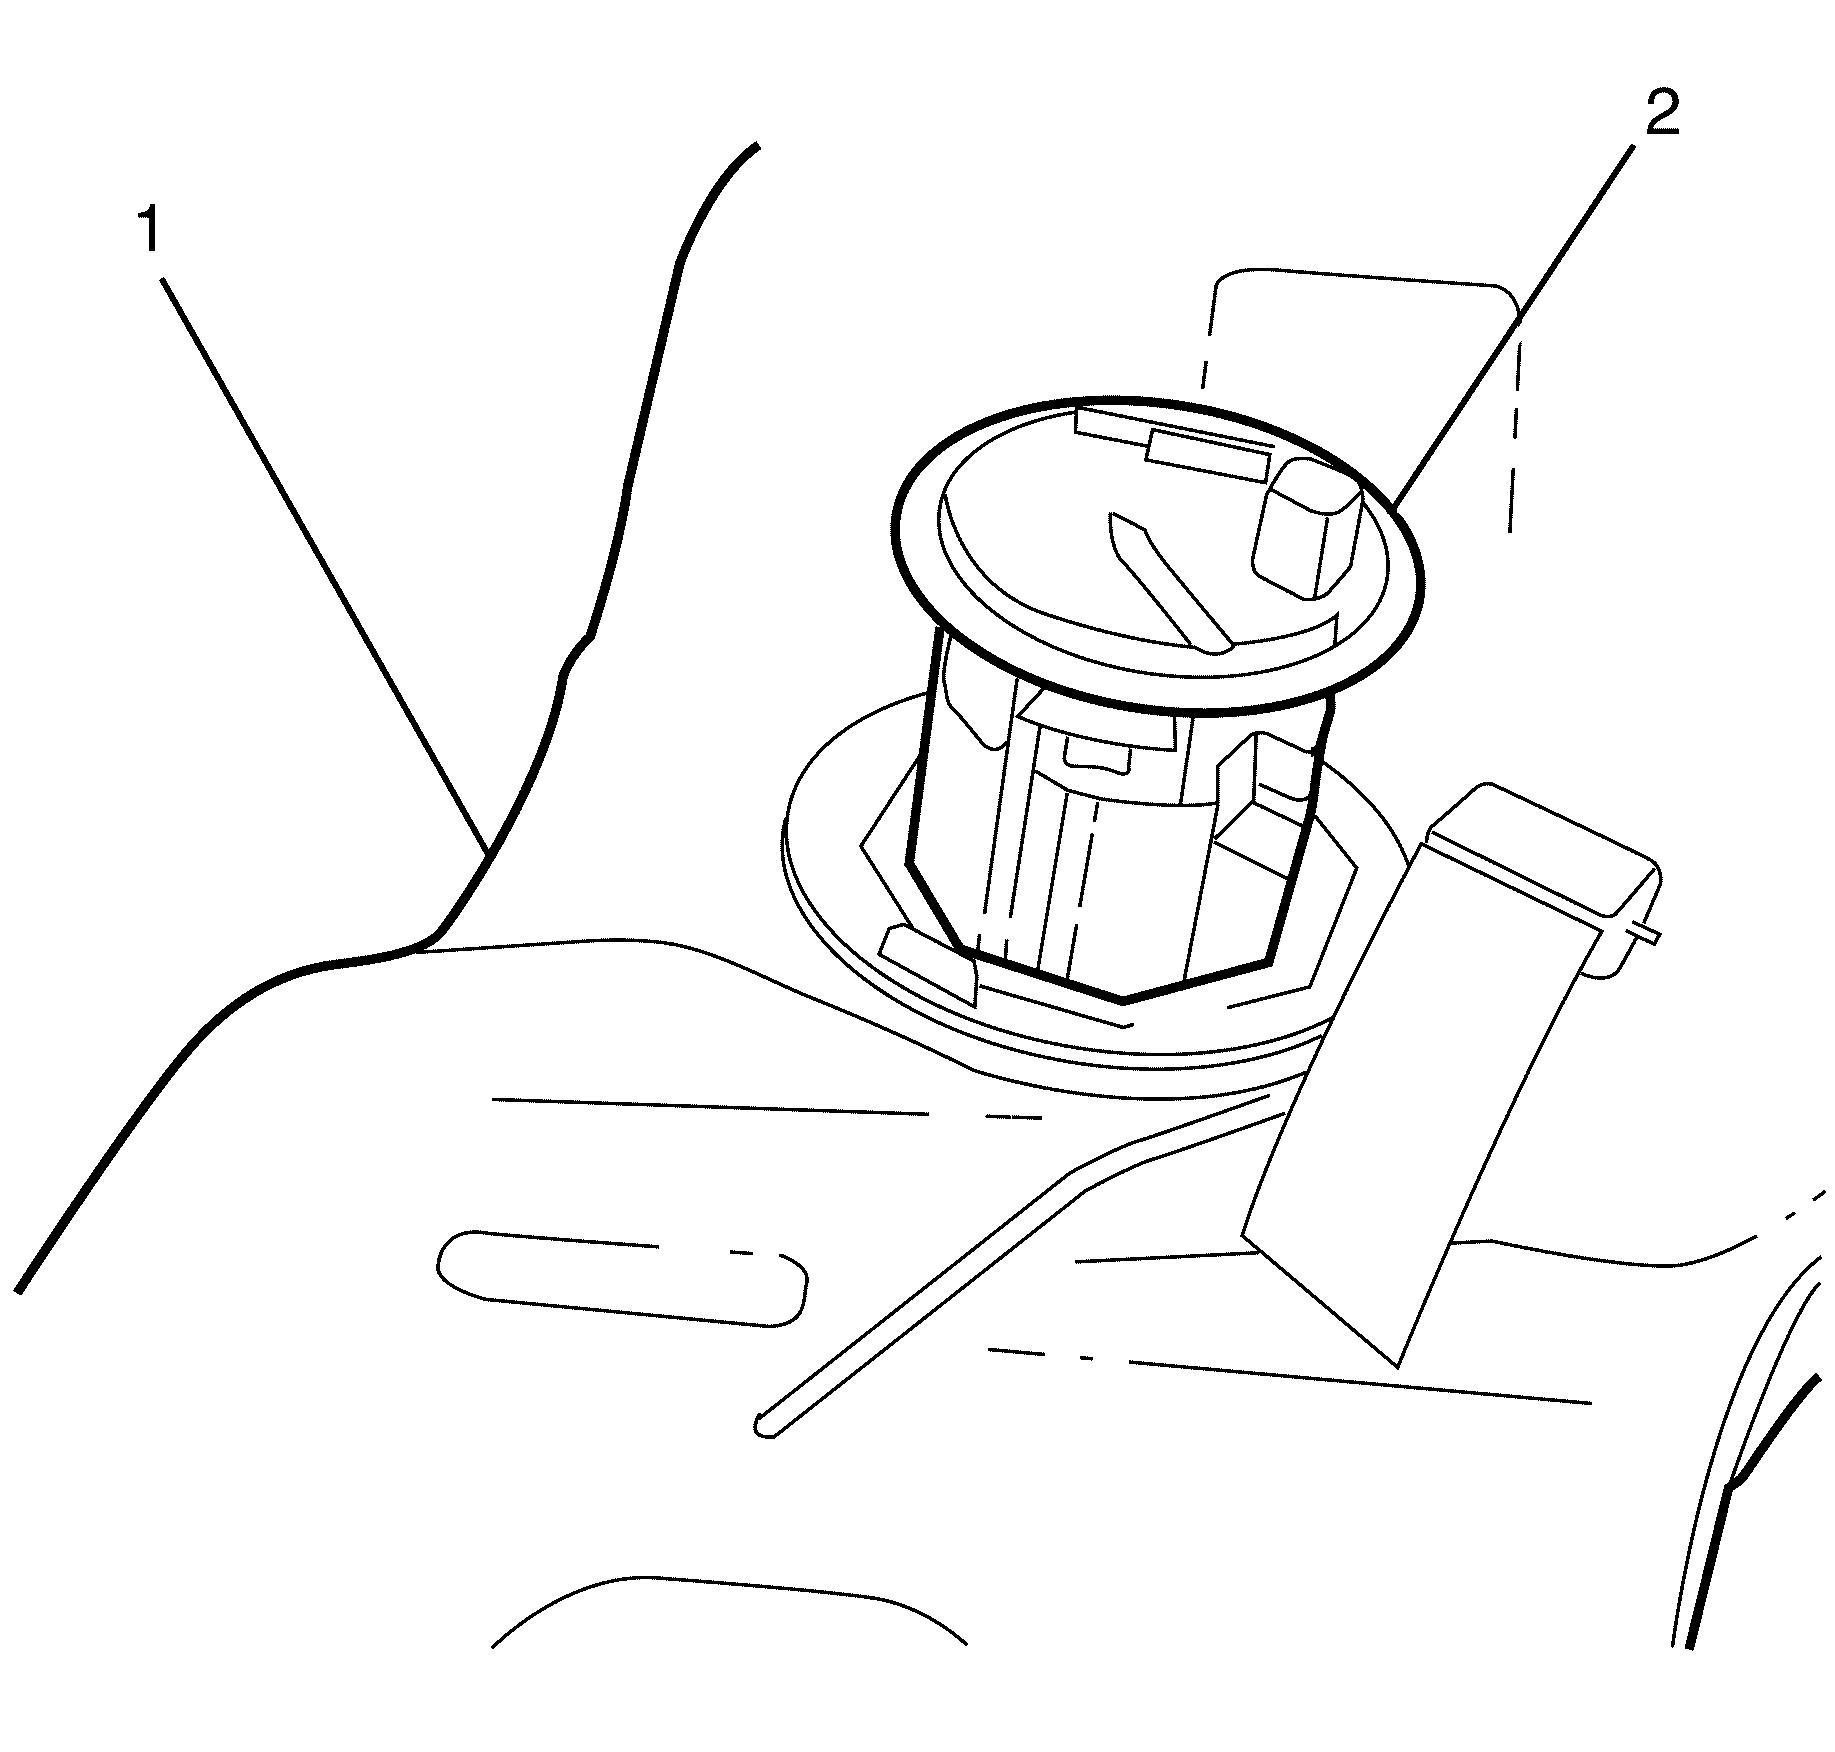
- Use a suitable tool to prise the fuel tank module inspection cover (1) away from the body.
- Disconnect the electrical connector (1) from the primary fuel tank module.
- Remove the fuel supply tube . Refer to Plastic Collar Quick Connect Fitting Service .
- Rotate the cam lock ring (2) counter-clockwise using the J 45747 (1) .
- Remove the cam lock ring (2) from the fuel tank (3).
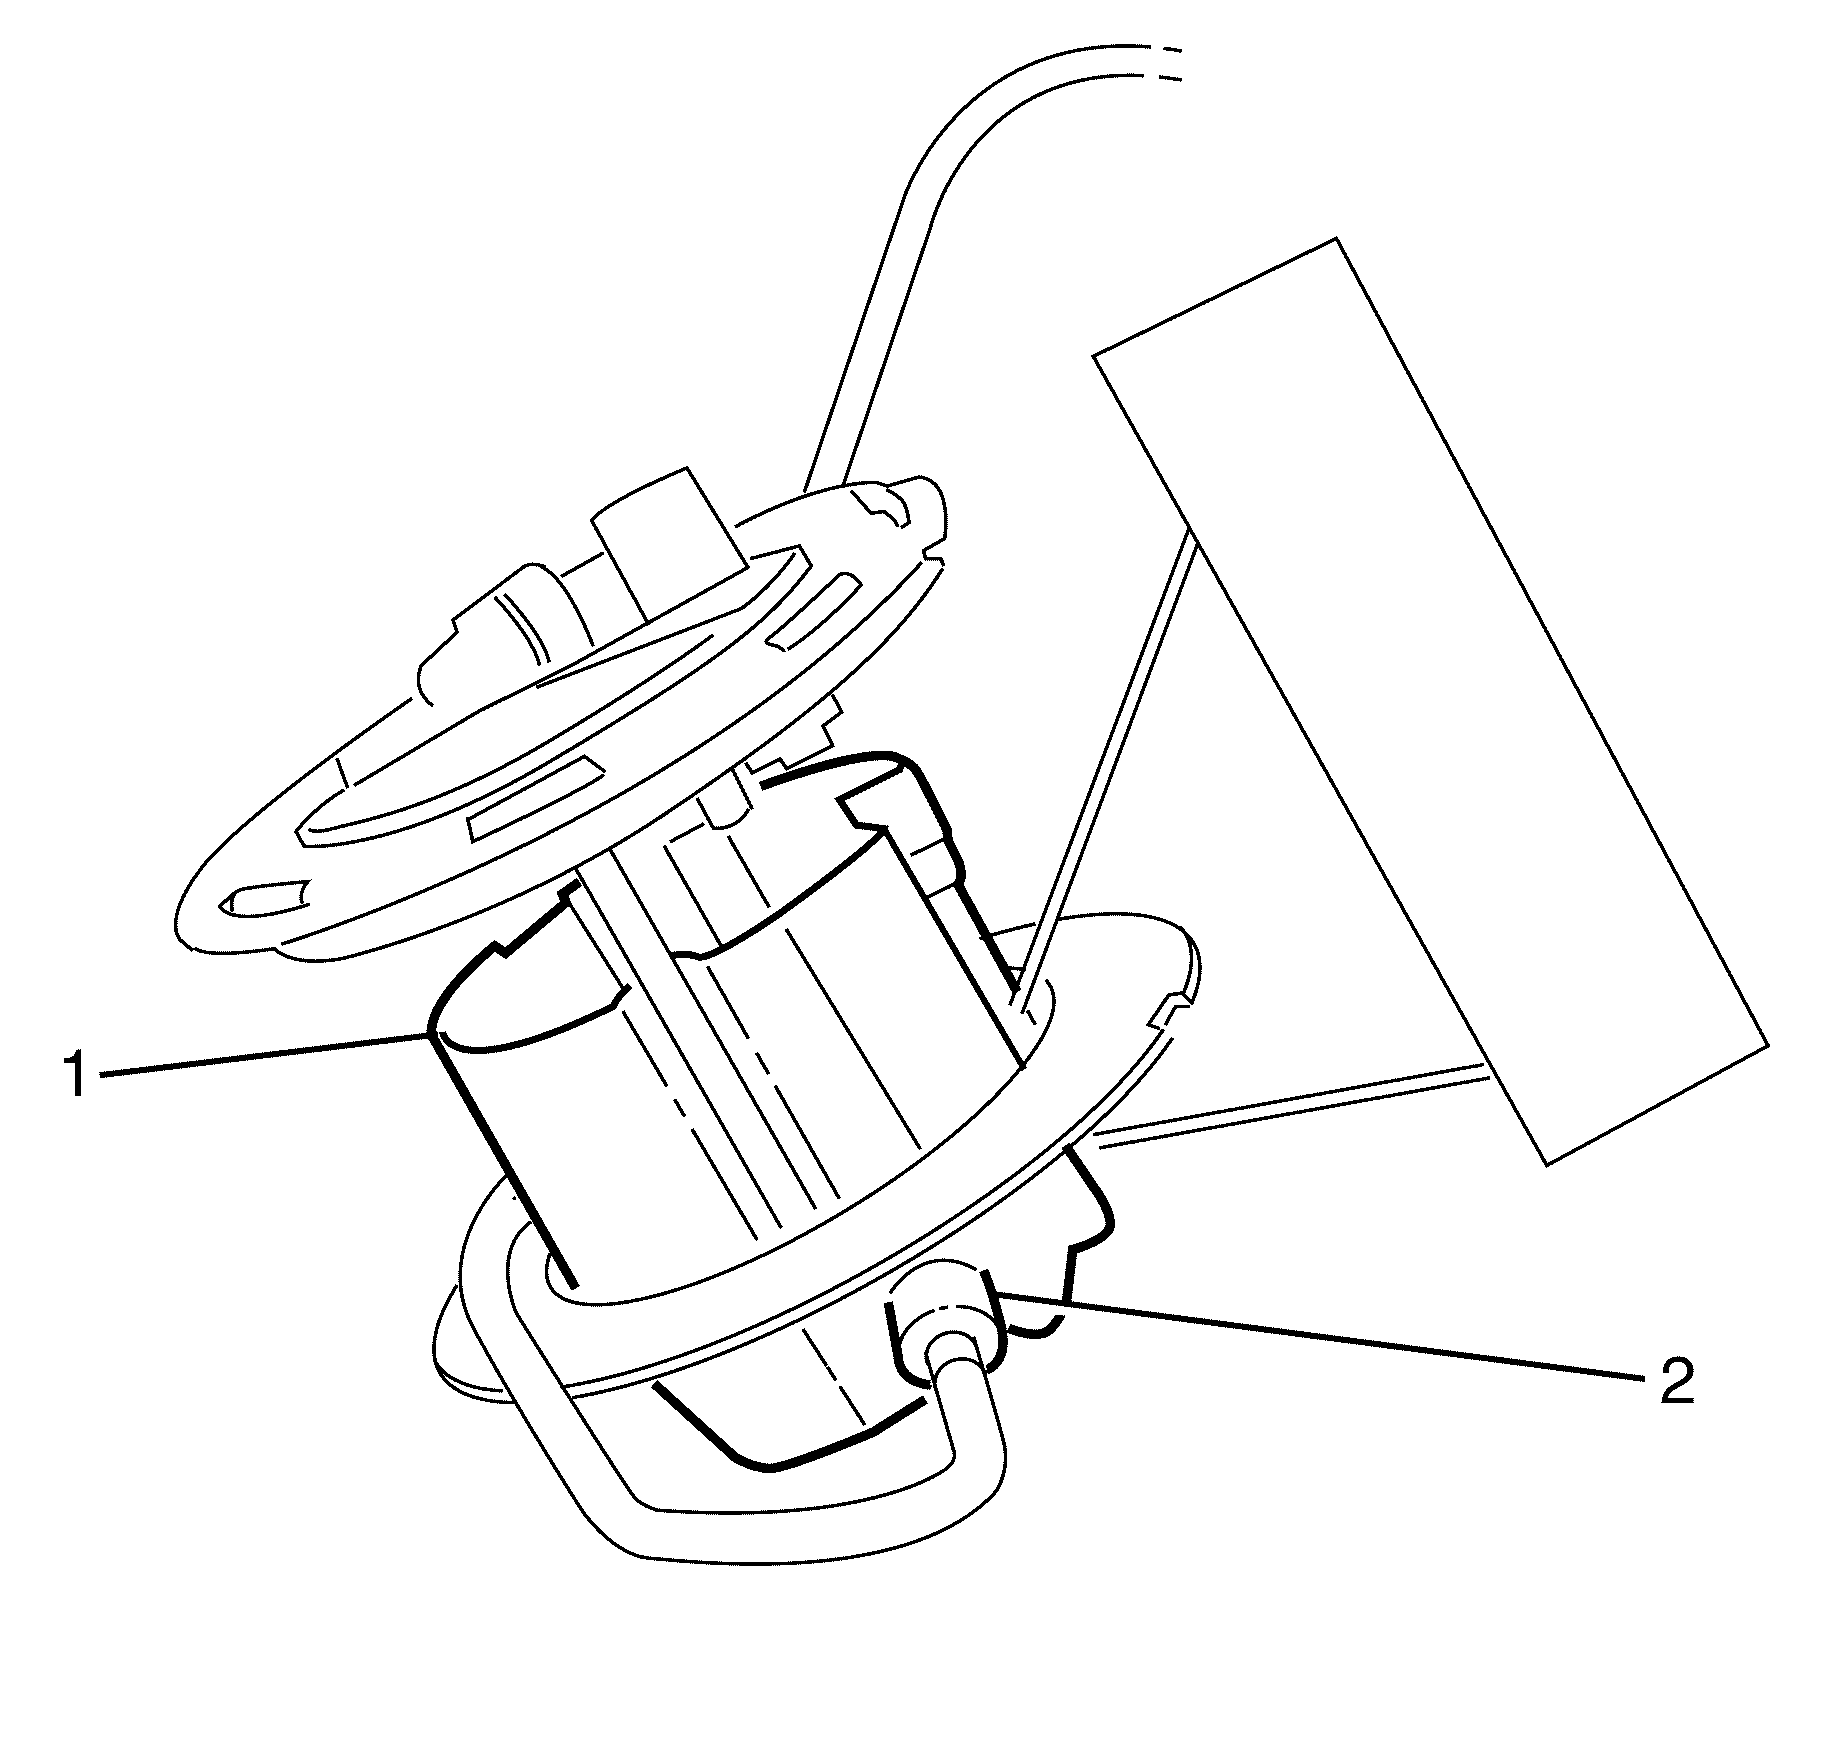
- Carefully lift the primary fuel tank module (1) from the fuel tank only enough to access the transfer tube (2).
- Disconnect the fuel transfer tube (2) from the module assembly (1).
- Remove the primary fuel tank module (2) from the fuel tank (1).
- Remove the primary fuel tank module seal (1) from the primary fuel tank module (2).
Caution: Refer to Gasoline/Gasoline Vapors Caution in the Preface section.
Caution: Refer to Safety Glasses Caution in the Preface section.
Caution: Refer to Vehicle Lifting Caution in the Preface section.
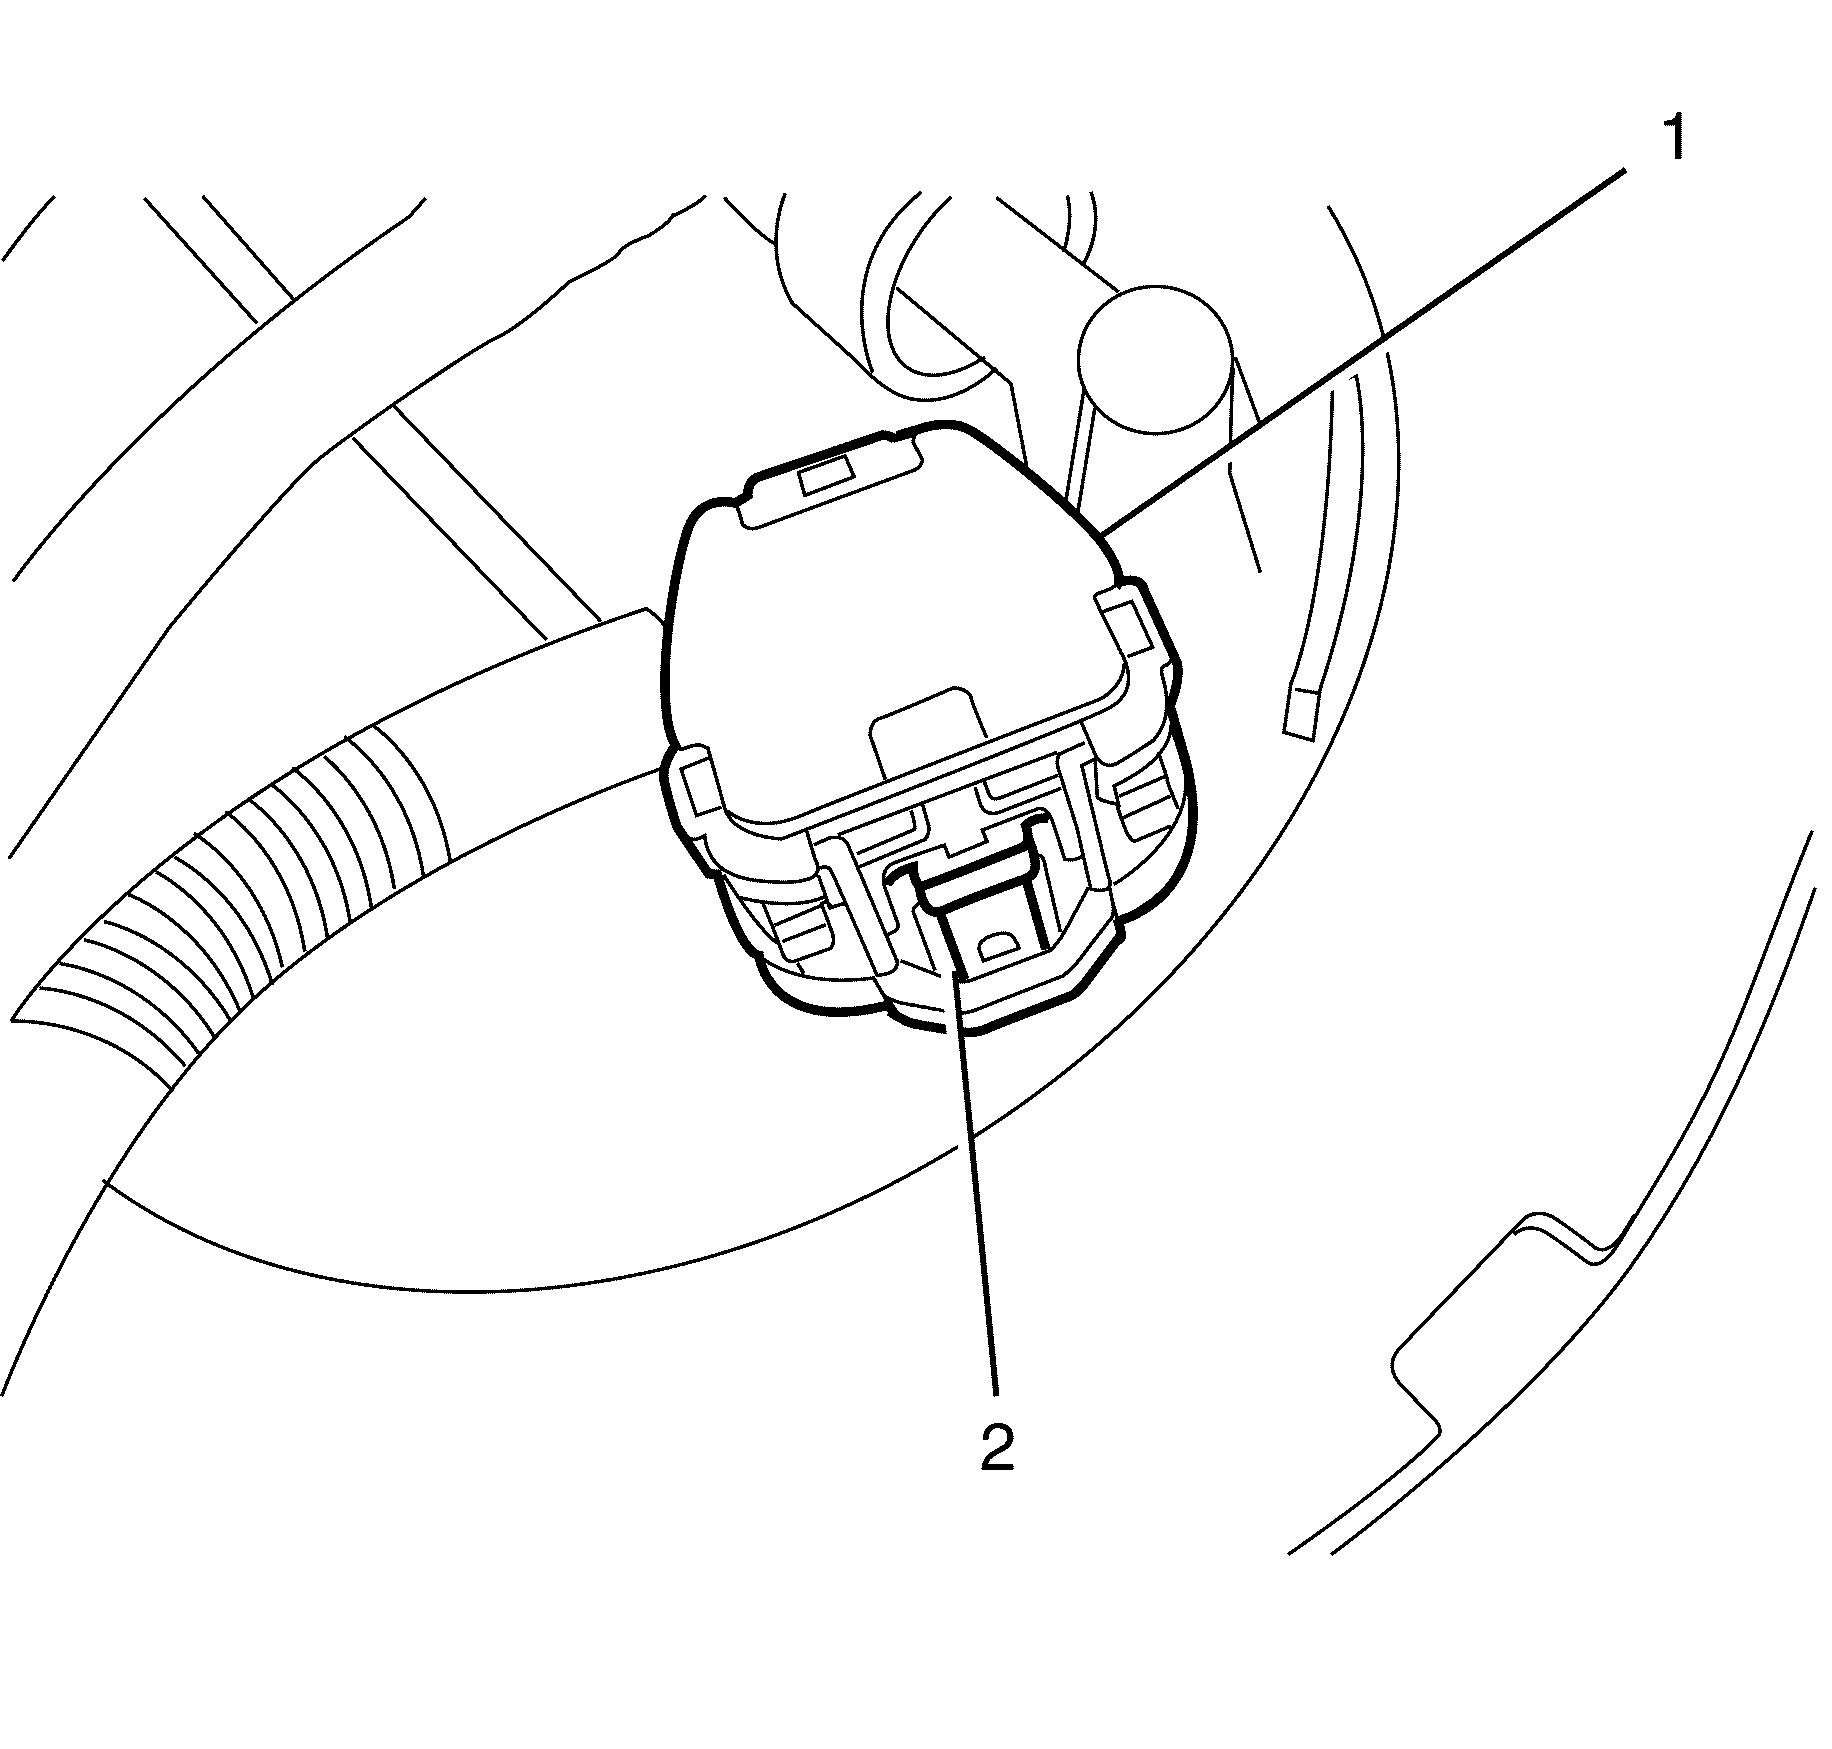
Important: Press release tab (2) on the electrical connector to release.
Important: Press release tab (1) on the connector to release.
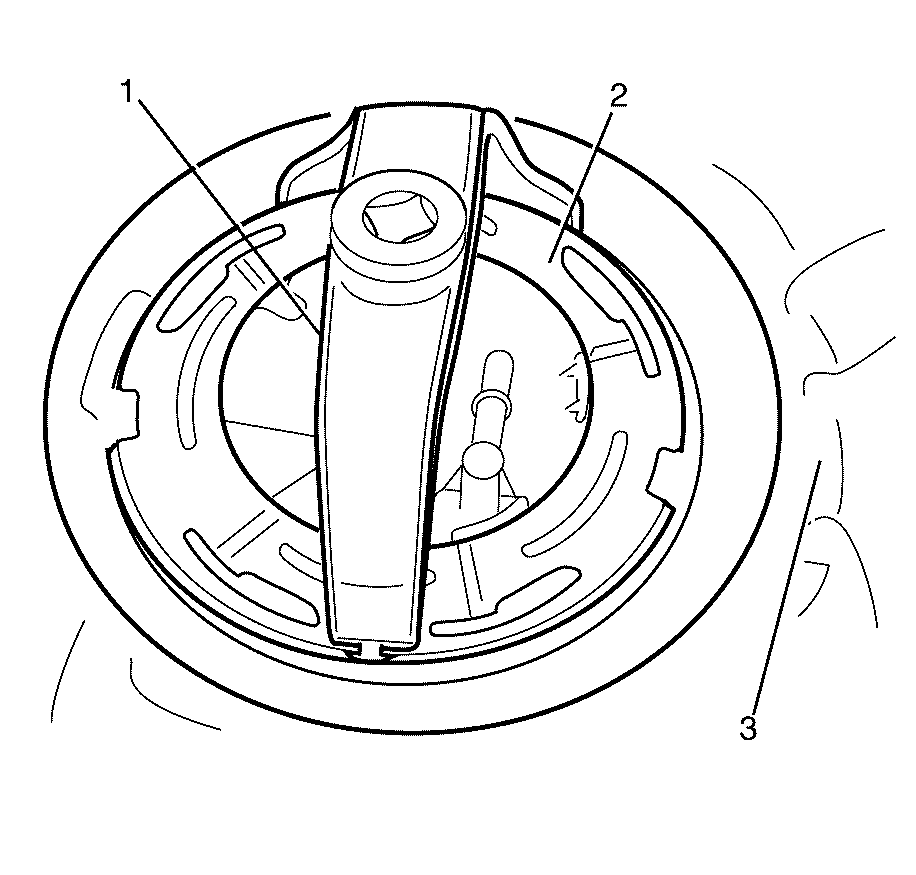
Important: Do not allow the J 45747 to come in contact with the fuel pipes while unlocking the cam lock ring (2).
Important: The cam lock ring (2) is a single use part and therefore must be discarded after removal.
Important: The primary fuel tank module (1) is vertical in the installed position, but pivots for removal.
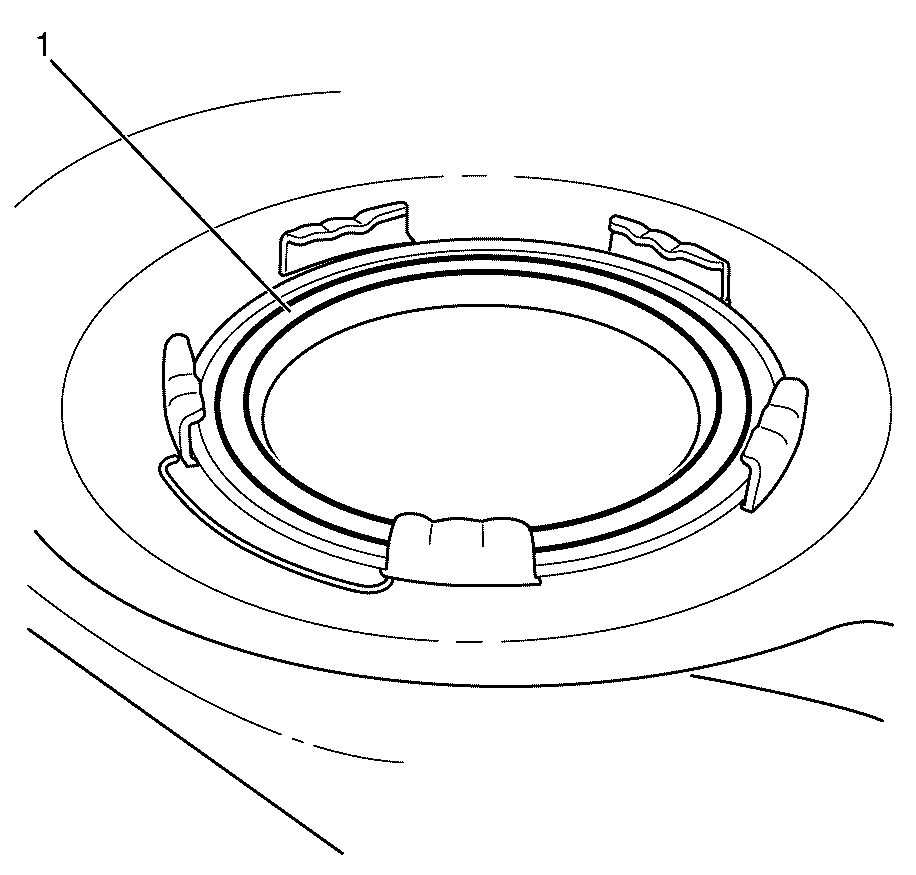
Discard the primary fuel tank module seal.
Installation Procedure - Up to 29 May 2007
- Place a NEW primary fuel tank module seal (1) over the primary fuel tank module (2).
- Carefully install the primary fuel tank module (1) to the fuel tank only enough to access the transfer tube (2).
- Connect the fuel transfer tube (2) to the module assembly (1).
- Install the primary fuel tank module (2) to the fuel tank (1).
- Install a NEW cam lock ring (2) to the fuel tank (3).
- Rotate the cam lock ring (2) clockwise using the J 45747 (1) until fully seated.
- Connect the electrical connector (1) to the primary fuel tank module.
- Install the fuel supply tube (1) to the primary fuel tank module. Refer to Plastic Collar Quick Connect Fitting Service .
- Install the fuel tank module inspection cover (1) to the body.
- Install the rear seat cushion. Refer to Rear Seat Cushion Replacement .
Important: Make sure the seal bead is facing the fuel tank.
Important: Lubricate the seal before installation with an approved lubricant.
Important: The primary fuel tank module (1) is vertical in the installed position, but pivots for installation/removal.
Important: Do not allow the tool to come in contact with the fuel pipes while locking the cam lock ring.
Important: Used an approved sealant when installing the fuel tank module inspection cover.
Removal Procedure - After 29 May 2007
- Remove the fuel tank. Refer to Fuel Tank Replacement .
- Disconnect the electrical connector (1) from the primary fuel tank module.
- Remove the fuel supply tube . Refer to Plastic Collar Quick Connect Fitting Service .
- Rotate the cam lock ring (1) counter-clockwise using the J 45747 .
- Remove the cam lock ring (1) from the fuel tank.
- Carefully lift the primary fuel tank module (1) from the fuel tank only enough to access the transfer tube (2).
- Disconnect the fuel transfer tube from the module assembly (2).
- Remove the primary fuel tank module (1) from the fuel tank (2).
- Remove the primary fuel tank module seal (1) from the primary fuel tank module.
Caution: Refer to Gasoline/Gasoline Vapors Caution in the Preface section.
Caution: Refer to Safety Glasses Caution in the Preface section.
Caution: Refer to Vehicle Lifting Caution in the Preface section.
Important: Press release tab (2) on the electrical connector to release.
Important: Do not allow the tool to come in contact with the fuel pipes while unlocking the cam lock ring.
Important: The cam lock ring (1) is a single use part and therefore must be discarded after removal.
Important: The primary fuel tank module (1) is vertical in the installed position, but pivots for removal.
Discard the primary fuel tank module seal.
Installation Procedure - After 29 May 2007
- Place a NEW primary fuel tank module seal (1) over the primary fuel tank module (2).
- Carefully install the primary fuel tank module (1) to the fuel tank only enough to access the transfer tube (2).
- Connect the fuel transfer tube to the primary fuel tank module assembly (2).
- Install the primary fuel tank module (1) to the fuel tank (2).
- Install a NEW cam lock ring (1) to the fuel tank.
- Rotate the cam lock ring (1) clockwise using the J 45747 until fully seated.
- Connect the electrical connector (1) to the primary fuel tank module.
- Install the fuel supply tube to the fuel tank module. Refer to Plastic Collar Quick Connect Fitting Service .
- Install the fuel tank. Refer to Fuel Tank Replacement .
Important: Make sure the seal bead is facing the fuel tank.
Important: Lubricate the seal before installation with an approved lubricant.
Important: The primary fuel tank module (1) is vertical in the installed position, but pivots for installation/removal.
Important: Do not allow the tool to come in contact with the fuel pipes while locking the cam lock ring.
