For 1990-2009 cars only
Electronic Navigation Antenna Replacement RHD
Removal Procedure
- Remove the windshield demister grille. Refer to Defroster Grille Replacement in Instrument Panel, Gages, and Console.
- Remove the instrument panel (I/P) outer trim cover. Refer to Instrument Panel Outer Trim Cover Replacement in Instrument Panel, Gages, and Console.
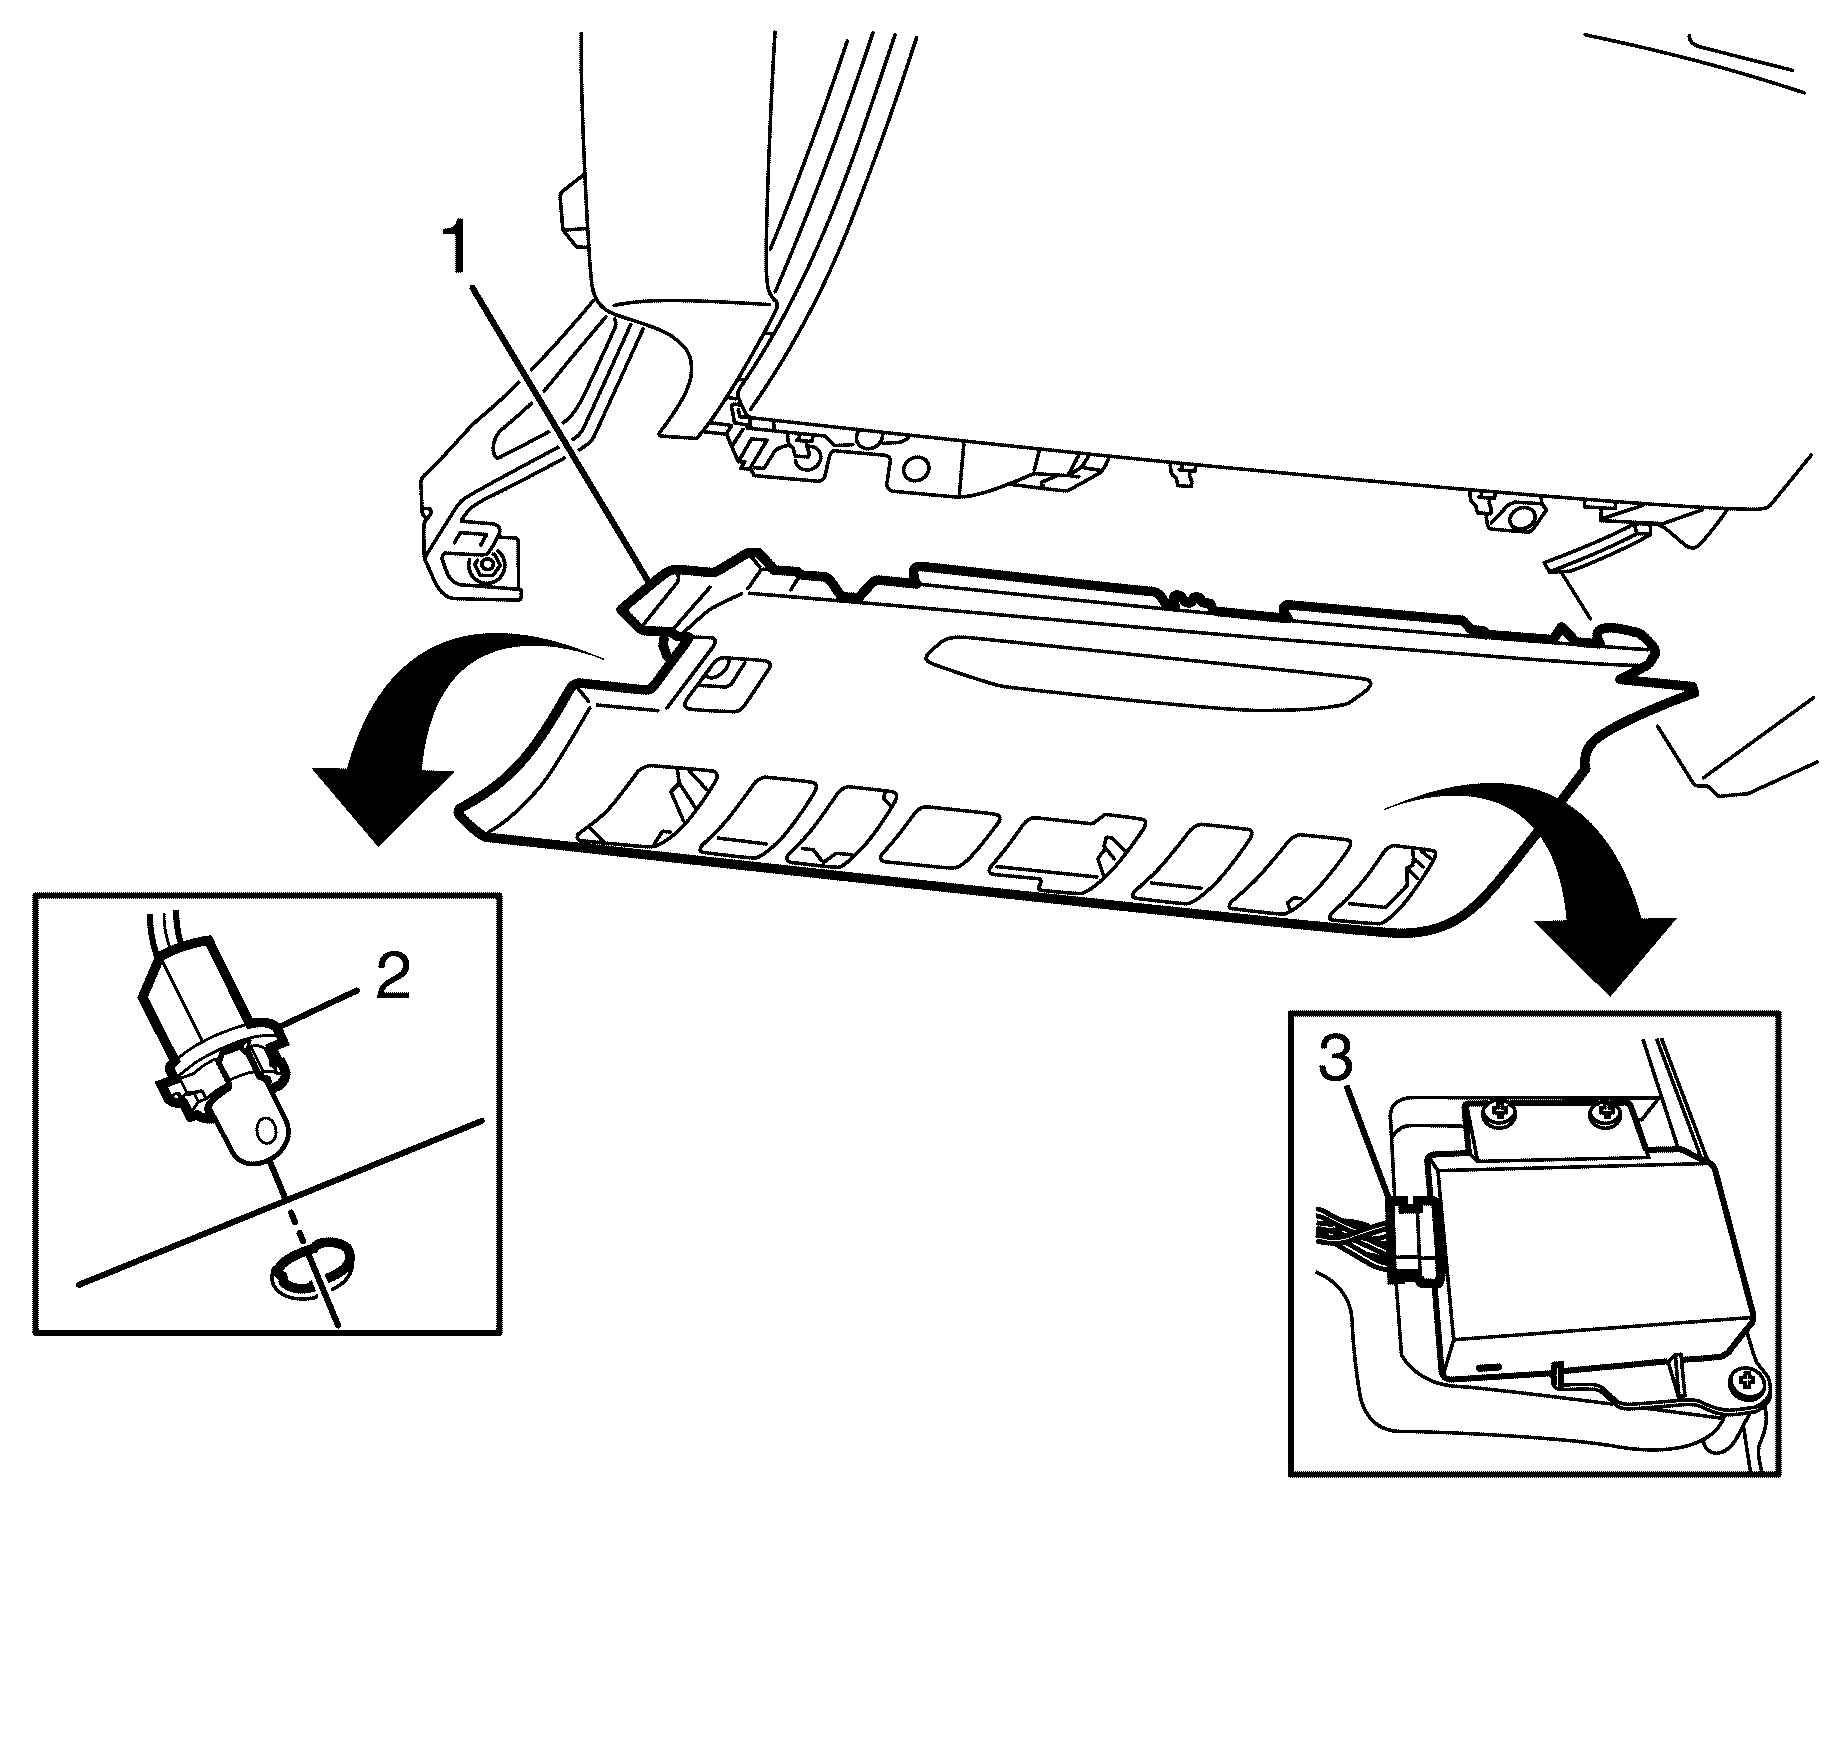
- Grasp the I/P insulation panel assembly (1) and carefully pull downward to disengage the retaining clips.
- Remove the courtesy lamp socket (2) from the I/P insulation panel assembly (1) by rotating counter-clockwise.
- Disconnect the navigation interface module (NIM) electrical connector (3).
- Remove the I/P insulation panel assembly (1).
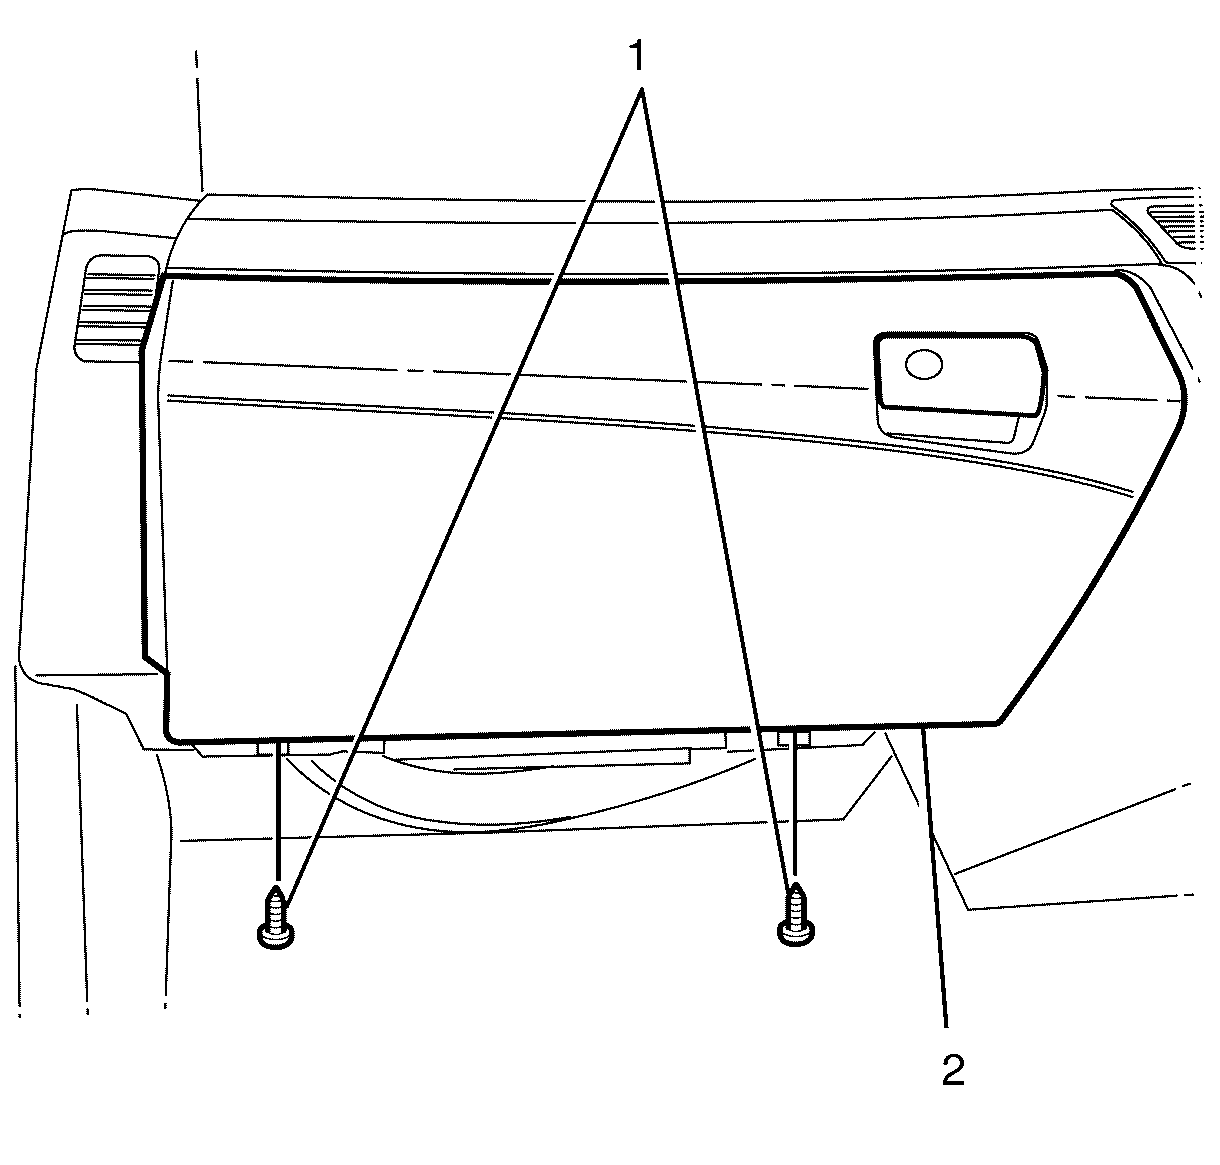
- Remove the I/P compartment lower retaining screws (1).
- Open the I/P compartment door (2).
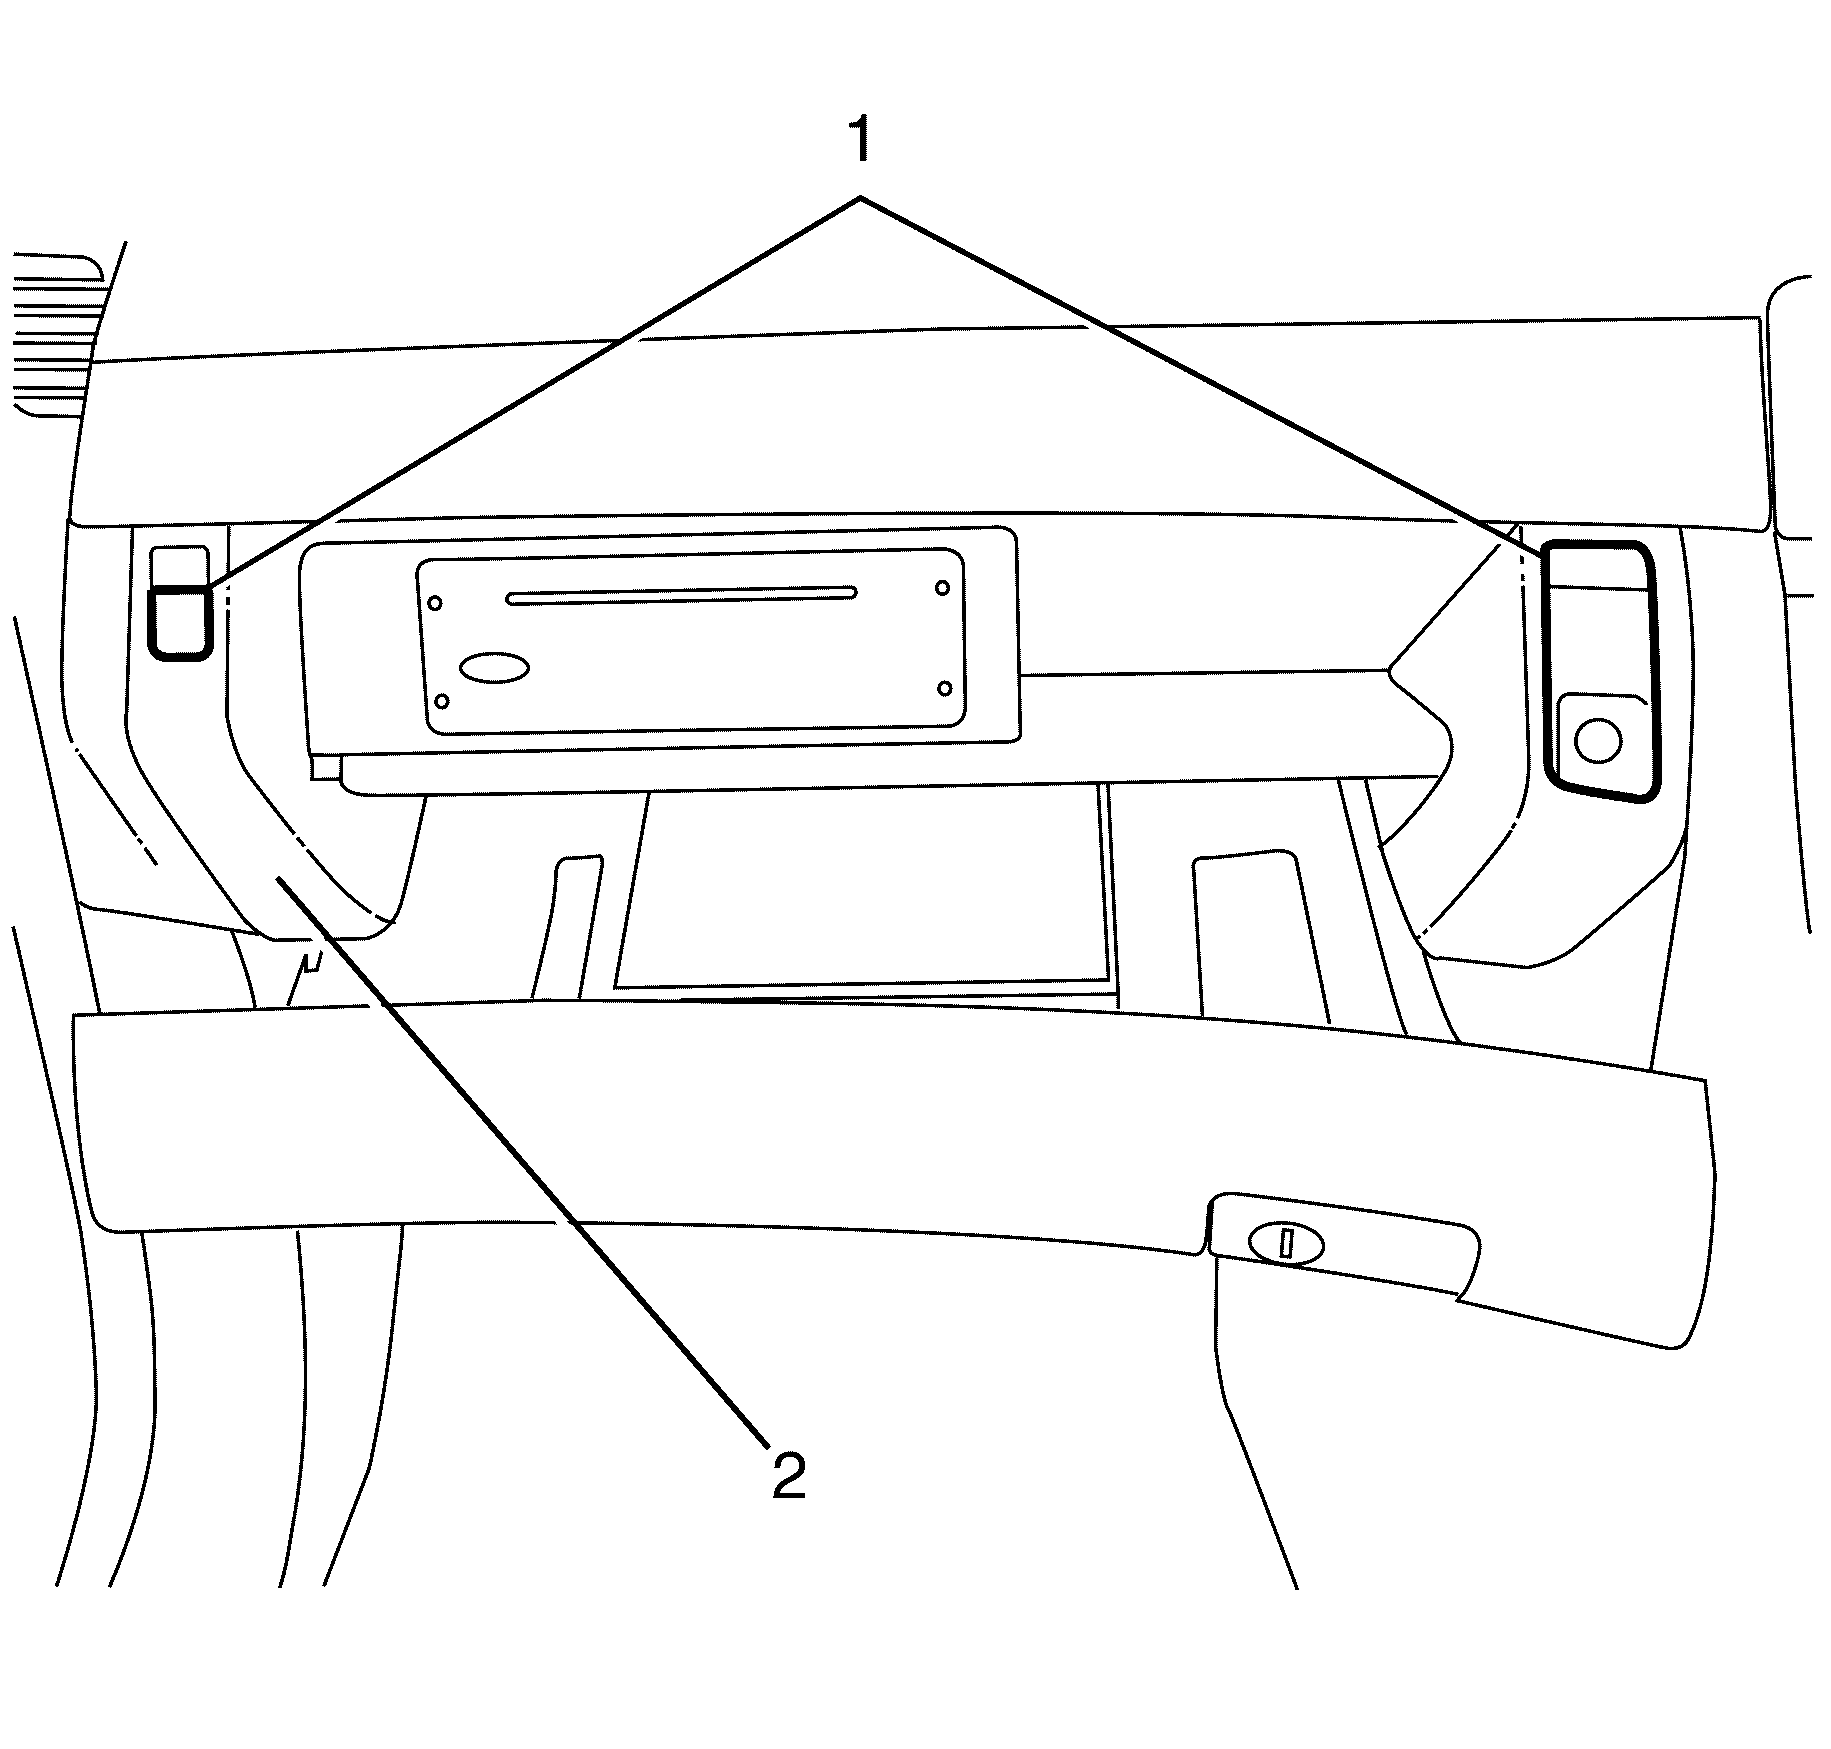
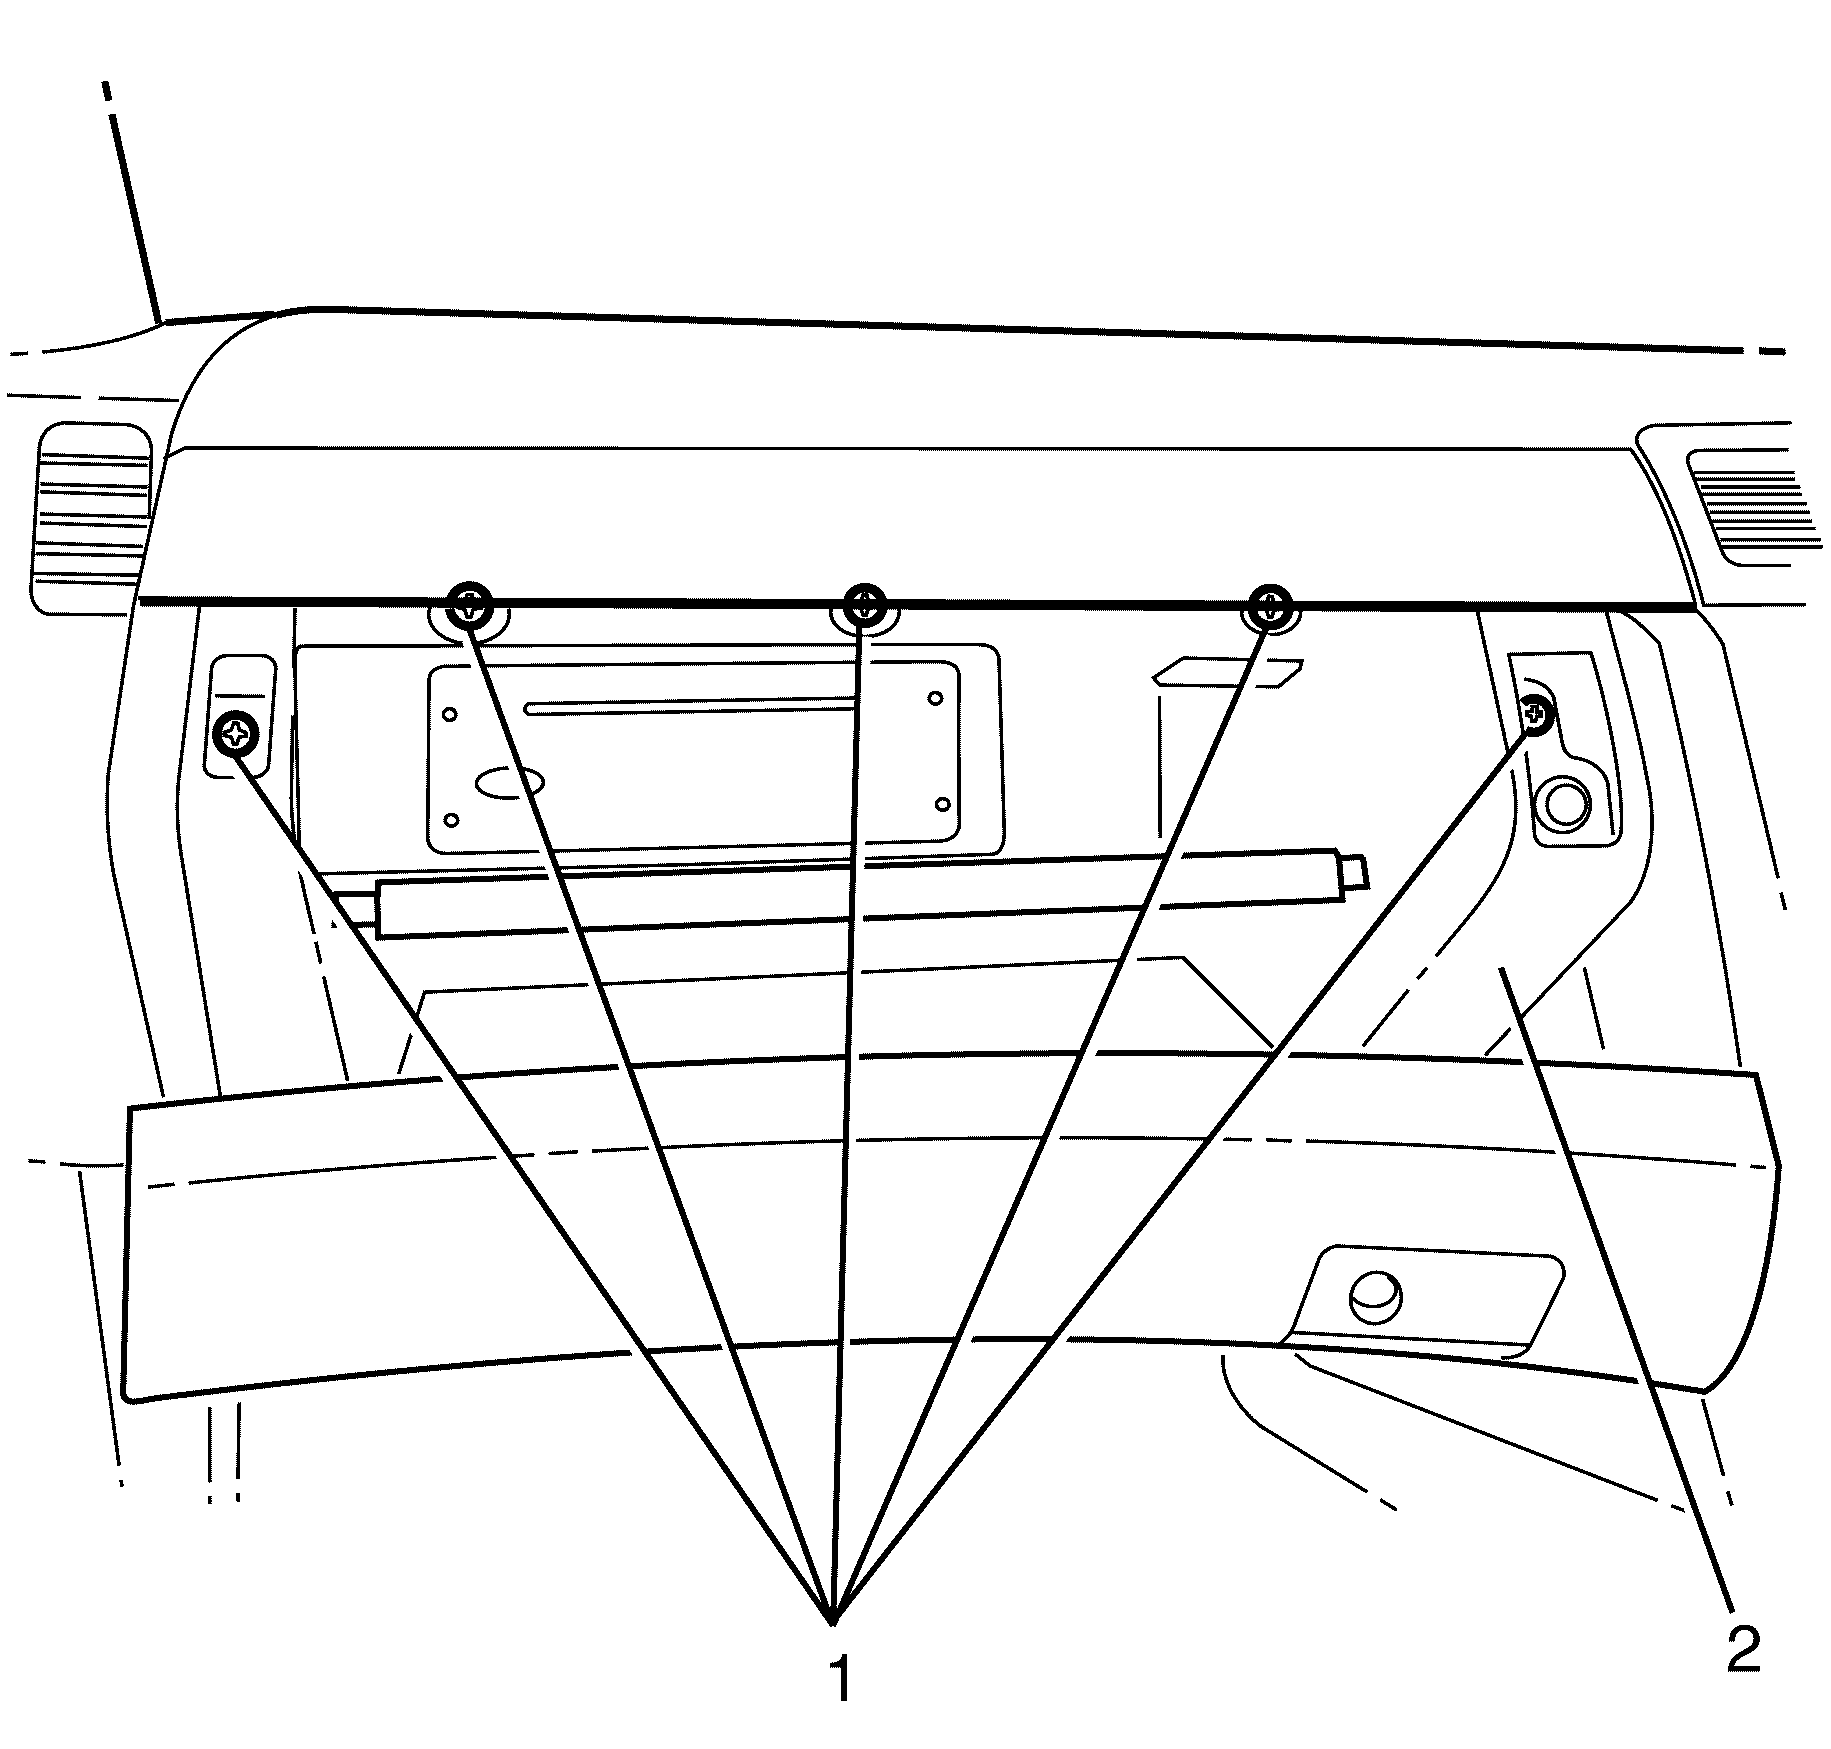
- Remove the I/P compartment retaining screw covers (1) from the I/P compartment (2)
- Remove the I/P compartment upper retaining screws (1).
- Detach the I/P compartment (2) from the I/P.
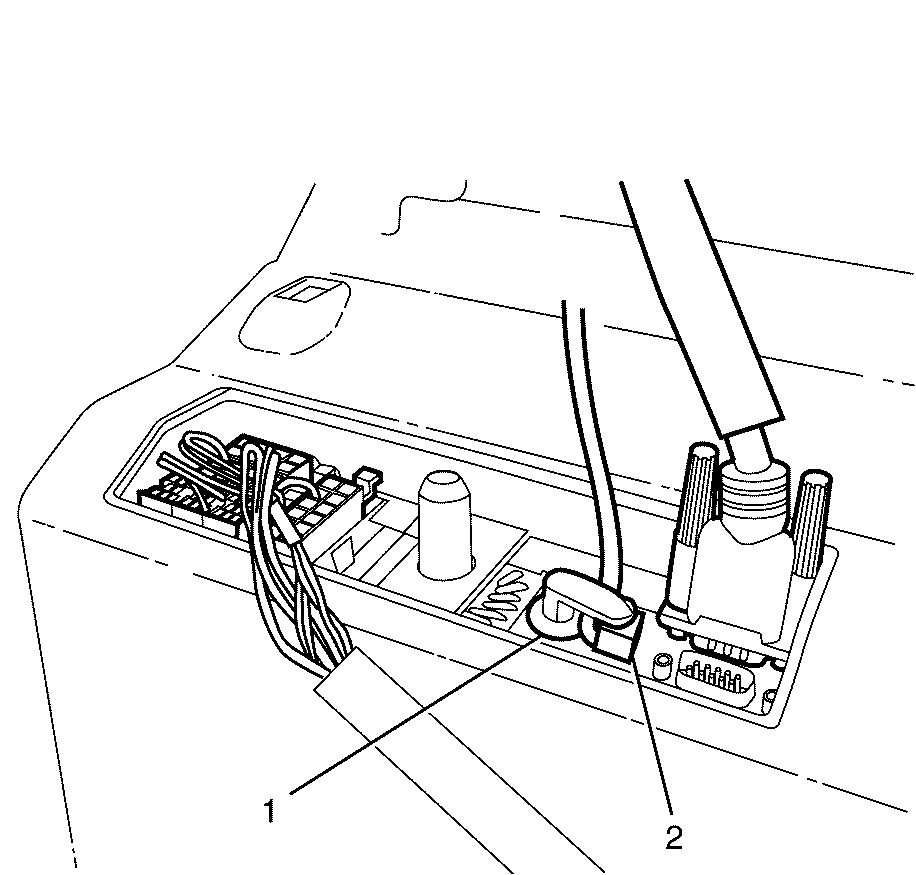
- Disconnect the I/P compartment electrical connector (1).
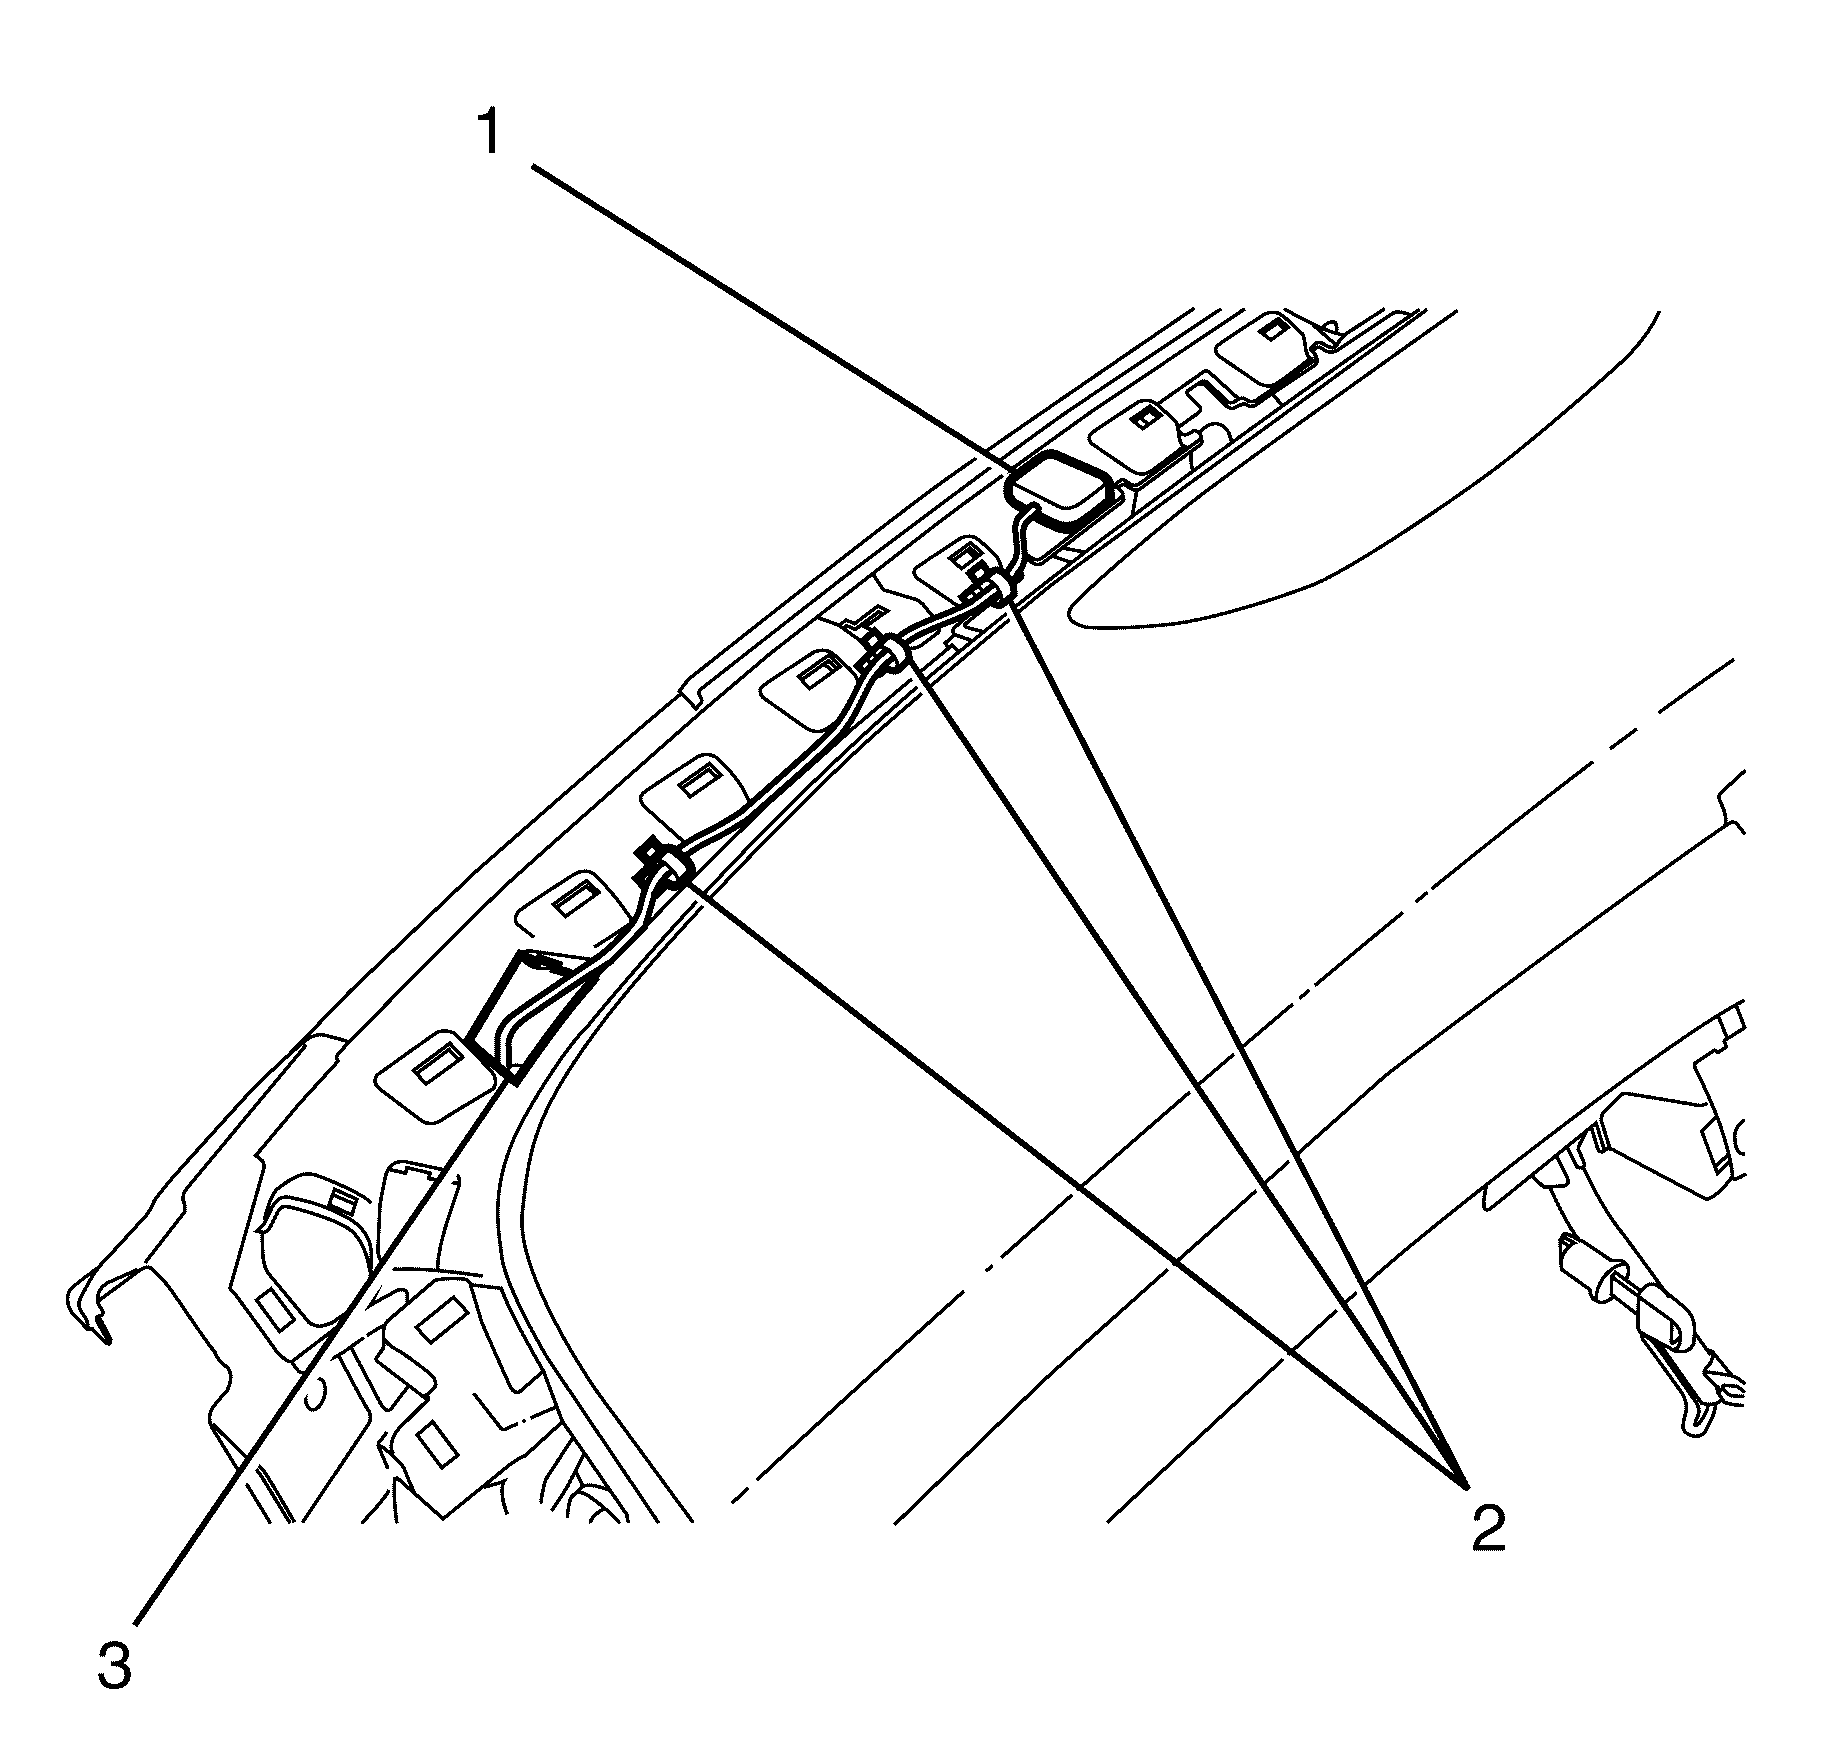
- Rotate the navigation module aerial connector lock (1) clockwise and disconnect the navigation module aerial connector (2).
- Detach the GPS antenna cable retaining clips (2) from the I/P.
- Detach the GPS antenna (1) from the I/P.
- Pull the GPS antenna cable through the hole (3) in the I/P and remove the GPS antenna (1).
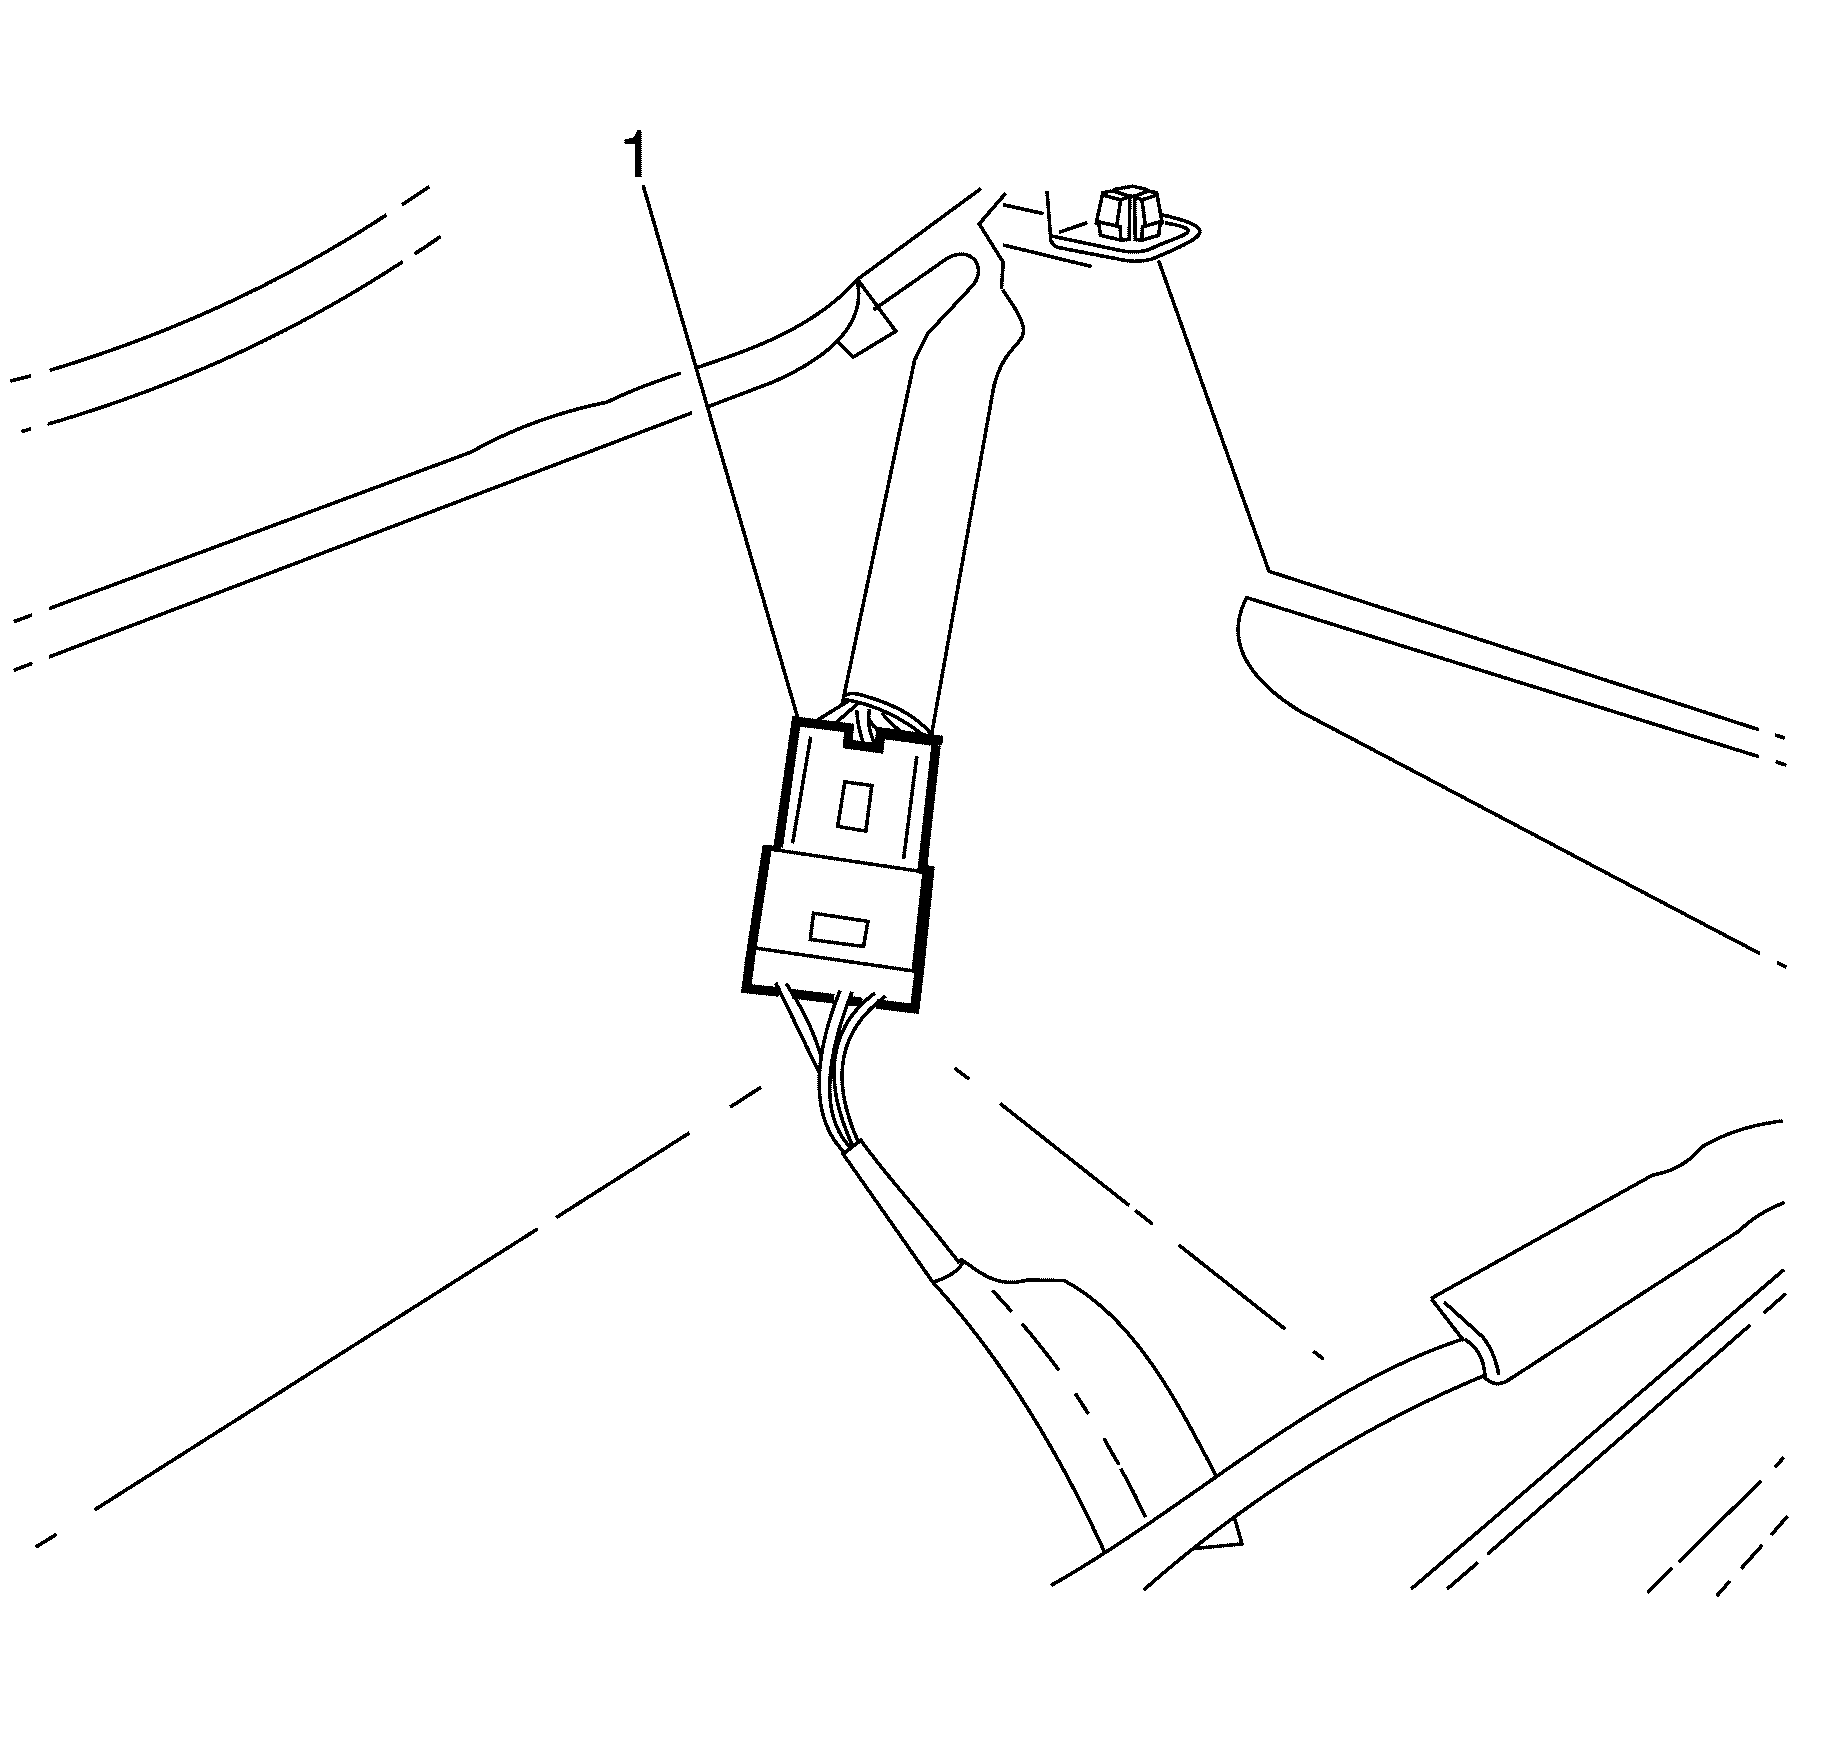
Important: The GPS antenna (1) is secured in position with double sided tape.
Installation Procedure
- Install the GPS antenna (1) to the I/P.
- Feed the GPS antenna cable through the hole (3) in the I/P.
- Install the GPS antenna cable retaining clips (2) to the I/P.
- Connect the navigation module aerial connector (2) and rotate the navigation module aerial connector lock (1) counter-clockwise.
- Connect the I/P compartment electrical connector (1).
- Install the I/P compartment (2) to the I/P.
- Install the I/P compartment upper retaining screws (1).
- Install the I/P compartment retaining screw covers (1) into the I/P compartment (2).
- Close the I/P compartment door (2).
- Install the I/P compartment lower retaining screws (1).
- Install the courtesy lamp socket (2) to the I/P insulation panel assembly (1) by rotating clockwise.
- Connect the NIM electrical connector (3).
- Install the I/P insulation panel assembly (1) to the I/P by engaging the retaining clips.
- Make sure all the clips are located correctly.
- Install the I/P outer trim cover. Refer to Instrument Panel Outer Trim Cover Replacement in Instrument Panel, Gages, and Console.
- Install the windshield demister grille. Refer to Defroster Grille Replacement in Instrument Panel, Gages, and Console.
Important: The GPS antenna (1) is secured in position with double sided tape.
Notice: Refer to Fastener Notice in the Preface section.
Tighten
Tighten the screws to 2 N·m (18 lb in).
Tighten
Tighten the screws to 2 N·m (18 lb in).
