Removal Procedure
- Remove the fuel rail assembly. Refer to Fuel Injection Fuel Rail Assembly Replacement .
- Raise and support the vehicle. Refer to Lifting and Jacking the Vehicle in General Information.
- Remove the transmission fluid level tube bolt.
- Lower the vehicle.
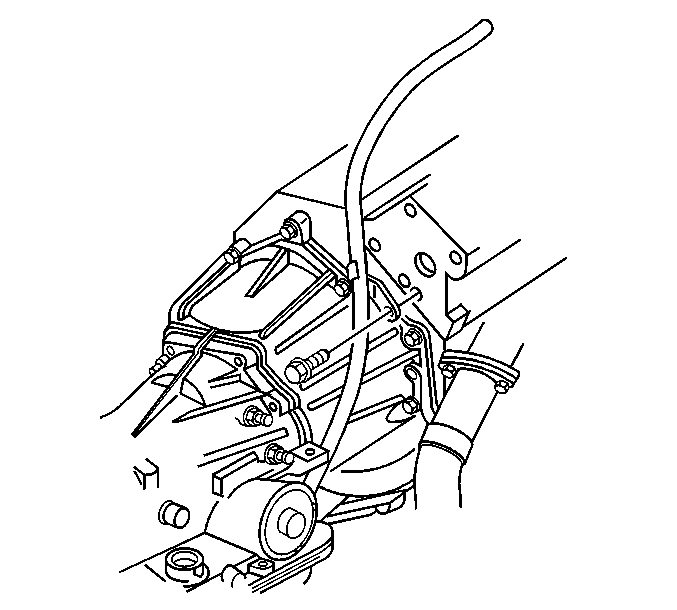
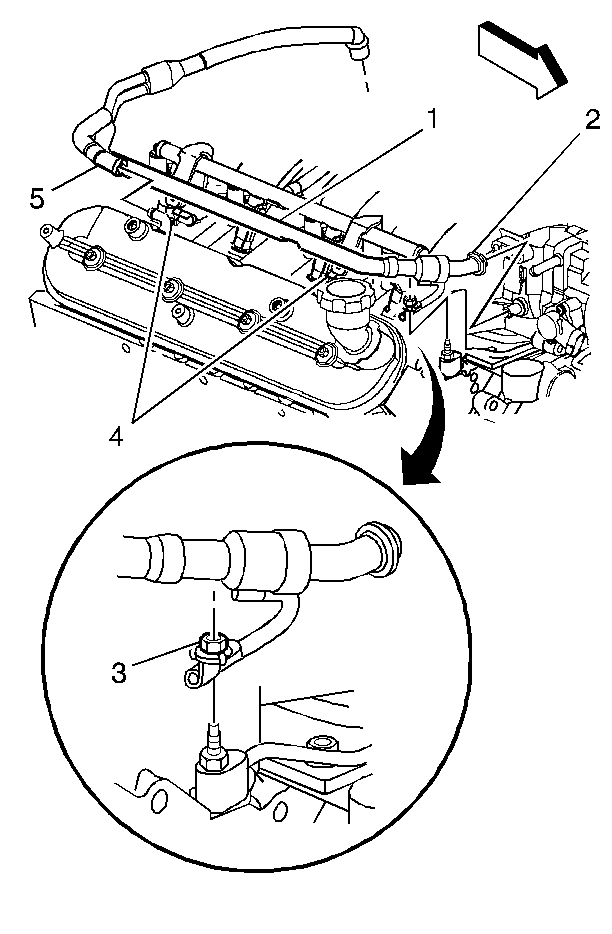
- Remove the positive crankcase ventilation (PCV) heat exchange cable fastener (3).
- Remove the PCV hose (2) from the intake manifold.
- Remove the PCV hose (5) from the right bank port.
- Remove the PCV valve pipe from the left rocker arm cover.
- Release the PCV hose assembly from the mounting brackets (4).
- Move the PCV hose assembly (1) aside.
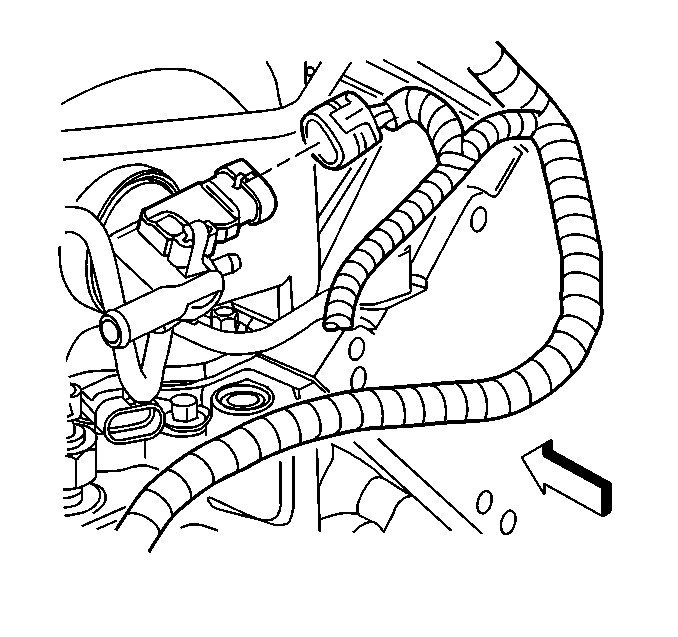
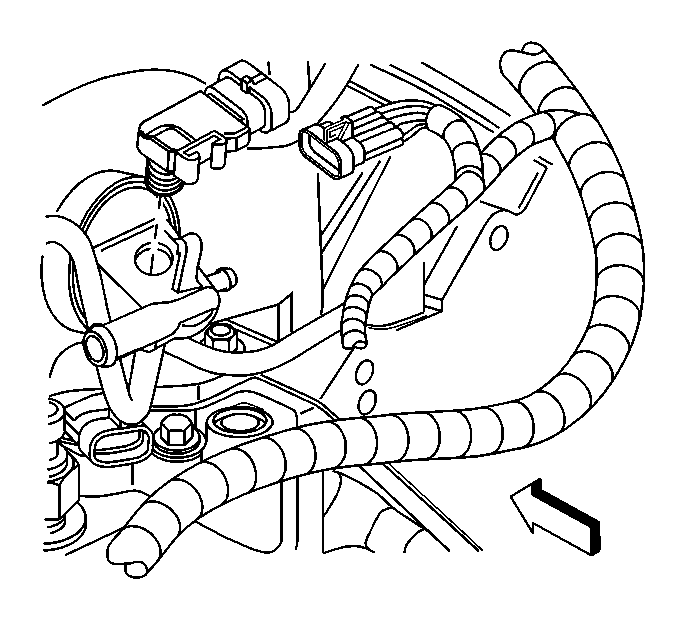
- Disconnect the MAP sensor electrical connector.
- Twist the MAP sensor forward in order to release the sensor from the retainer.
- Pull the sensor upward.
Important: If the vehicle is equipped with a manual transmission, go to step 5.
Installation Procedure
- Install the MAP sensor. Push the MAP sensor down in order to engage the sensor into the retainer.
- Connect the MAP sensor electrical connector.
- Position the PCV hose assembly (1) for reassembly.
- Insert the PCV hose assembly to the mounting brackets (4).
- Install the PCV valve pipe in the left rocker arm cover.
- Install the PCV hose (5) to the right bank port.
- Install the PCV hose (2) to the throttle body.
- Install the PCV heat exchange cable fastener (3).
- Raise and support the vehicle. Refer to Lifting and Jacking the Vehicle in General Information.
- Position the transmission fluid level indicator tube, and install the tube bolt.
- Lower the vehicle.
- Install the fuel rail assembly. Refer to Fuel Injection Fuel Rail Assembly Replacement .
Important: Before you install the sensor, lightly coat the MAP sensor seal with clean engine oil.
Notice: Use the correct fastener in the correct location. Replacement fasteners must be the correct part number for that application. Fasteners requiring replacement or fasteners requiring the use of thread locking compound or sealant are identified in the service procedure. Do not use paints, lubricants, or corrosion inhibitors on fasteners or fastener joint surfaces unless specified. These coatings affect fastener torque and joint clamping force and may damage the fastener. Use the correct tightening sequence and specifications when installing fasteners in order to avoid damage to parts and systems.
Tighten
Tighten the PCV heat exchange cable fastener to 12 N·m
(106 lb in).
Notice: Use the correct fastener in the correct location. Replacement fasteners must be the correct part number for that application. Fasteners requiring replacement or fasteners requiring the use of thread locking compound or sealant are identified in the service procedure. Do not use paints, lubricants, or corrosion inhibitors on fasteners or fastener joint surfaces unless specified. These coatings affect fastener torque and joint clamping force and may damage the fastener. Use the correct tightening sequence and specifications when installing fasteners in order to avoid damage to parts and systems.
Tighten
Tighten the tube bolt to 50 N·m (37 ft lb).
