For 1990-2009 cars only
Removal Procedure
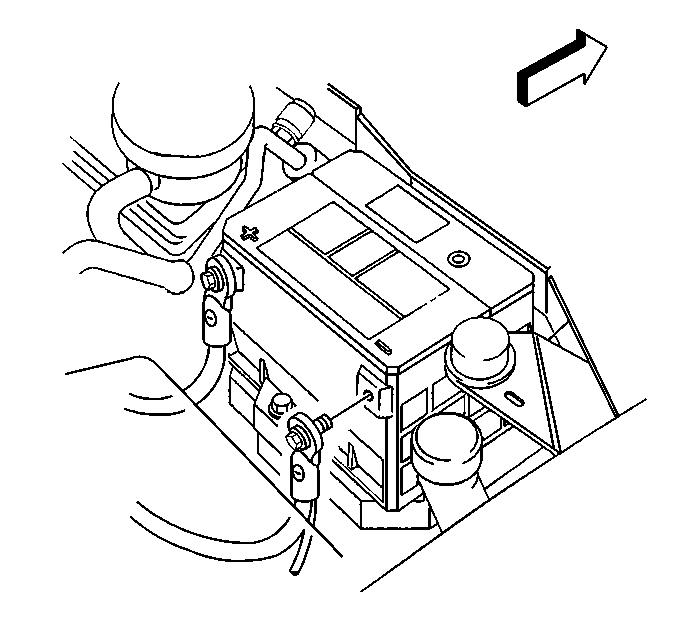
- Disconnect the negative battery cable. Refer to Battery Negative Cable Disconnection and Connection .
- Remove the I/P cluster bezel. Refer to Instrument Panel Cluster Trim Plate Bezel Replacement .
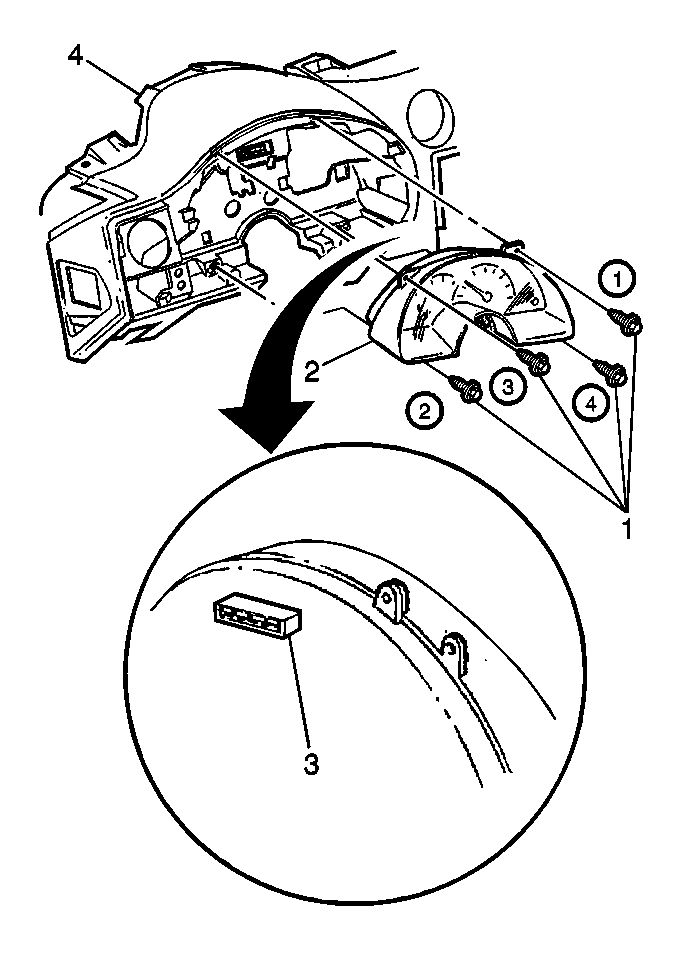
- Remove the instrument cluster bolts (1).
- Remove the instrument cluster (2).


Gently pull the cluster straight out to disconnect the electrical connector (3).
Installation Procedure
- Install the instrument cluster (2).
- Install the instrument cluster bolts (1).
- Install the I/P cluster bezel. Refer to Instrument Panel Cluster Trim Plate Bezel Replacement .
- Connect the negative battery cable. Refer to Battery Negative Cable Disconnection and Connection .
- Synchronize the instrument panel cluster (IPC).

Tighten
Tighten the instrument cluster bolts (1) to 2.2 N·m (19 lb in)
in sequence as shown.

Instrument Panel Cluster Synchronization
Tools Required
When installing a new I/P cluster it must be synchronized to the SIR module. To synchronize the new cluster perform the following:
- Connect the Scan Tool to the data link connector (DLC).
- On the Main Menu select the DIAGNOSTICS key (F0:).
- From the menu under F0: DIAGNOSTICS select the model year ((X) 1999).
- From the menu under (X) 1999 press the PASSENGER CAR key.
- Under the PASSENGER CAR menu select the BODY key (F1:).
- From the menu under F1: BODY select the F key.
- From the menu under F select either the (1) CHEVROLET or (2) PONTIAC key.
- On the menu under the vehicle chosen select either the (K) 3.8L V8 L36 or (G) 5.7L V8 LS1 key.
- On the menu under the engine chosen select the INSTRUMENT PANEL CLUSTER (F1:) key.
- From the menu under F1: INSTRUMENT PANEL CLUSTER select the SPECIAL FUNCTIONS (F2:) key.
- From the menu under F2: SPECIAL FUNCTIONS select the SYNCHRONIZE IPC and SIR (F1:) key.
- When the F1: SYNCHRONIZE IPC and SIR is selected the following will appear on the screen:
- Select the Yes key.
- The screen will display: IPC and SIR modules-Now synchronizing modules.
- If the procedure is completed successfully the screen will display: Module Synchronization Complete.
- If communication is lost with the SIR or IPC, the screen will display: Loss of Communications with Vehicle-Check Diagnostics Link Connector-Check Ignition (On/Off).
- Press the Exit key to return to the previous menu.
Do you want to synchronize IPC and SIR modules-Yes or No.
This will remain until the procedure is complete.
