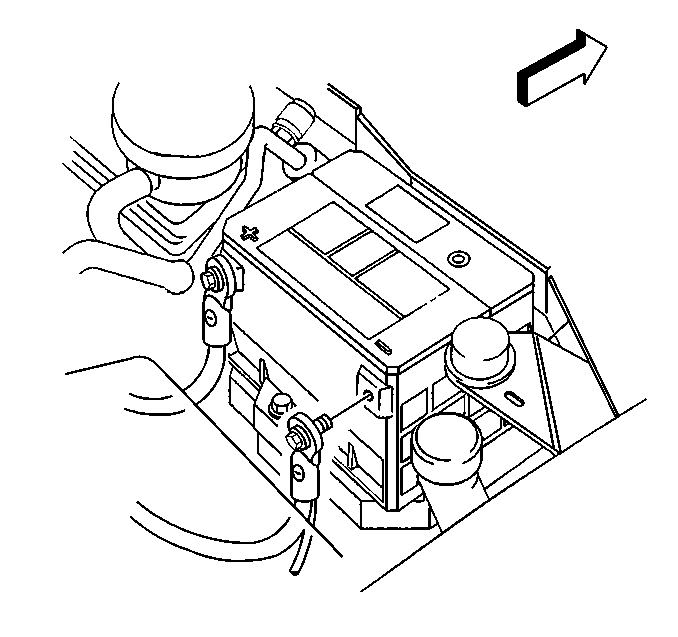
- Disconnect the negative
battery cable. Refer to
Battery Negative Cable Disconnection and Connection
.

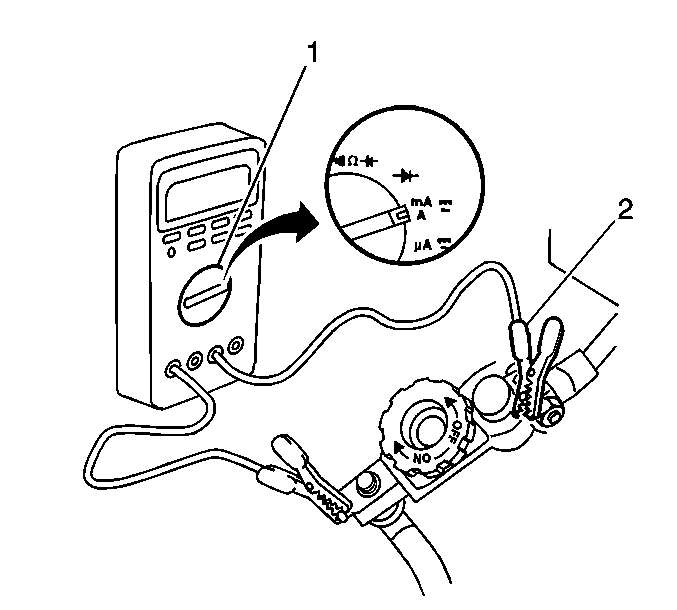
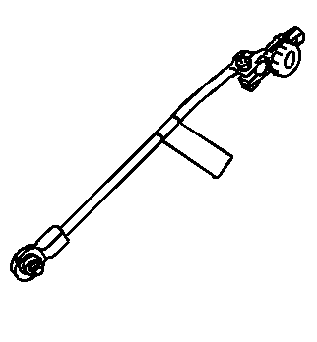
- Install the male end of
the J 38758
(1) to the negative
battery terminal.
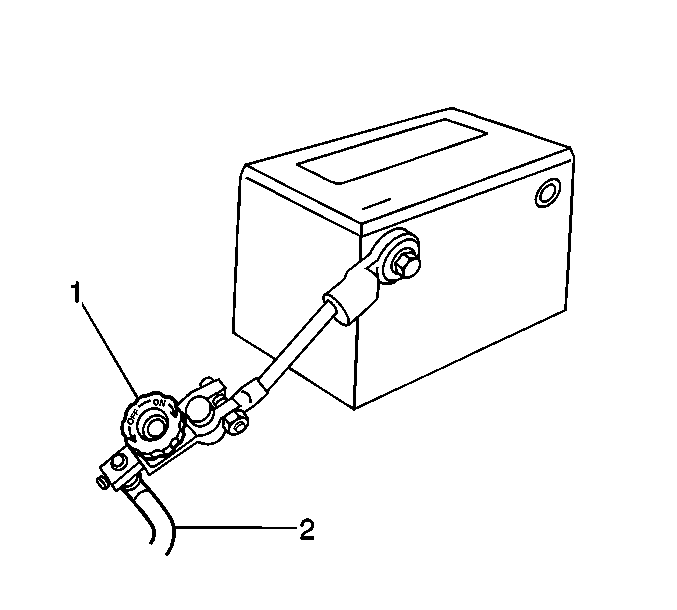
- Turn the test switch OFF
(1).
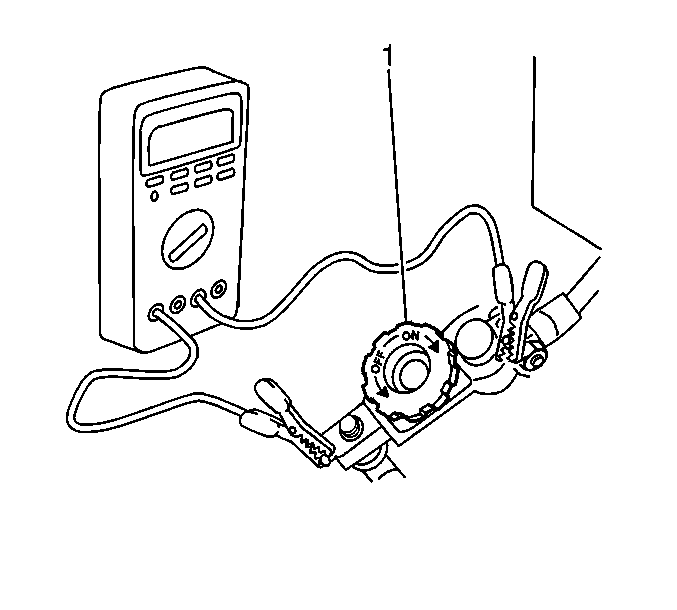
- Connect the negative battery cable (2) to the female end of the
test switch.
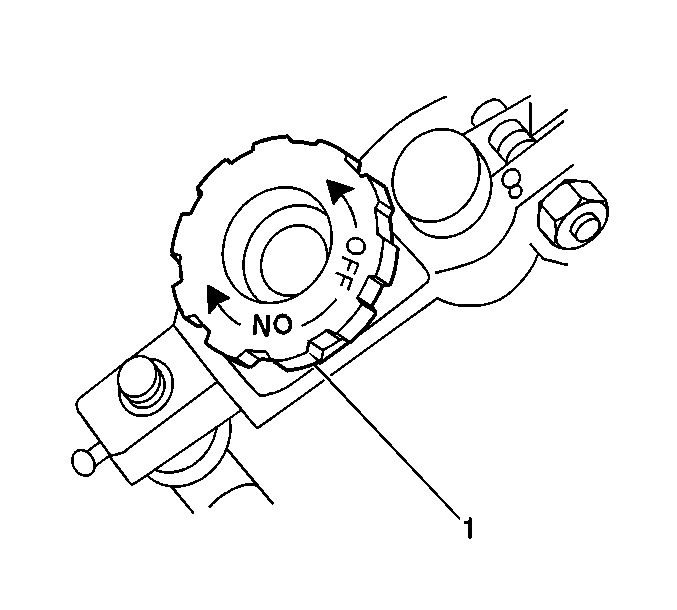
- Turn the test switch ON
(1).
Notice: Do not turn the parasitic draw test switch to the OFF position with
the engine running. Damage will occur to the vehicle's electrical system.
- Road test the vehicle. Activate all accessories, including the
air conditioning system and radio.
- Turn OFF the ignition switch. Remove the key.
Important: This allows the electronically timed components to power down, preventing
false parasitic drain readings.
- Wait 15 minutes before continuing the test.

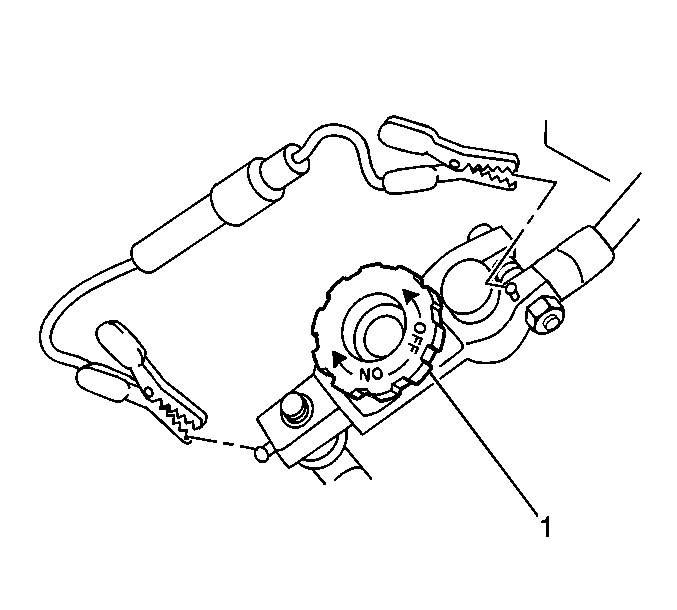
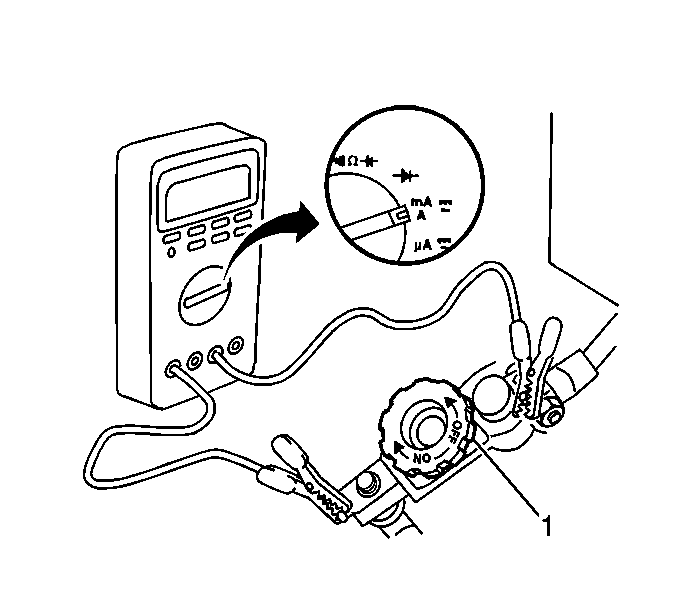
- Connect the fused jumper
wire (1) to the terminals of the test switch.
- If the fuse does not fail, the J 39200
can be installed. A current of less than 10 amps is present.
- Turn the test switch ON
(1).
- Remove the fused jumper wire.
- Set the J 39200
to the 10A scale (1).
Important: If an ammeter other than the J 39200
is used, ensure that the vehicle does not have a high current
drain that would damage the ammeter when connected to the circuit.
- Connect the J 39200
to the terminals (2) of the test switch.
- Turn the test switch OFF
(1). Current is now flowing through the ammeter option of J 39200
.
- Wait one minute.
- Wait until the current reading is 2 amps or less.
- Turn the test switch to
ON (1).
- Switch the J 39200
from the 10A setting to the 2A setting.
- Turn the test switch to
OFF (1).
- Read the current in milliamps. This is the parasitic drain value.
- Note the battery reserve capacity. Refer to
Battery Usage
.
- Divide the battery reserve capacity by 4, this will be the parasitic
drain number.
- The parasitic drain number should not exceed ¼ of the battery's
reserve capacity.
- If the parasitic drain number exceeds ¼ of the battery's
reserve capacity go to step 27.
- Turn the test switch ON
(1).
Notice: The test switch must be in the ON position when removing the fuses in
order to maintain continuity in the electrical system. This avoids damaging
the digital multimeter due to accidental overloading, such as
a door being opened to change a fuse.
- To find the source of the excessive load perform the following:
| 27.1. | Remove the courtesy lamp
fuse. Note the J 39200
reading. |
| 27.2. | If the parasitic load is still excessive start removing the remaining
fuses. |
| 27.3. | Keep the courtesy lamp fuse out during diagnosis, so the door
can remain open. |
- Continue removing the fuses one at a time, starting with the fuses
that are hot all the time. When the voltage drops across the J 39200
, note the last fuse removed. The current
drain comes from the circuit or circuits protected by that fuse.
- Repair the circuit and perform the parasitic load test again to
verify the repair.
- Connect the negative battery
cable. Refer to
Battery Negative Cable Disconnection and Connection
.
