Removal Procedure
- Remove the fuel pump fuse.
- Start the engine. After it stalls, crank the engine for 10 seconds to rid the fuel system of fuel pressure.
- Disconnect the negative battery cable.
- Drain the engine coolant. Refer to Cooling System Draining and Filling.
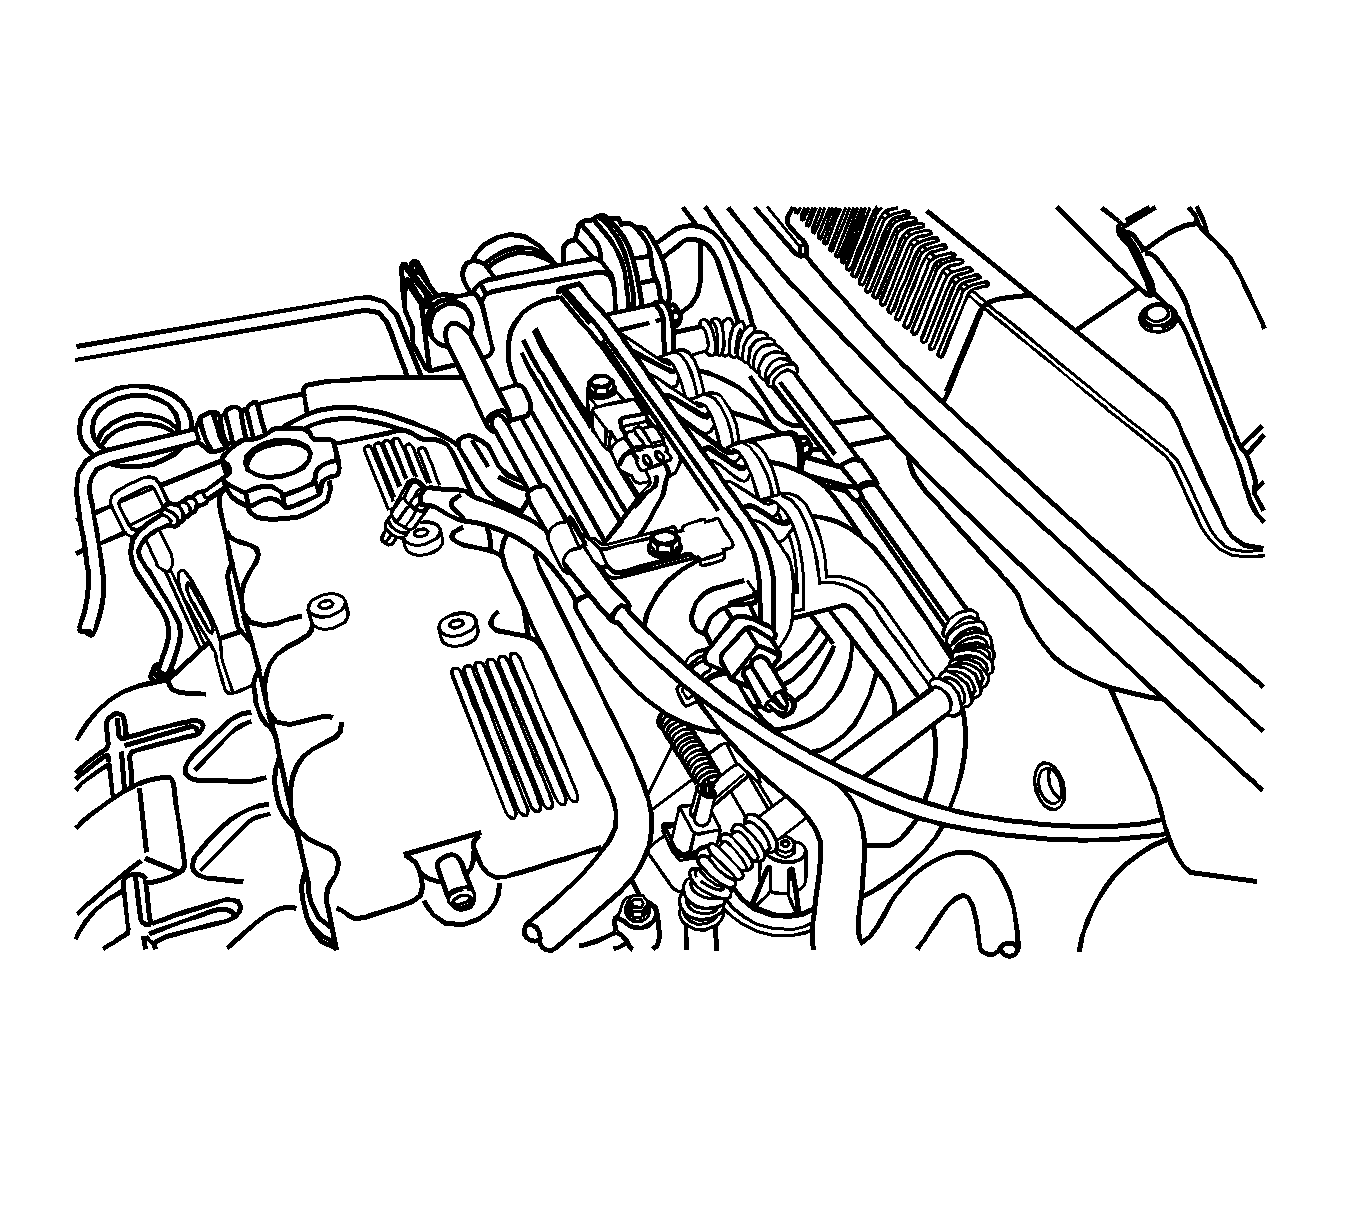
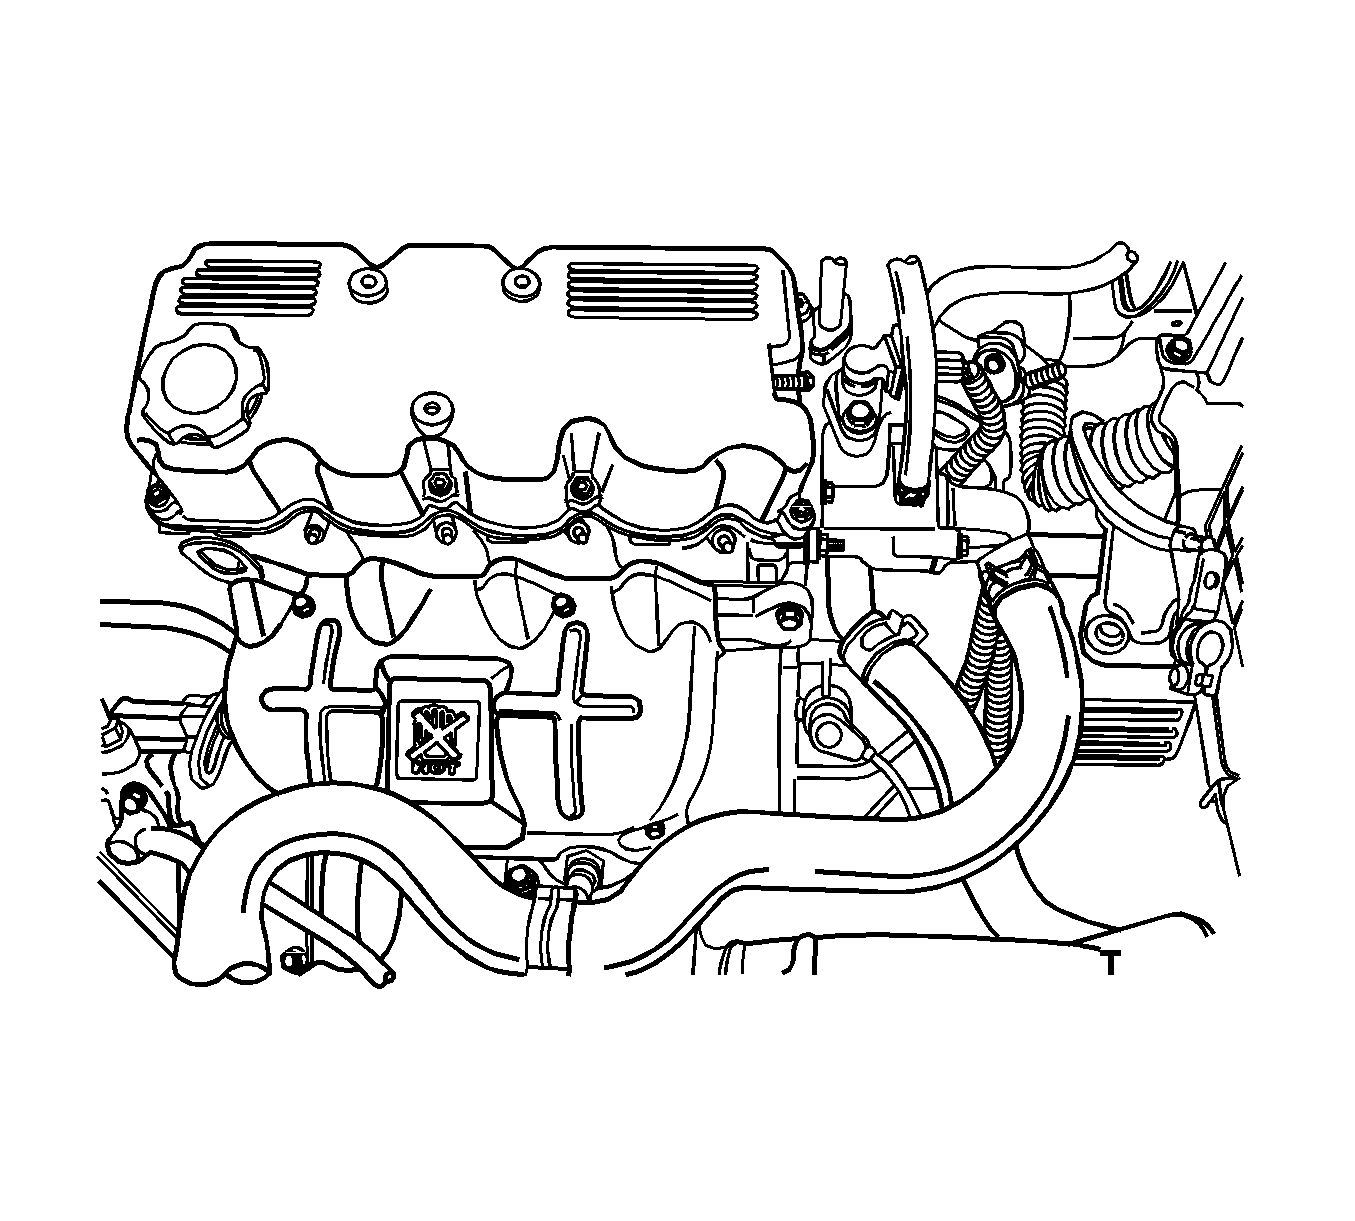
- Disconnect the positive crankcase ventilation (PCV) hose from the valve cover.
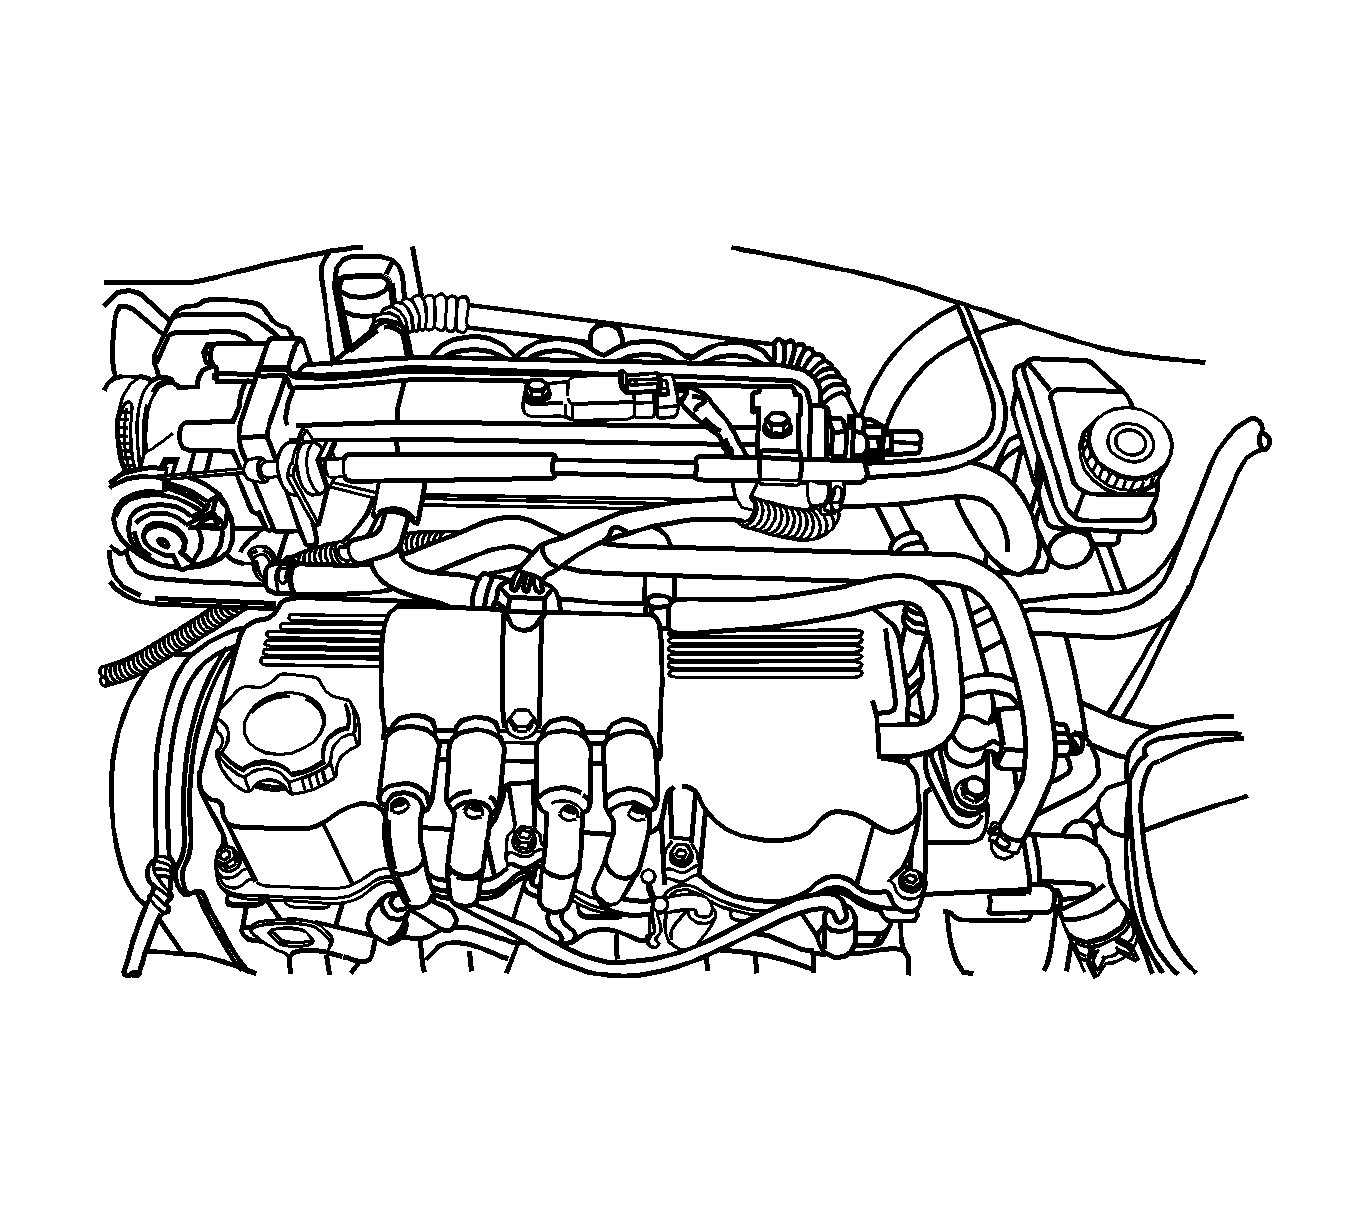
- Remove the ignition coil.
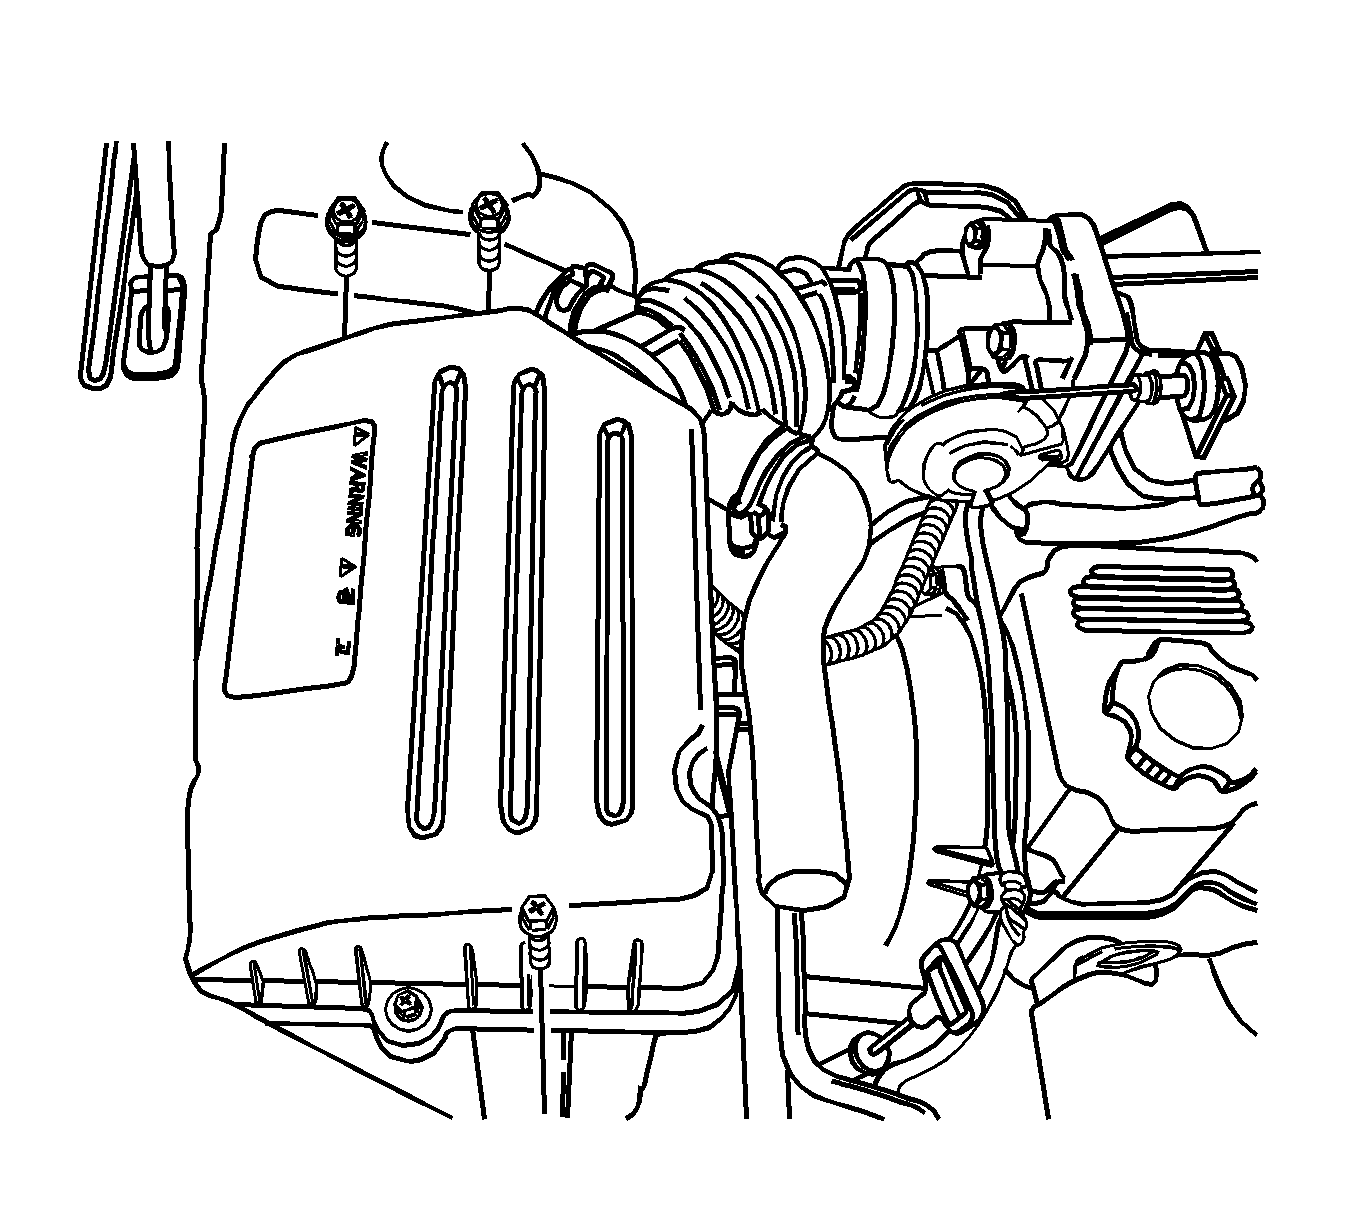
- Remove the air cleaner housing bolts.
- Remove the air cleaner housing.
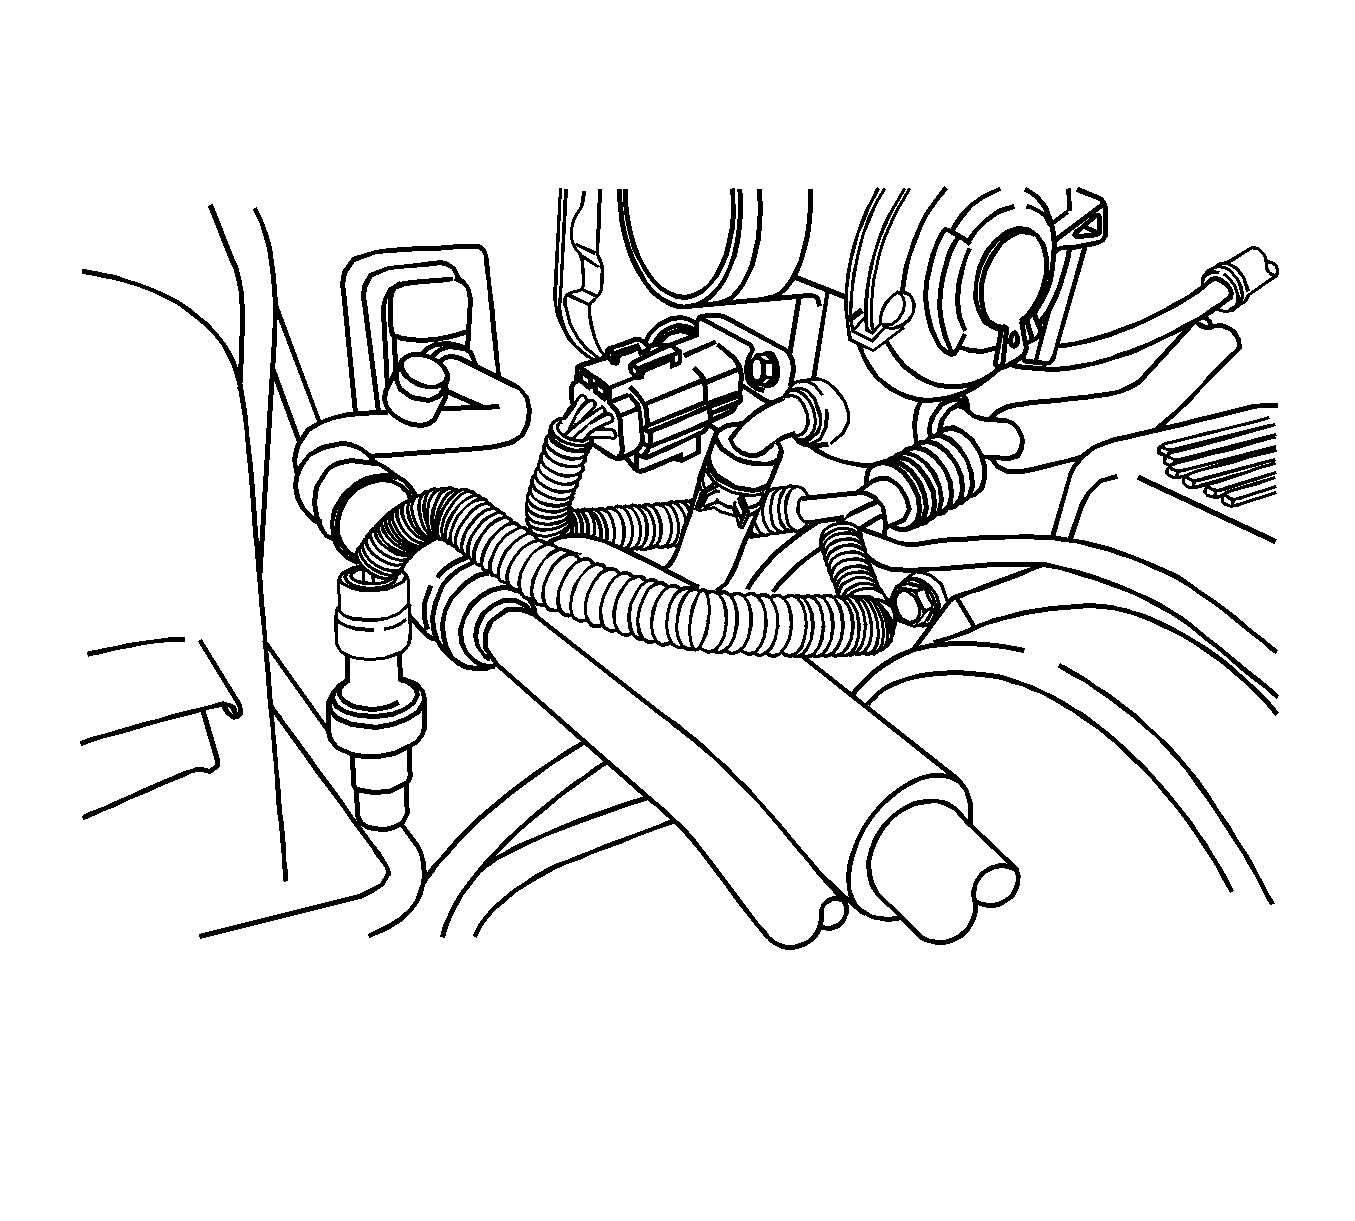
- Disconnect the main throttle idle actuator (MTIA) connector.
- Disconnect the A/C pressure transducer connector.
- Disconnect the intake air temperature (IAT) sensor connector.
- Disconnect the throttle cable from the throttle body.
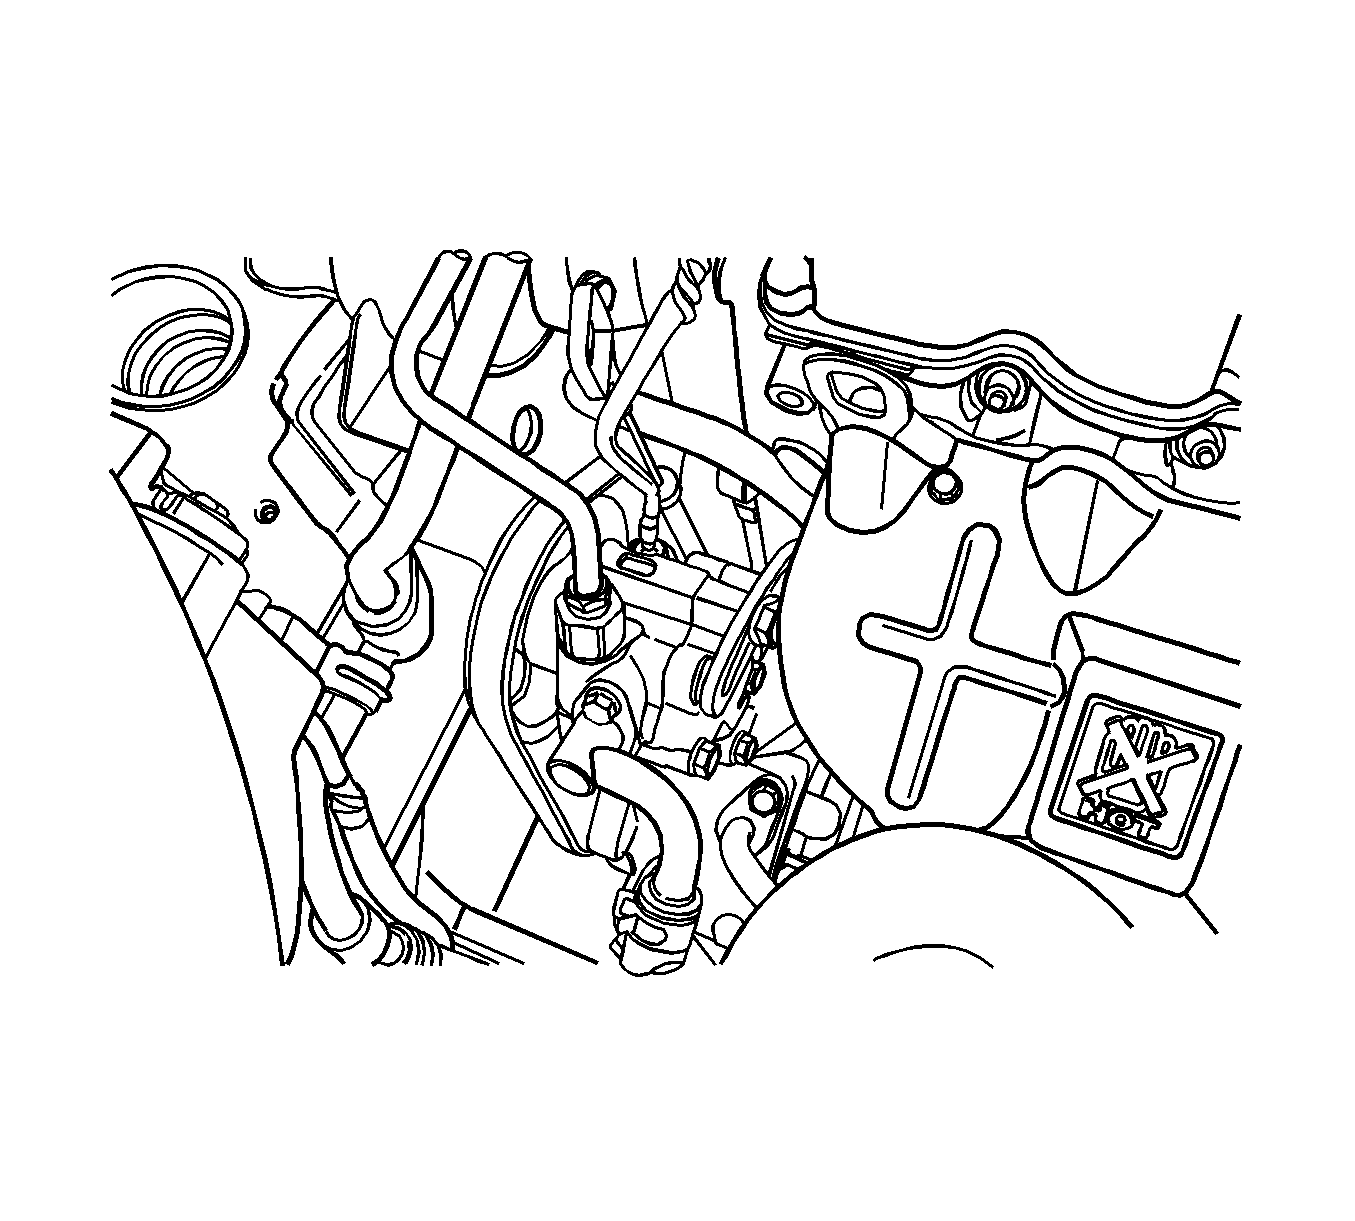
- Disconnect the brake booster vacuum hose at the intake manifold.
- Disconnect the fuel injector harness connectors.
- Disconnect the fuel line at the fuel rail.
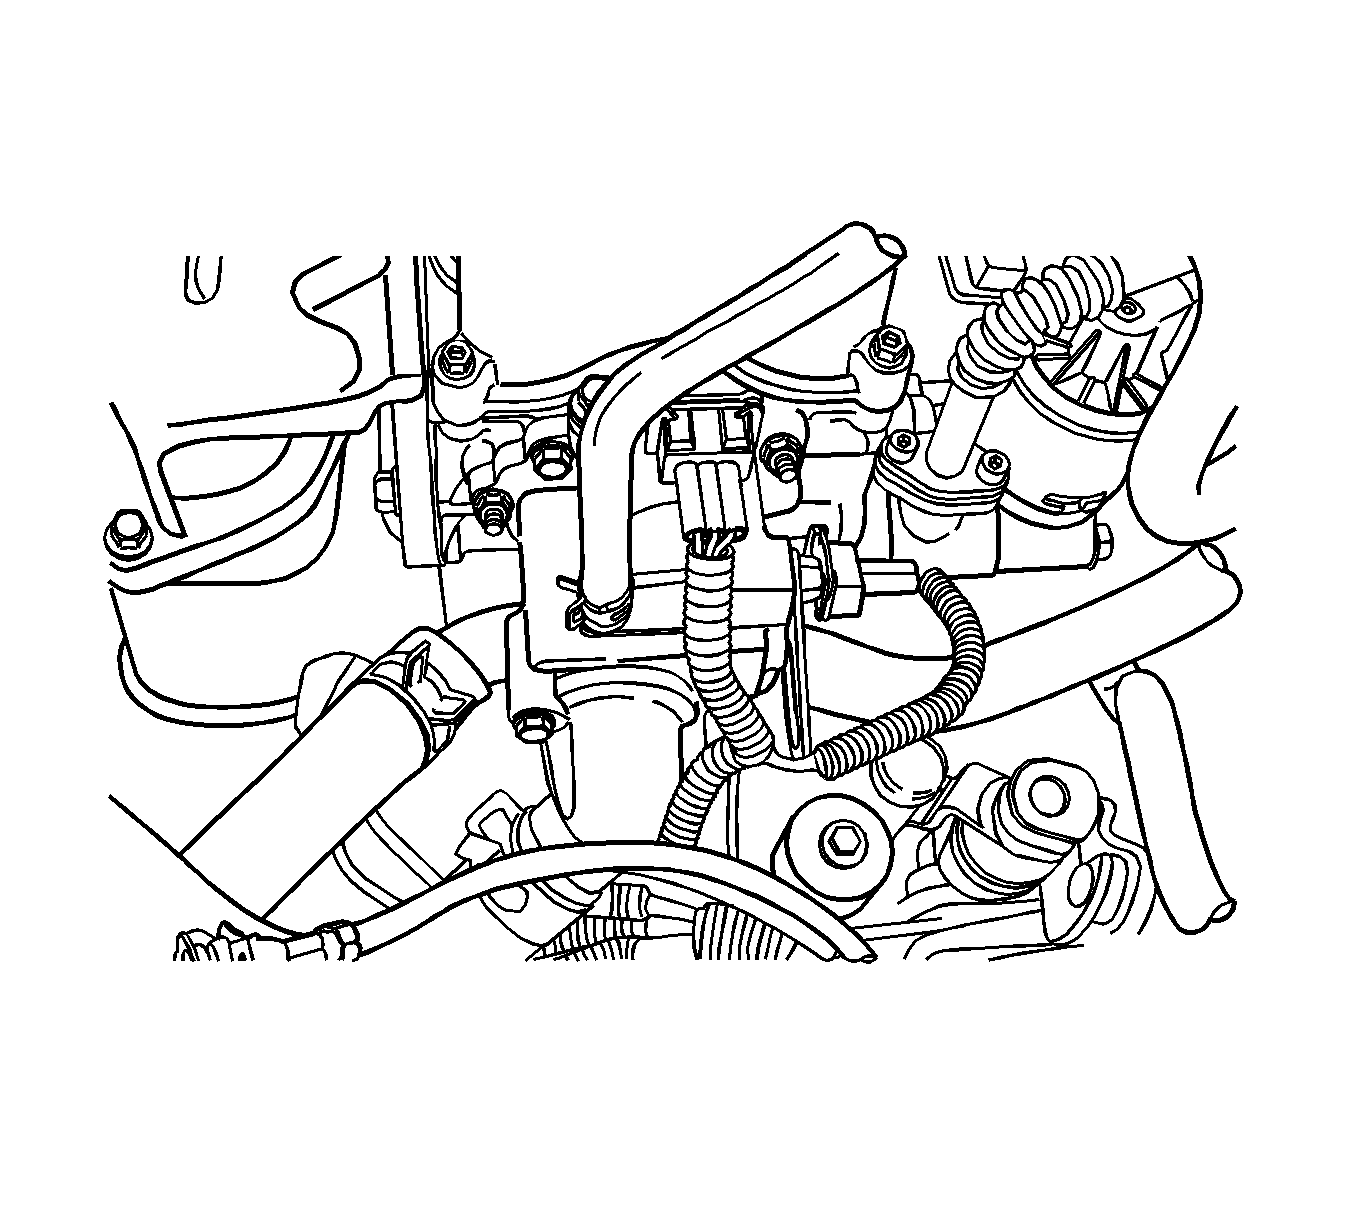
- Disconnect the camshaft position sensor connector.
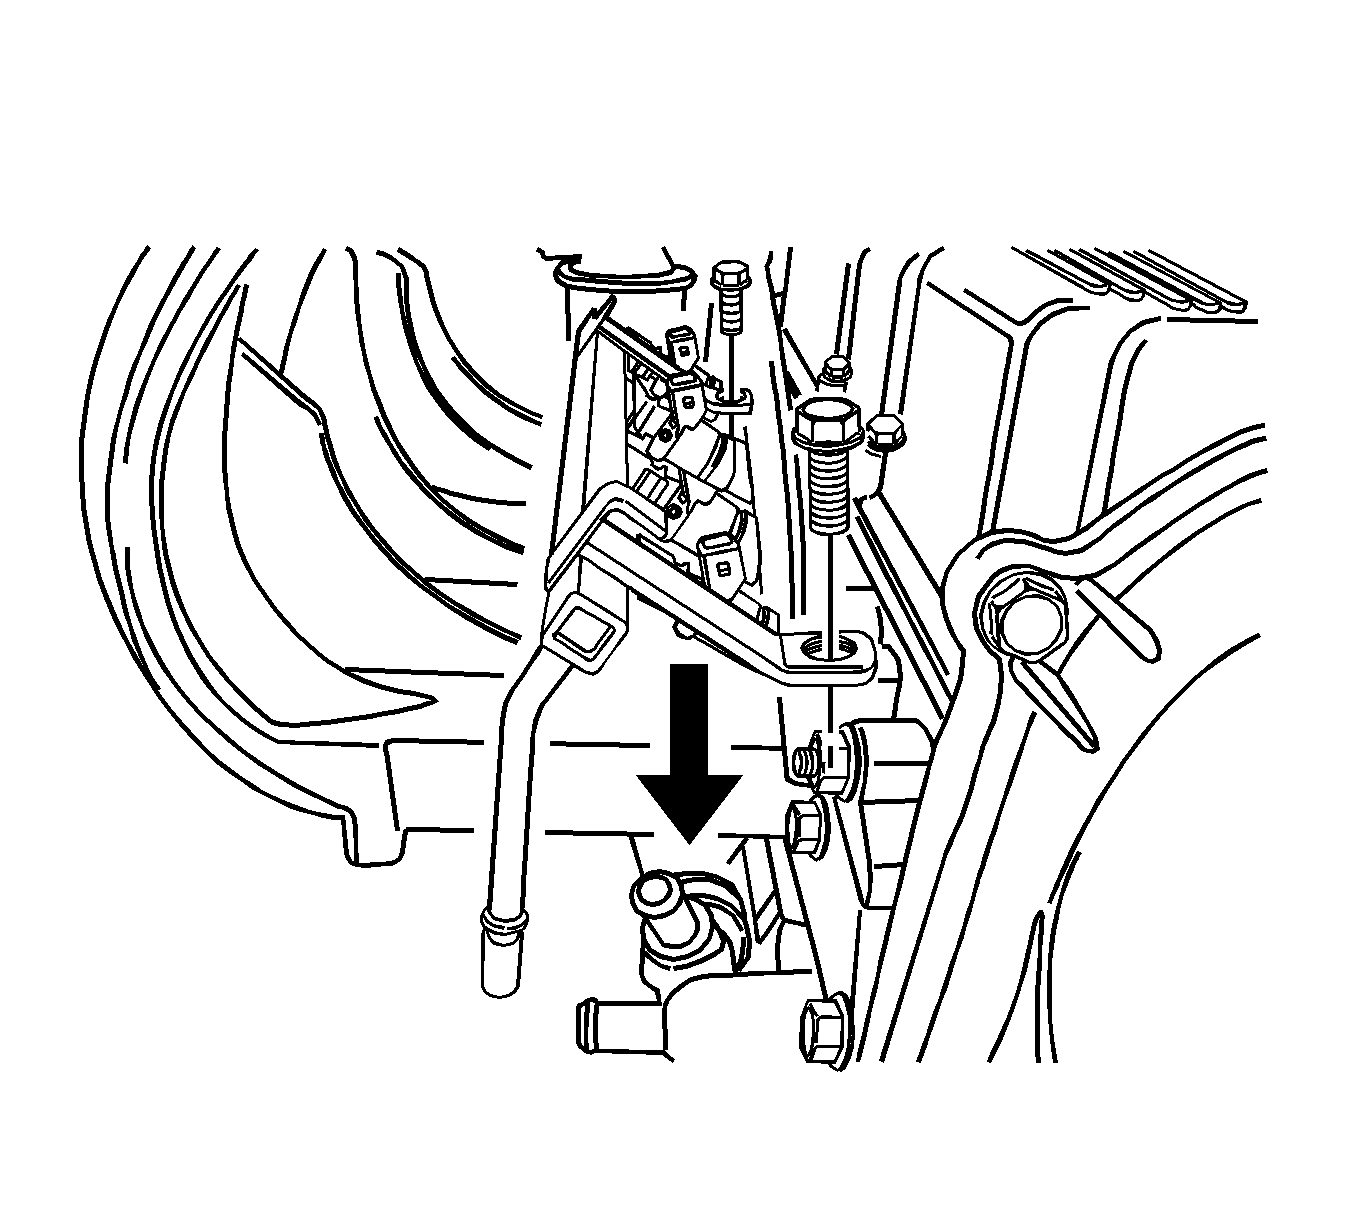
- Disconnect the coolant temperature sensor connector.
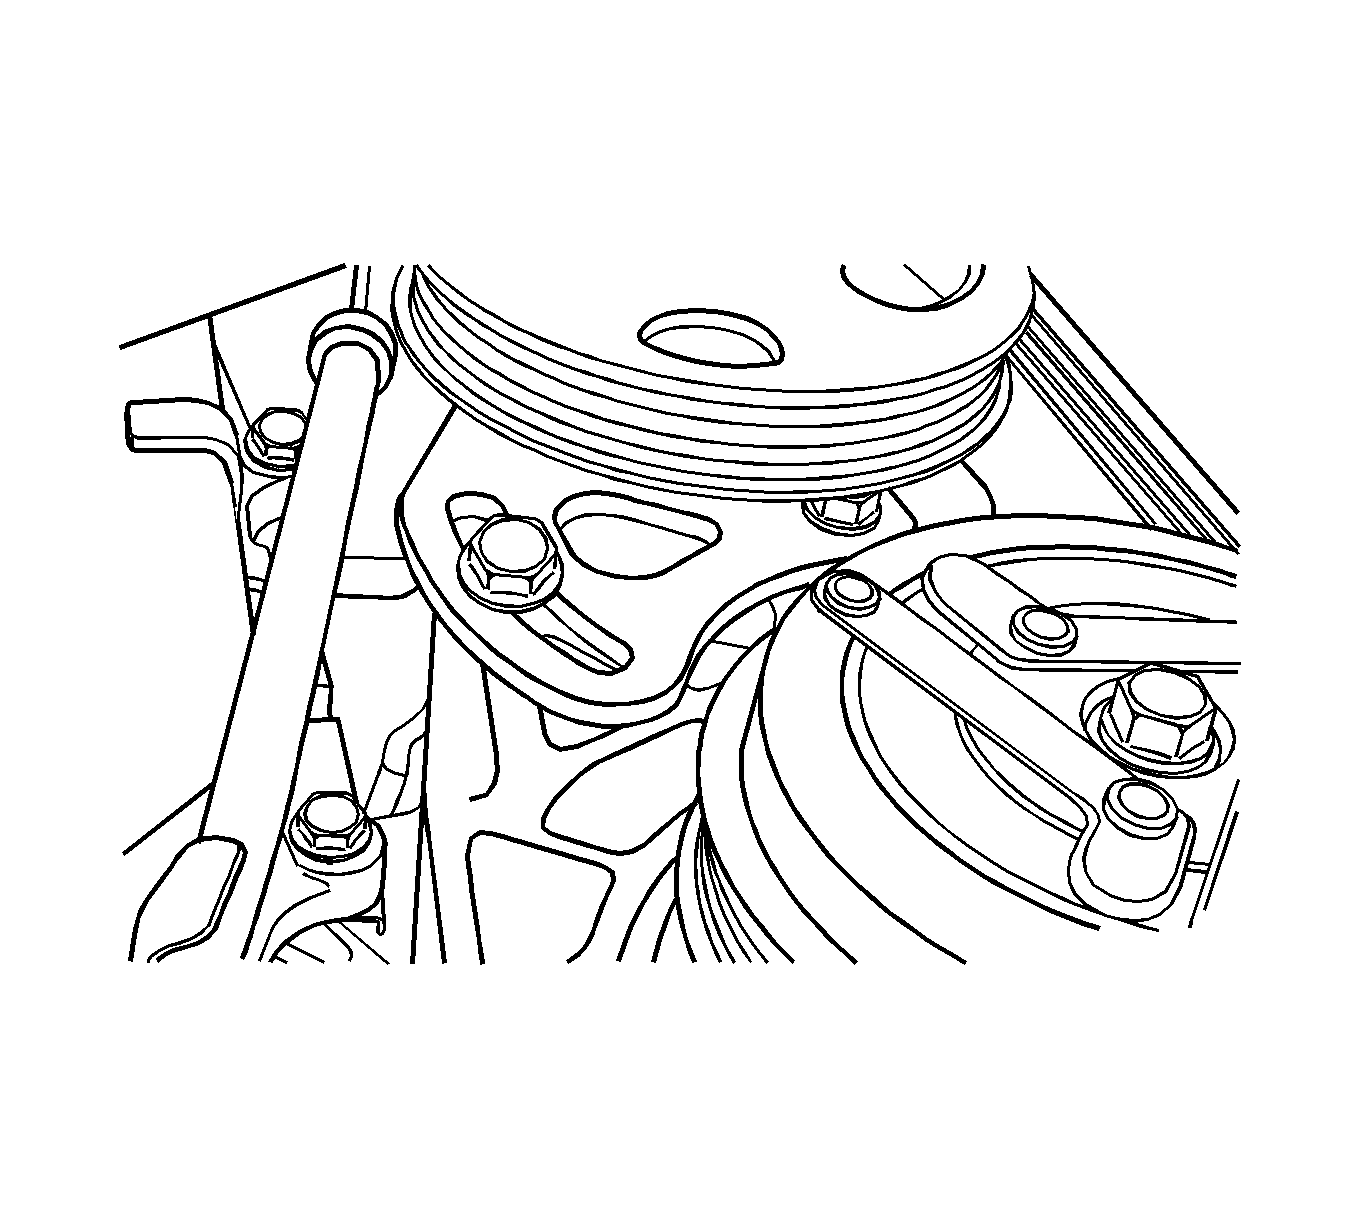
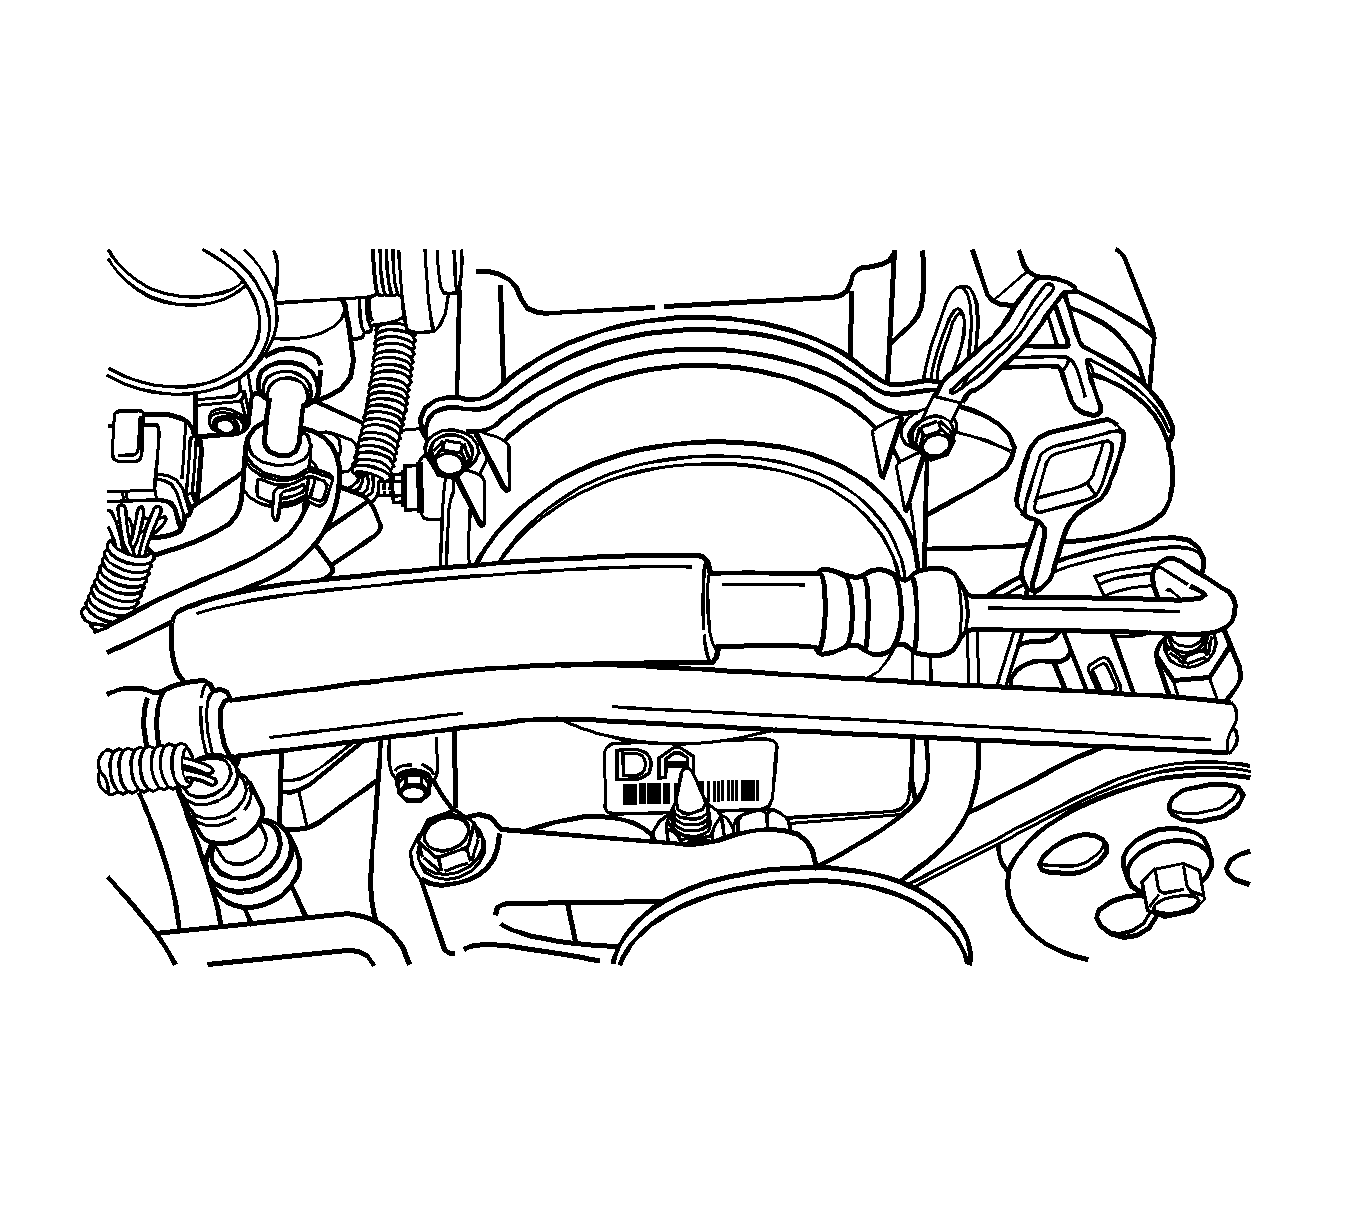
- Slightly loosen the power steering lower adjusting bolt.
- Slightly loosen the power steering upper adjusting bolt.
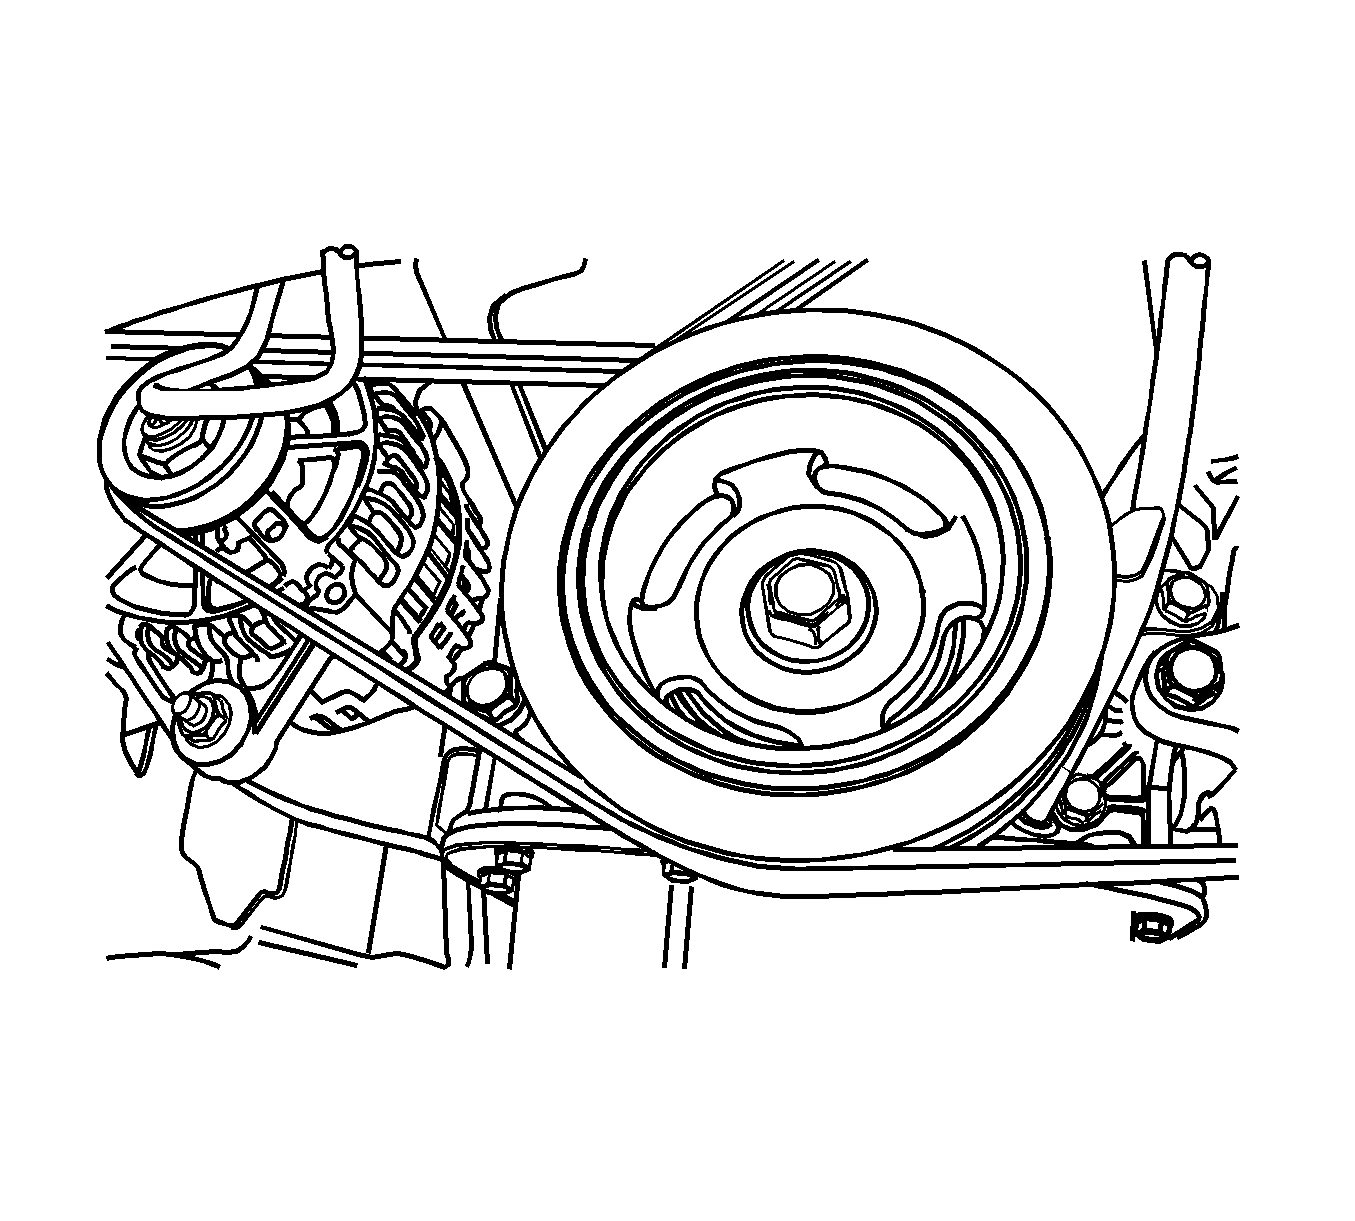
- Remove the A/C with power steering drive belt.
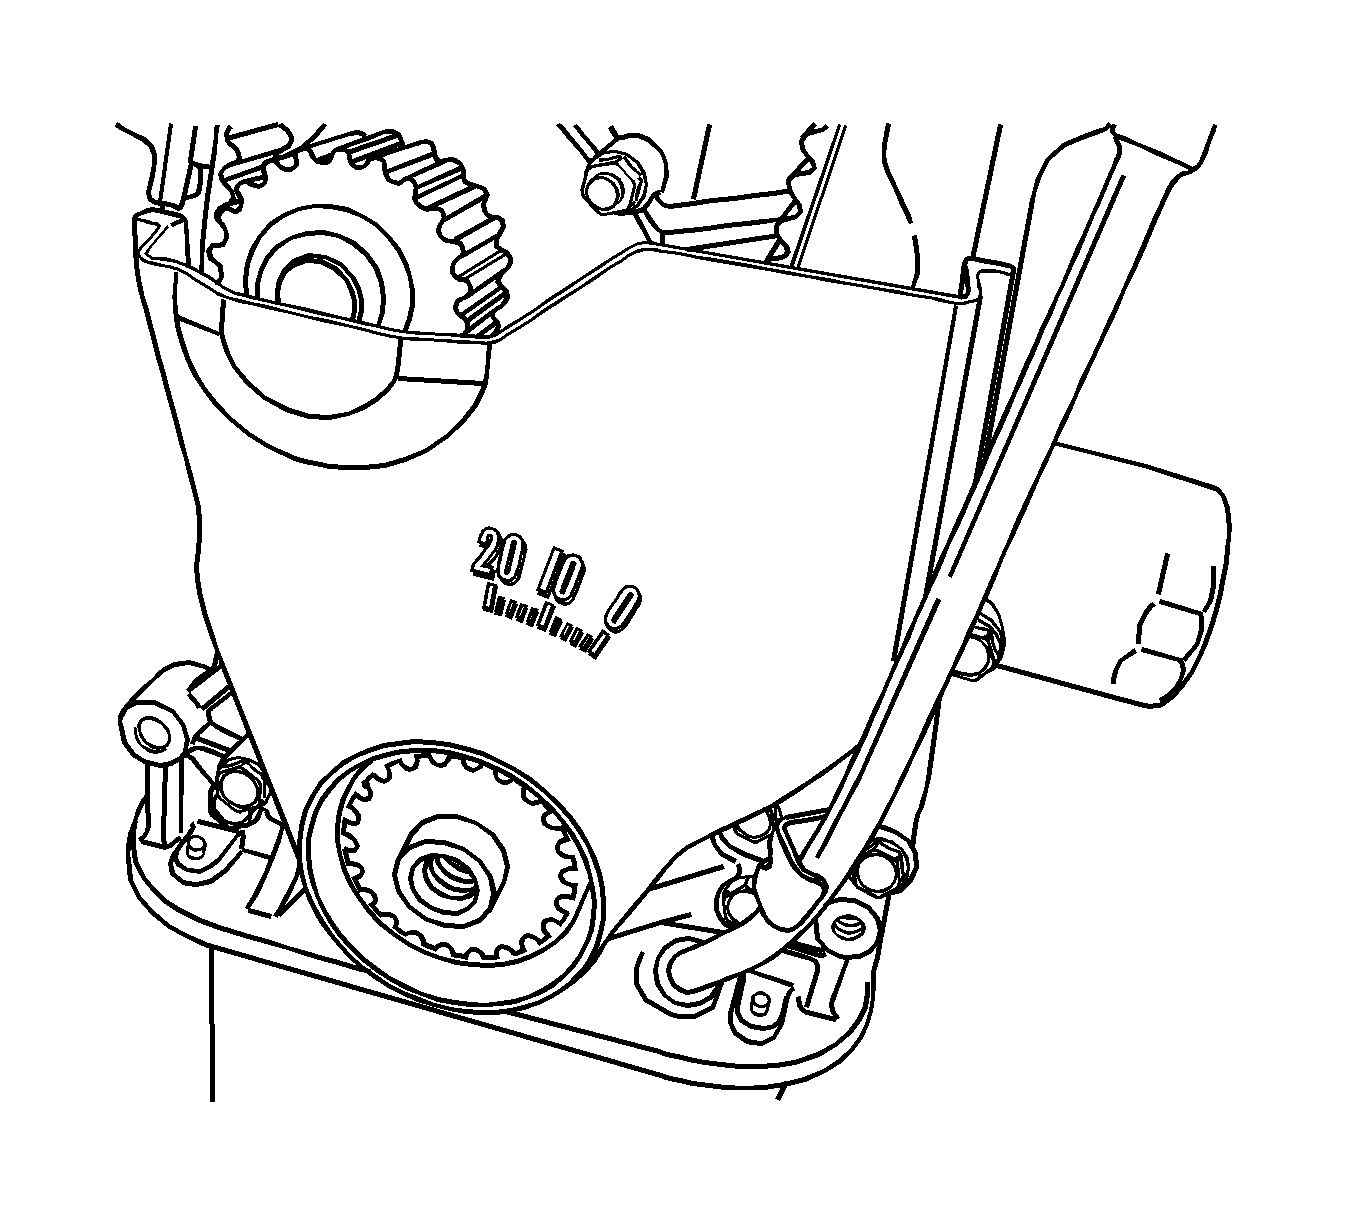
- Remove the upper timing belt cover bolts.
- Remove the upper timing belt cover.
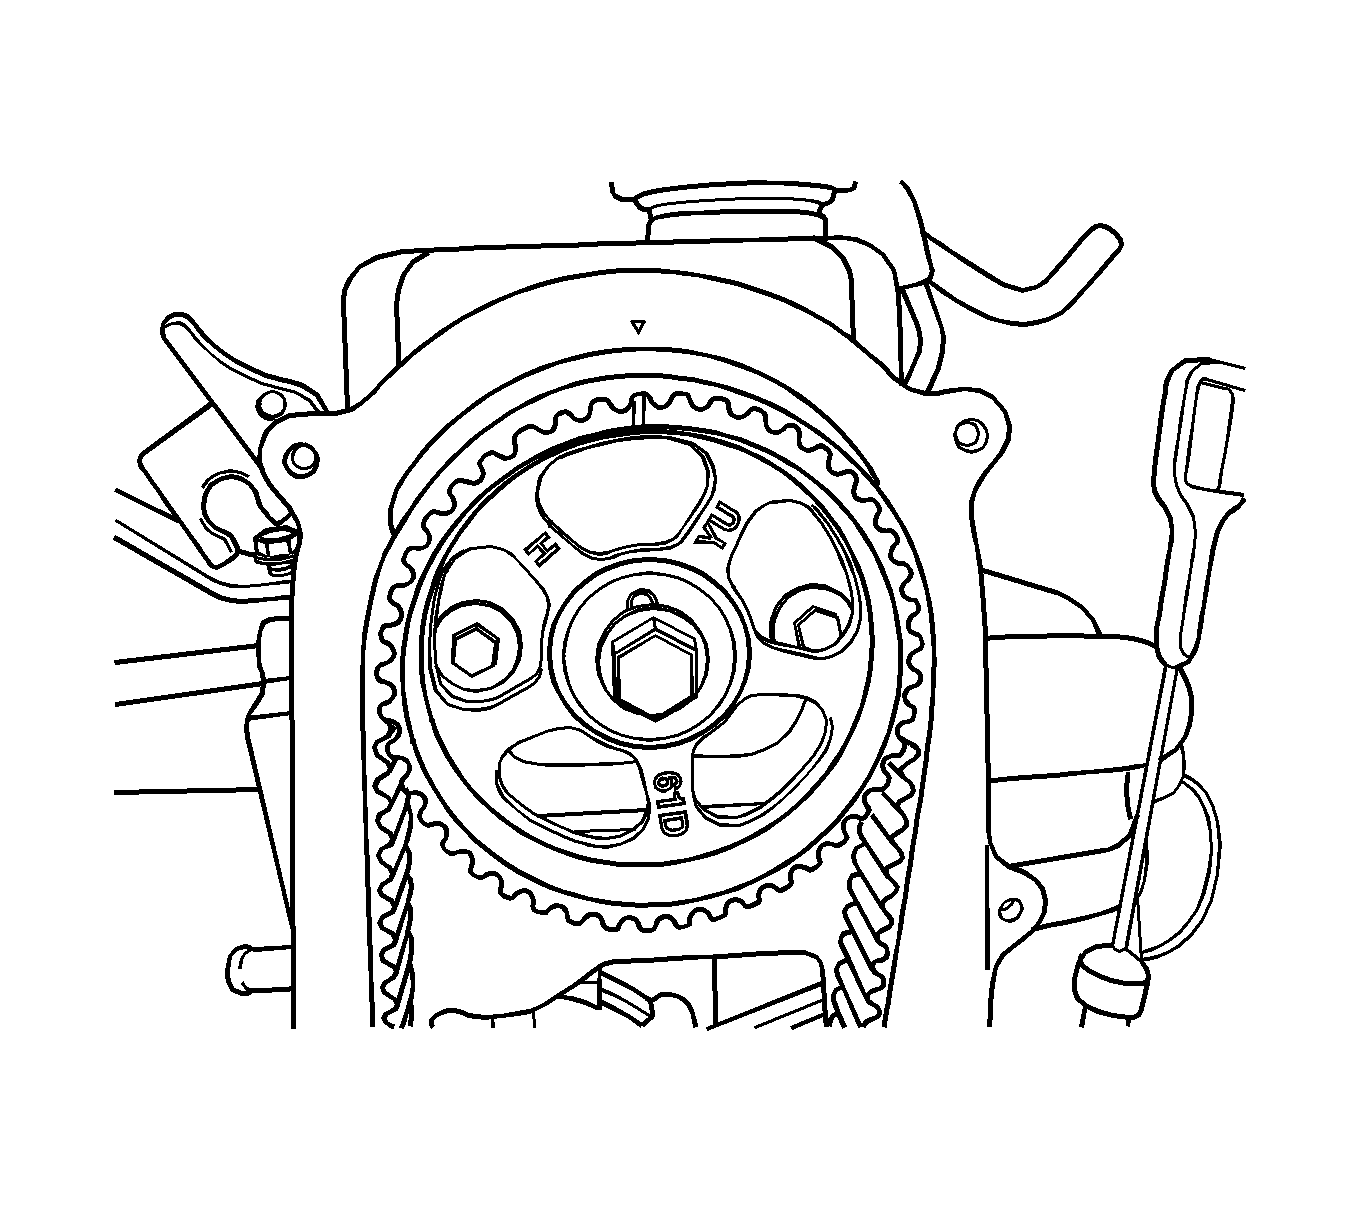
- Align the camshaft gear timing mark to the notch in the rear timing belt cover.
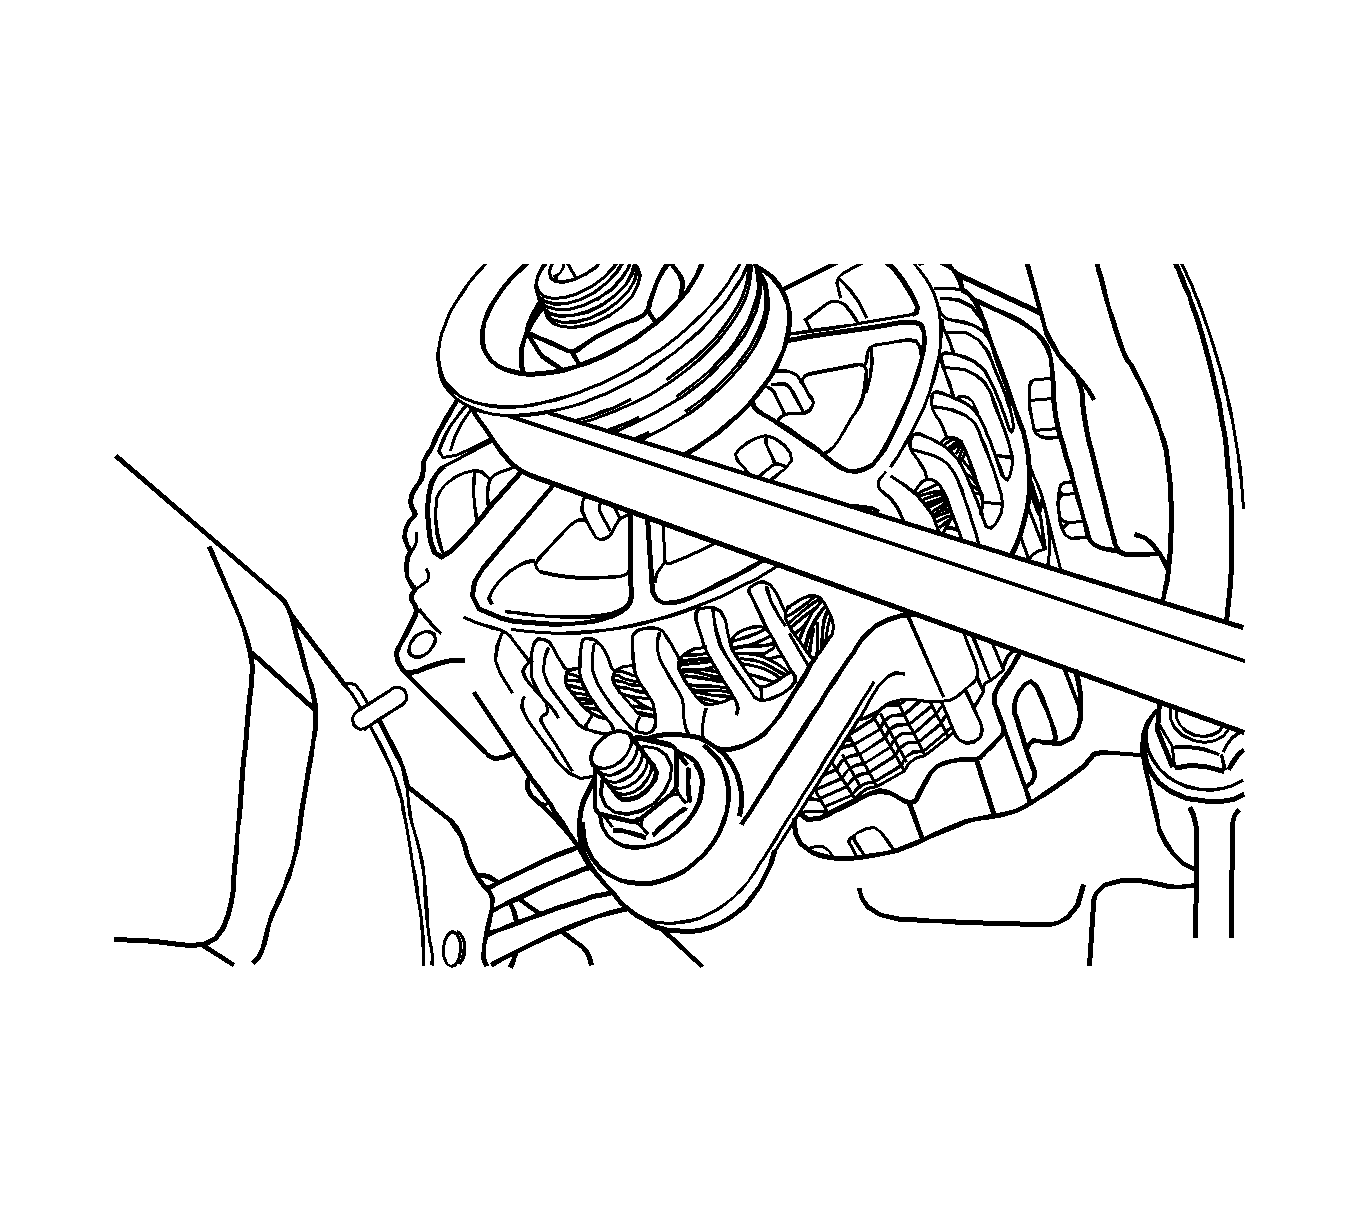
- Slightly loosen the alternator retaining bolts.
- Remove the alternator drive belt.
- Remove the engine under cover.
- Remove the crankshaft pulley bolt.
- Remove the crankshaft pulley.
- Remove the lower timing belt cover bolts.
- Remove the lower timing belt cover.
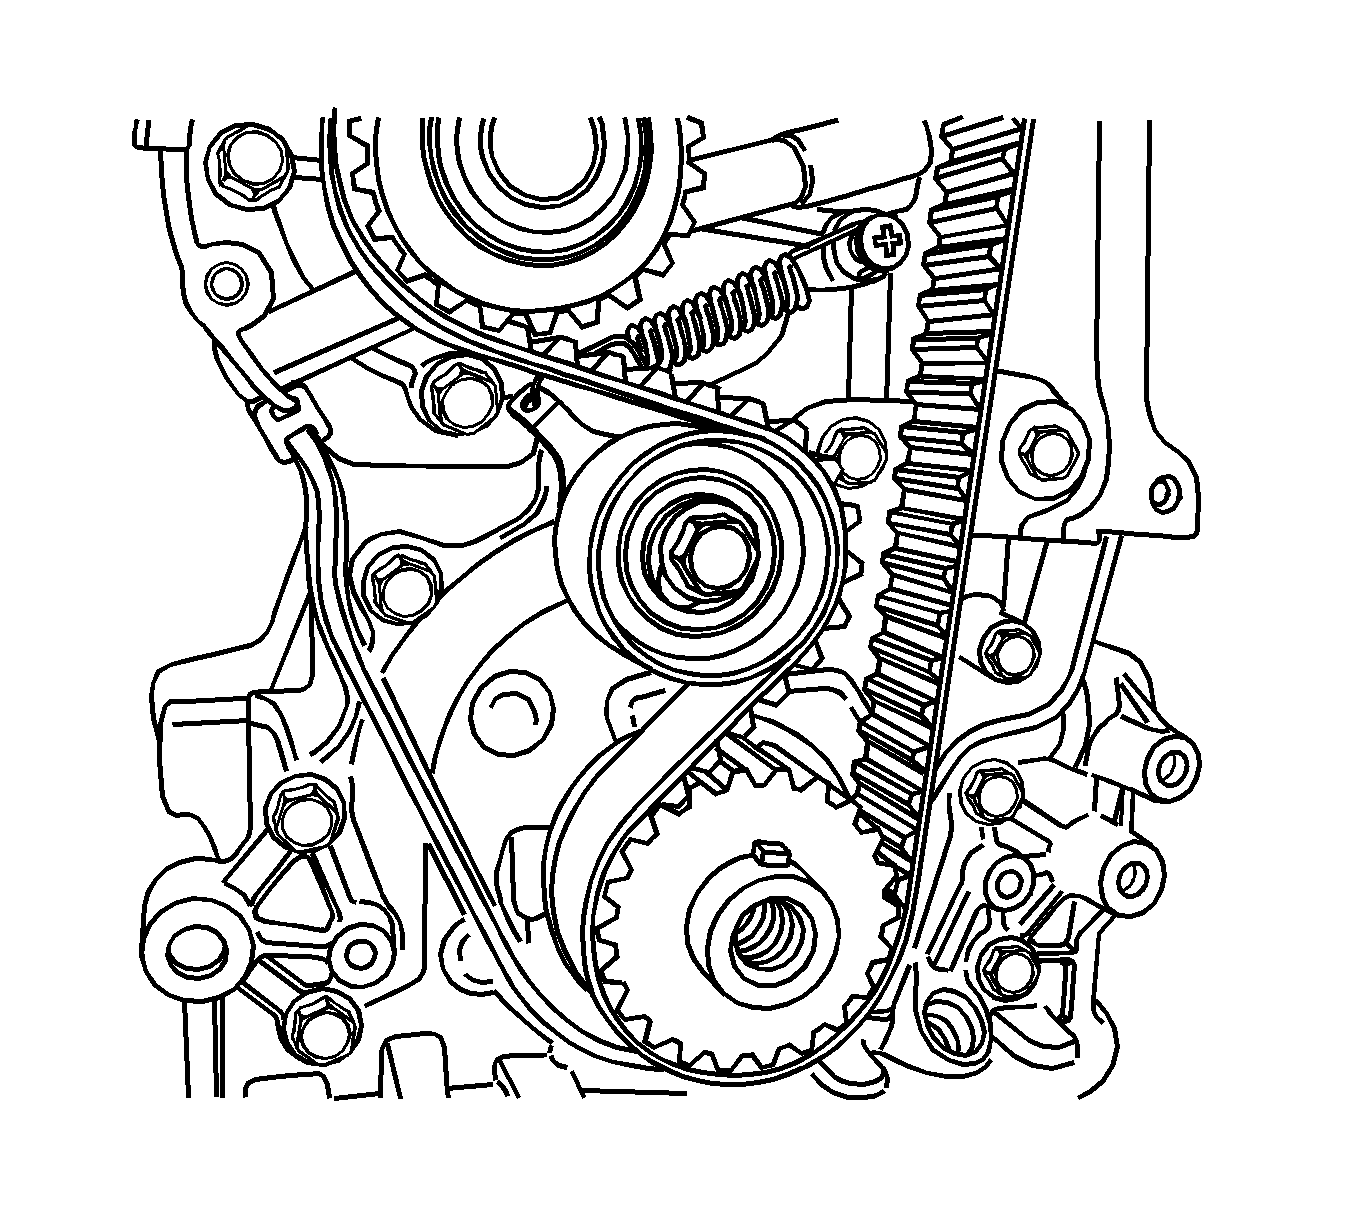
- Remove the timing belt automatic tensioner bolt.
- Remove the timing belt automatic tensioner.
- Remove the timing belt. Refer to Timing Belt Replacement.
- Remove the camshaft gear bolt from the camshaft.
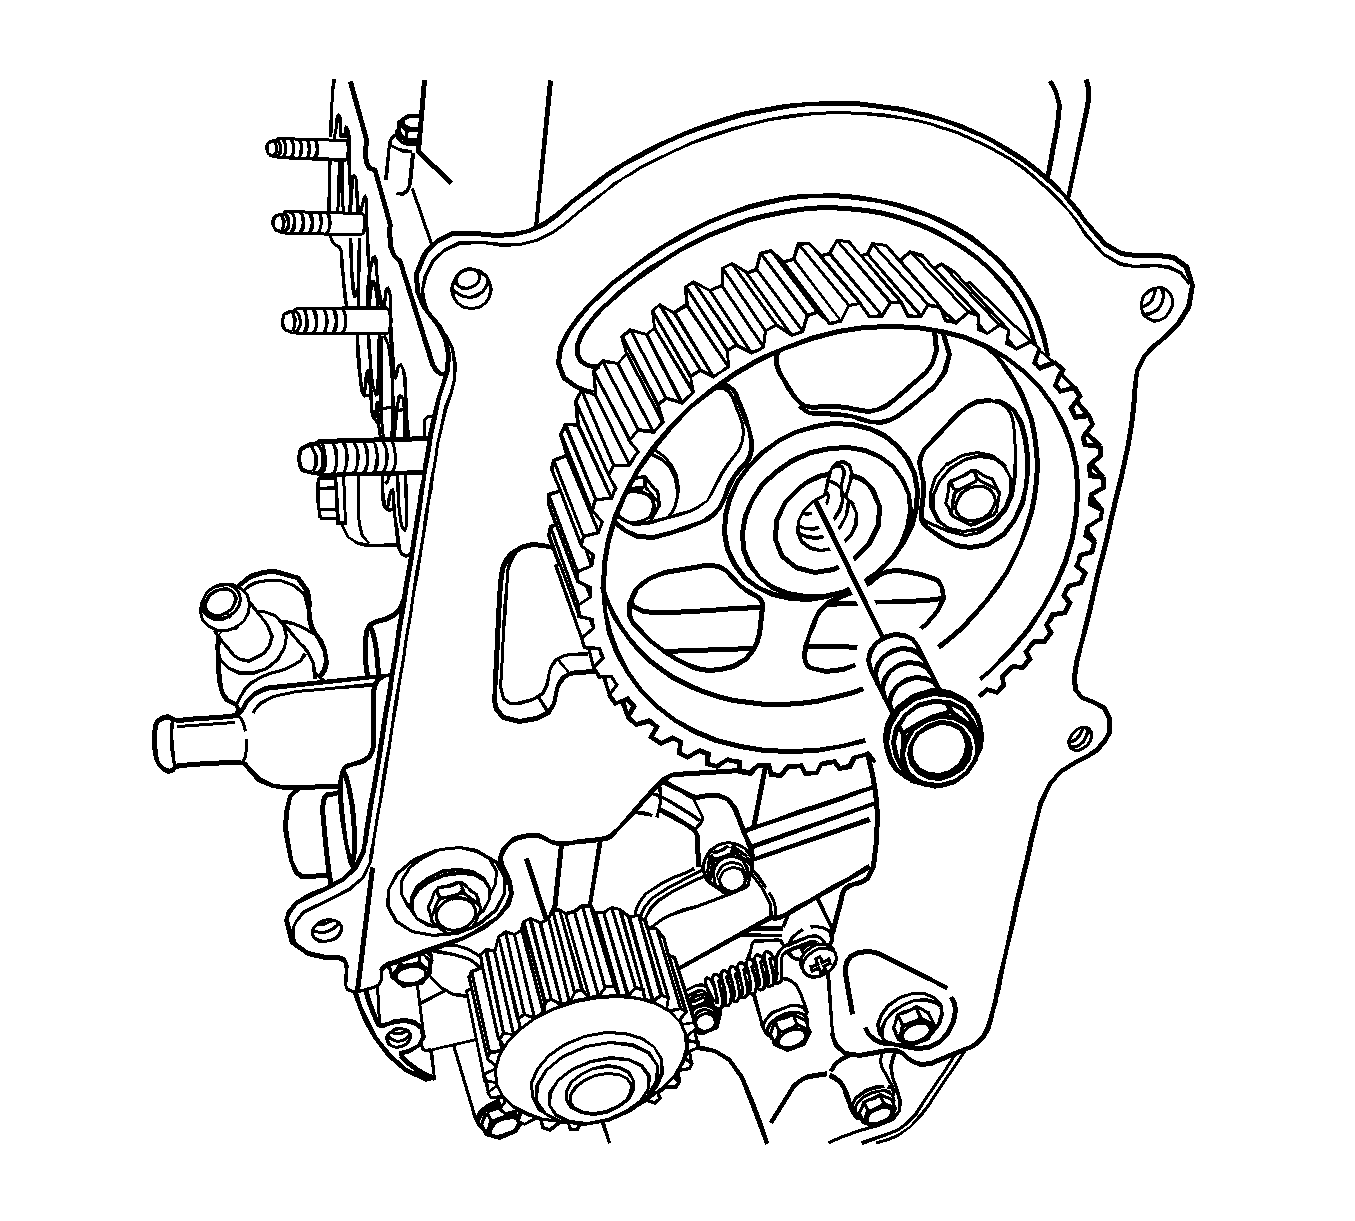
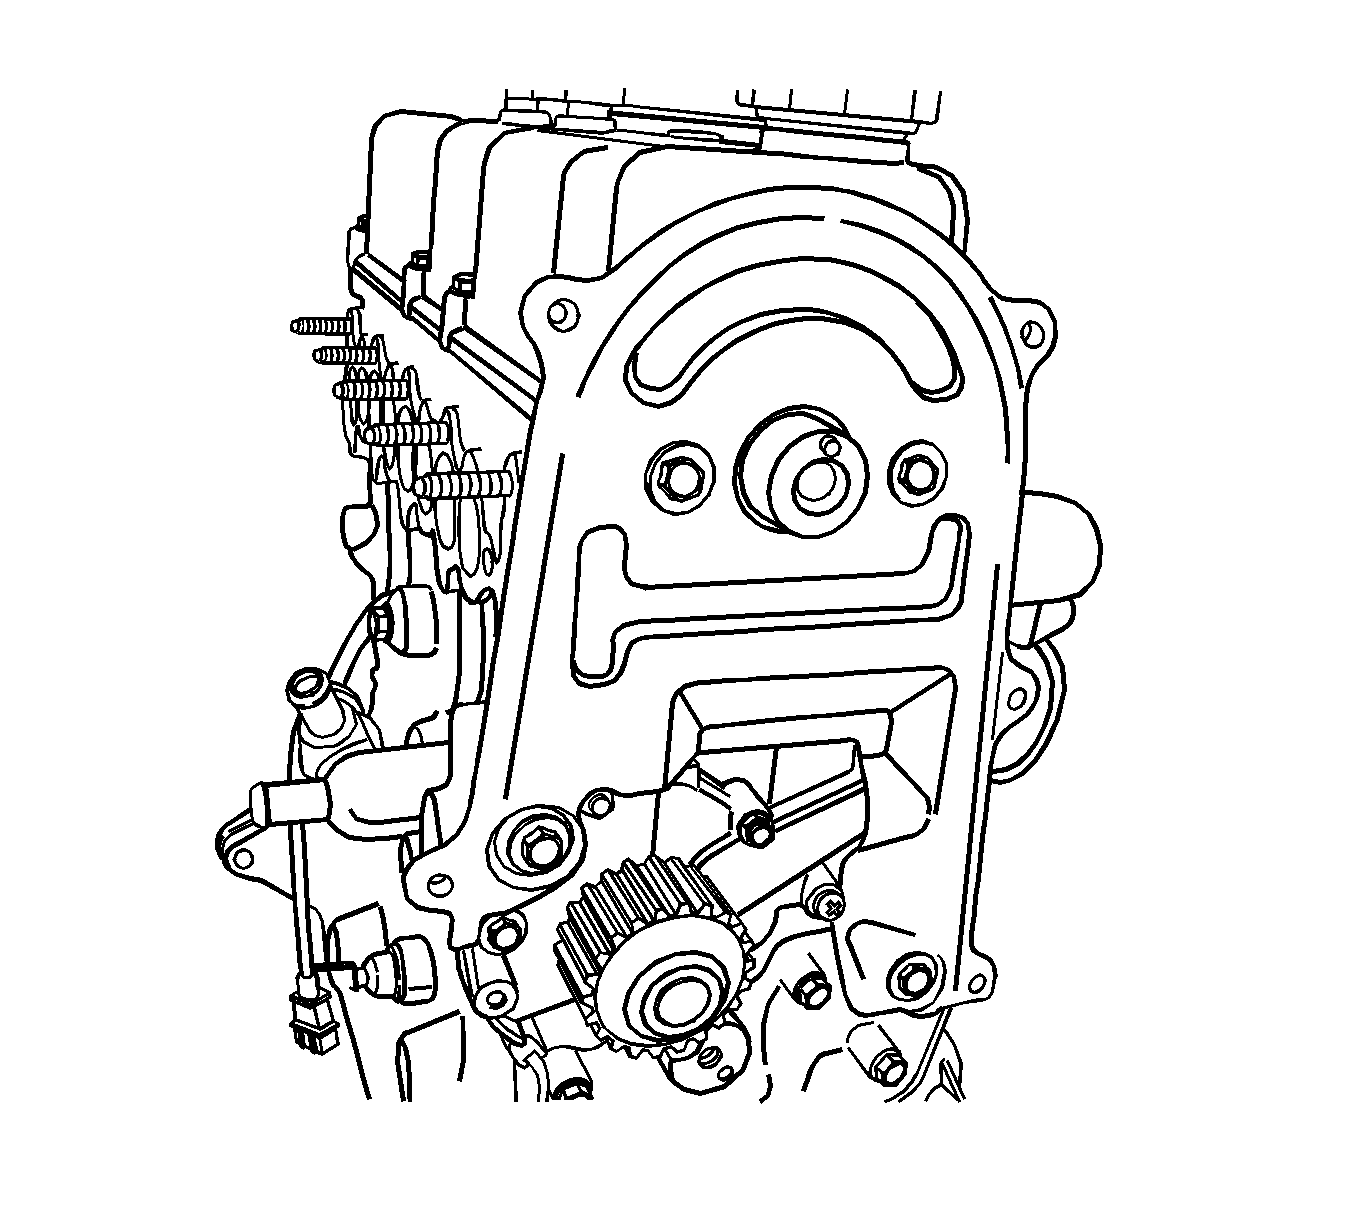
- Remove the timing belt rear cover bolts.
- Remove the timing belt rear cover from the cylinder head and cylinder block.
- Remove the heat shield mounting bolts.
- Remove the heat shield.
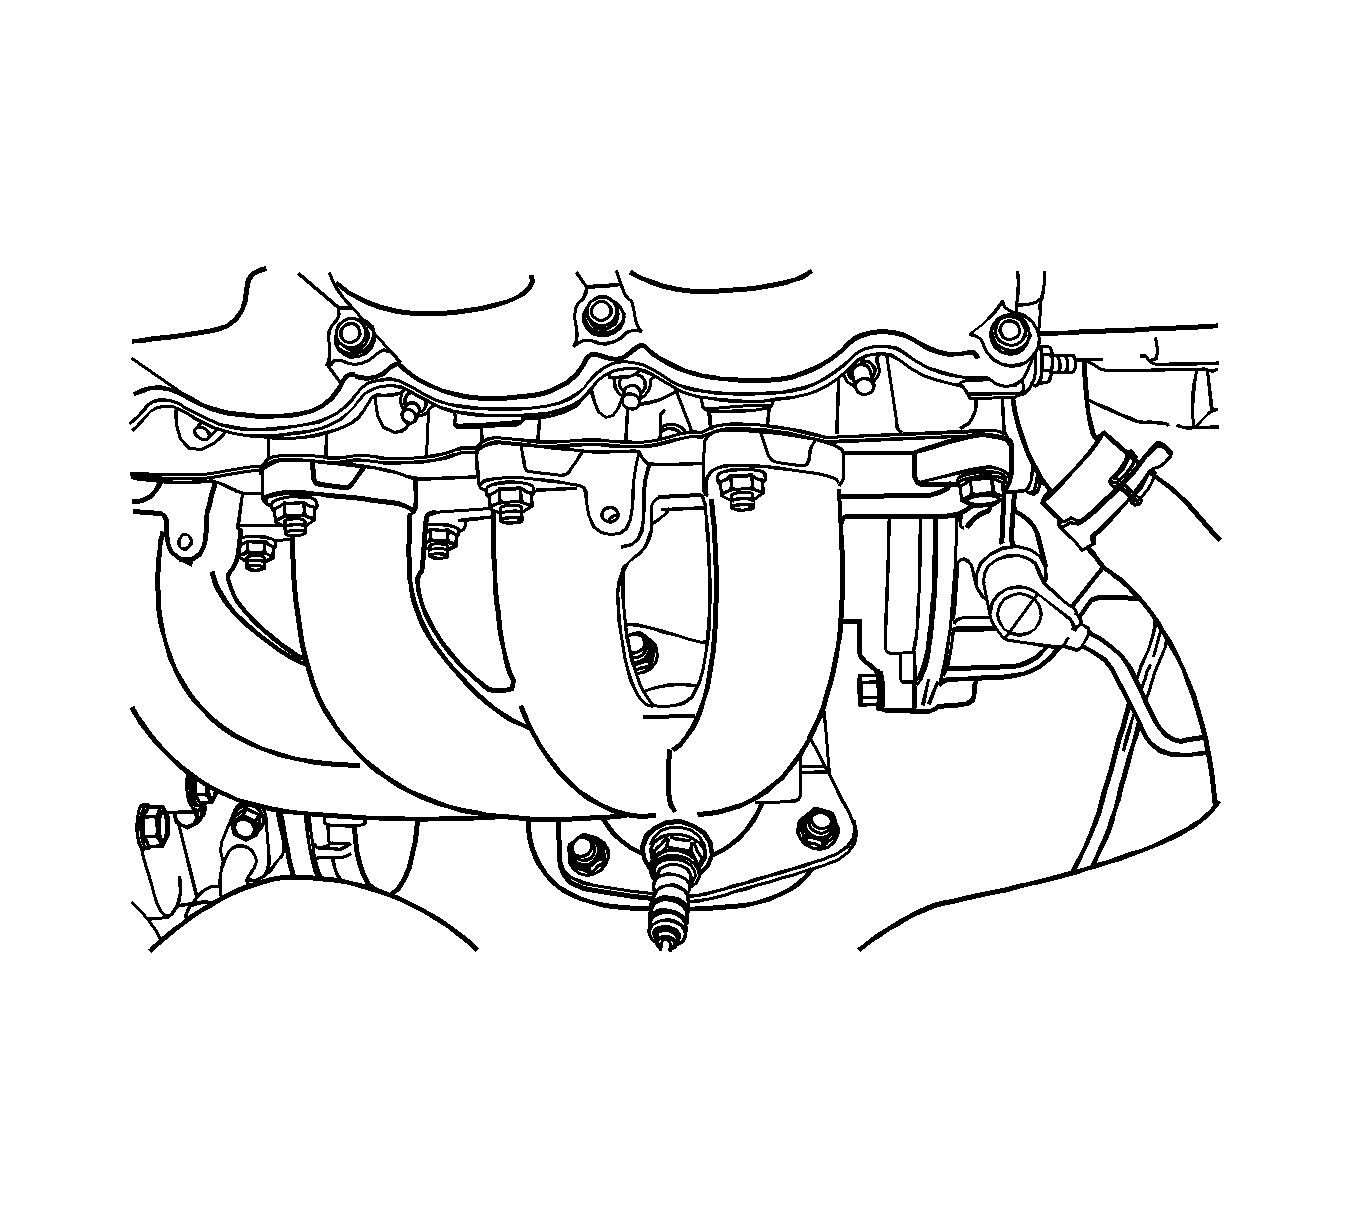
- Remove the retaining nuts from the catalytic converter at the exhaust manifold flange.
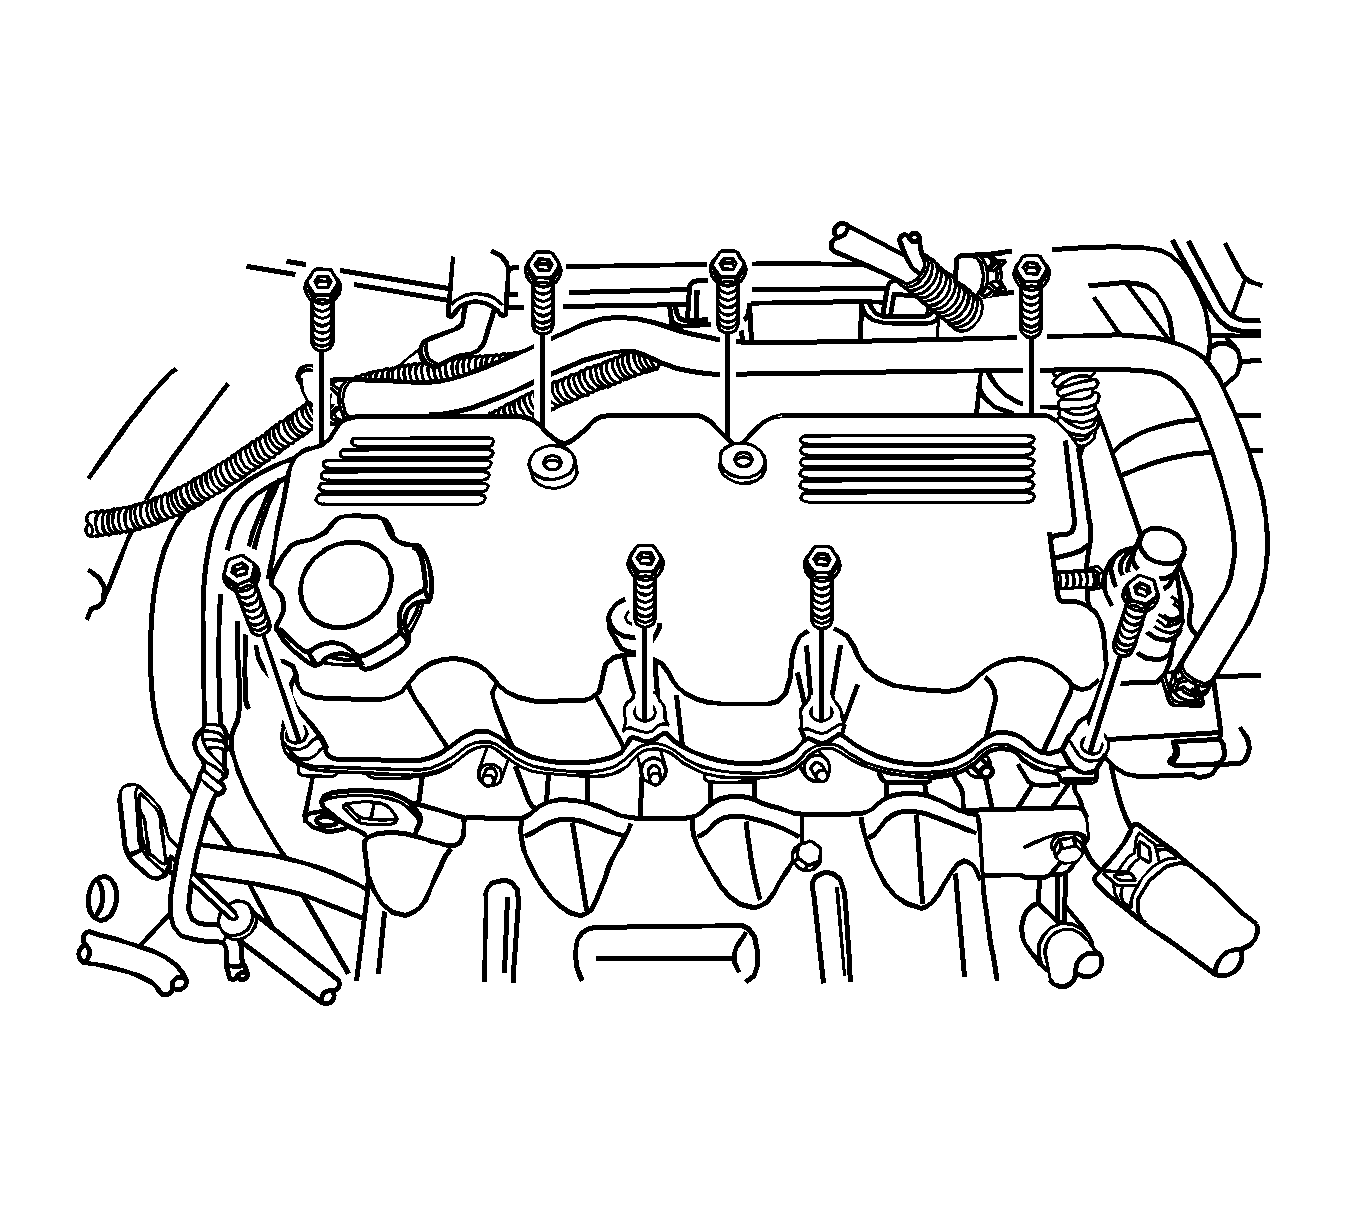
- Remove the valve cover with the hexagon bolts.
- Remove the valve cover gasket.
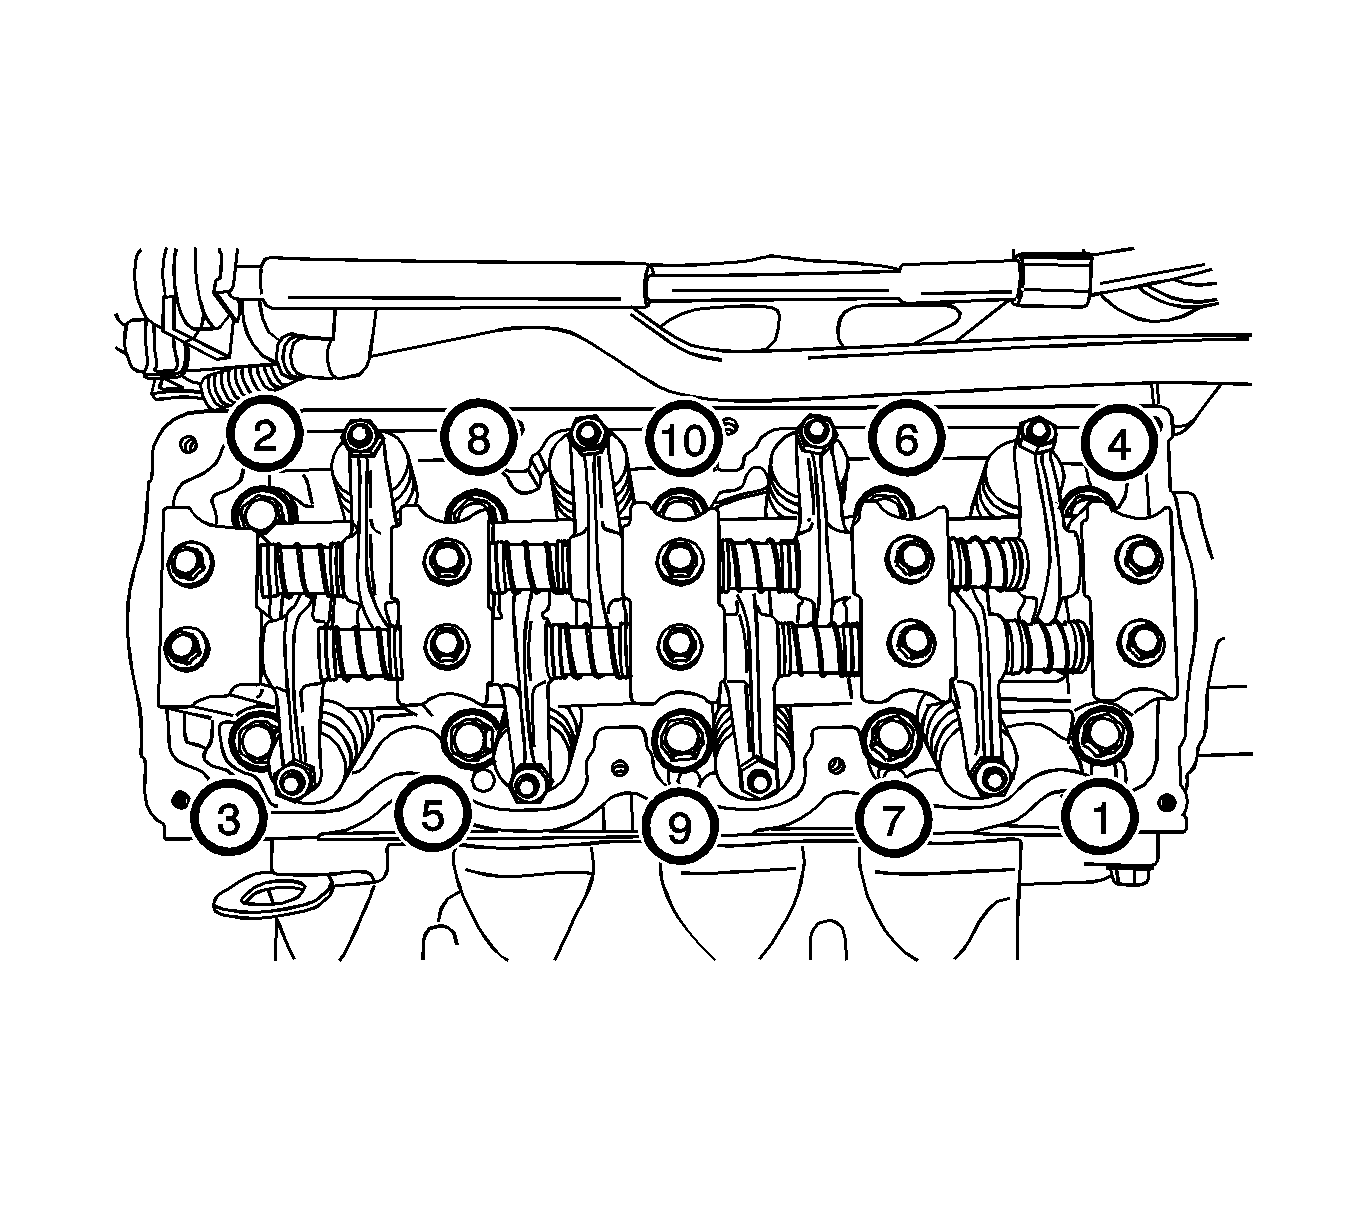
- Gradually loosen all of the cylinder head bolts in the sequence shown.
- Remove the cylinder head bolts.
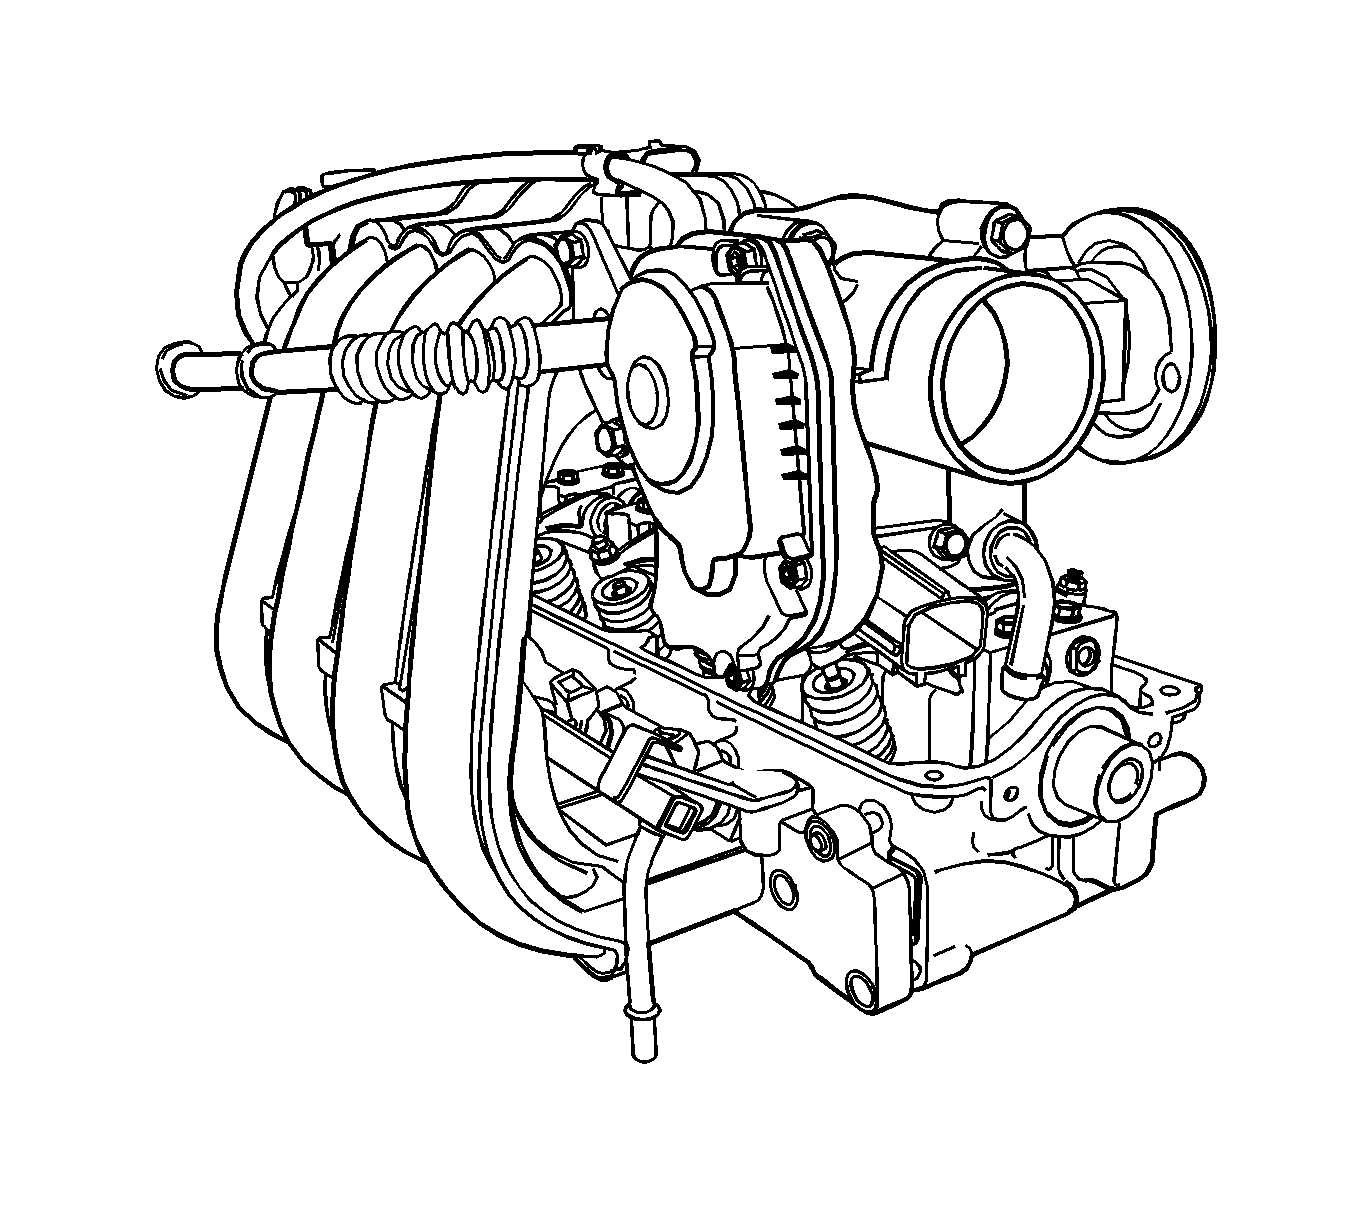
- Remove the cylinder head assembly from the engine block, with the intake/exhaust manifold, throttle body, water outlet case and cylinder head gasket.
Caution: Wear safety glasses in order to avoid eye damage.
Caution: Refer to Battery Disconnect Caution in the Preface section.
Notice: Do not use belt dressing on the drive belt. Belt dressing causes the breakdown of the composition of the drive belt. Failure to follow this recommendation will damage the drive belt.
Cleaning Procedure
- Clean the gasket surfaces of the cylinder head and the engine block.
- Make sure the gasket surfaces of the cylinder head and the engine block are free of nicks and heavy scratches.
- Clean the cylinder head bolts.
- Inspect the cylinder head for warpage. Refer to Cylinder Head Cleaning and Inspection.
Caution: Wear safety glasses in order to avoid eye damage.
Notice: Clean all dirt, debris, and coolant from the engine block cylinder head bolt holes. Failure to remove all foreign material may result in damaged threads, improperly tightened fasteners or damage to components.
Installation Procedure
- Install the cylinder head gasket.
- Install the cylinder head with the intake manifold and the exhaust manifold attached.
- Install the cylinder head bolts in the sequence shown.
- Install the cylinder head cover hexagon bolts.
- Install the catalytic converter nuts at the exhaust manifold flange.
- Install the heat shield.
- Install the heat shield mounting bolts.
- Install the timing belt rear cover from the cylinder head and cylinder block.
- Install the timing belt rear cover bolts.
- Install the timing belt. Refer to Timing Belt Replacement.
- Install the lower timing belt cover.
- Install the lower timing belt cover bolts.
- Install the upper timing belt cover.
- Install the upper timing belt cover bolts.
- Install the crankshaft pulley.
- Install the crankshaft pulley bolts.
- Install the A/C with power steering drive belt.
- Install the alternator drive belt.
- Connect the coolant temperature sensor connector.
- Connect the camshaft position sensor connector.
- Connect the fuel line at the fuel rail.
- Connect the fuel injector harness connectors.
- Connect the brake booster vacuum hose at the intake manifold.
- Connect the throttle cable from the throttle body.
- Connect the IAT sensor connector.
- Connect the A/C Pressure transducer connector.
- Connect the MTIA connector.
- Install the air cleaner housing.
- Install the air cleaner housing bolts.
- Connect the PCV hose from the valve cover.
- Install the ignition coil.
- Connect the negative battery cable.
- Install the fuel pump fuse.
- Refill the engine cooling system. Refer to Cooling System Draining and Filling.

Notice: Refer to Fastener Notice in the Preface section.
Tighten
Tighten the cylinder head bolts in the sequence previously shown to 65-70 N·m (48-52 lb ft).
Tighten
Tighten the cylinder head cover hexagon bolts to 9-12 N·m (80-106 lb in).
Tighten
Tighten the catalytic converter to exhaust manifold nuts to 25-35 N·m (18-25 lb ft).
Tighten
Tighten the heat shield mounting bolts to 10 N·m (89 lb in).
Tighten
Tighten the timing belt rear cover bolts to 10.5 N·m (93 lb in).
Tighten
Tighten the lower timing belt cover bolts to 10.5 N·m (93 lb in).
Tighten
Tighten the upper timing belt cover bolts to 10.5 N·m (95 lb in).
Tighten
Tighten the crankshaft pulley bolts to 70 N·m (52 lb ft).
Tighten
Tighten the air cleaner housing bolts to 12 N·m 106 lb in).
