Removal Procedure
- Remove the fuel pump fuse.
- Start the engine. Crank the engine for 10 seconds after stalling to rid the fuel system of fuel pressure.
- Drain the engine oil.
- Remove the battery and the battery tray. Refer to Battery Tray Replacement .
- Discharge the air conditioning (A/C) system, if equipped. Refer to Refrigerant Recovery and Recharging .
- Drain the engine coolant. Refer to Cooling System Draining and Filling .
- Remove the cooling system radiator and the engine cooling fans. Refer to Radiator Replacement .
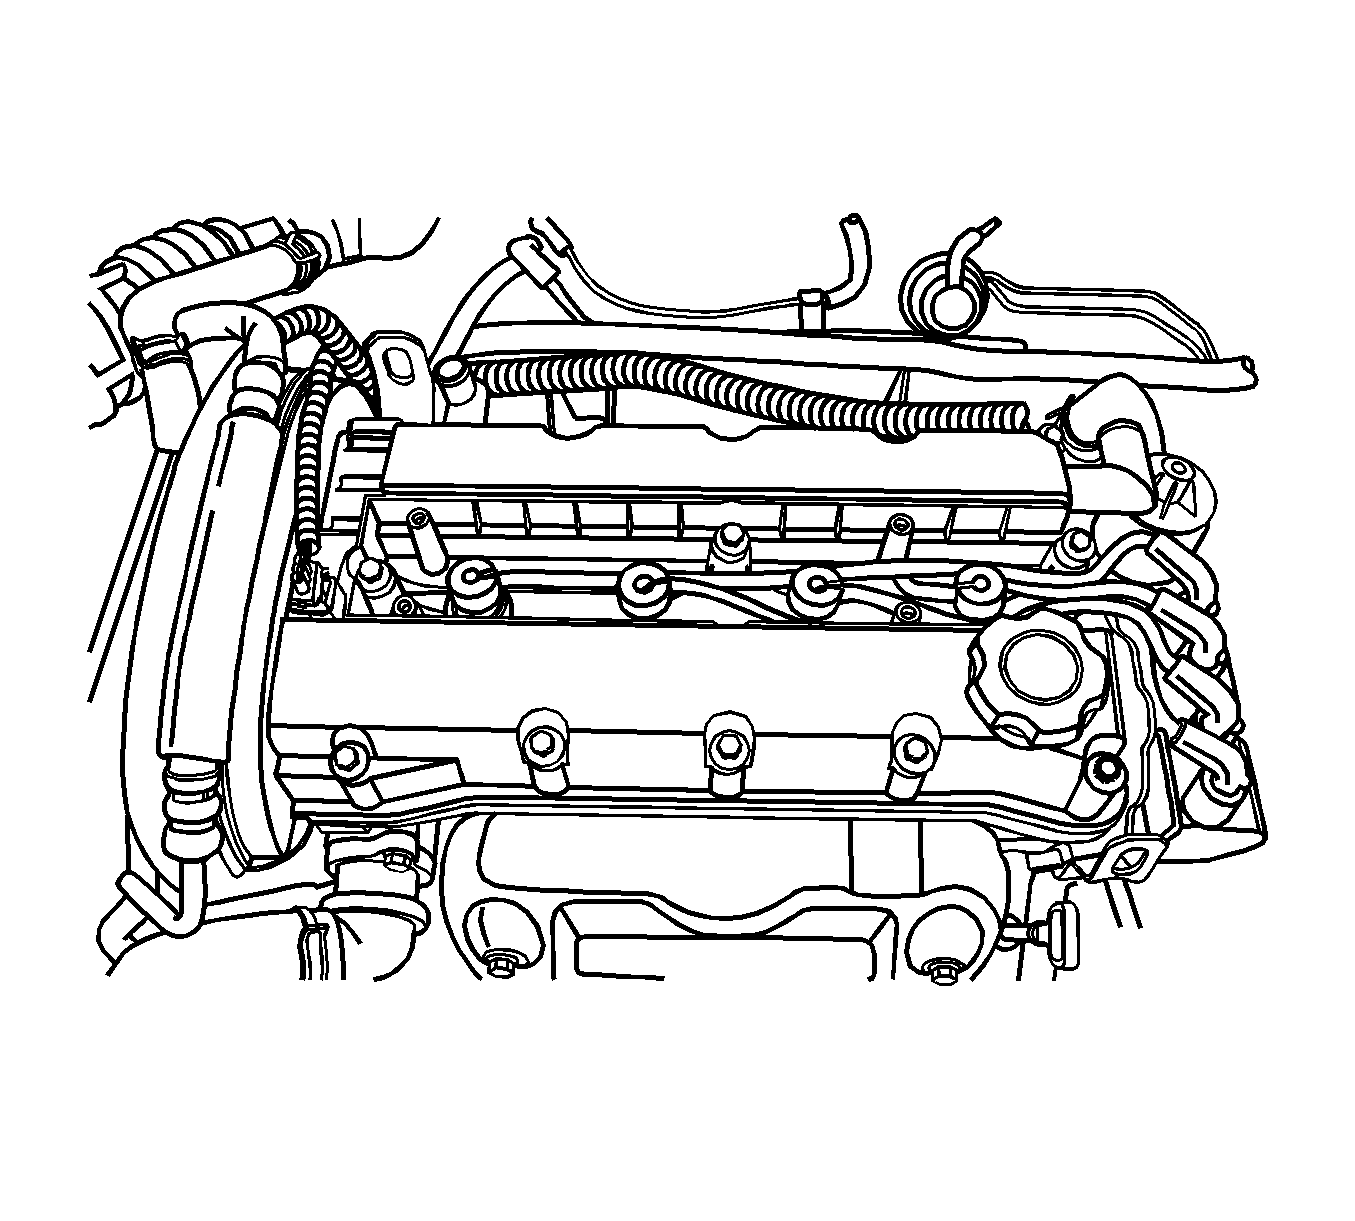
- Disconnect the upper radiator hose from the thermostat housing.
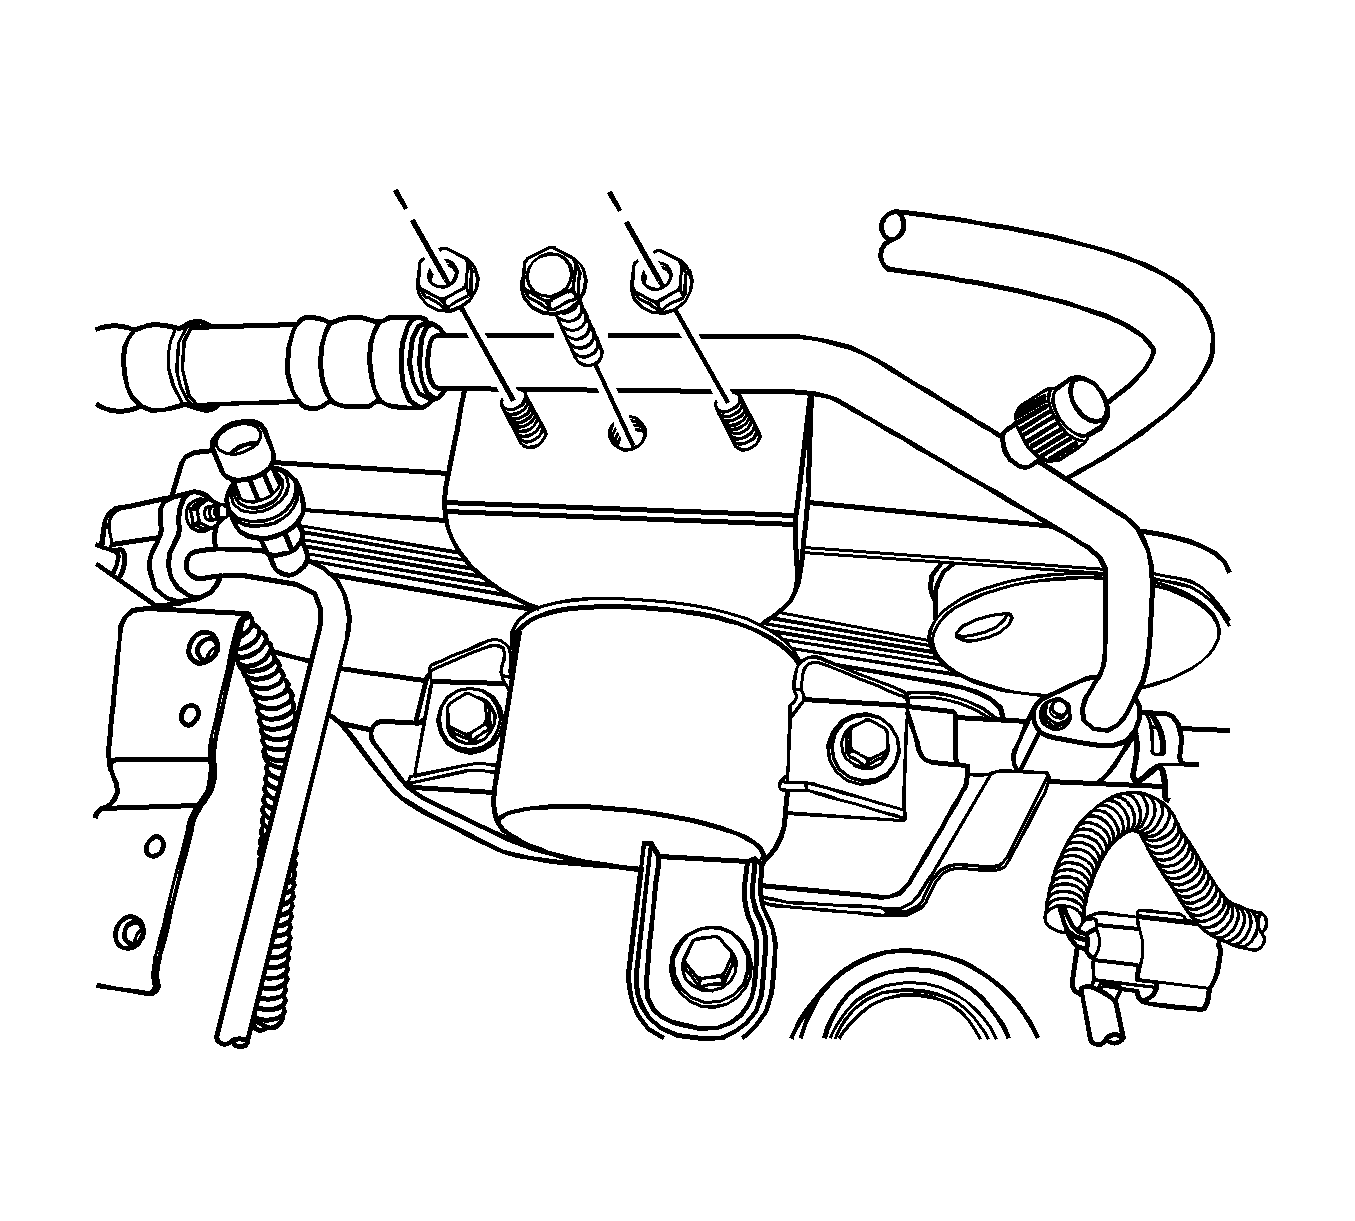
- If the vehicle is equipped with a power steering pump, perform the following procedures:
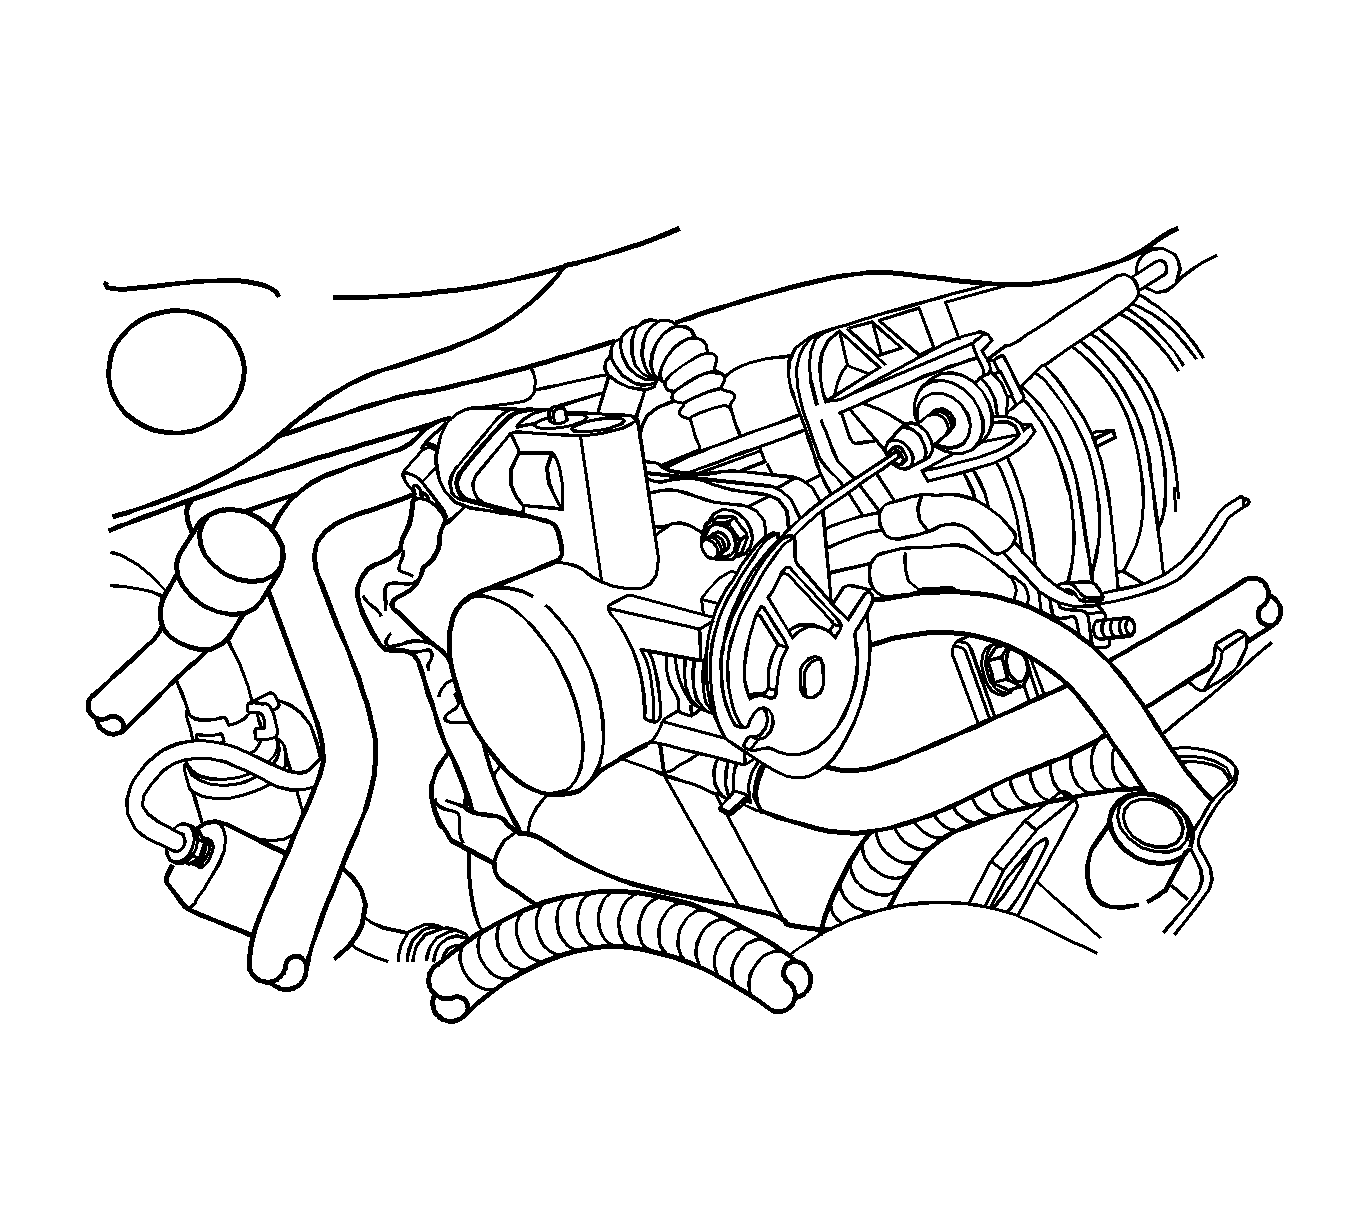
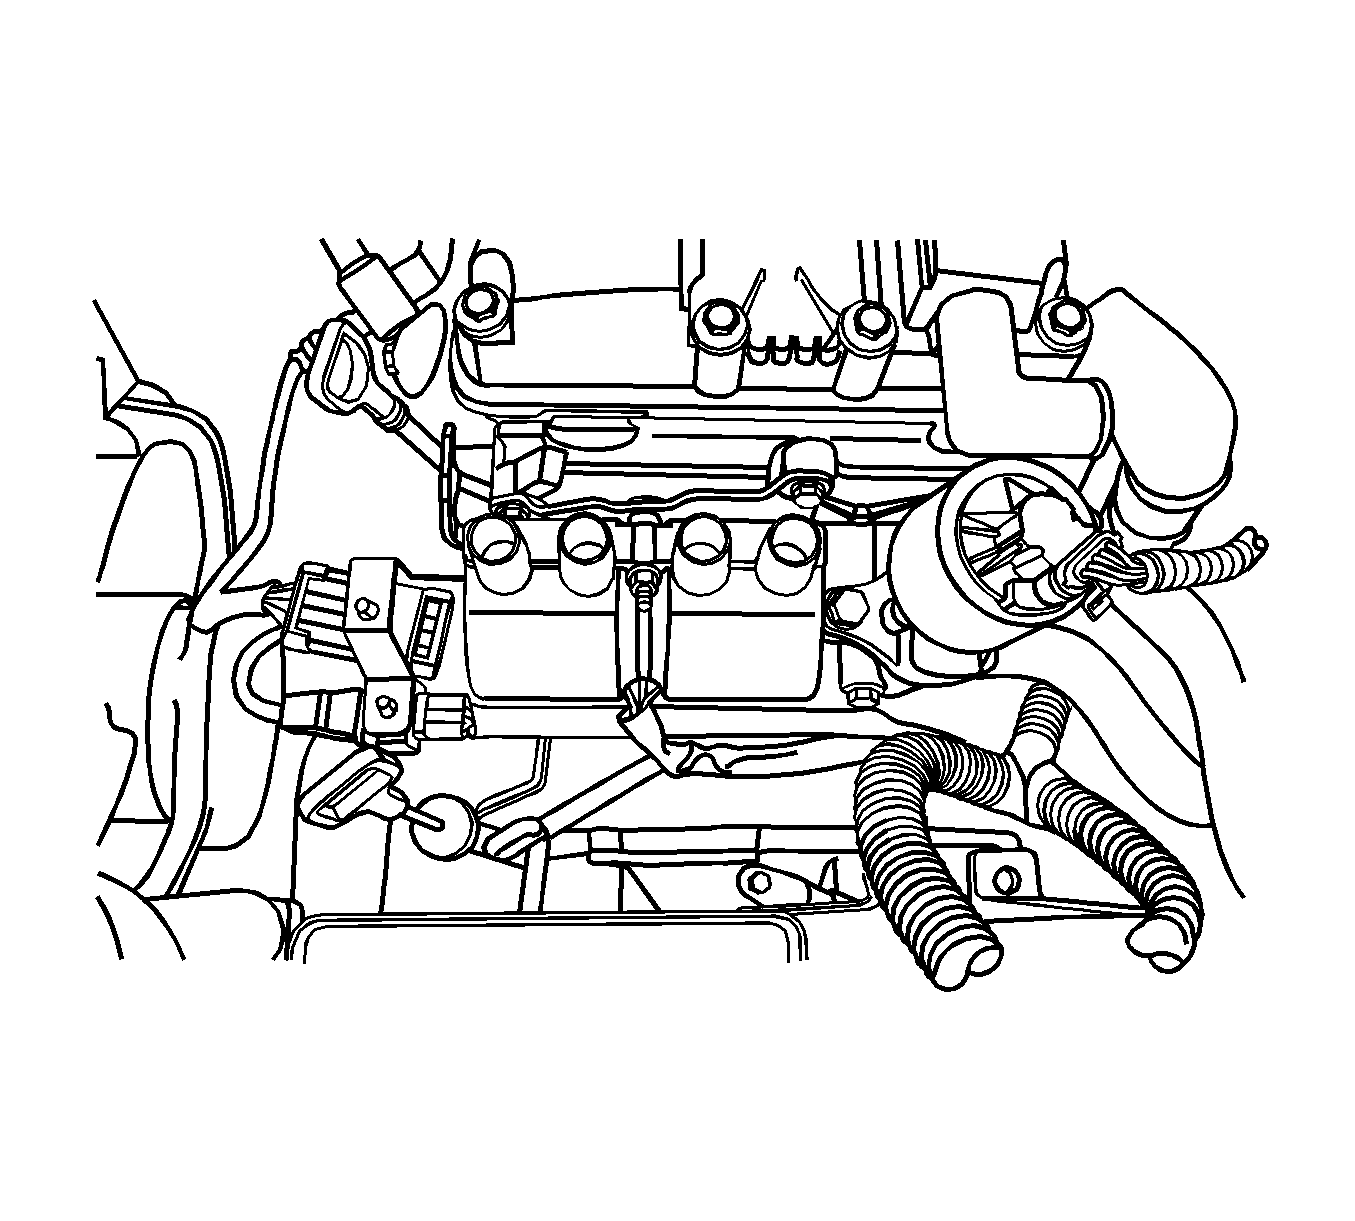
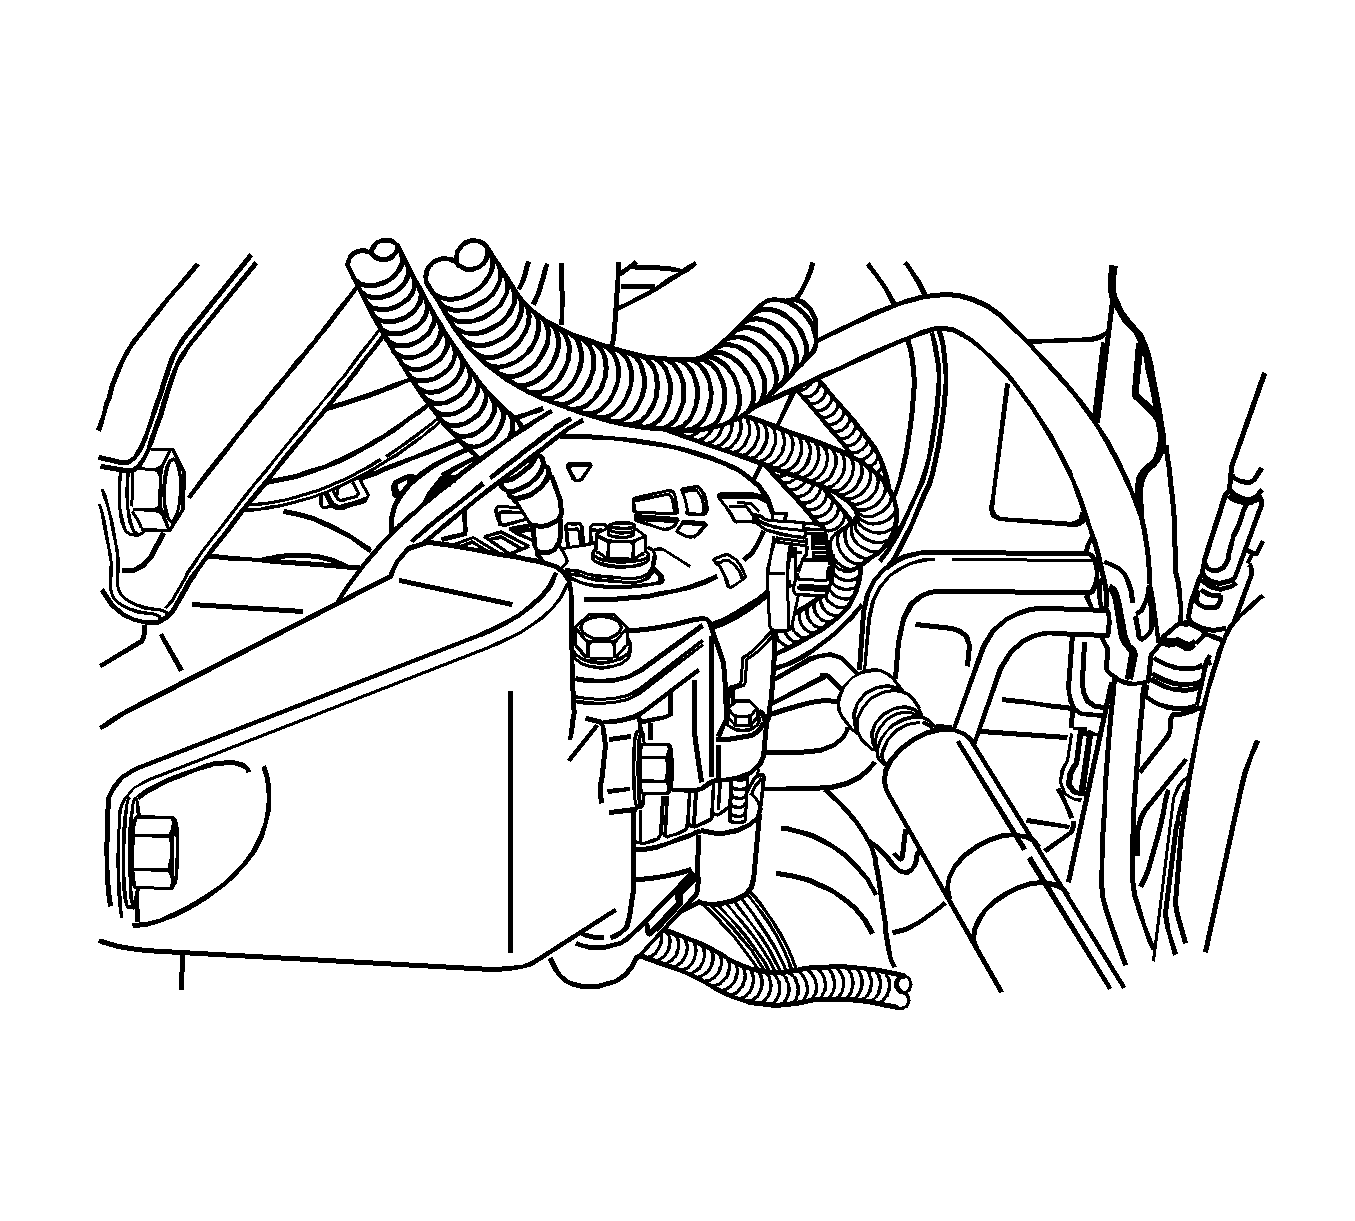
- Disconnect the intake air temperature (IAT) sensor connector.
- Disconnect the breather tube from the valve cover.
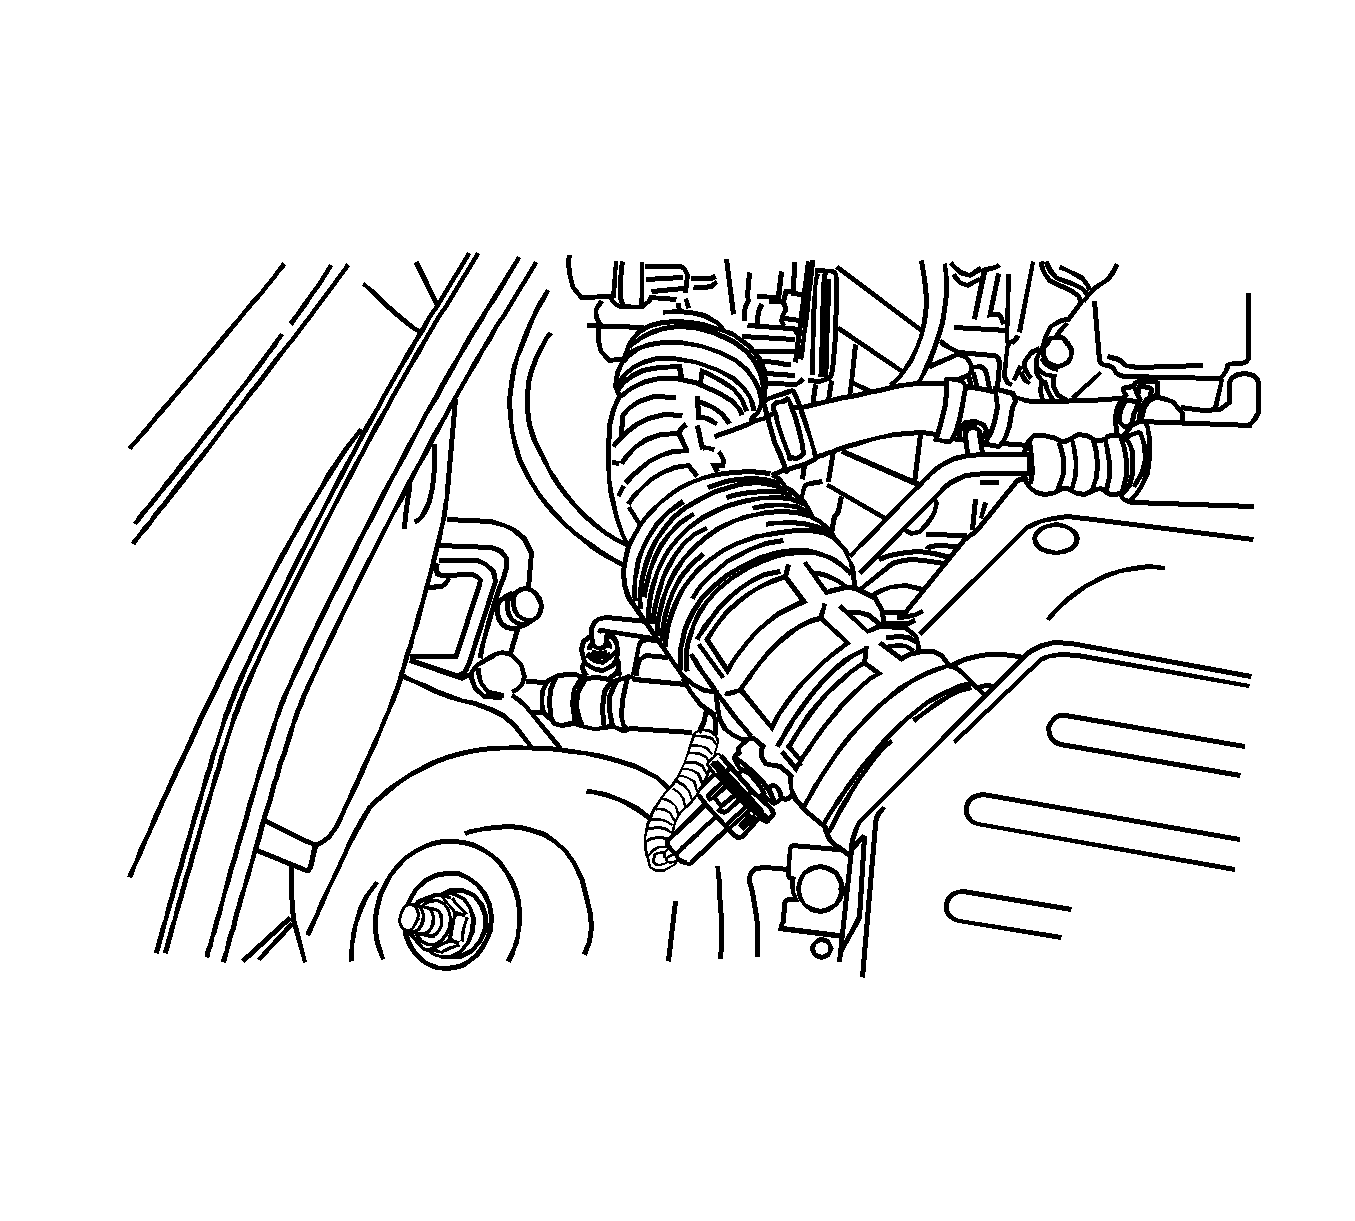
- Disconnect the air intake tube from the throttle body.
- Remove the air cleaner assembly. Refer to Air Cleaner Assembly Replacement .
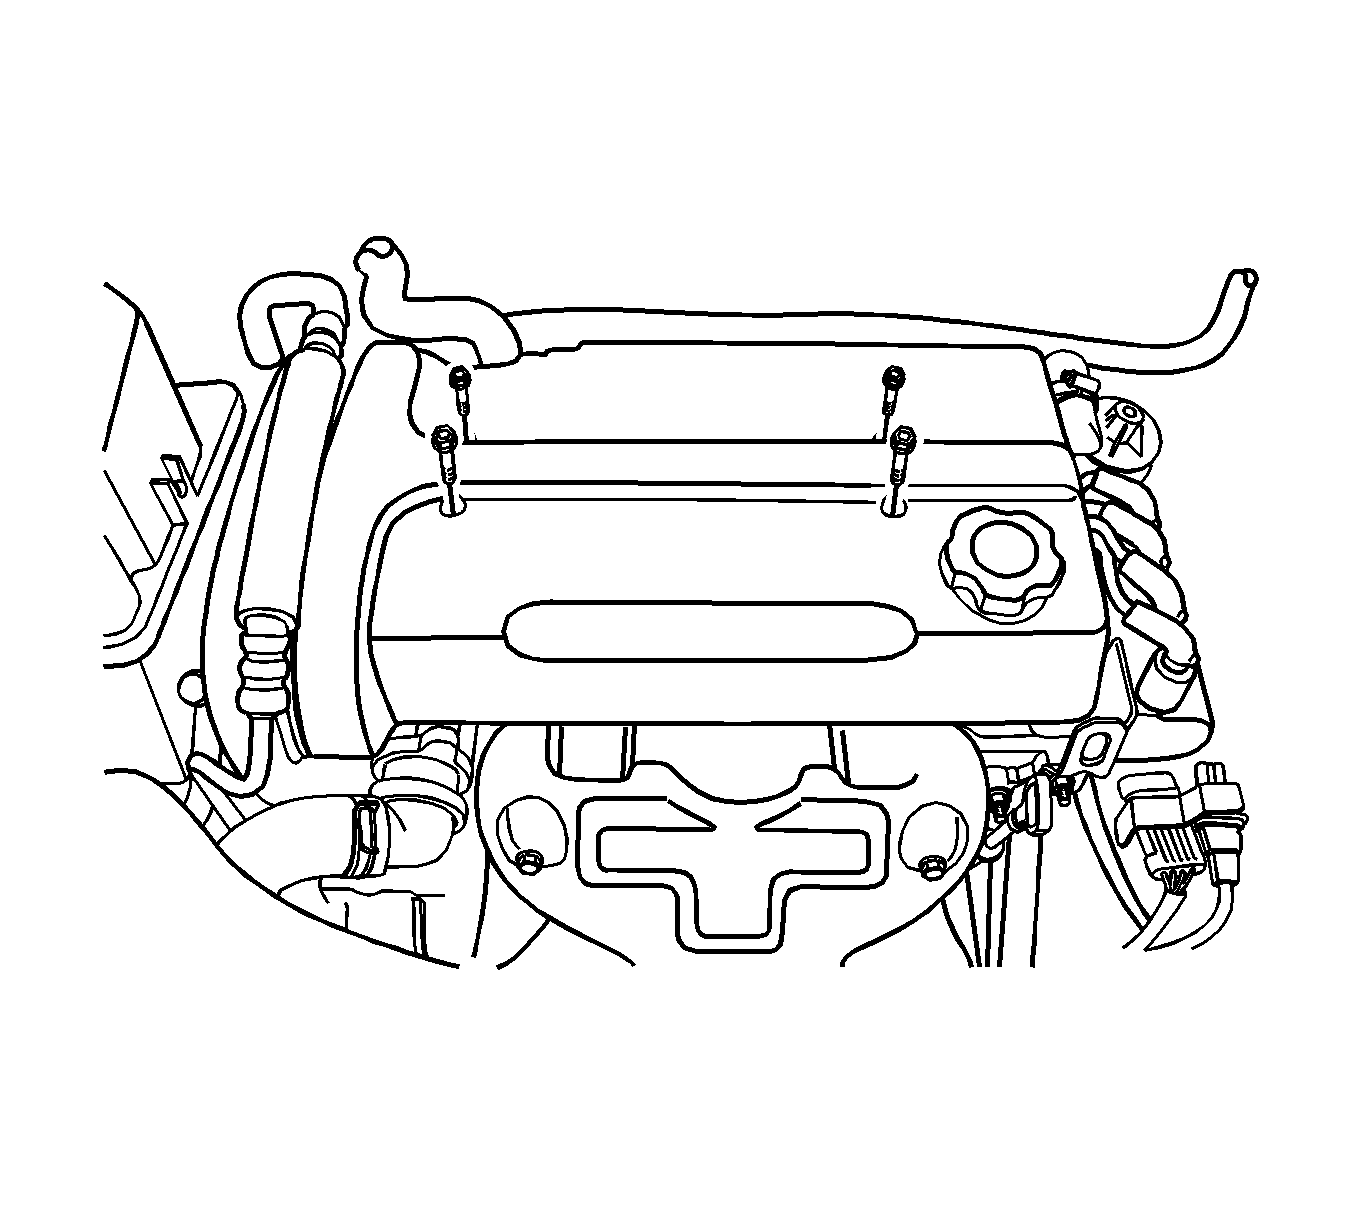
- Remove the bolts from the spark plug cover.
- Remove the spark plug cover.
- Disconnect the connector from the idle air control (IAC) valve.
- Disconnect the connector from the throttle position sensor (TPS).
- Disconnect the connector from the A/C pressure (ACP) transducer, if equipped.
- Disconnect the camshaft position (CMP) sensor.
- Disconnect the throttle cable from the throttle body and from the intake manifold bracket.
- Disconnect the connector from the manifold absolute pressure (MAP) sensor.
- Disconnect the ignition wires from the spark plugs.
- Disconnect the surge tank coolant hose at the throttle body.
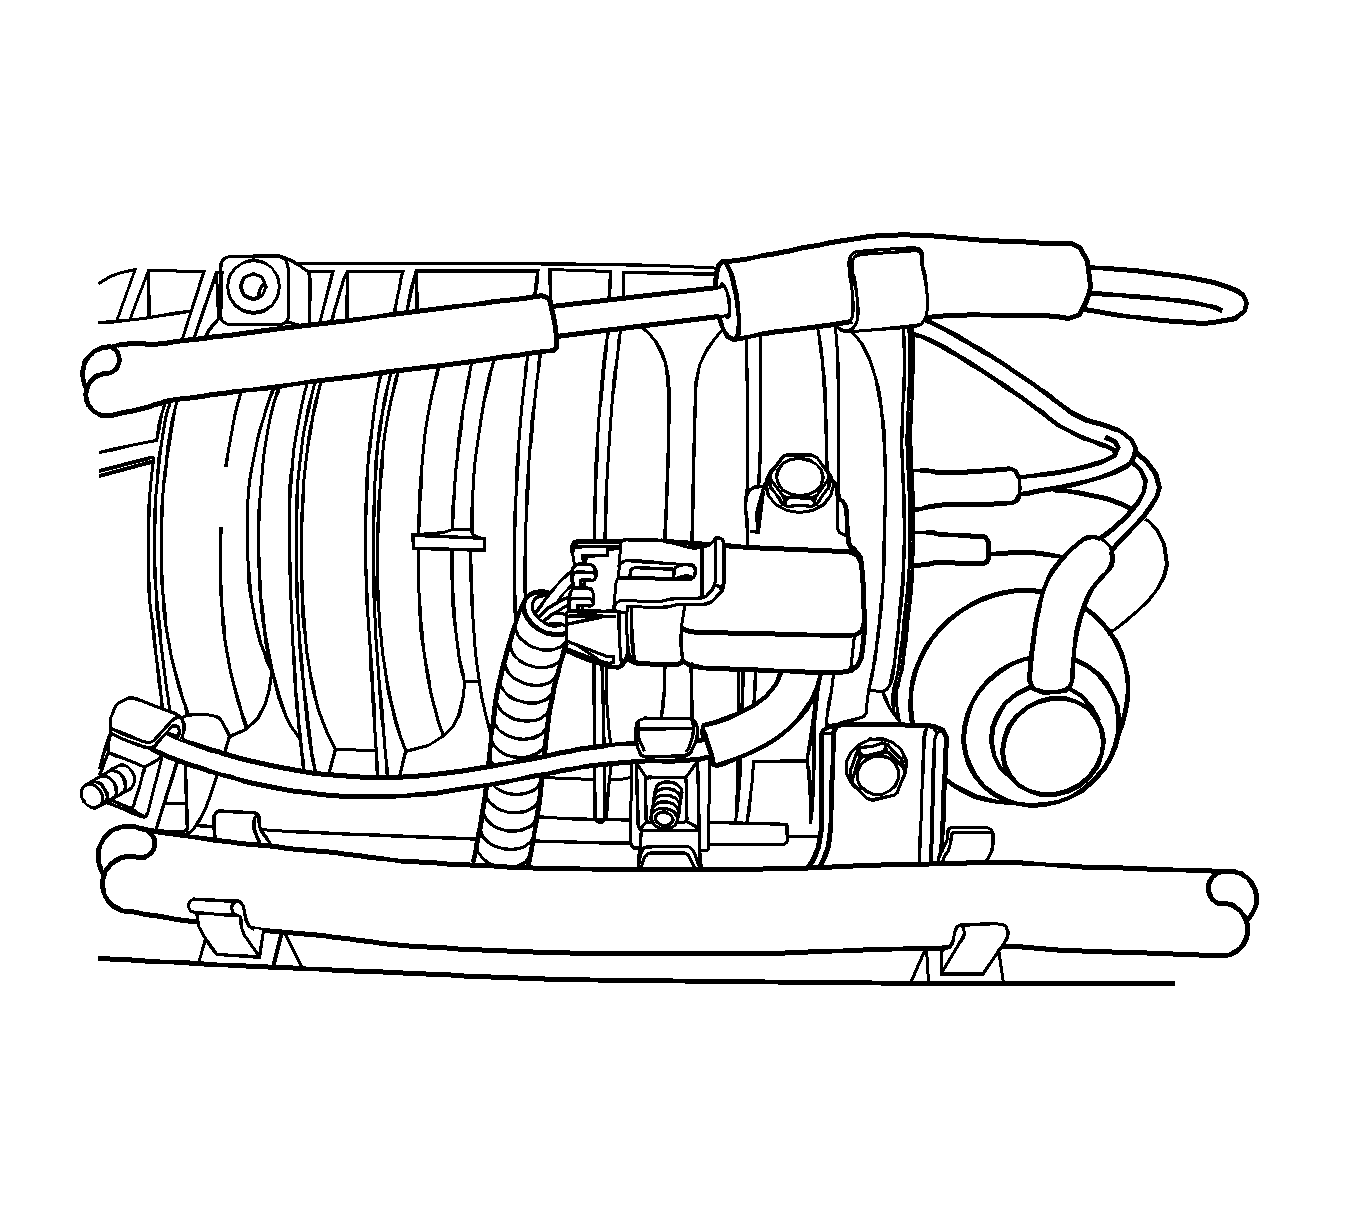
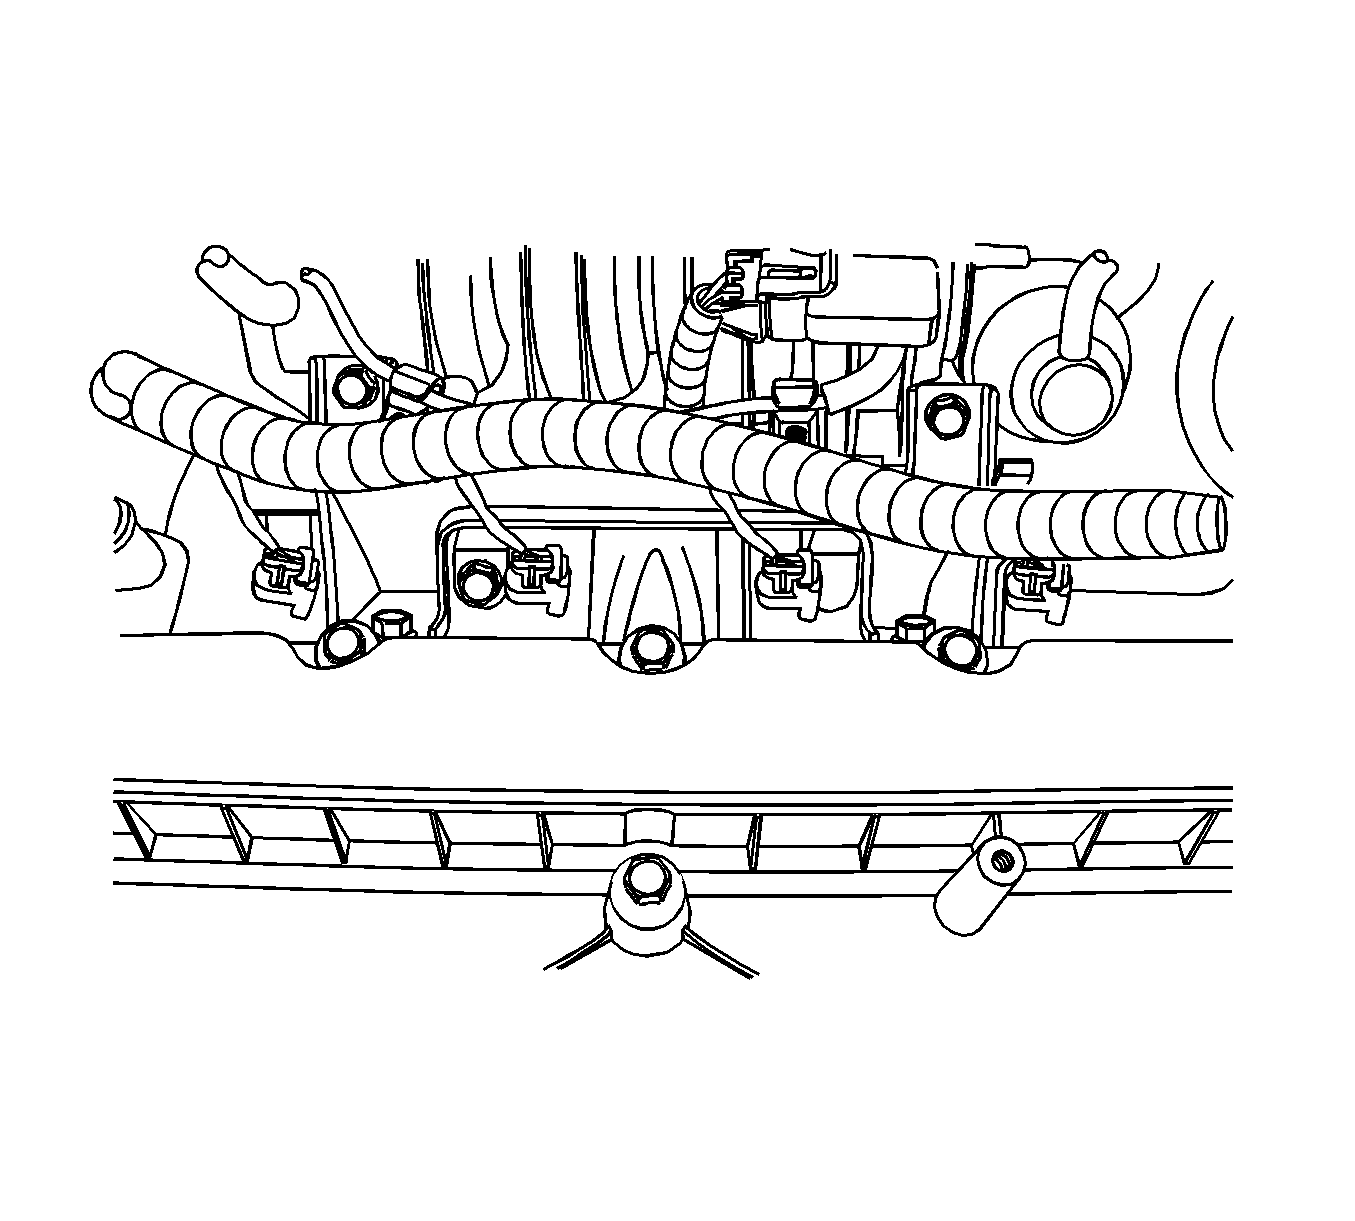
- Disconnect the fuel injector connectors.
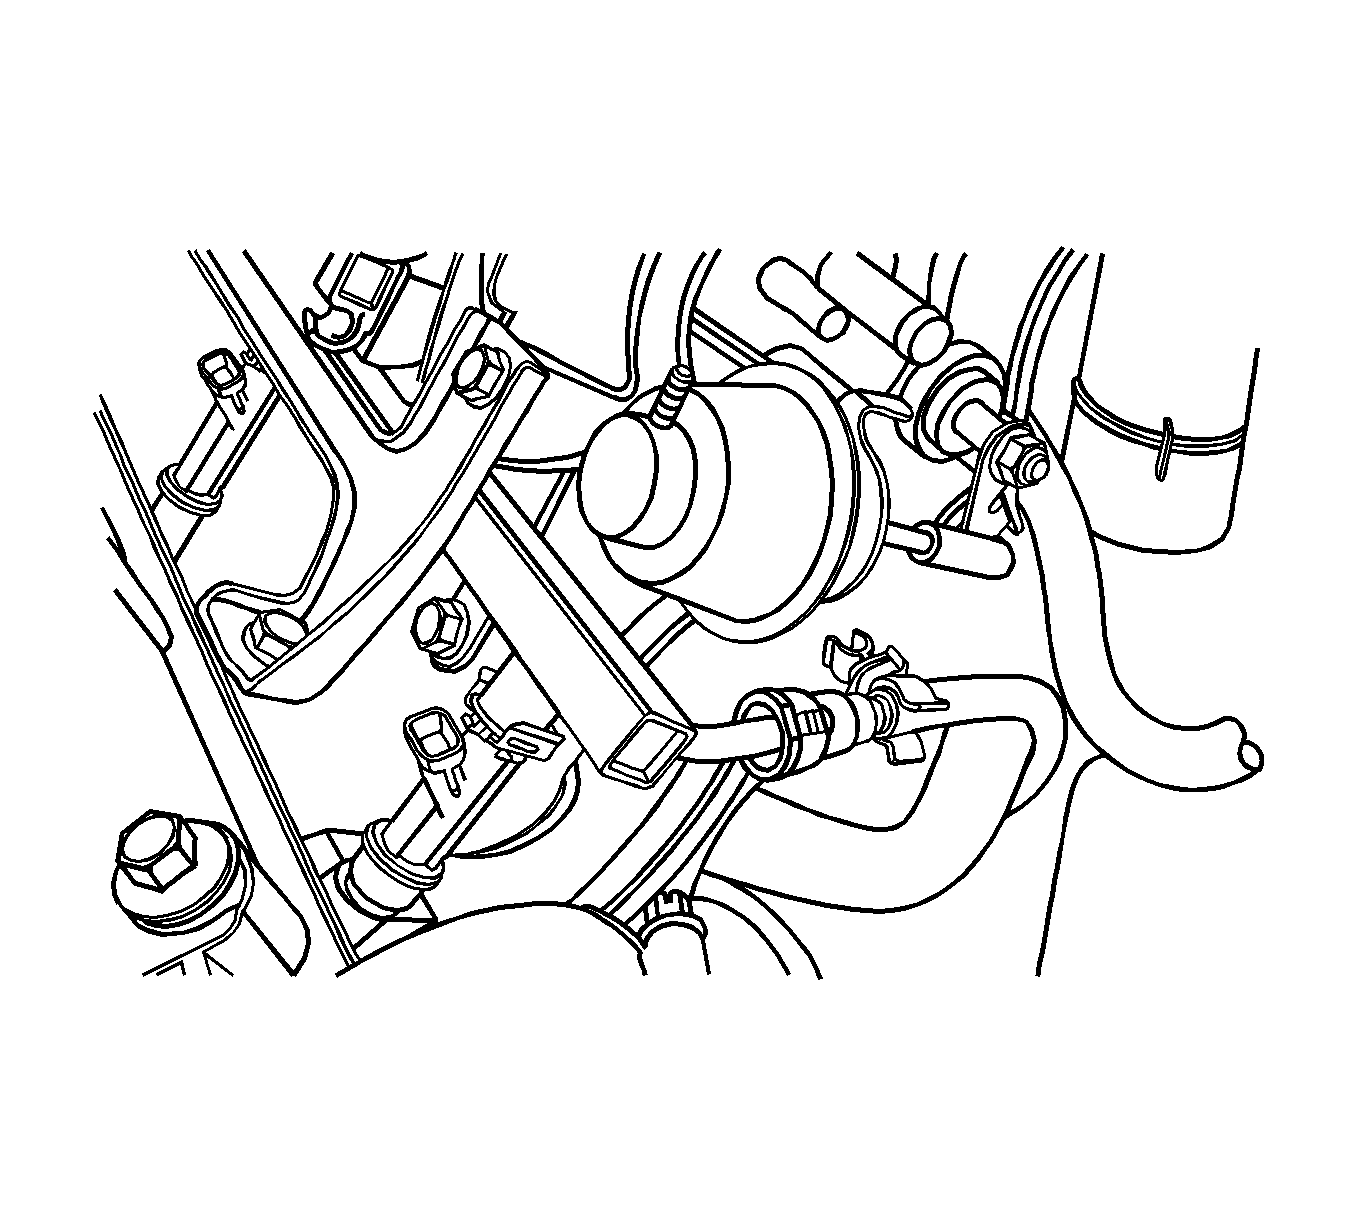
- Disconnect the connector from the exhaust gas recirculation (EGR) valve.
- Disconnect the electrical connector at the electronic ignition (EI) system ignition coil
- Disconnect the oxygen sensor connector.
- Disconnect the connector from the crankshaft position sensor (CPS).
- Disconnect all of the necessary vacuum lines. Disconnect the brake booster vacuum hose at the intake manifold.
- Disconnect the fuel feed line at the fuel rail.
- Remove the bolts from the battery tray support.
- Remove the battery tray support.
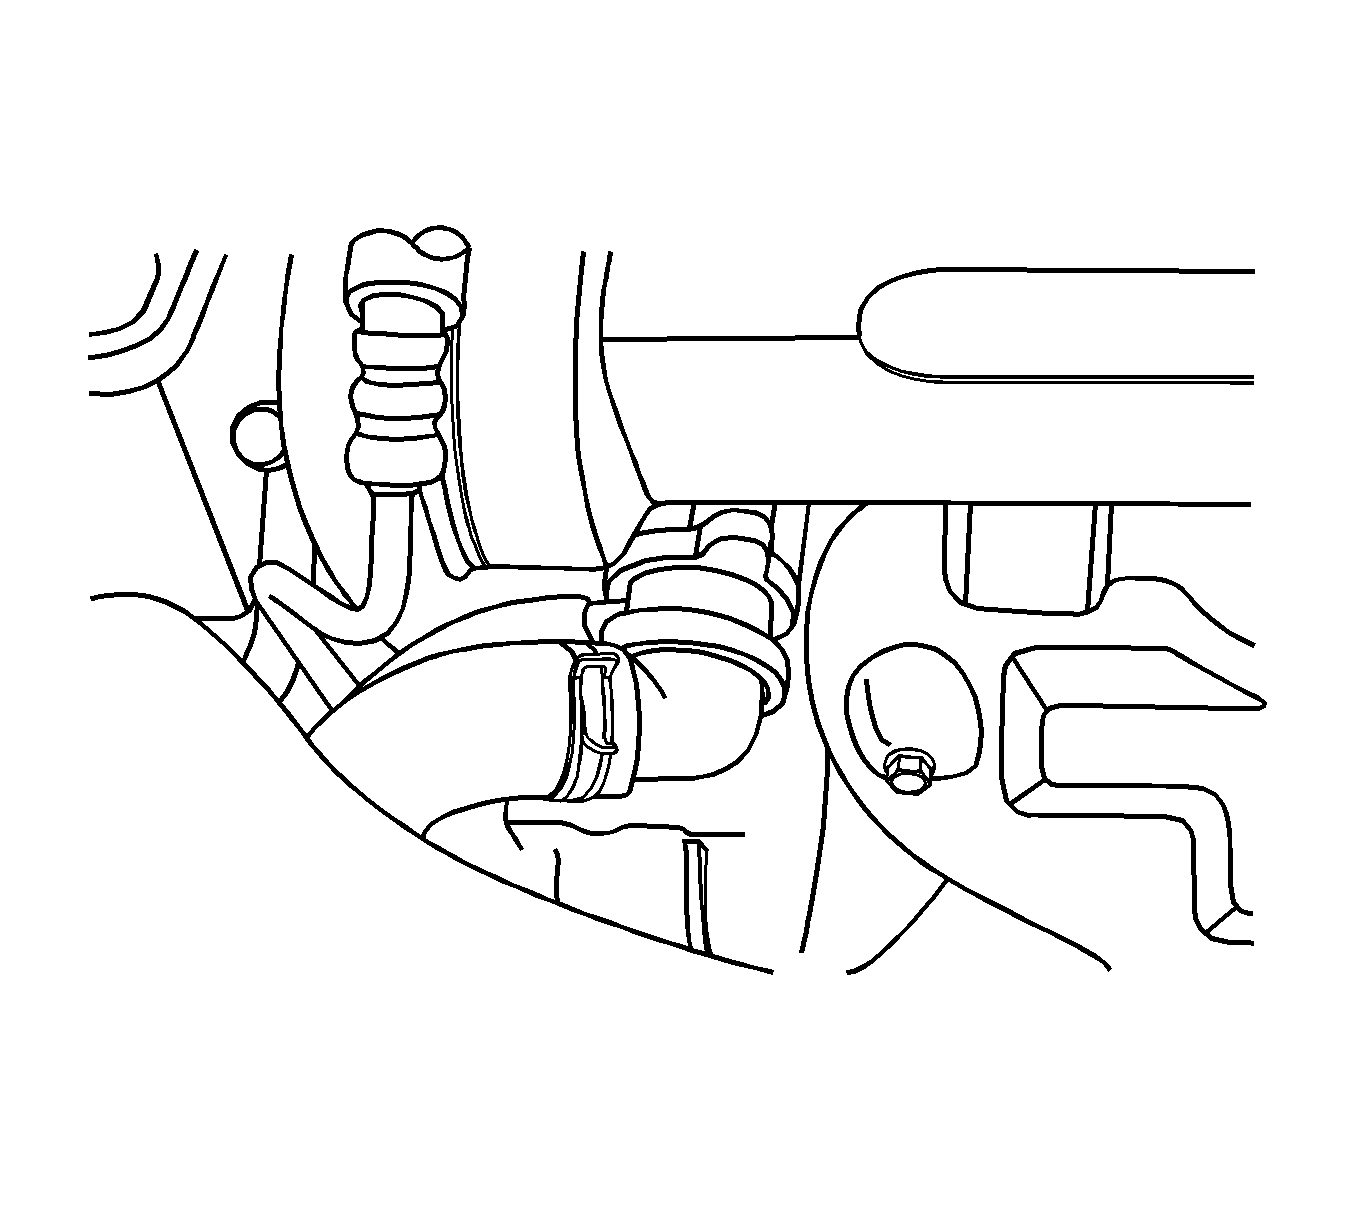
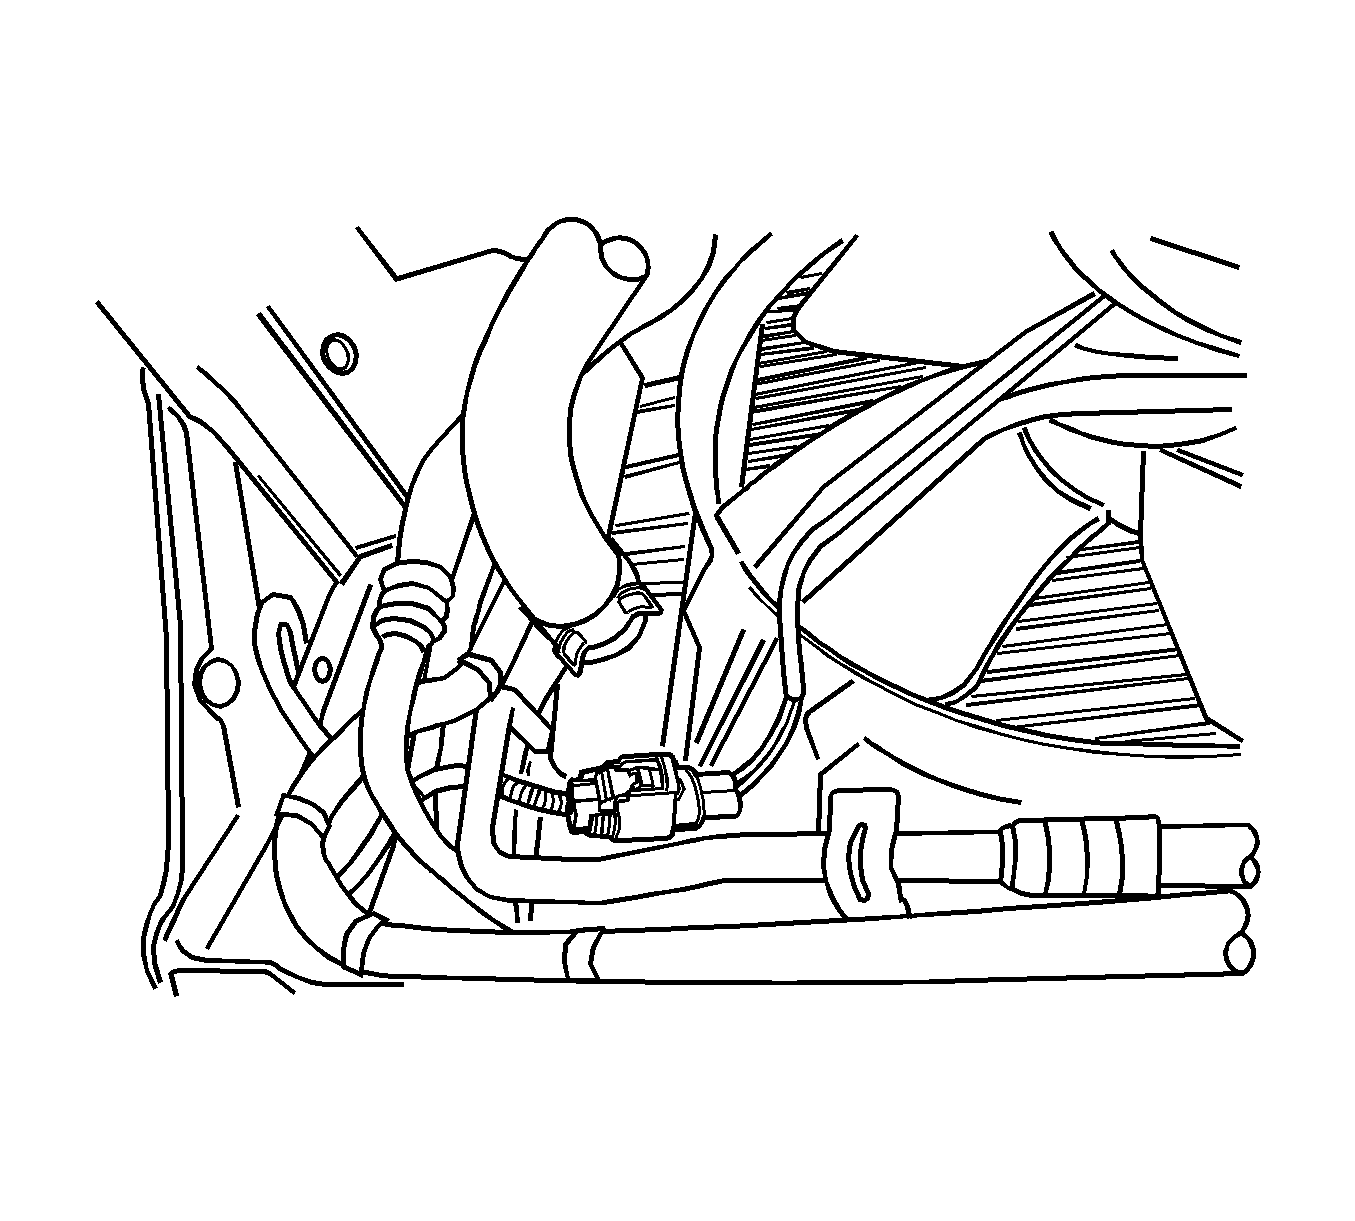
- Disconnect the lower radiator hose from the coolant pipe.
- Remove the bolt from the A/C compressor pipe and hose assembly, if equipped.
- Remove the A/C compressor pipe and hose assembly from the compressor.
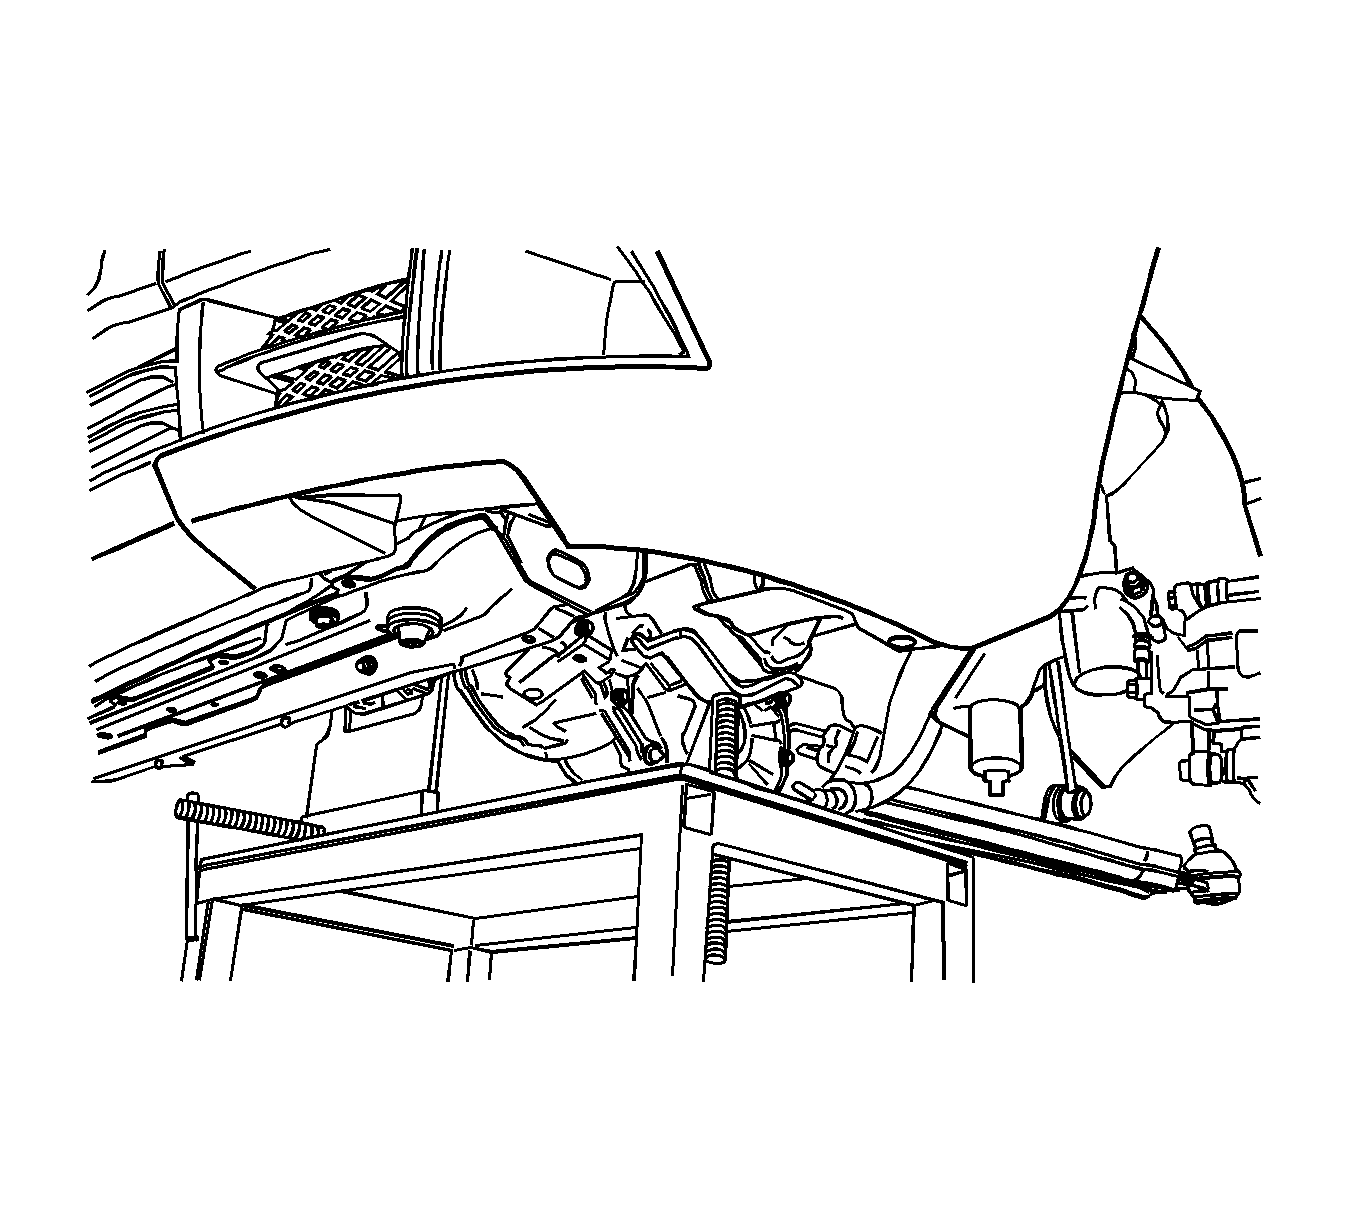
- Remove the front tire and wheel assemblies. Refer to Tire and Wheel Removal and Installation .
- Remove the front splash shield and the engine undercover.
- Disconnect the A/T oil cooler inlet/outlet pipe, if equipped. Refer to Transmission Cooler Pipes and Hoses Replacement .
- Disconnect the A/T shift control cable, if equipped. Refer to Floor Shift Control Cable Replacement .
- Disconnect all of the A/T electrical connectors, if equipped.
- Disconnect the electrical connector at the A/C compressor coil, if equipped.
- Disconnect the connector from the rear heat oxygen sensor (HO2S).
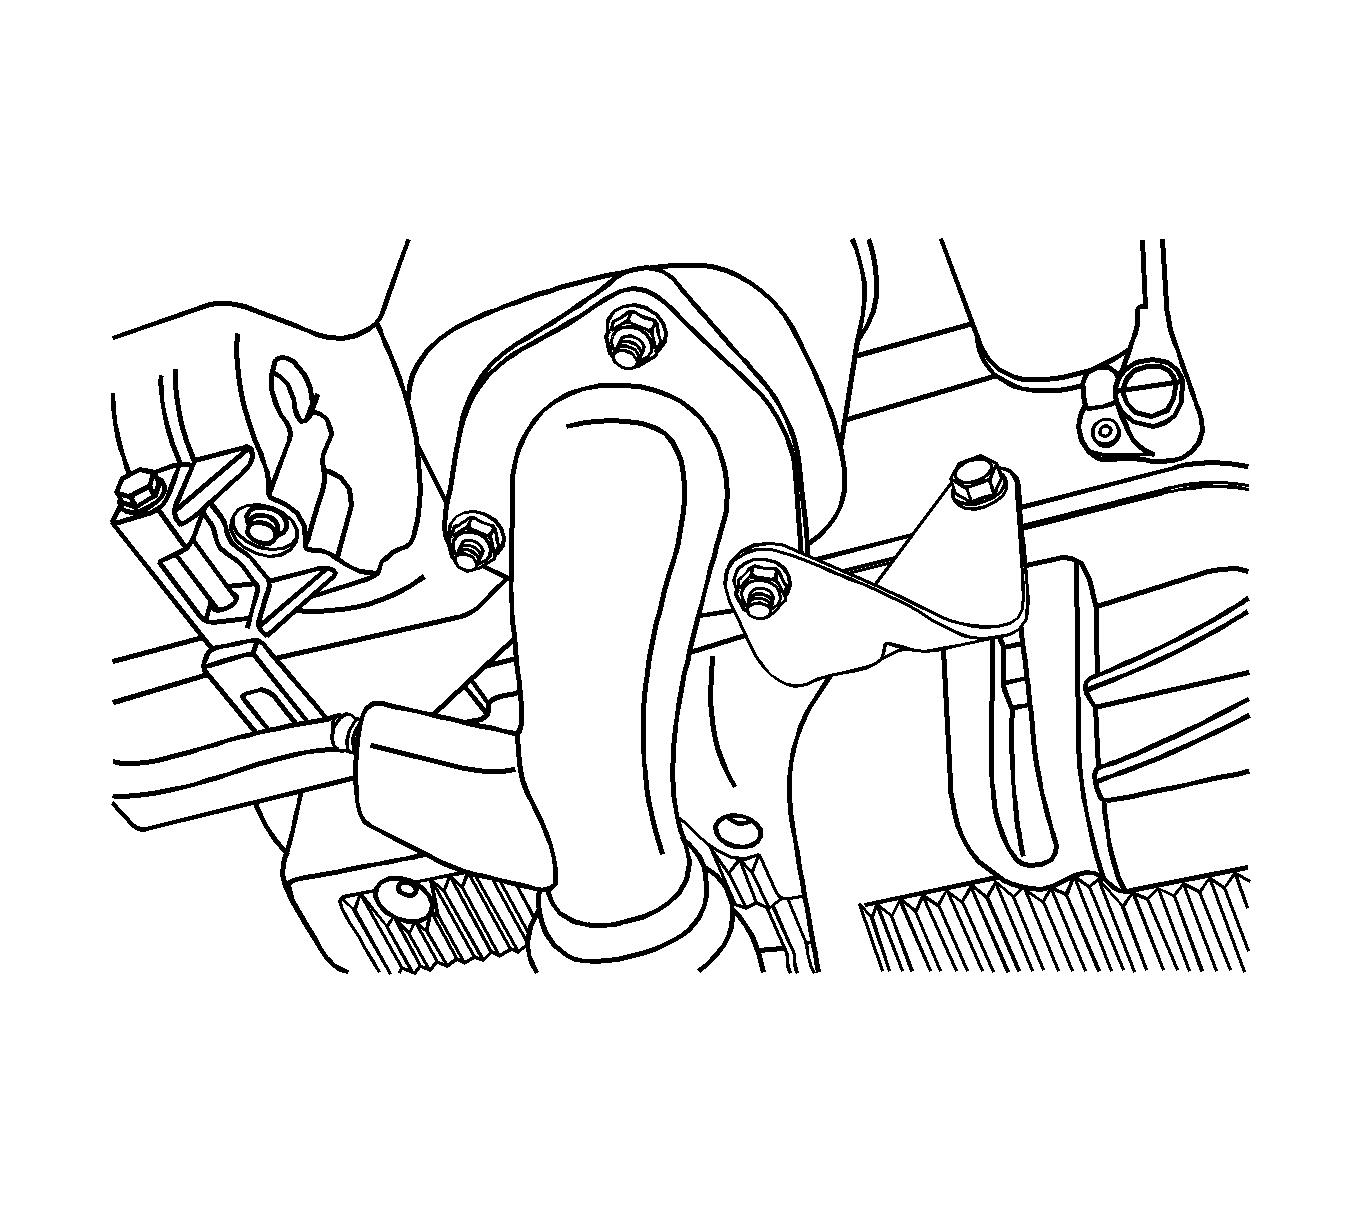
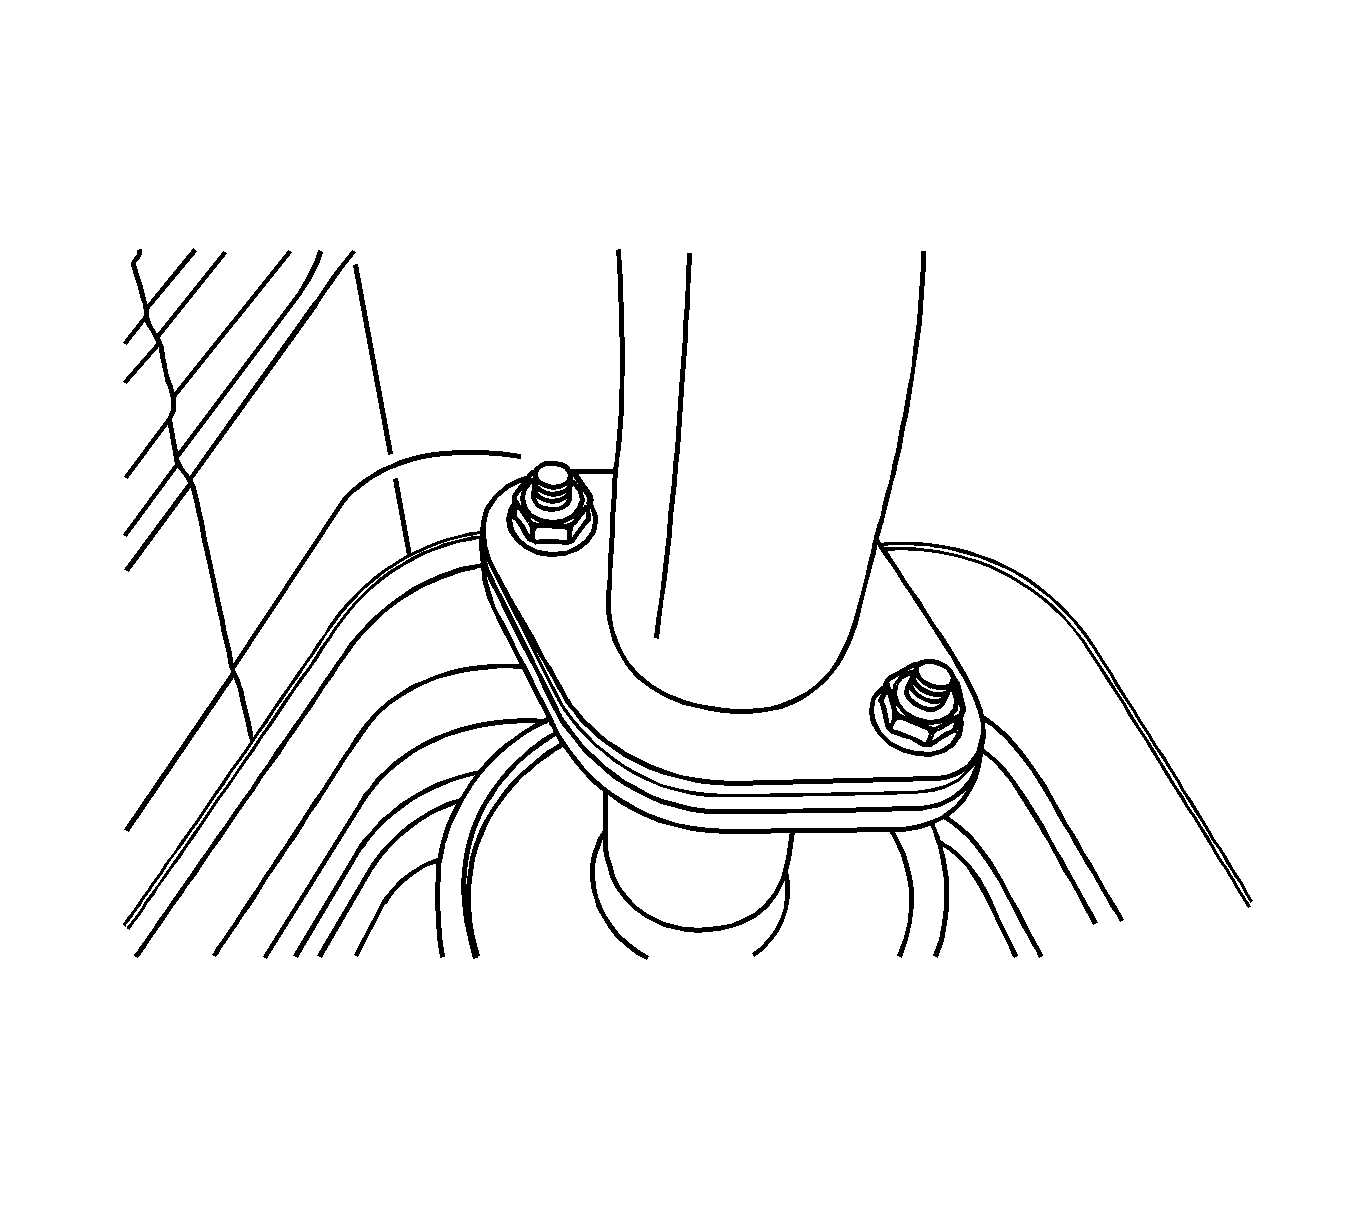
- Remove the lower flange nuts from the exhaust manifold studs. Retain the gasket.
- Remove the bolts at the bracket.
- Remove the nuts that secure the front muffler pipe. Retain the gasket.
- Remove the front exhaust pipe as a unit.
- Remove the nut and bolt from the damping block connection.
- Remove bolts from the rear mounting bracket. Remove the bracket.
- Remove the A/T drive axle, if equipped. Refer to Front Drive Axle Inner Shaft and Inner Shaft Housing Replacement .
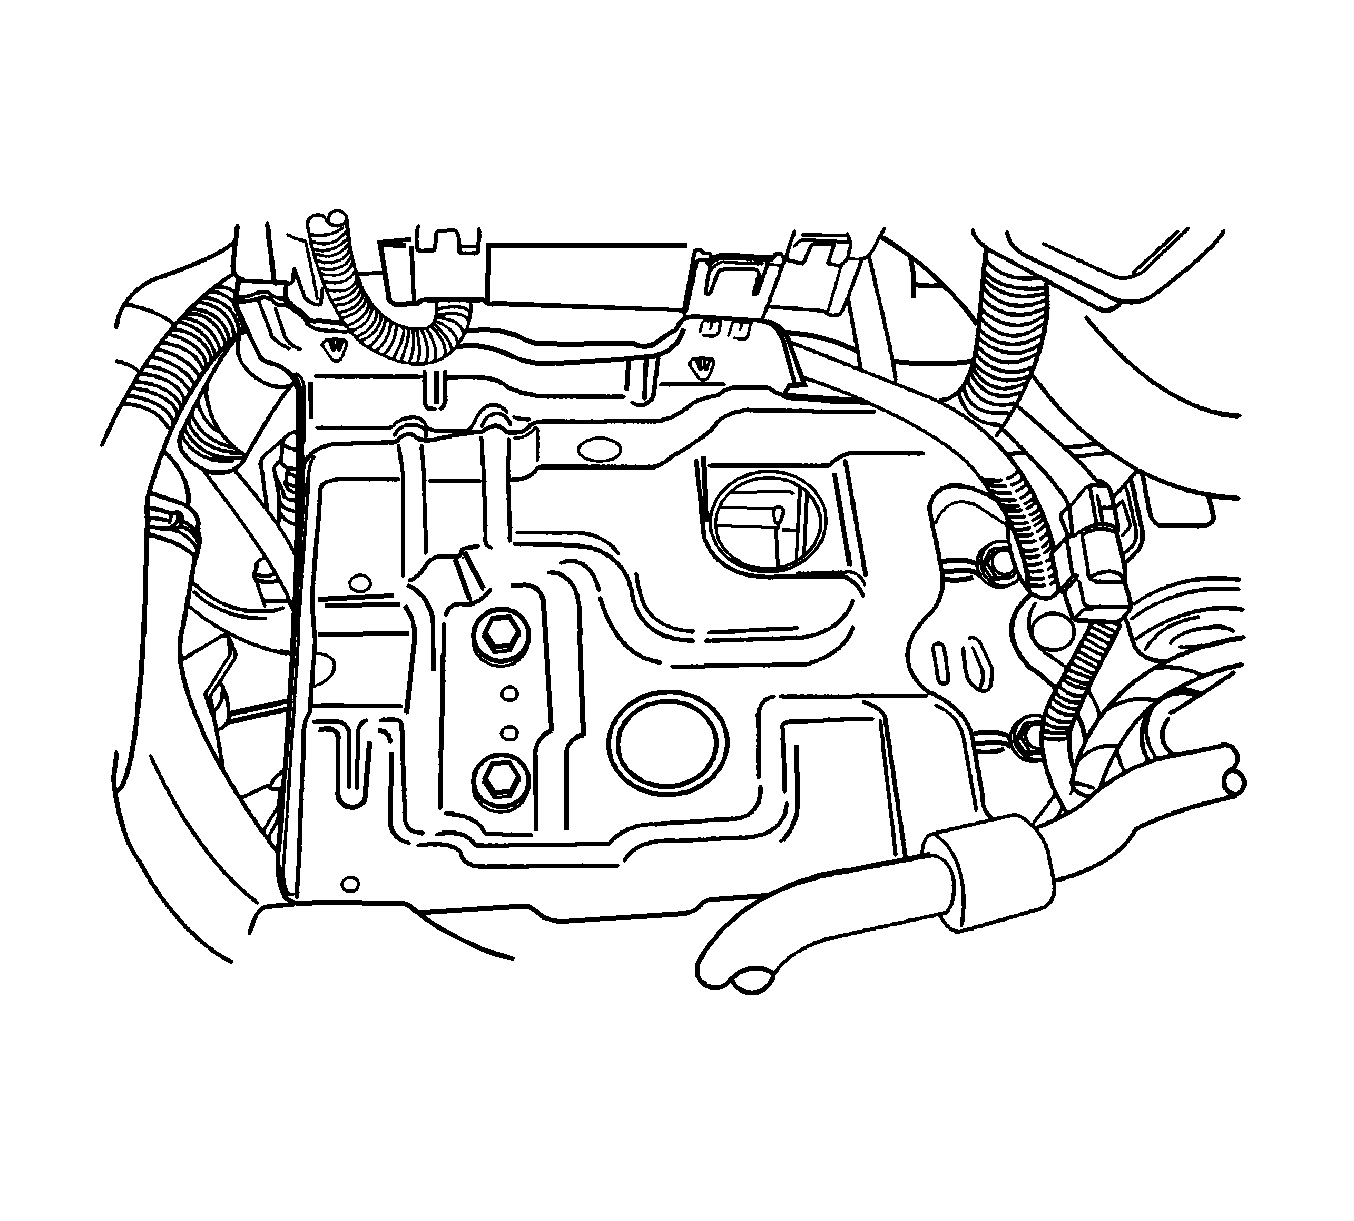
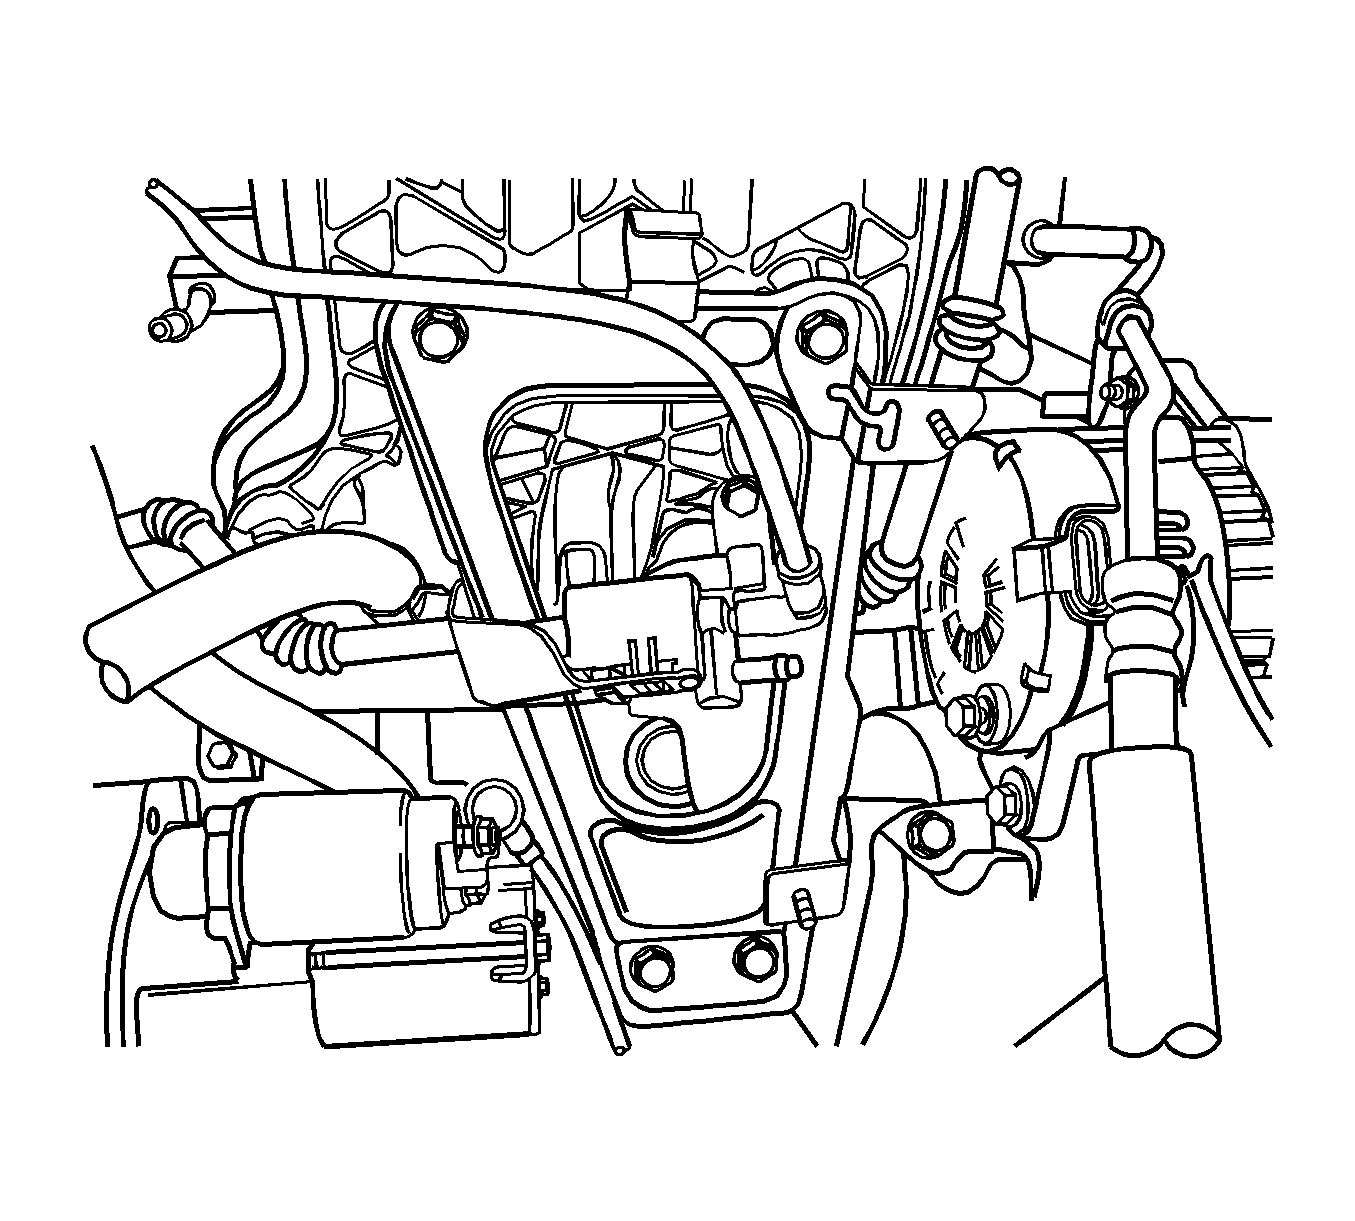
- Disconnect the electrical connector at the oil pressure switch.
- Remove the battery harness connector nut from the generator.
- Disconnect the connector from the generator voltage regulator.
- Disconnect the electrical connector from the evaporative (EVAP) emission canister purge solenoid.
- Remove the bolts from the intake manifold support bracket.
- Remove the intake manifold support bracket.
- Disconnect the connector from the engine coolant temperature (ECT) sensor.
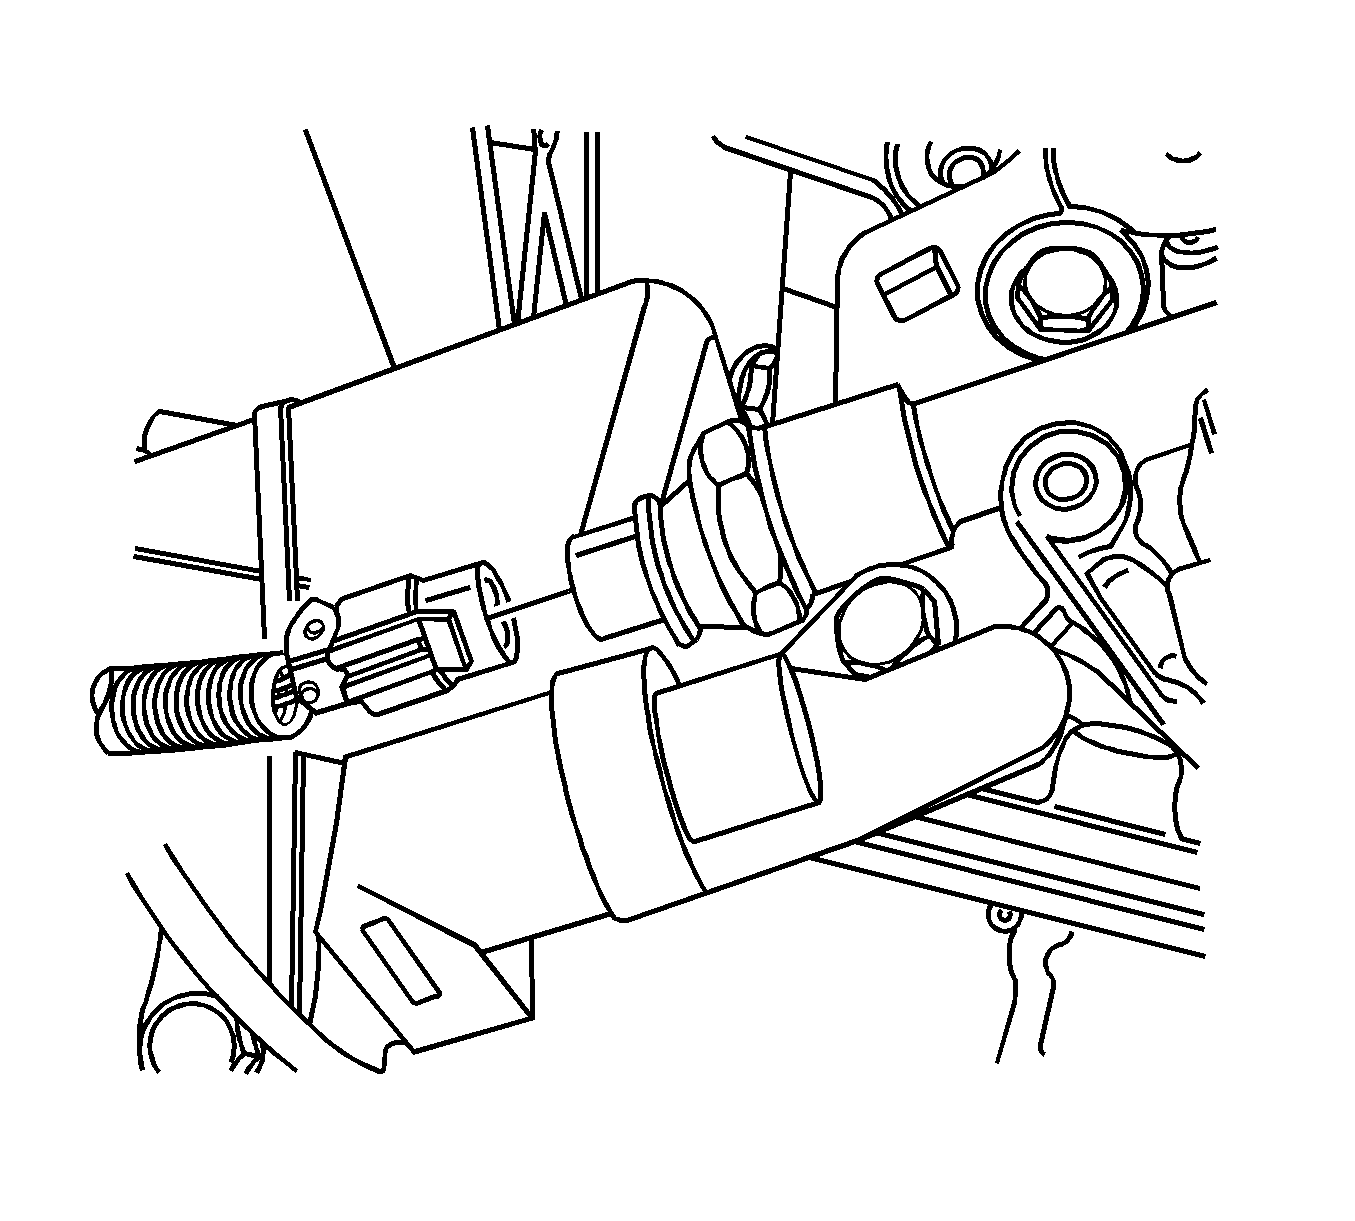
- Remove the lower starter mounting bolt.
- Remove the starter solenoid nuts in order to disconnect the electrical cable.
- Remove the lower engine wire harness.
- Remove the rubber from the oil pan.
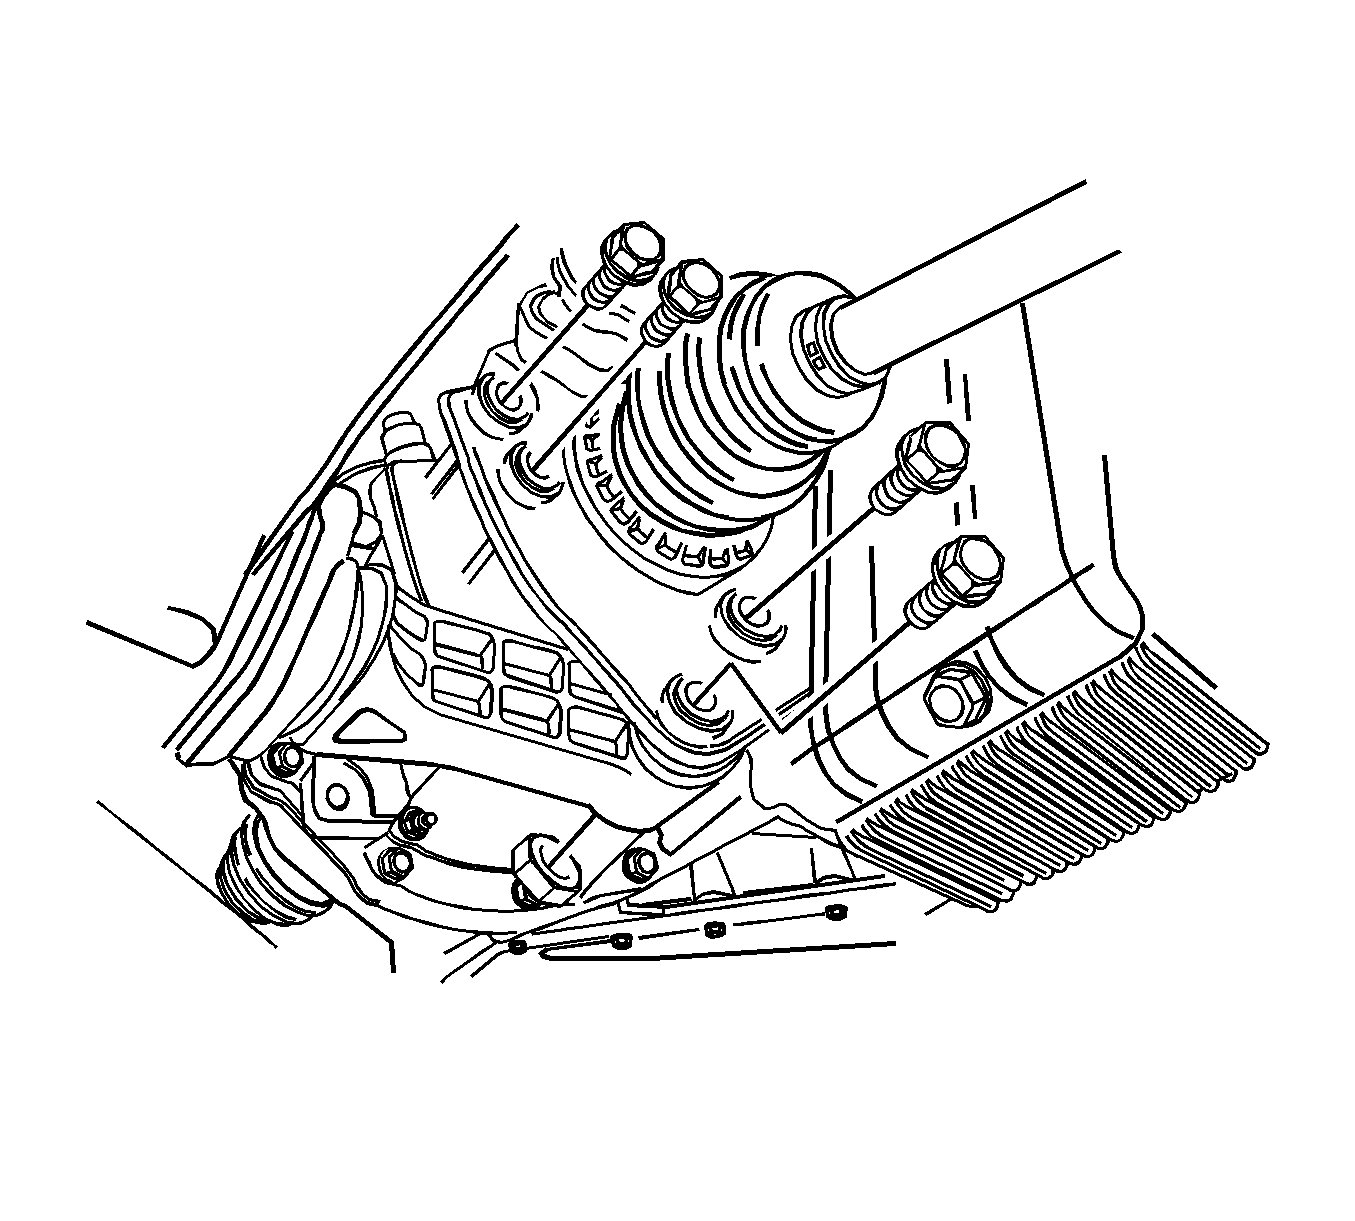
- Remove the torque converter service cover and the bolts.
- Install the engine lifting device.
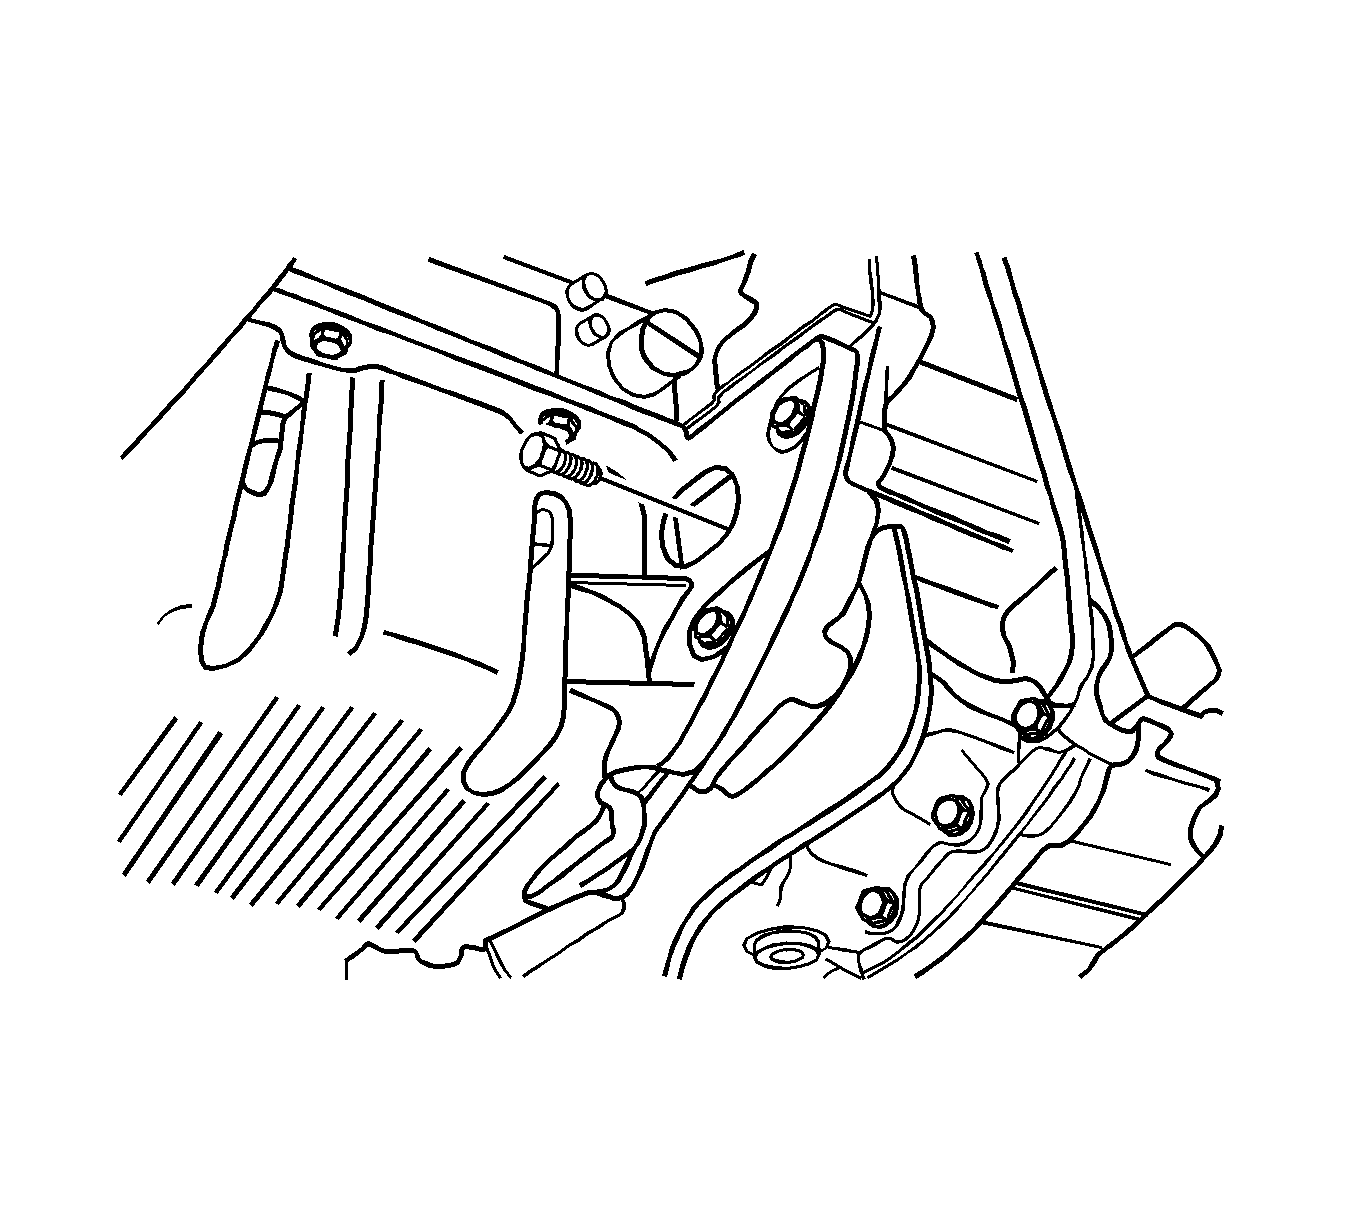
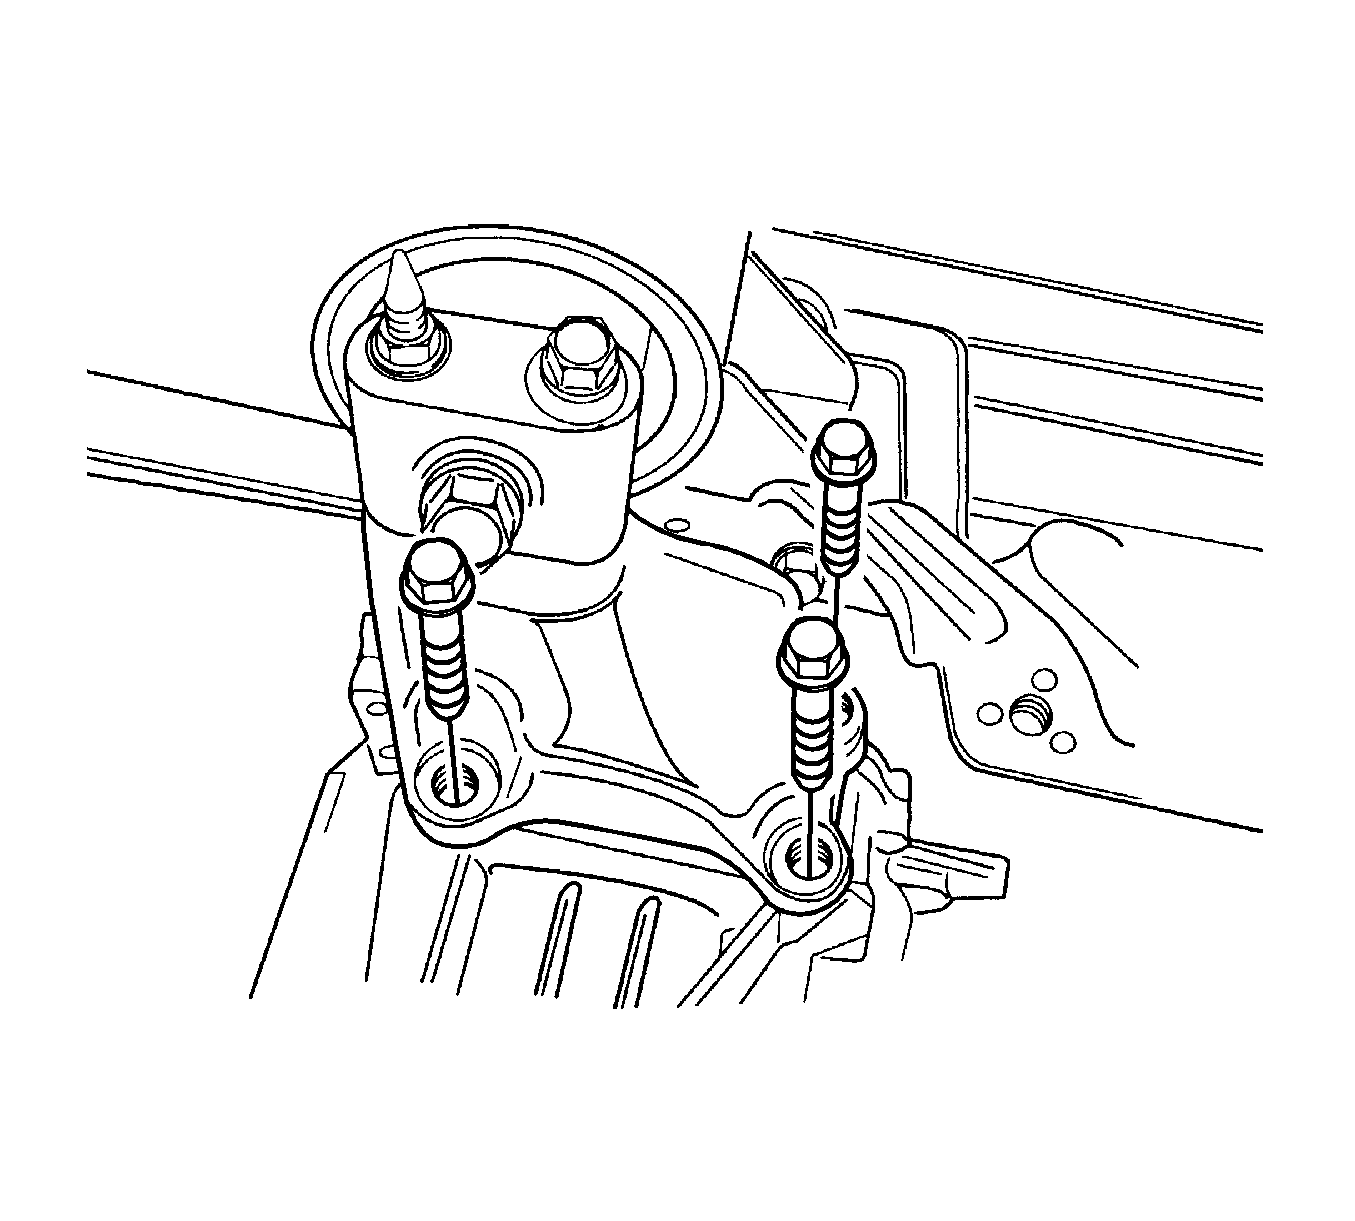
- Remove the retaining bolts from the engine mount bracket.
- Remove the bracket from the engine block.
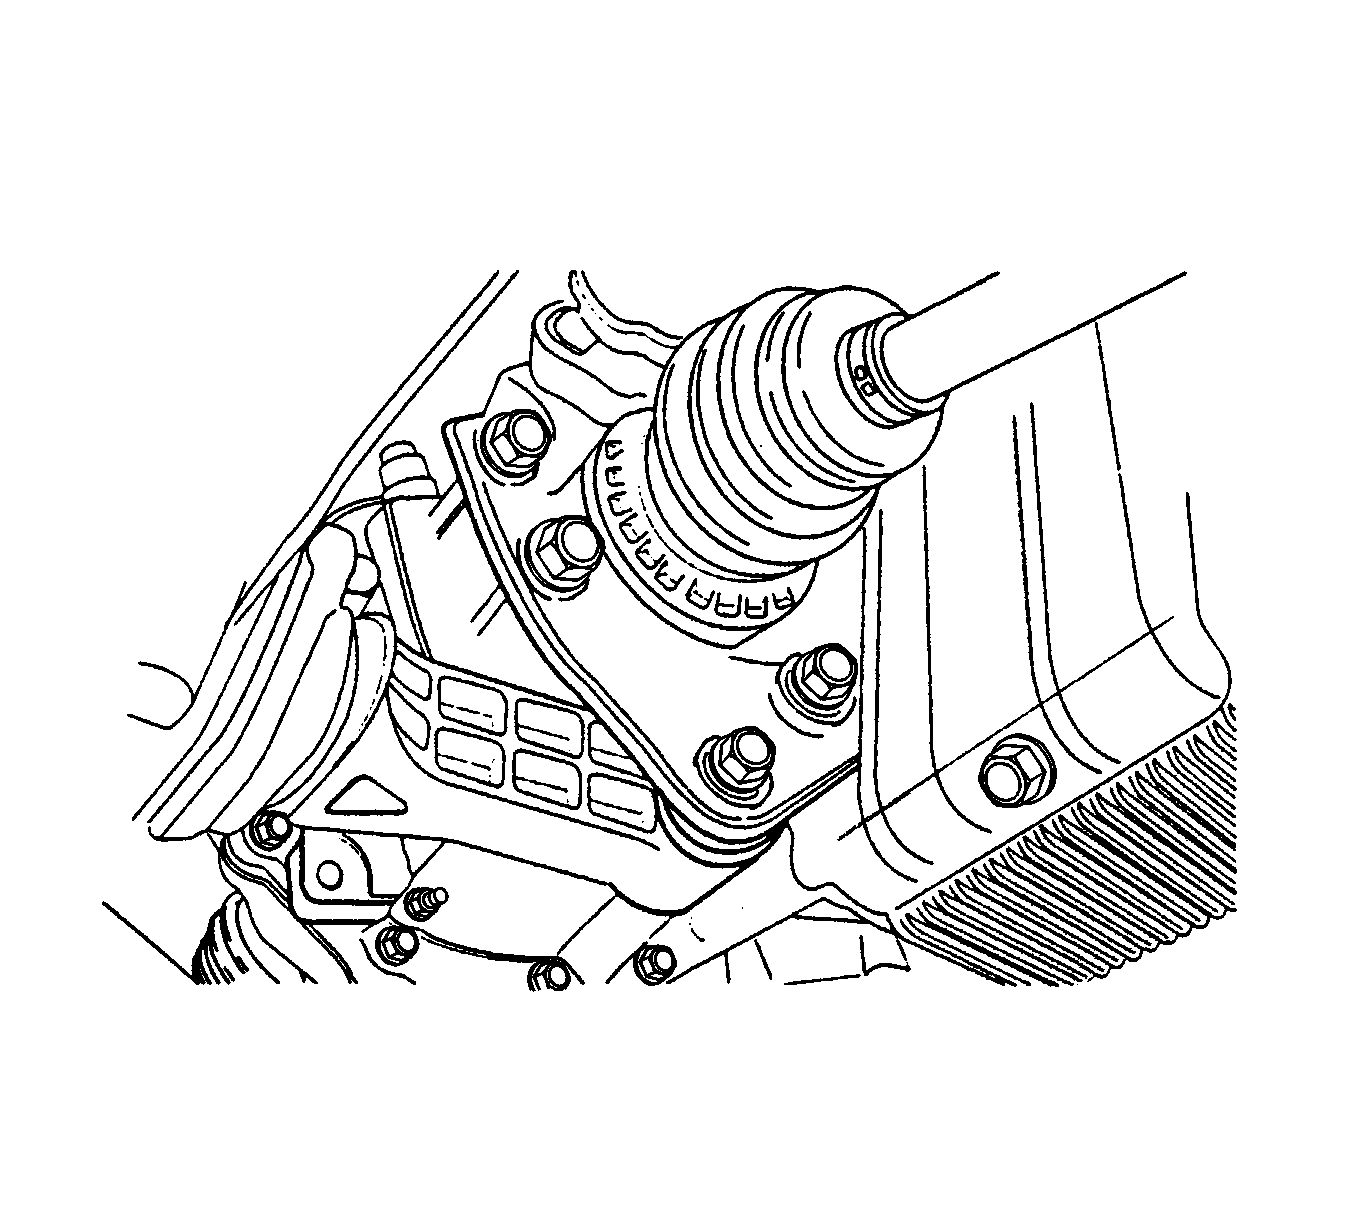
- Remove the 3 bolts from the upper transaxle mounting bracket.
- Lift up the vehicle slowly to separate the engine and transaxle assembly from the vehicle. Refer to Lifting and Jacking the Vehicle .
- Separate the engine block from the transaxle.
- Remove the engine.
| 9.1. | Disconnect the power steering return hose from the power steering pump. |
| 9.2. | Remove the union nut from the power steering pressure hose. |
| 9.3. | Disconnect the power steering pressure hose from the power steering pump. |


Important: Verify that the engine and transaxle assembly is not attached to the vehicle.
Installation Procedure
- Install the engine and transaxle assembly into the engine compartment.
- Install the right engine mount bracket to the engine block.
- Install the mounting bolts to the bracket.
- Install the bracket to the engine mount with 2 retaining bolts.
- Install the upper transaxle mounting bracket with 3 bolts.
- Install the service cover to the transaxle torque converter with bolts.
- Install the rubber to the oil pan.
- Position the starter electrical wire on the solenoid terminal.
- Install the starter solenoid nuts.
- Install the lower mounting bolts to the starter.
- Connect the ECT sensor connector.
- Install the intake manifold support bracket.
- Connect the electrical connector to the EVAP canister purge solenoid.
- Connect the voltage regulator connector to the generator.
- Install the battery harness connector to the generator using a nut.
- Connect the electrical connector to the oil pressure switch.
- Install the A/T drive axle. Refer to Front Drive Axle Inner Shaft and Inner Shaft Housing Replacement .
- Install the rear mounting bracket and the bracket bolts.
- Install the damping block connection bolt and nut.
- Install the front exhaust pipe and the gasket.
- Install the nuts to the front exhaust pipe.
- Install the exhaust front pipe and gasket to the catalytic converter. Secure with the retaining nuts.
- Secure the exhaust front pipe to the bracket with a bolt.
- Connect the rear HO2S connector.
- Connect the A/C compressor coil connector, if equipped.
- If the vehicle is equipped with automatic transmission, perform the following procedures:
- Install the front splash shield and the engine undercover.
- Install the front tire and wheel assemblies. Refer to Tire and Wheel Removal and Installation .
- Install the pipe and hose assembly to the A/C compressor, if equipped. Secure with a retaining bolt.
- Connect the lower radiator hose to the coolant pipe.
- Install the battery tray support. Secure the support with a bolt.
- Connect the brake booster vacuum hose at the intake manifold. Connect all of the necessary vacuum lines.
- Connect the fuel feed line at the fuel rail.
- Connect the CPS connector.
- Connect the oxygen sensor connector.
- Connect the electrical connector at the EI system ignition coil
- Connect the EGR valve connector.
- Connect the fuel injector connectors.
- Connect the surge tank coolant hose at the throttle body.
- Connect the ignition wires to the spark plugs.
- Connect the MAP sensor connector.
- Connect the throttle cable to the throttle body and to the intake manifold bracket.
- Connect the CMP sensor.
- Connect the ACP transducer connector, if equipped.
- Connect the TPS connector.
- Connect the IAC valve connector.
- Install the spark plug cover. Install the bolts to the spark plug cover.
- Install the air cleaner assembly. Refer to Air Cleaner Assembly Replacement .
- Connect the air intake tube to the throttle body.
- Connect the breather tube to the valve cover.
- Connect the IAT sensor connector.
- If the vehicle is equipped with a power steering pump, perform the following procedures:
- Connect the upper radiator hose to the thermostat housing.
- Install the cooling system radiator and the engine cooling fans. Refer to Radiator Replacement .
- Install the battery and the battery tray. Refer to Battery Tray Replacement .
- Install the fuel pump fuse.
- Fill the engine crankcase with engine oil.
- Fill the engine coolant system. Refer to Cooling System Draining and Filling .
- Bleed the power steering system, if equipped. Refer to Power Steering System Bleeding .
- Fill the A/C refrigerant system, if equipped. Refer to Refrigerant Recovery and Recharging .
Notice: Refer to Fastener Notice in the Preface section.
Tighten
Tighten the bolts to 60 N·m (44 lb ft).
Tighten
Tighten the bolts to 60 N·m (44 lb ft).
Tighten
Tighten the bolts to 60 N·m (44 lb ft).
Tighten
Tighten the bolts to 65 N·m (48 lb ft).
Tighten
Tighten the nuts to 15 N·m (11 lb ft).
Tighten
Tighten the bolt to 43 N·m (32 lb ft).
| 12.1. | Install the upper bracket bolts to the intake manifold. |
Tighten
Tighten the bolts to 25 N·m (18 lb ft).
| 12.2. | Install the lower bracket bolts to the engine block. |
Tighten
Tighten the bolts to 40 N·m (30 lb ft).
Tighten
Tighten the nut to 15 N·m (11 lb ft).
Tighten
Tighten the bolts to 60 N·m (44 lb ft).
Tighten
Tighten the bolt and the nut to 80 N·m (59 lb ft).
Tighten
Tighten the nuts to 30 N·m (22 lb ft).
Tighten
Tighten the nuts to 40 N·m (30 lb ft).
Tighten
Tighten the bolt to 40 N·m (30 lb ft).
| 26.1. | Connect all of the A/T electrical connectors. |
| 26.2. | Connect the A/T shift control cable. Refer to Floor Shift Control Cable Replacement . |
| 26.3. | Connect the A/T oil cooler inlet/outlet pipe. Refer to Transmission Cooler Pipes and Hoses Replacement . |
Tighten
Tighten the bolt to 33 N·m (24 lb ft).
Tighten
Tighten the bolts to 3 N·m (27 lb in).
| 52.1. | Connect the power steering pressure hose to the power steering pump. |
| 52.2. | Install the union nut to the power steering pump. |
Tighten
Tighten the nut to 28 N·m (21 lb ft).
| 52.3. | Connect the power steering return hose to the power steering pump. |
