For 1990-2009 cars only
Removal Procedure
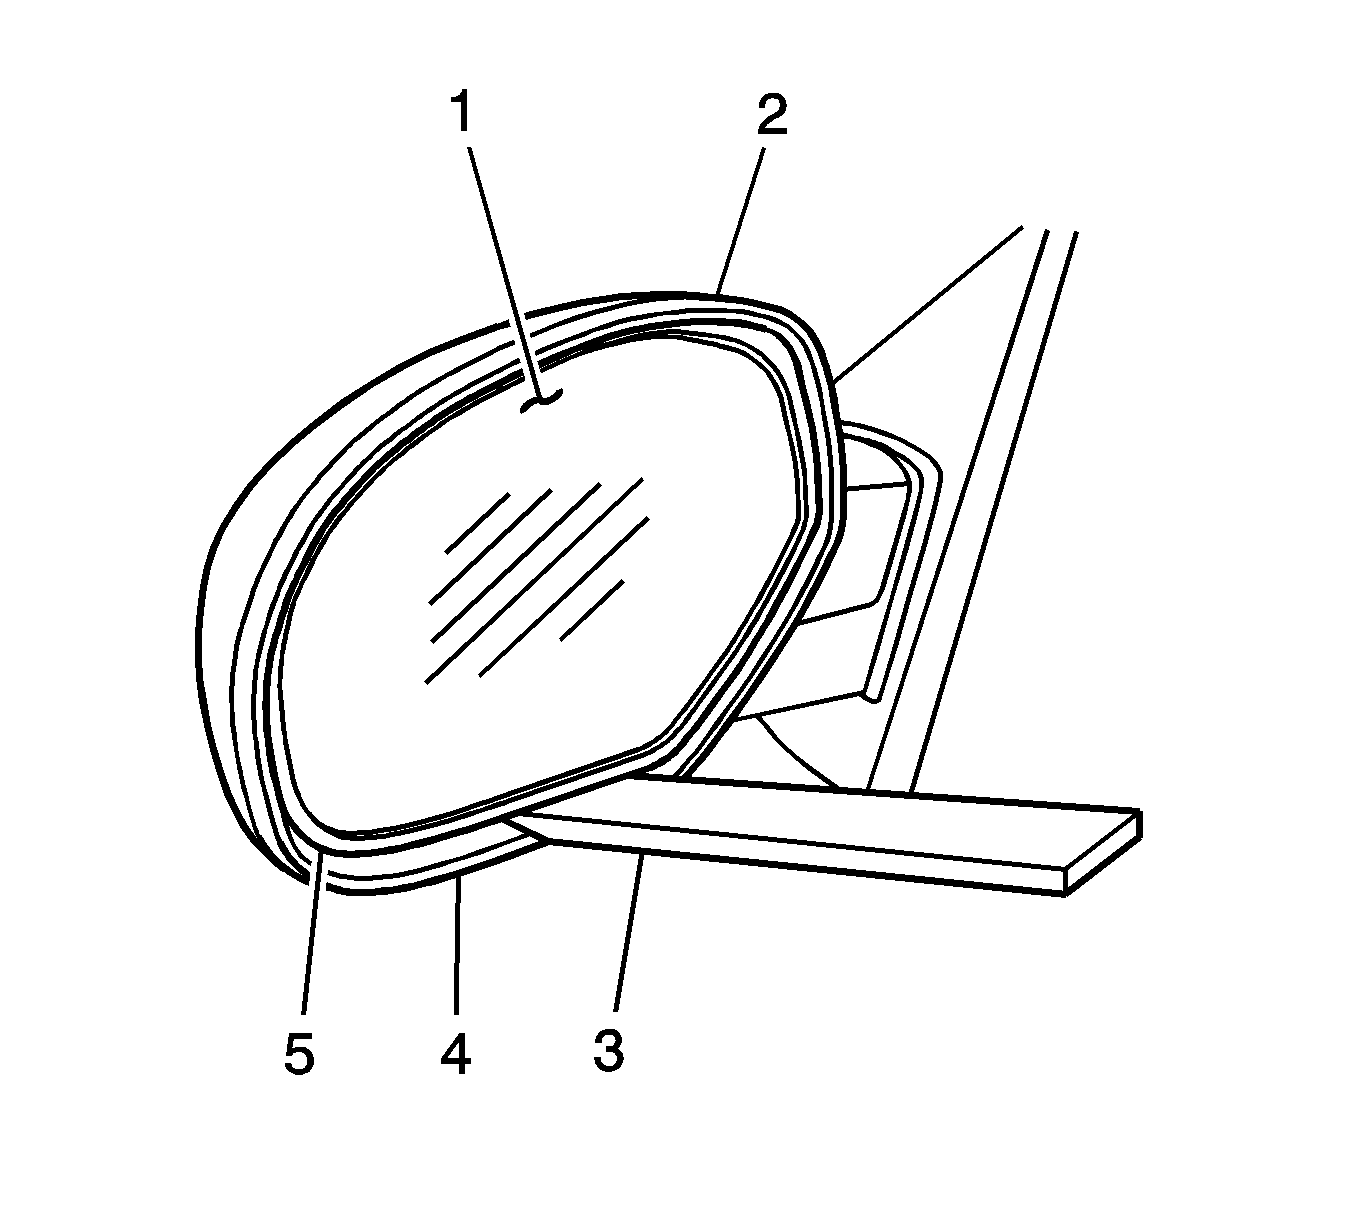
- Apply several layers of masking tape (1) to the mirror lower housing edge (2) to protect the finish.
- Remove the mirror lens as follows:
- Disconnect the electrical connectors from the back of the mirror lens.
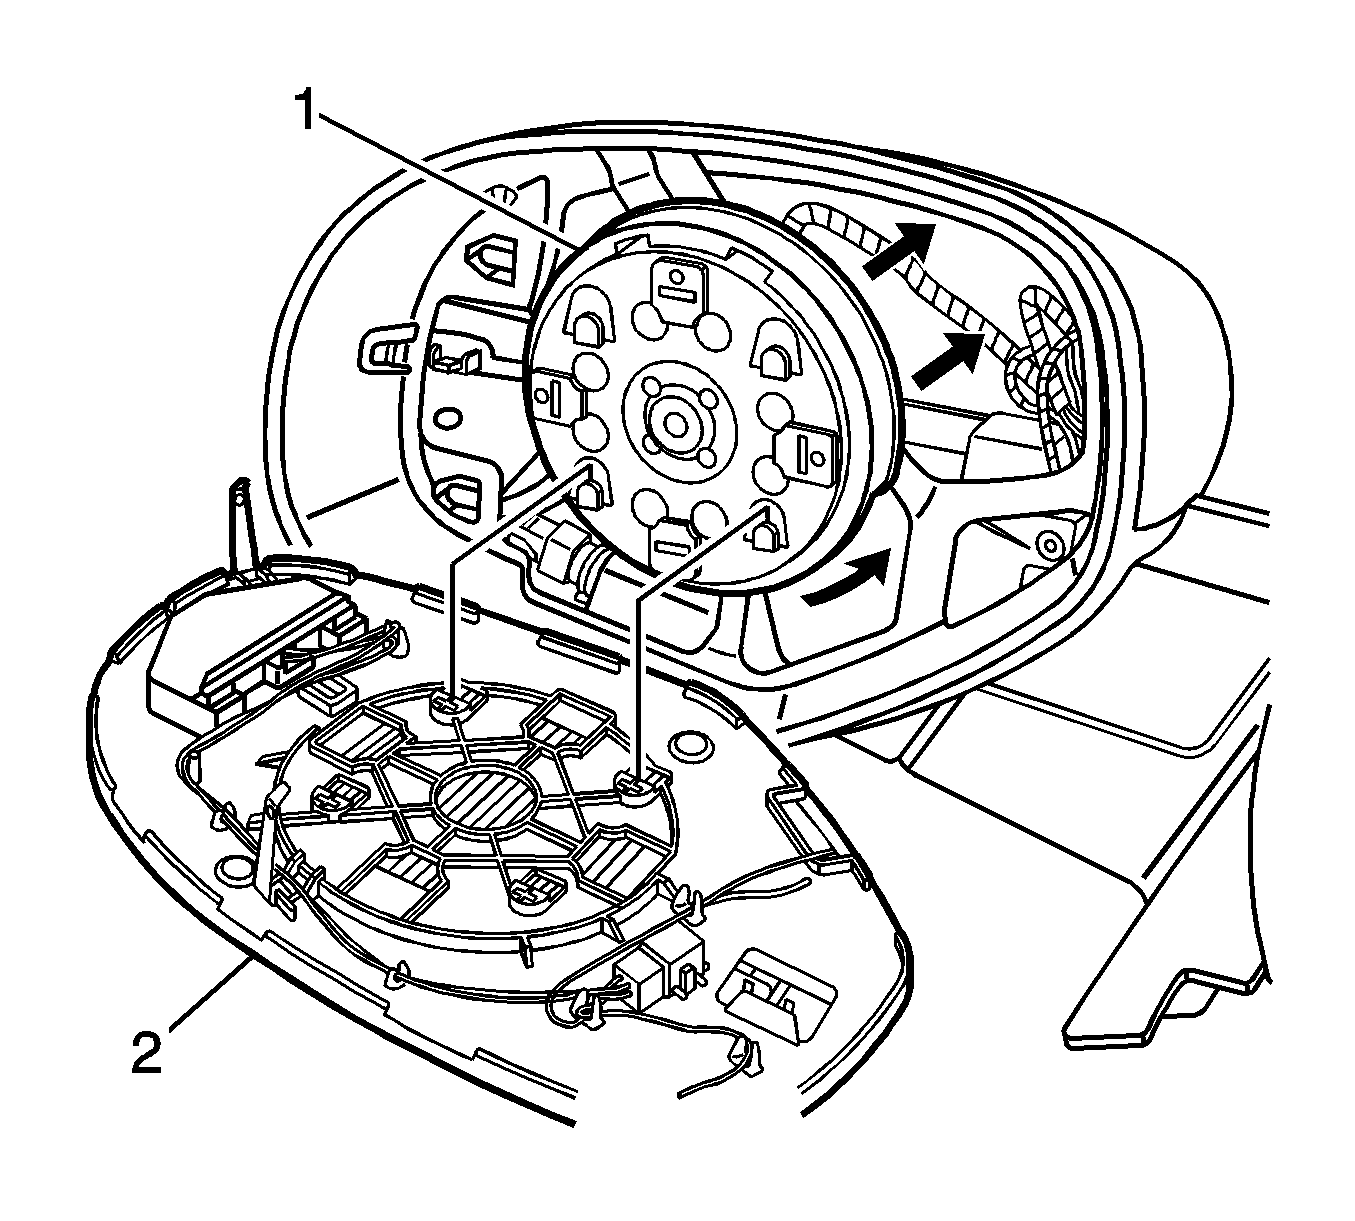
- The motor/actuator ring (1) must stay with the motor/actuator, Not with the mirror lens (2).
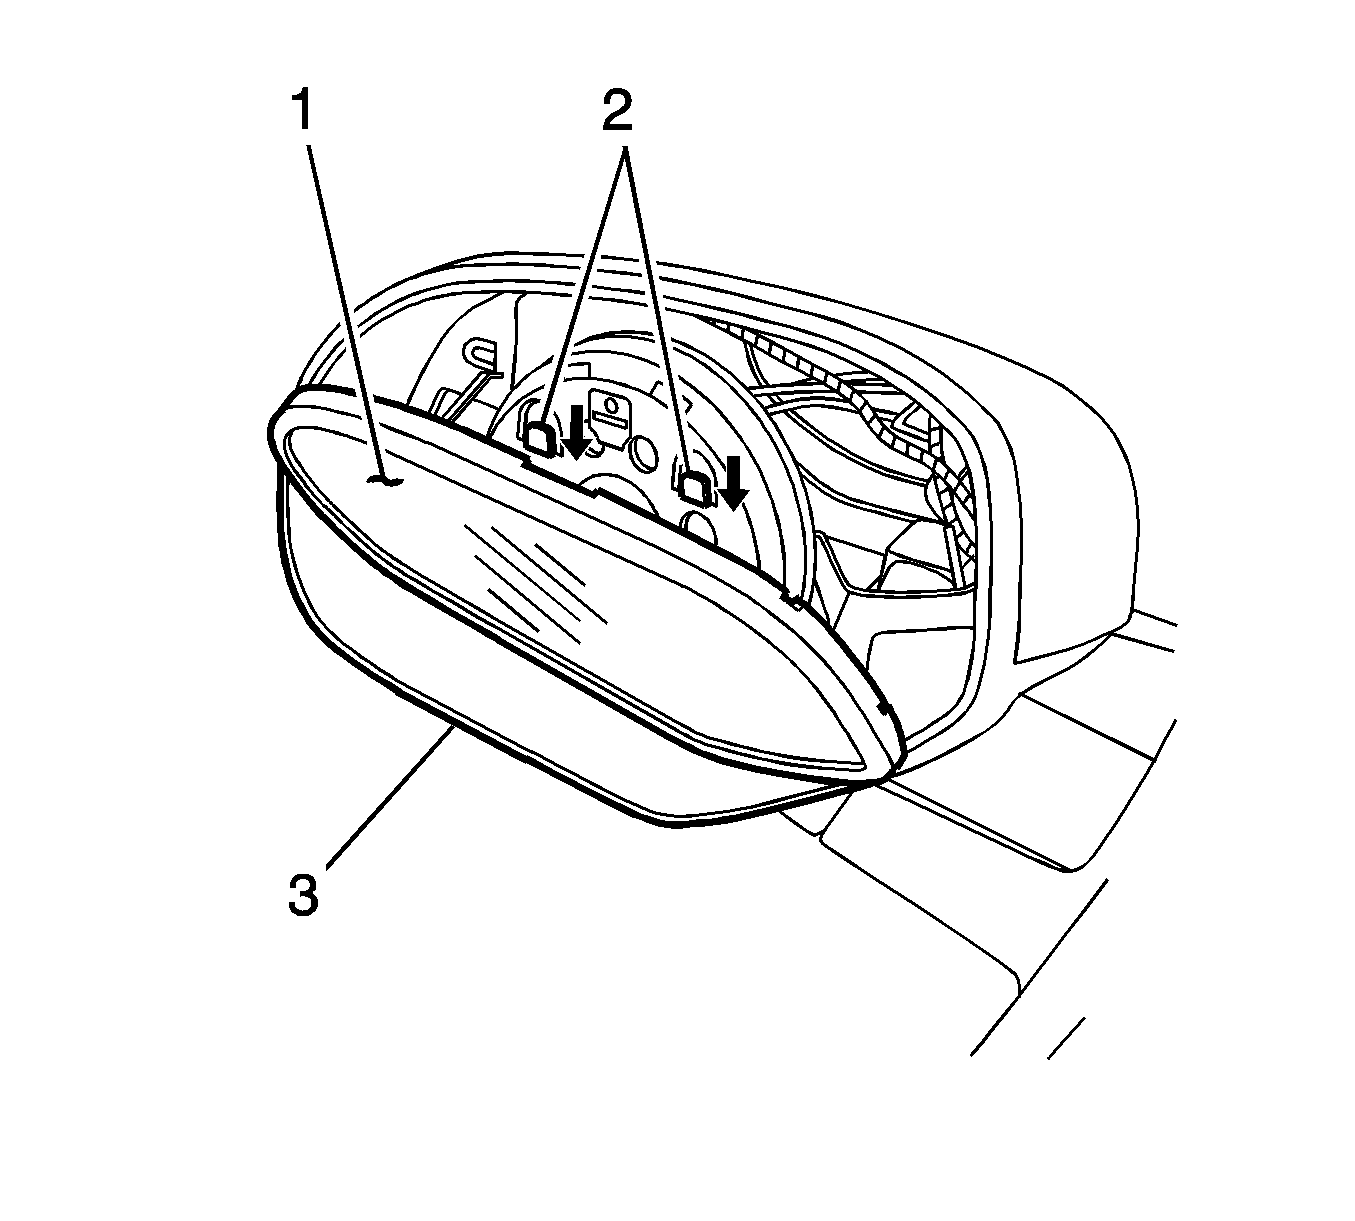
- If the mirror motor/actuator ring (1) stays attached to mirror lens (3), the motor/actuator ring (1) MUST be removed from the mirror lens.
Warning: Approved safety glasses and gloves should be worn when performing this procedure to reduce the chance of personal injury.
Caution: When servicing electrochromic glass that is broken, or if glass breaks during servicing, be cautious not to spill electrochromic fluid onto vehicle. Doing so will cause damage to the vehicle.

| 2.1. | Push the top center of the mirror inward. |
| 2.2. | Place your hand on the back of the mirror housing (2). |
| 2.3. | Use a suitable rigid plastic tool (3) 3.81 cm (1.5 in) wide. Insert the rigid plastic tool (3) 3 cm (1.5 in) between the mirror lower housing edge (4) and the lower edge of the mirror lens (5). |
| 2.4. | Lift upward on the rigid plastic tool (3) until the mirror lens (1) releases from the motor/actuator ring. |
Note: When removing the motor/actuator ring, use care Not to damage the mirror lens.
| 5.1. | Place the mirror lens face down on a soft cloth. |
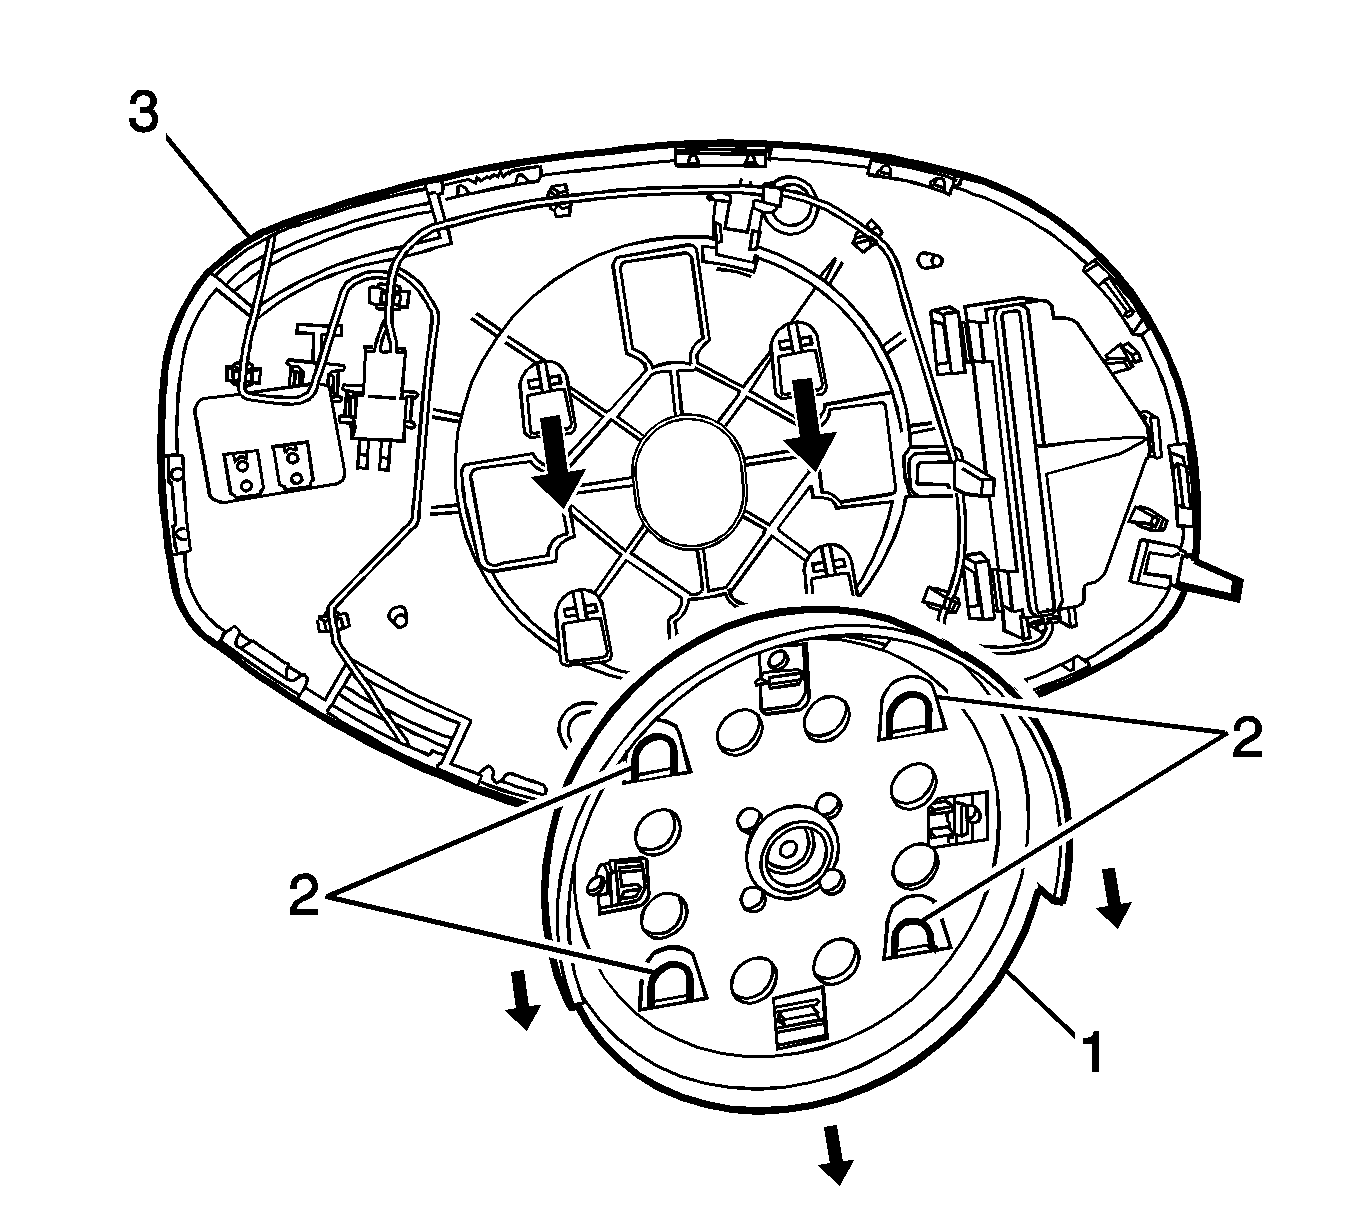
| 5.2. | Remove the motor/actuator ring (1), by sliding the ring downward releasing the tabs (2) from the back mirror lens (3). |
Installation Procedure
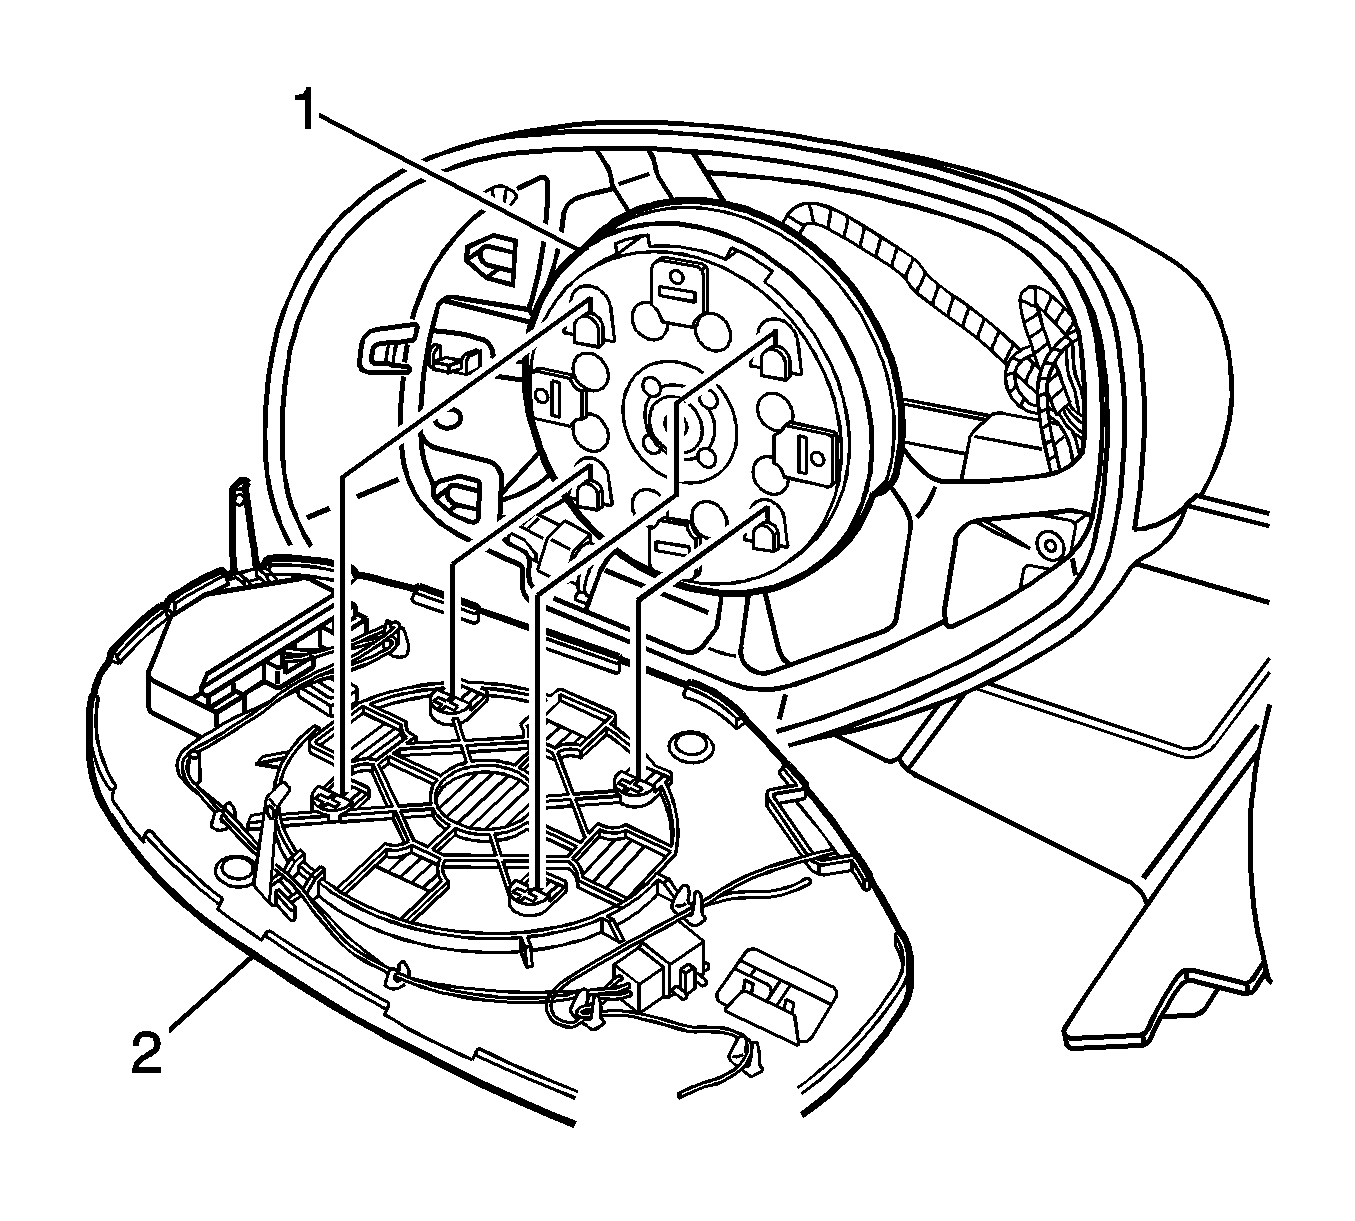
- Install the motor/actuator ring (1) to the actuator (2), ensure that the actuator tabs (3) are in line with the motor/actuator ring.
- Place the motor/actuator ring (1) in the center of the motor/actuator (2), press inward until fully seated.
- Connect the electrical connectors to the mirror lens.
- Install the mirror lens as follows:
- Inspect the mirror for proper operation.

Important: If the actuator ring is on the motor/actuator go to step 3. If the actuator ring is off do steps 1, 2.
| 4.1. | Push the lower center of the mirror motor actuator ring inward. |
| 4.2. | Position the mirror lens (1) on the mirror motor/actuator ring retaining tabs (2). |
| 4.3. | Place your hand on the back of the mirror housing (3). |
| 4.4. | Push downward using your hand on the mirror lens (1) until it is locks onto the retaining tabs (2). |
| 4.5. | Remove the masking tape from the lower edge of the mirror housing. |
