For 1990-2009 cars only
Removal Procedure
- Remove the left windshield garnish molding. Refer to Windshield Pillar Garnish Molding Replacement in Interior Trim.
- Remove the left center pillar assist handle. Refer to Roof Rail Rear Assist Handle Replacement in Interior Trim.
- Remove the left center pillar garnish molding. Refer to Center Pillar Garnish Molding Replacement in Interior Trim.
- Remove the left sunshade. Refer to Sunshade Replacement in Interior Trim.
- Remove the retaining screws from the headliner.
- Gently pull down the headliner.
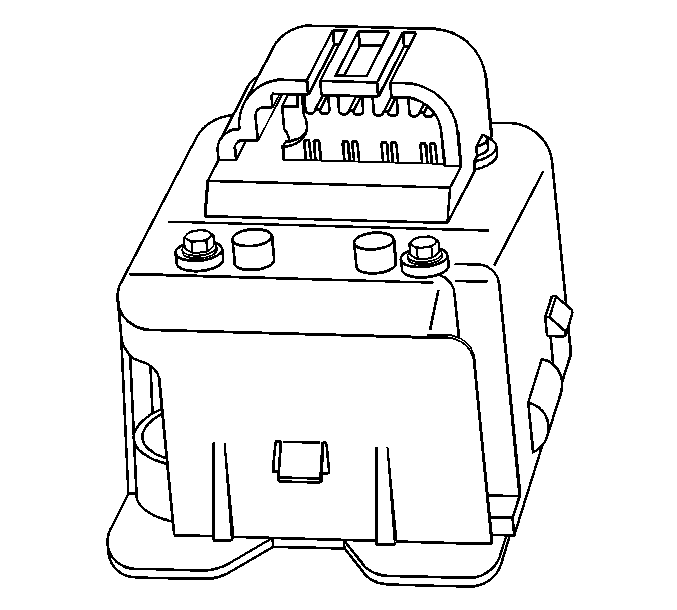
- Remove the inside air temperature sensor from the headliner.
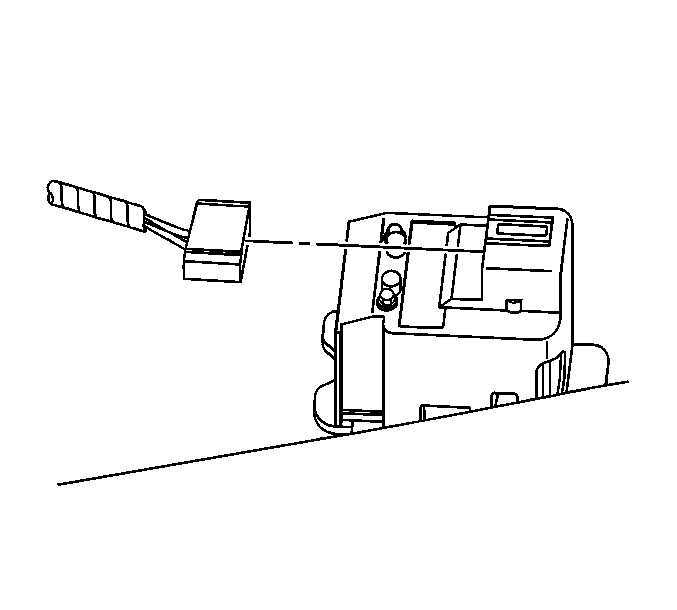
- Disconnect the electrical connector from the inside air temperature sensor.
- Remove the inside air temperature sensor from the headliner.


Installation Procedure
- Install the inside air temperature sensor to the headliner.
- Connect the electrical connector to the inside air temperature sensor.
- Install the screws to the headliner.
- Install the left sunshade. Refer to Center Pillar Garnish Molding Replacement in Interior Trim.
- Install the left center pillar garnish molding. Refer to Center Pillar Garnish Molding Replacement in Interior Trim.
- Install the left center assist handle. Refer to Roof Rail Rear Assist Handle Replacement in Interior Trim.
- Install the left windshield garnish molding. Refer to Windshield Pillar Garnish Molding Replacement in Interior Trim.


