Unwanted/Loose Seat Movement (Apply Adhesive and Install New Bolts in Seat Mounting Rails)

| Subject: | Unwanted/Loose Seat Movement (Apply Adhesive and Install New Bolts in Seat Mounting Rails) |
| Models: | 2002-2006 Cadillac Escalade, Escalade EXT |
| 2003-2006 Cadillac ESV |
| 1999-2007 Chevrolet Silverado Pickup Models (Classic) |
| 2000-2006 Chevrolet Suburban, Tahoe |
| 2002-2006 Chevrolet Avalanche |
| 1999-2007 GMC Sierra Pickup Models (Classic) |
| 2000-2006 GMC Yukon, Yukon XL |
| 2003-2006 HUMMER H2 |
| with Power Driver Front Seat Power Adjuster (RPO AG1) and/or Passenger Seat Power Adjuster (RPO AG2) |
This bulletin is being revised to add model years and additional Warranty Information. Please discard Corporate Bulletin Number 05-08-50-012 (Section 08 -- Body and Accessories).
Condition
Some customers may comment on unwanted seat movement in the front power bucket seat (driver or passenger) during fast acceleration or hard braking. A metal to metal clicking noise is often heard at seat "stops."
Cause
The threads of the two zinc nut retainers (one on each side of the seat adjuster) may creep over time, causing a loss of self-rolling screw clamp load and ultimately causes relative rail and vehicle seat motion.
Correction
Apply adhesive and install new bolts in seat mounting rails using the following procedure.
- Remove the front seat and invert onto a flat surface covered with a clean, non-scratch material (soft cloth or similar). Refer to the applicable Seats sub-section in SI. Adjust so that the seat mounting rails are at 45 degrees.
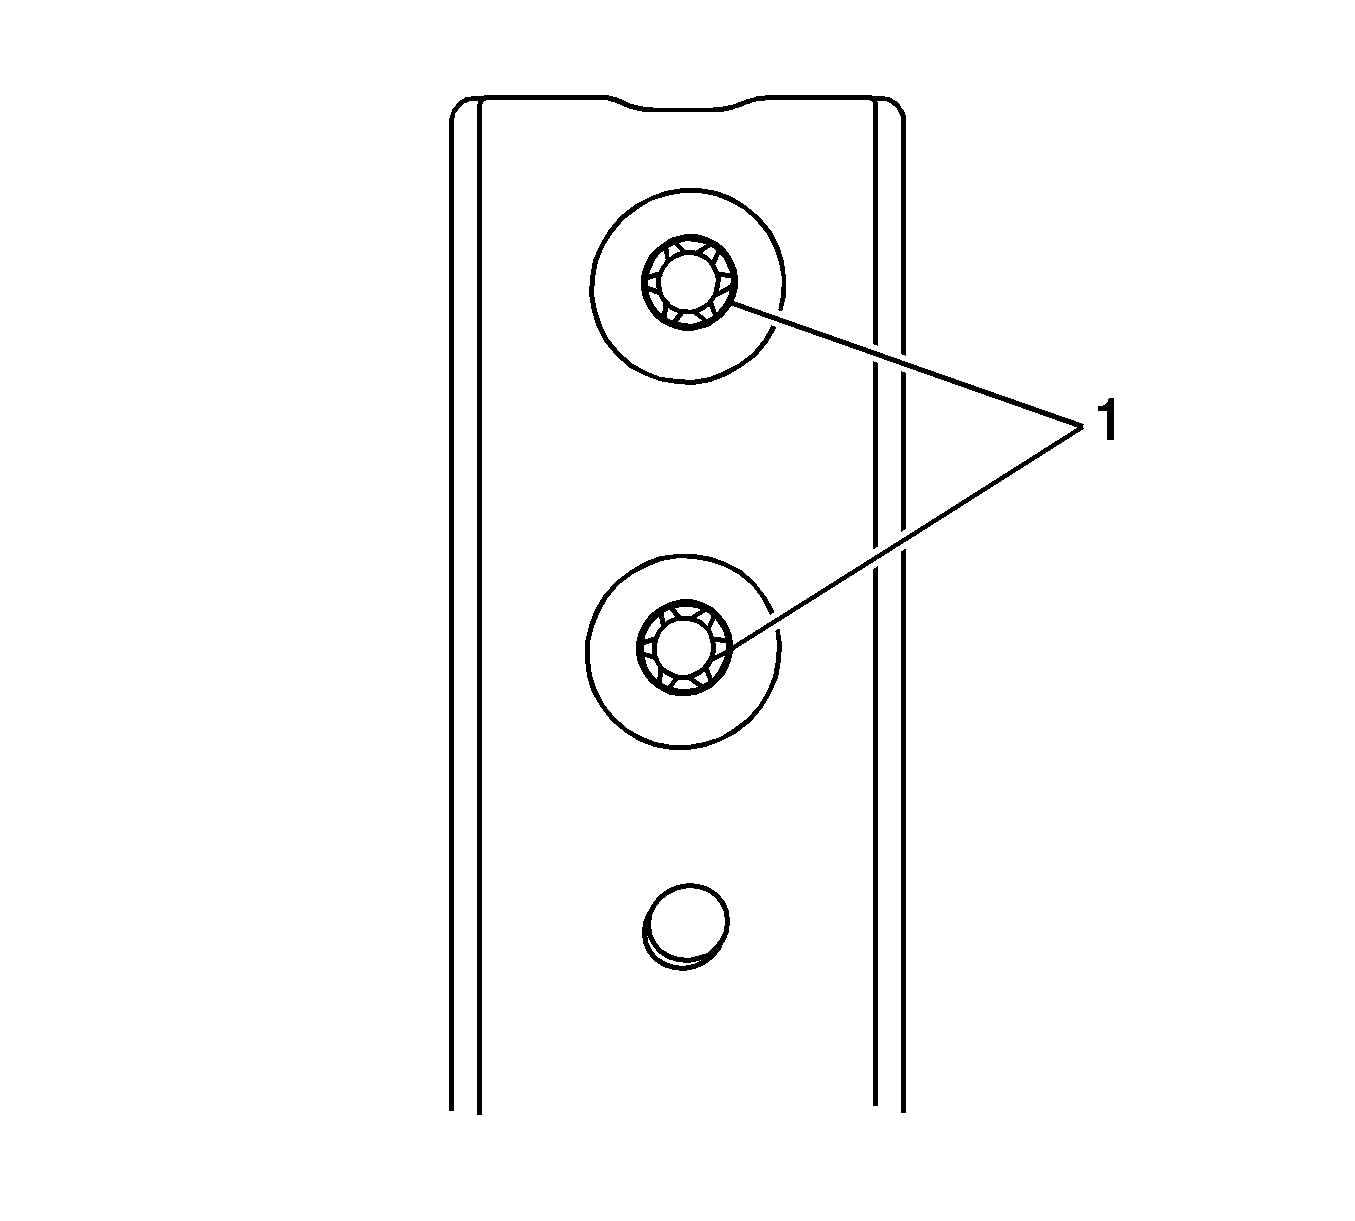
- Remove the upper M8 mounting bolt from one rail and discard. Leave the other bolt intact as this will hold the track in place while working. Wipe the bolt hole area with a clean rag.
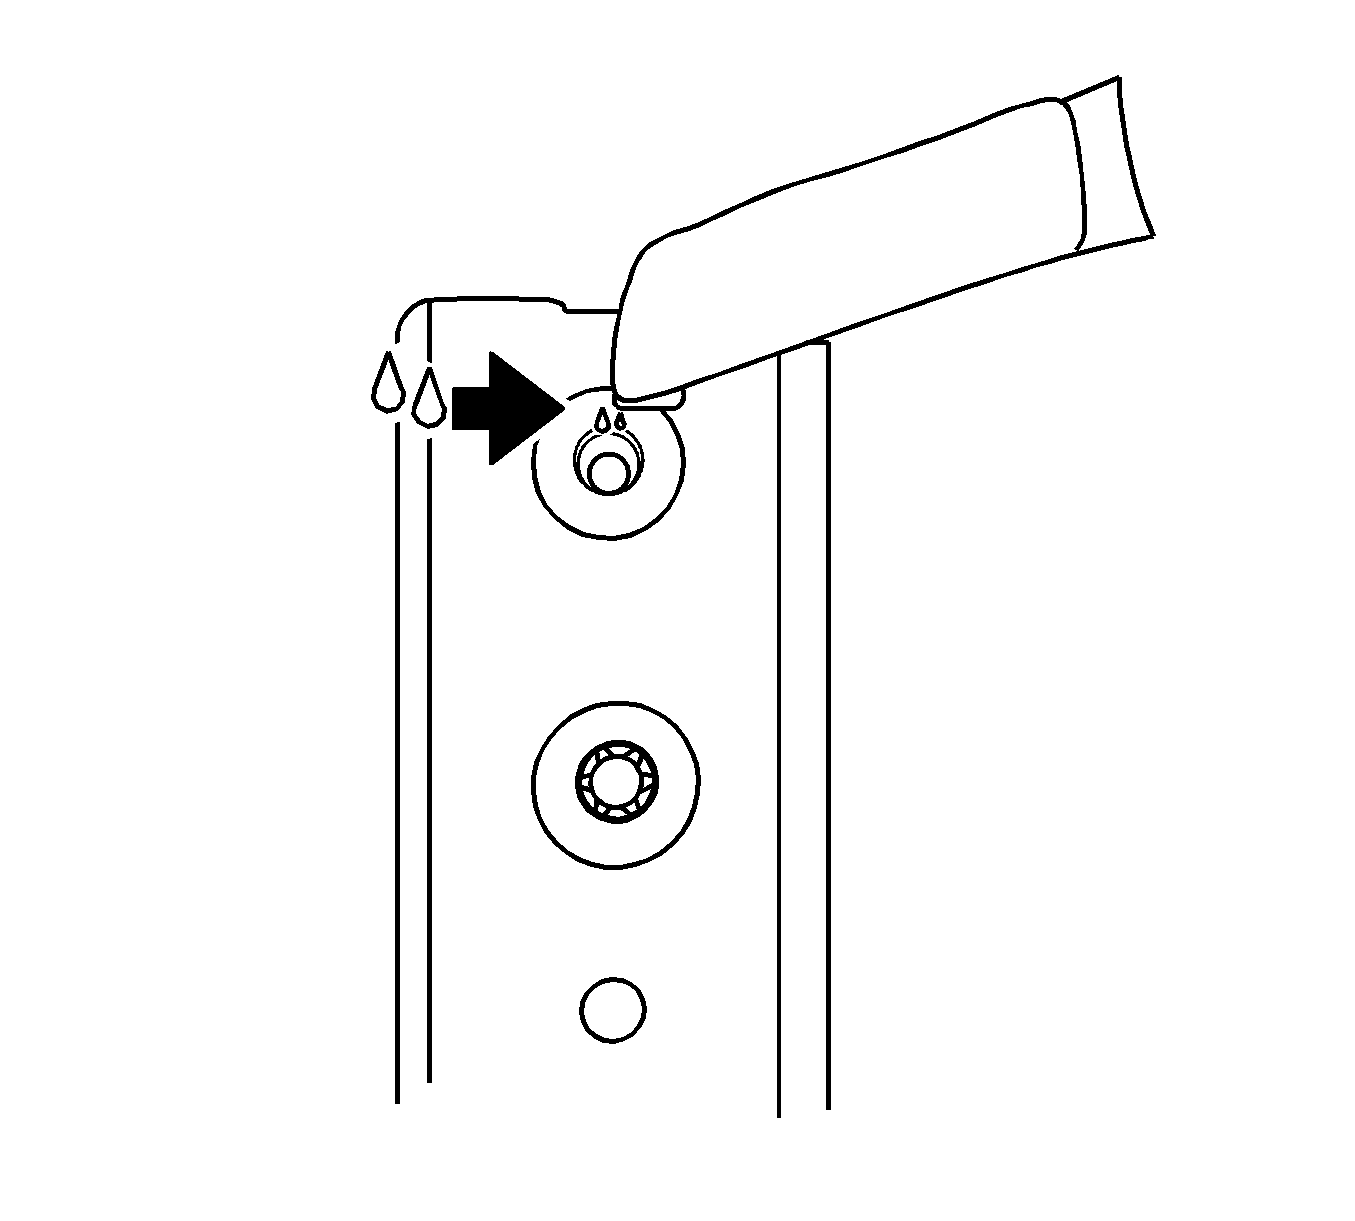
- Take one of the adhesive sachets and carefully cut the flag tip off the notched end spout in line with the notch.
- While holding the sachet vertical, slowly dribble the adhesive into the edge of the bolt hole as shown, ensuring that the adhesive flows into the joint between the seat rail and the zinc block. DO NOT pour the adhesive down the center of the hole. The object is to let the adhesive "wick" between the zinc block and the seat rail in order to bond the two pieces together.
- Replace the previous bolt with a new M8 bolt (1) (included) and install using a "click torque wrench" preset to 9 N·m (79 lb in).
- Remove the second M8 mounting bolt from the rail and discard.
- Repeat steps 2 through 5 for the second bolt.
- Repeat steps 2 through 6 for the opposite mounting rail.
- Before installing the seat into the vehicle, verify that the seat will function correctly and does not make any unusual noises during forward and rearward travel motion.
- Install the seat. Refer to the applicable Seats sub-section of SI.
- While sitting in the seat, verify seat function and listen for any unusual noises.
Important: Only use the adhesive provided in the repair kit. Do not substitute with other adhesives.
Important: If the bolt thread strips or the proper torque cannot be achieved, then the entire seat adjuster mechanism must be replaced.
Parts Information
Part Number | Description | Qty |
|---|---|---|
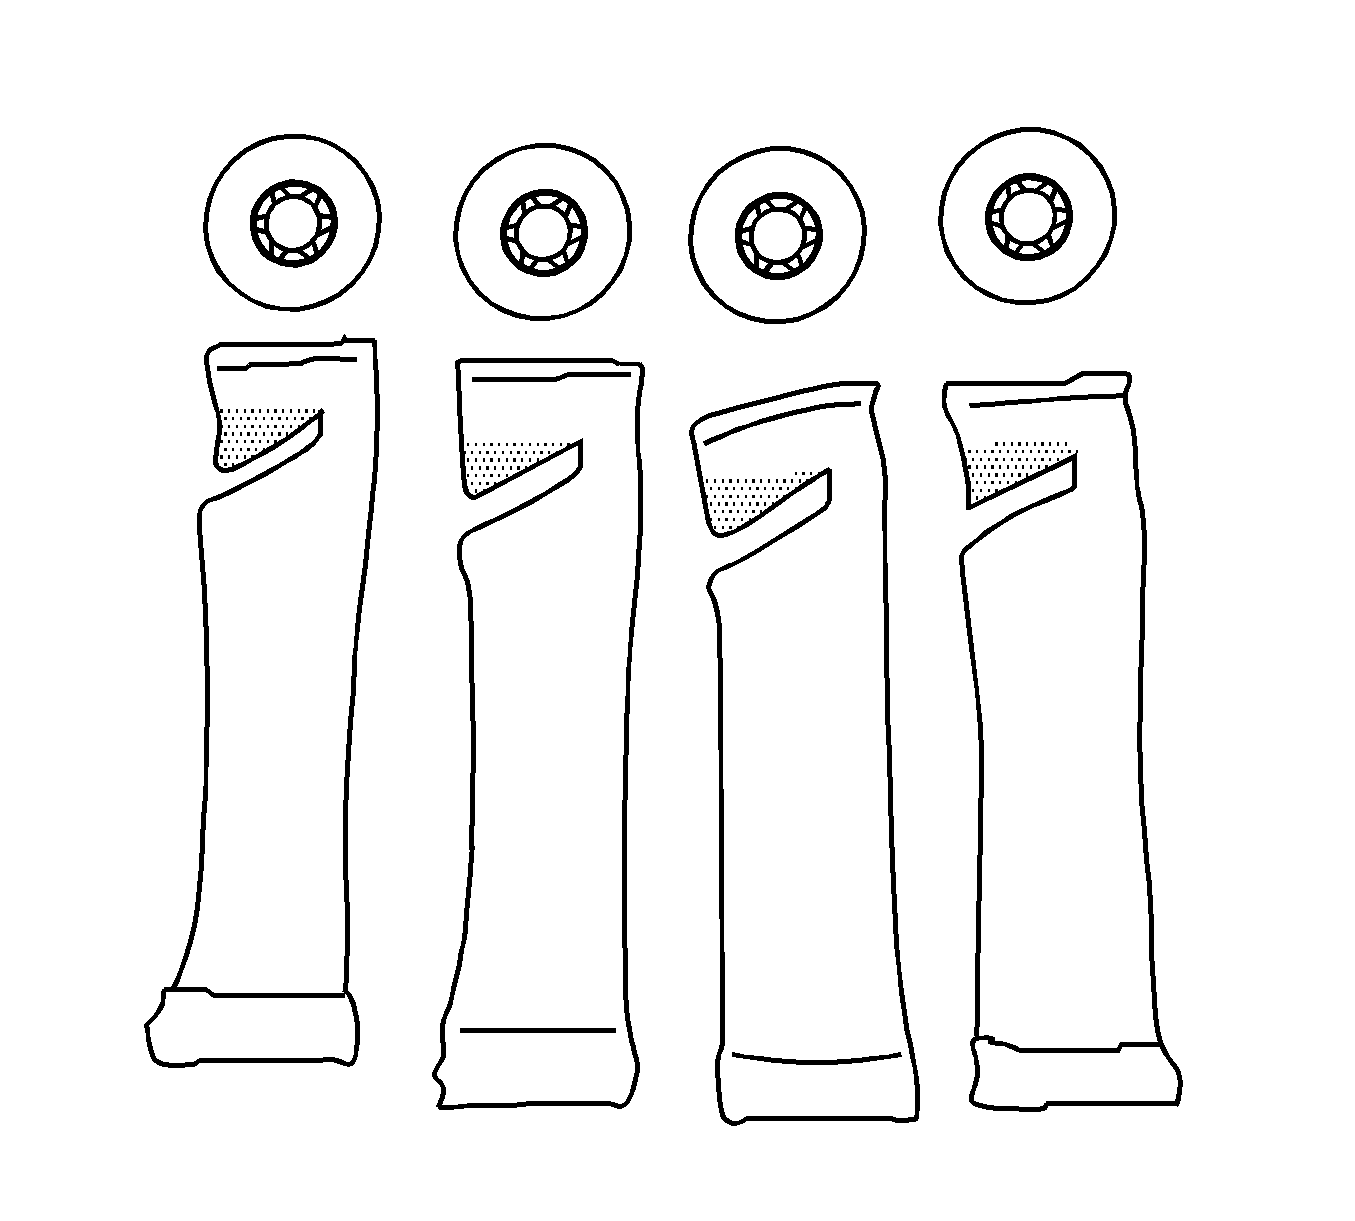
89045784 | Adhesive Kit, D/Seat Adj Bolt | 1 kit per seat |
Warranty Information
For vehicles repaired under warranty, use:
Labor Operation | Description | Labor Time |
|---|---|---|
C9740* | Replace seat rail bolts and apply adhesive | 0.5 hr |
Add | to service additional seat | 0.4 hr |
*This labor operation number is for bulletin use only. The number will not be published in the Labor Time Guide.
