For 1990-2009 cars only
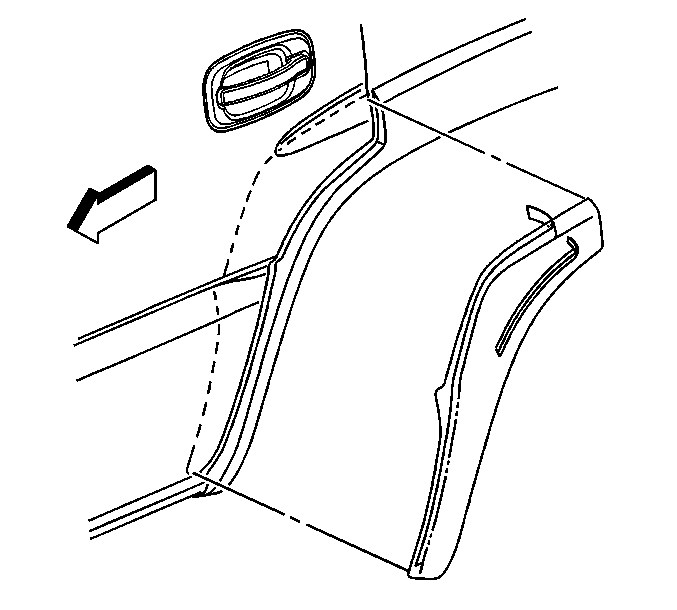
Door Lower Molding Replacement Tahoe/Yukon
Tools Required
J 25070 Heat Gun
Removal Procedure
- Heat the bodyside molding using a heat gun. Hold the heat gun approximately 152 mm (6 in) from the surface.
- Starting from one end of the molding, remove the molding from the panel surface using a flat-bladed tool.
- Remove all of the adhesive from the body panel using a 3M™ Scotch Brite molding adhesive remover disc, P/N 07501, or equivalent.

Important: Do not scratch or chip the paint.
Apply heat using a circular motion for about 30 seconds.
Installation Procedure
- Clean the area where the replacement molding is to be mounted. Use a suitable solvent such as flash naphtha or a mixture of 50 percent isopropyl alcohol and 50 percent water.
- Dry the area thoroughly.
- Warm the body panel to a temperature range of 16-41°C (60-105°F) with a heat lamp or with a heat gun.
- Ensure the molding is at a minimum temperature of 16°C (60°F).
- Remove the protective tape.
- Without allowing the adhesive surface to touch the body, ensure the molding is aligned.
- Press on the molding in order to install the molding to the door.

Important: Apply the molding in an environment free of dust and of dirt. Dust and dirt may come in contact with the adhesive surface and prevent proper binding.
If the temperature of the molding is below 16°C (60°F), warm the molding with a heat lamp or with a heat gun.
Important: Do not touch the adhesive surface when the tape is removed.
