For 1990-2009 cars only
Removal Procedure
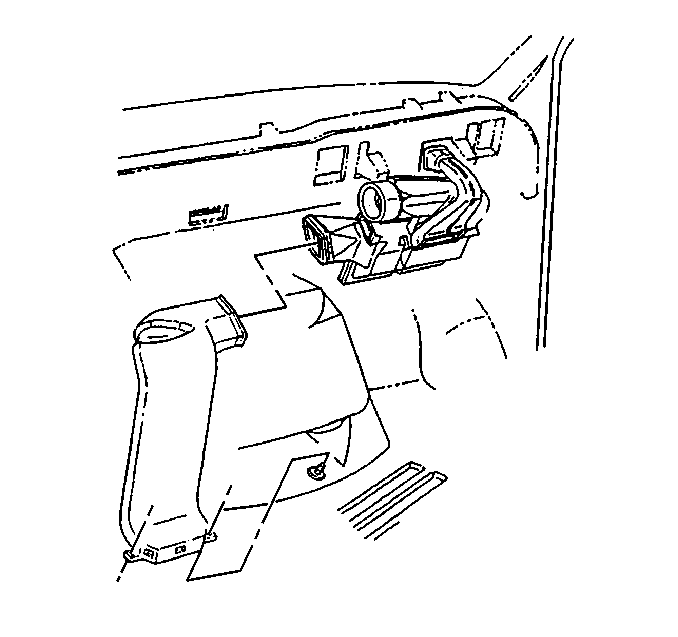
- Remove the instrument panel extension. Refer to Instrument Panel Extension Replacement in Instrument Panel, Gages and Console.
- Remove the floor air outlet duct. Refer to Floor Air Outlet Replacement - Center in Heating, Ventilation and Air Conditioning.
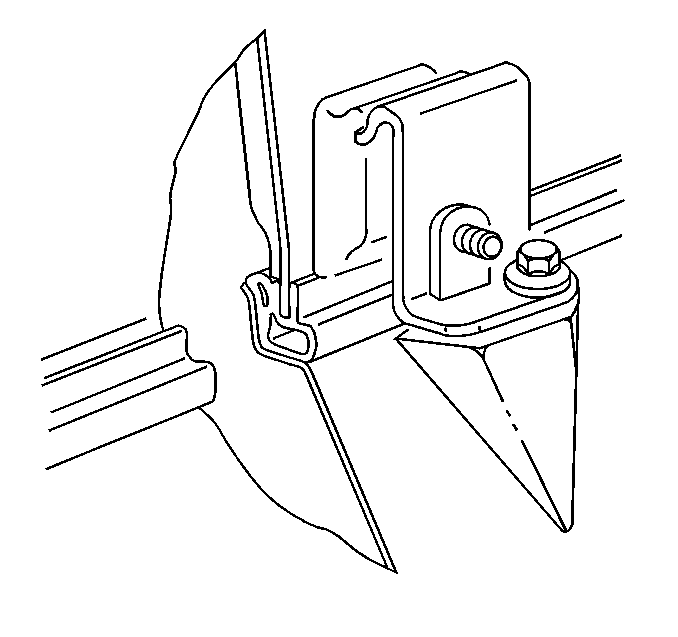
- Remove the bolts from the brackets:
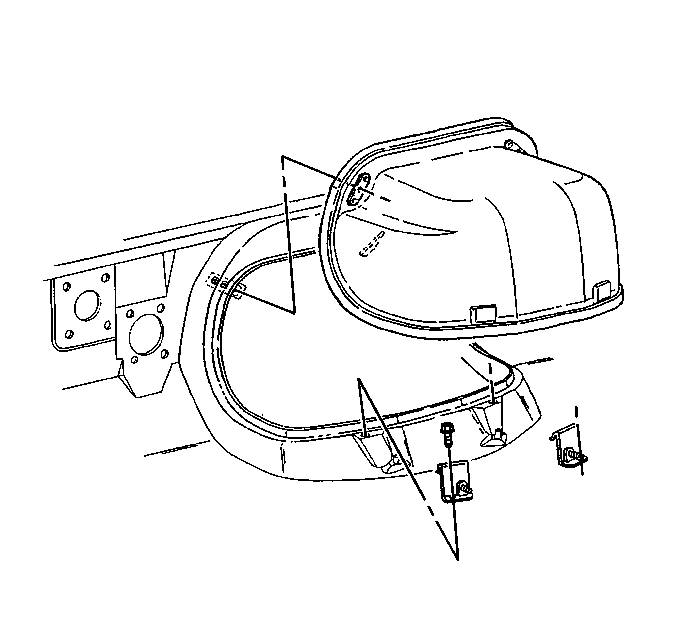
- Remove the latches.
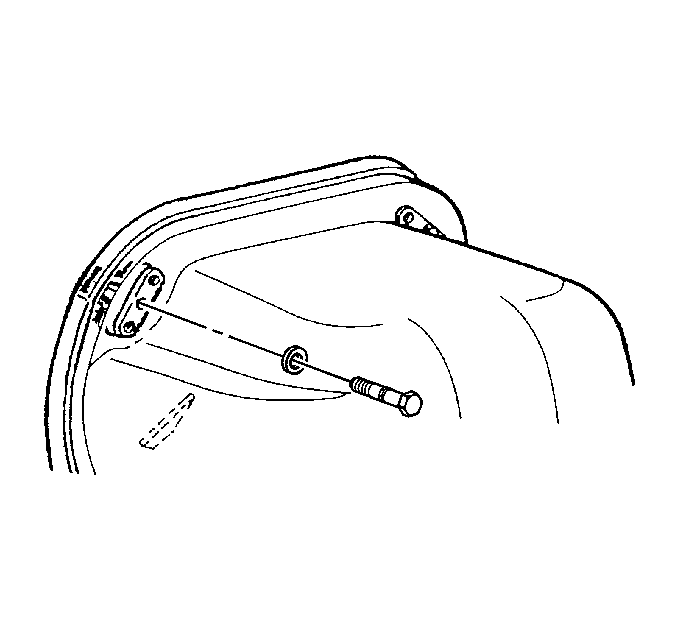
- Remove the screws.
- Remove the engine cover.
| 3.1. | Loosen the bolt. |
| 3.2. | Rotate the bracket out of the way. |
Installation Procedure
- Install the engine cover.
- Install the screws to the engine cover.
- Install the latch screws.
- Install the engine cover bolts to the brackets.
- Insert the floor air outlet duct. Refer to Instrument Panel Extension Replacement in Instrument Panel, Gages and Console.
- Insert the instrument panel extension. Refer to Floor Air Outlet Replacement - Center in Heating, Ventilation and Air Conditioning.
Do not fully tighten the screws.
Notice: Refer to Fastener Notice in the Preface section.
Tighten
Tighten the latch screws to 4 N·m (35 lb in).
Tighten
Tighten the engine cover bolt to 25 N·m (18 lb ft).
